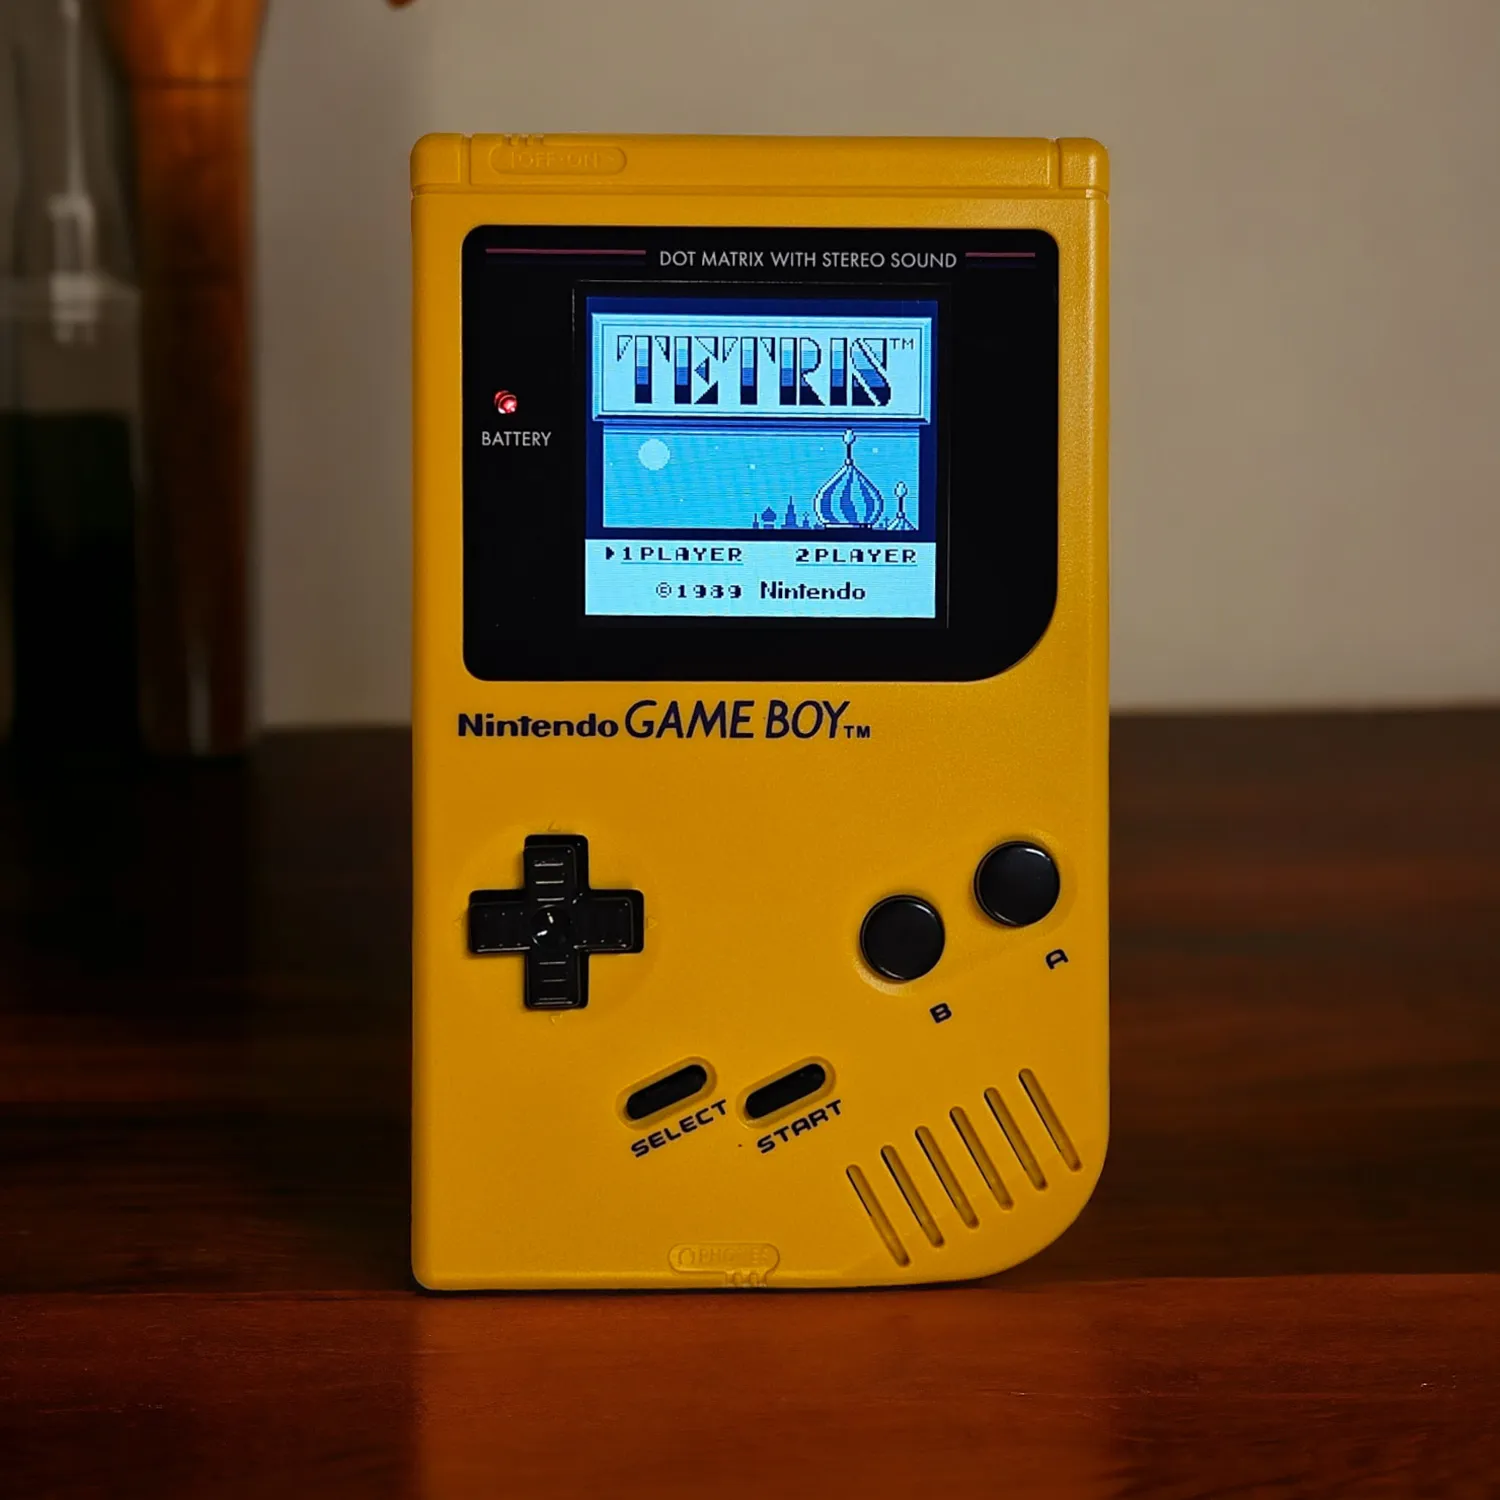
[DMG] 2.45 OSD TFT Drop In Kit
Preface
Section titled “Preface”- Make sure to run a function test first, BEFORE you install the IPS kit! Kits that have already been installed cannot be returned under warranty. You can see how to test the kit externally here: How do I test the LCD
- The LCD is very fragile and sensitive to pressure, impacts, etc. Please be especially careful when handling the LCD during installation
- Only use the brightness and settings wheel once everything is fully installed, otherwise it can break very easily
- The ribbon cable between the DMG main board and the LCD board must not be connected with the same polarity on both ends - connecting the cable this way will damage the LCD!
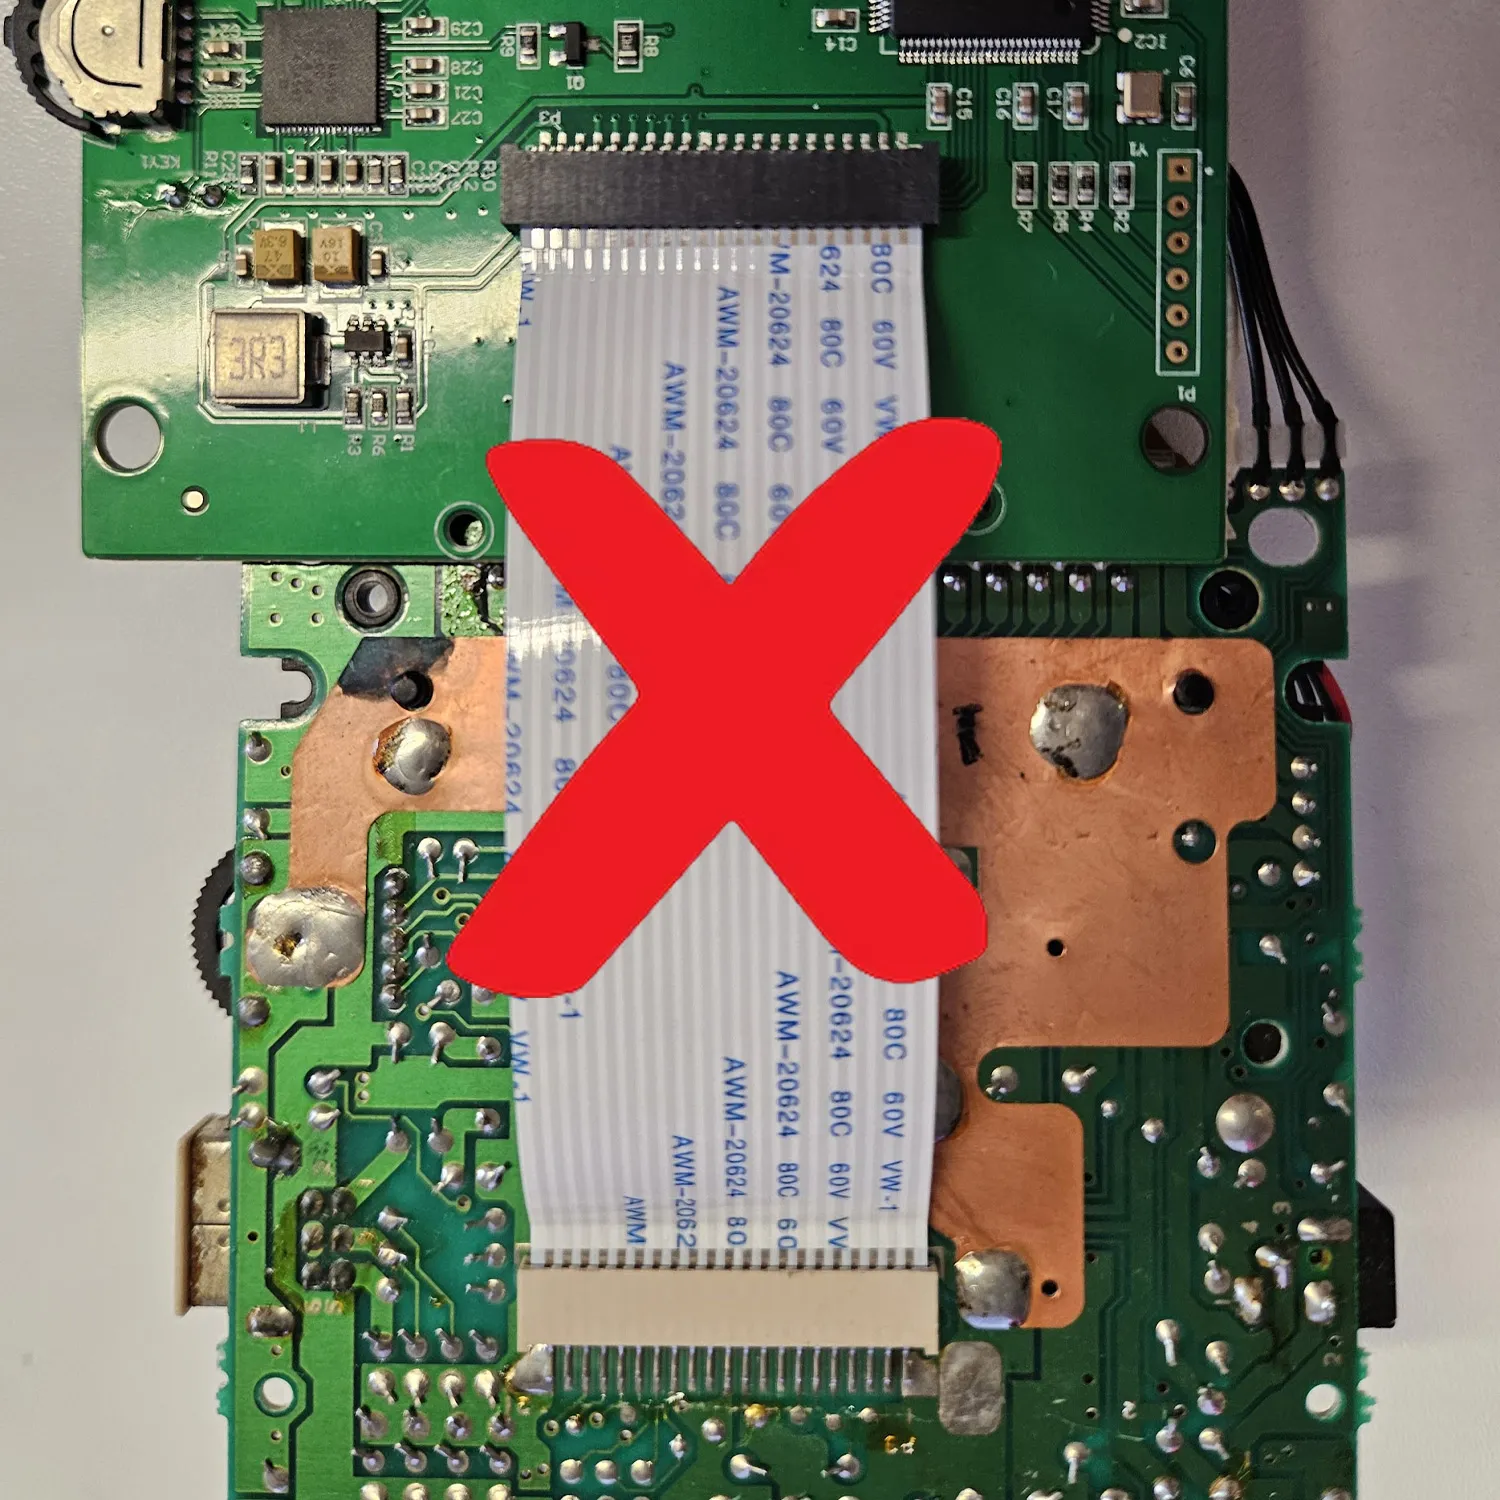
WRONG
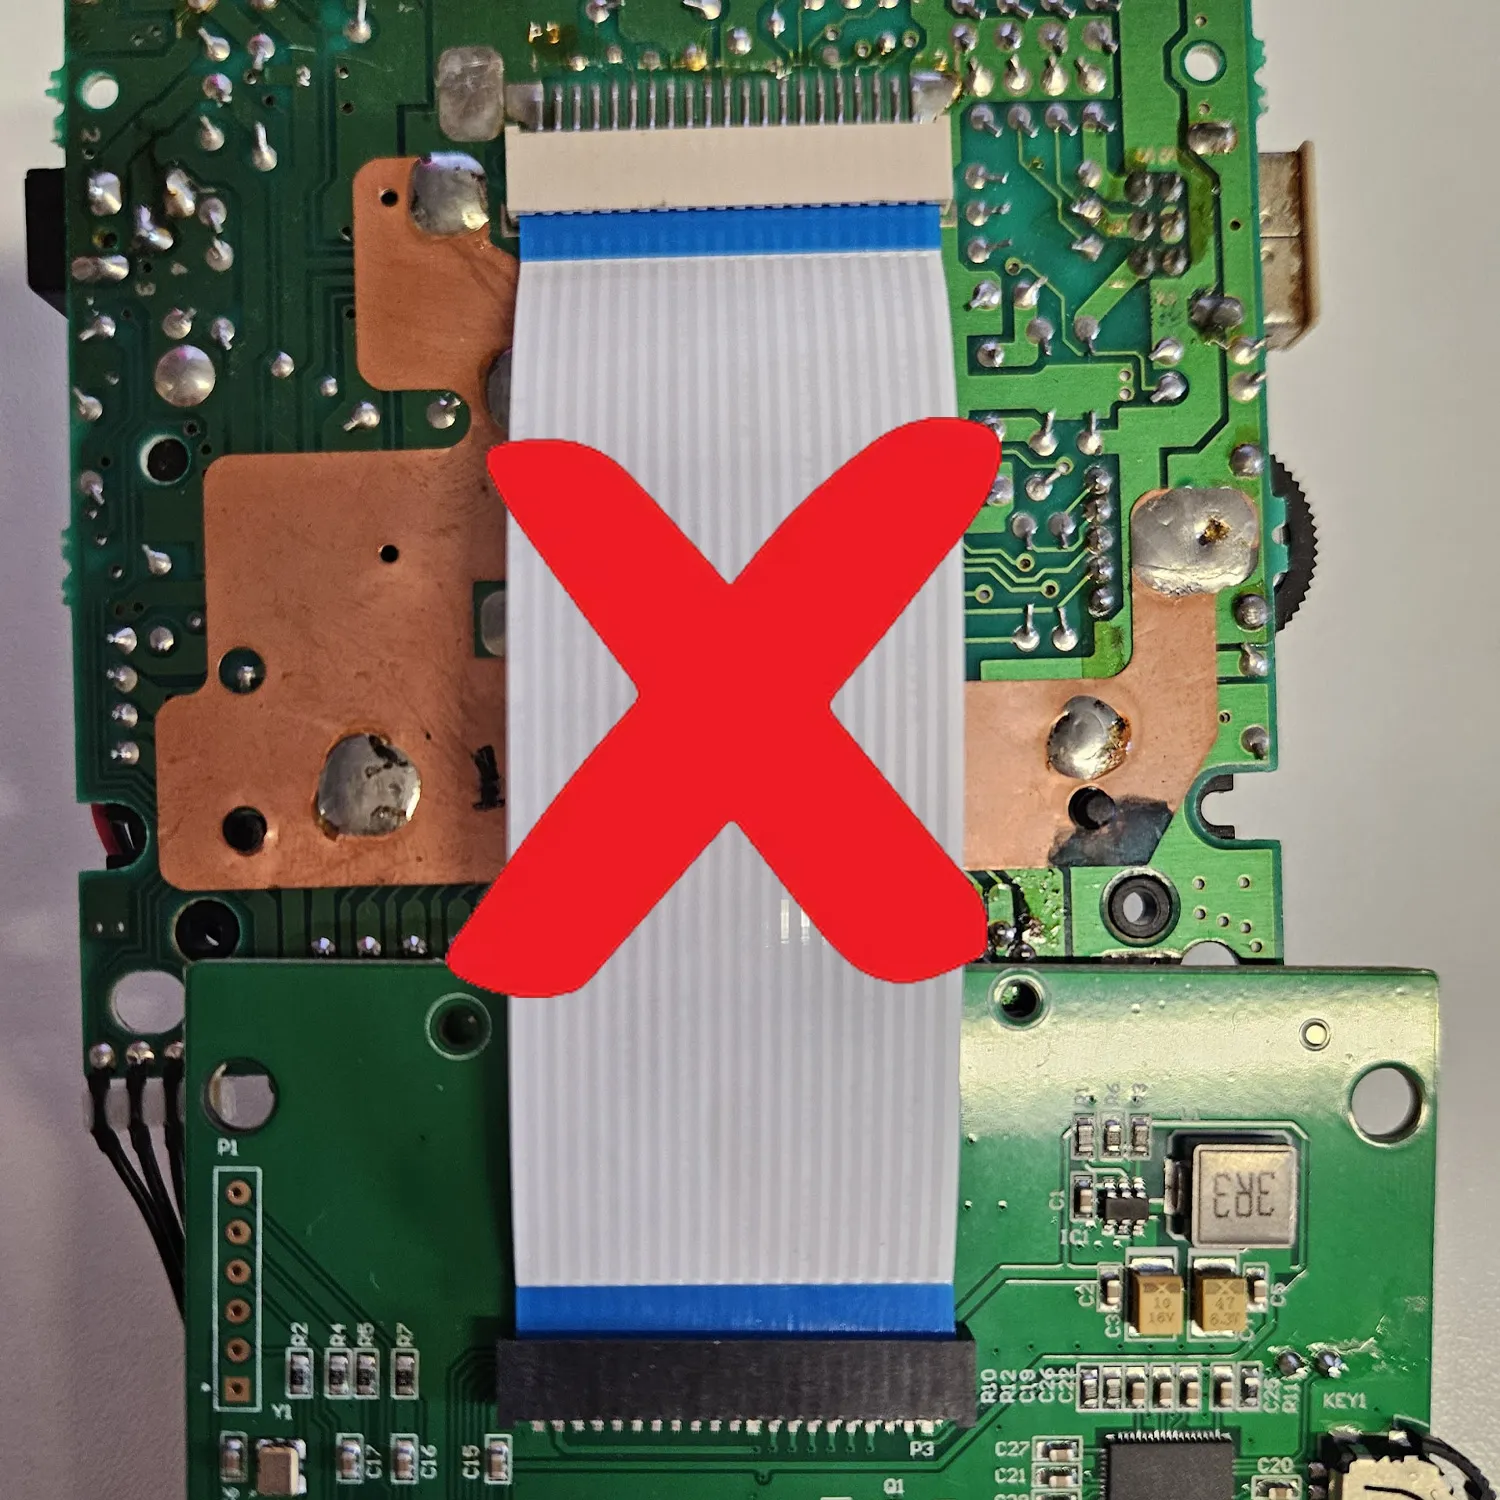
WRONG
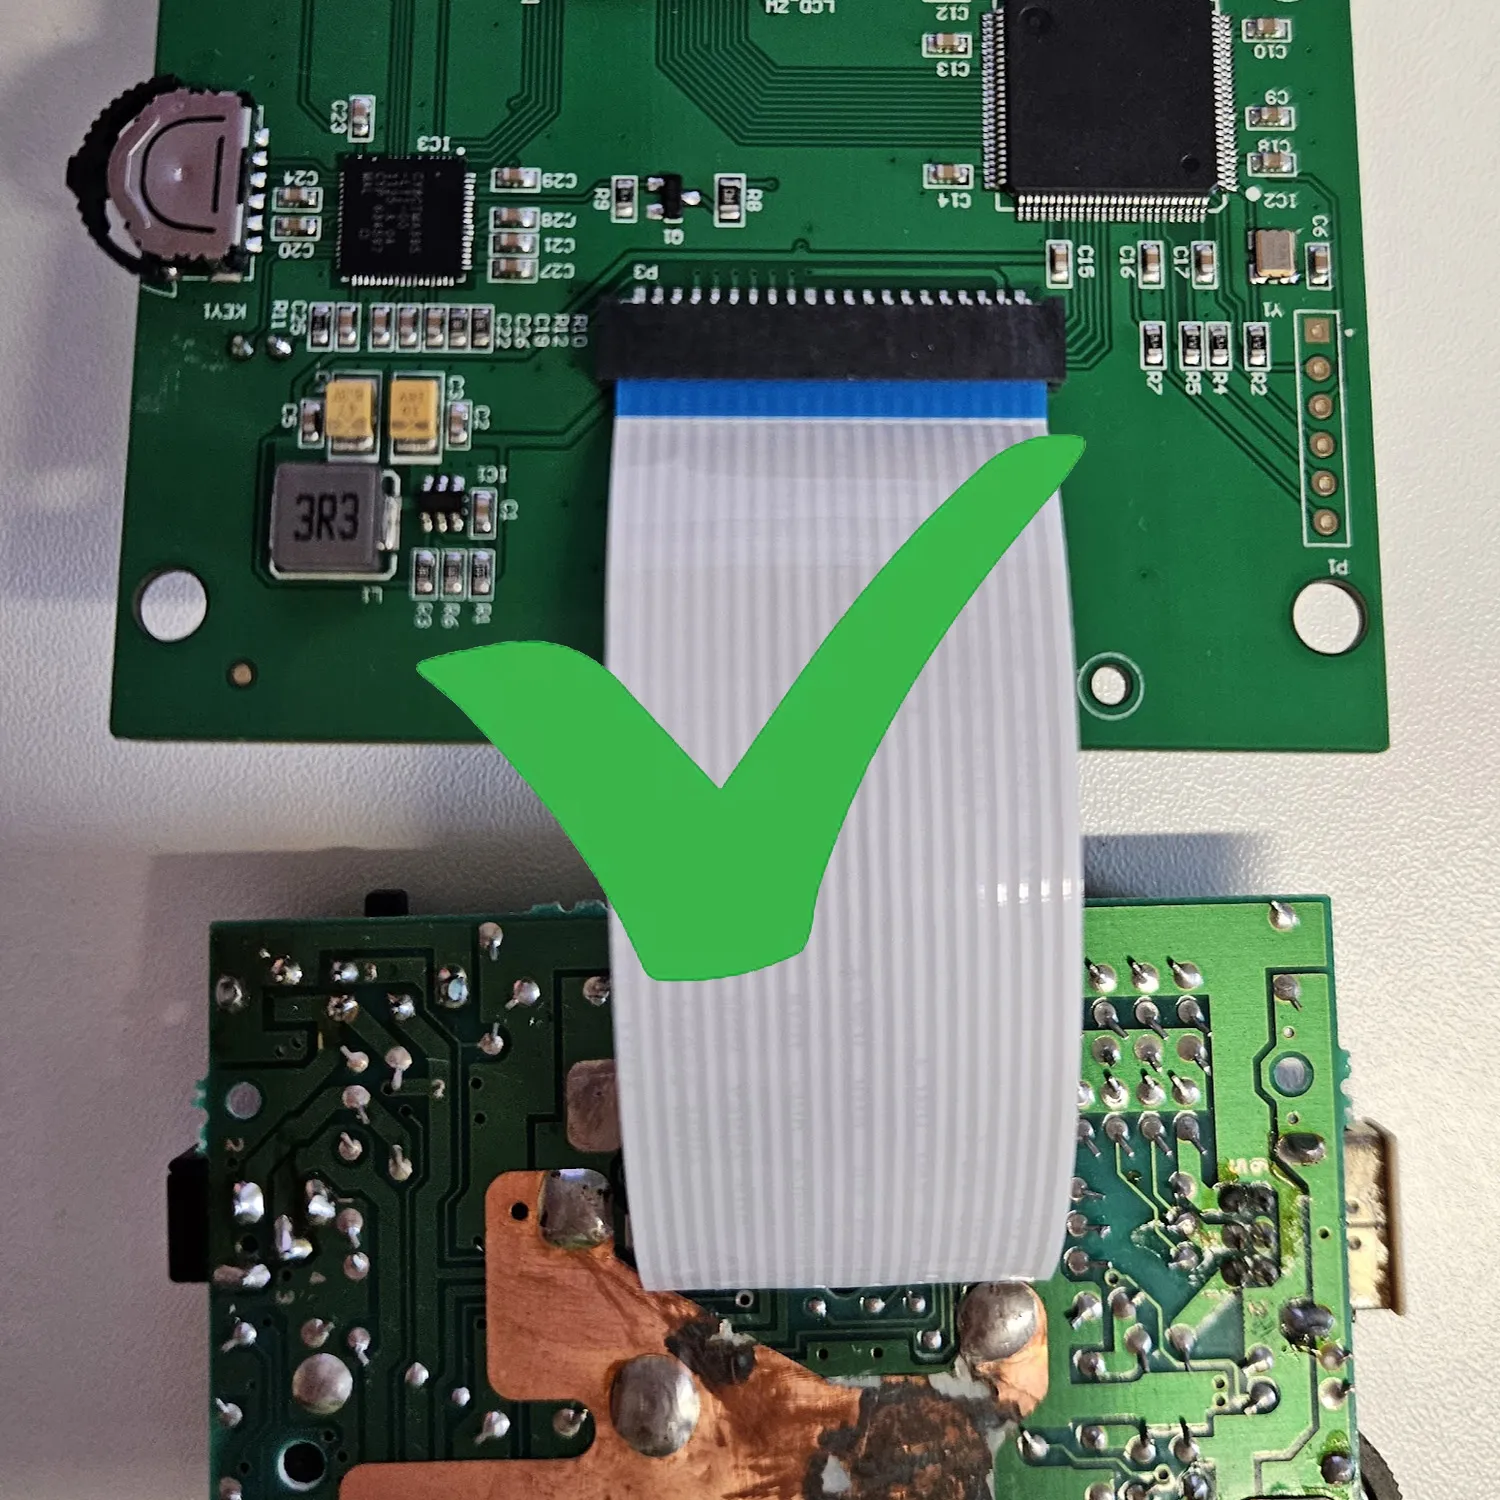
CORRECT
Preparation
Section titled “Preparation”The kit includes the following components
To open the shell, you’ll need
You can find suitable tool kits here
Installation
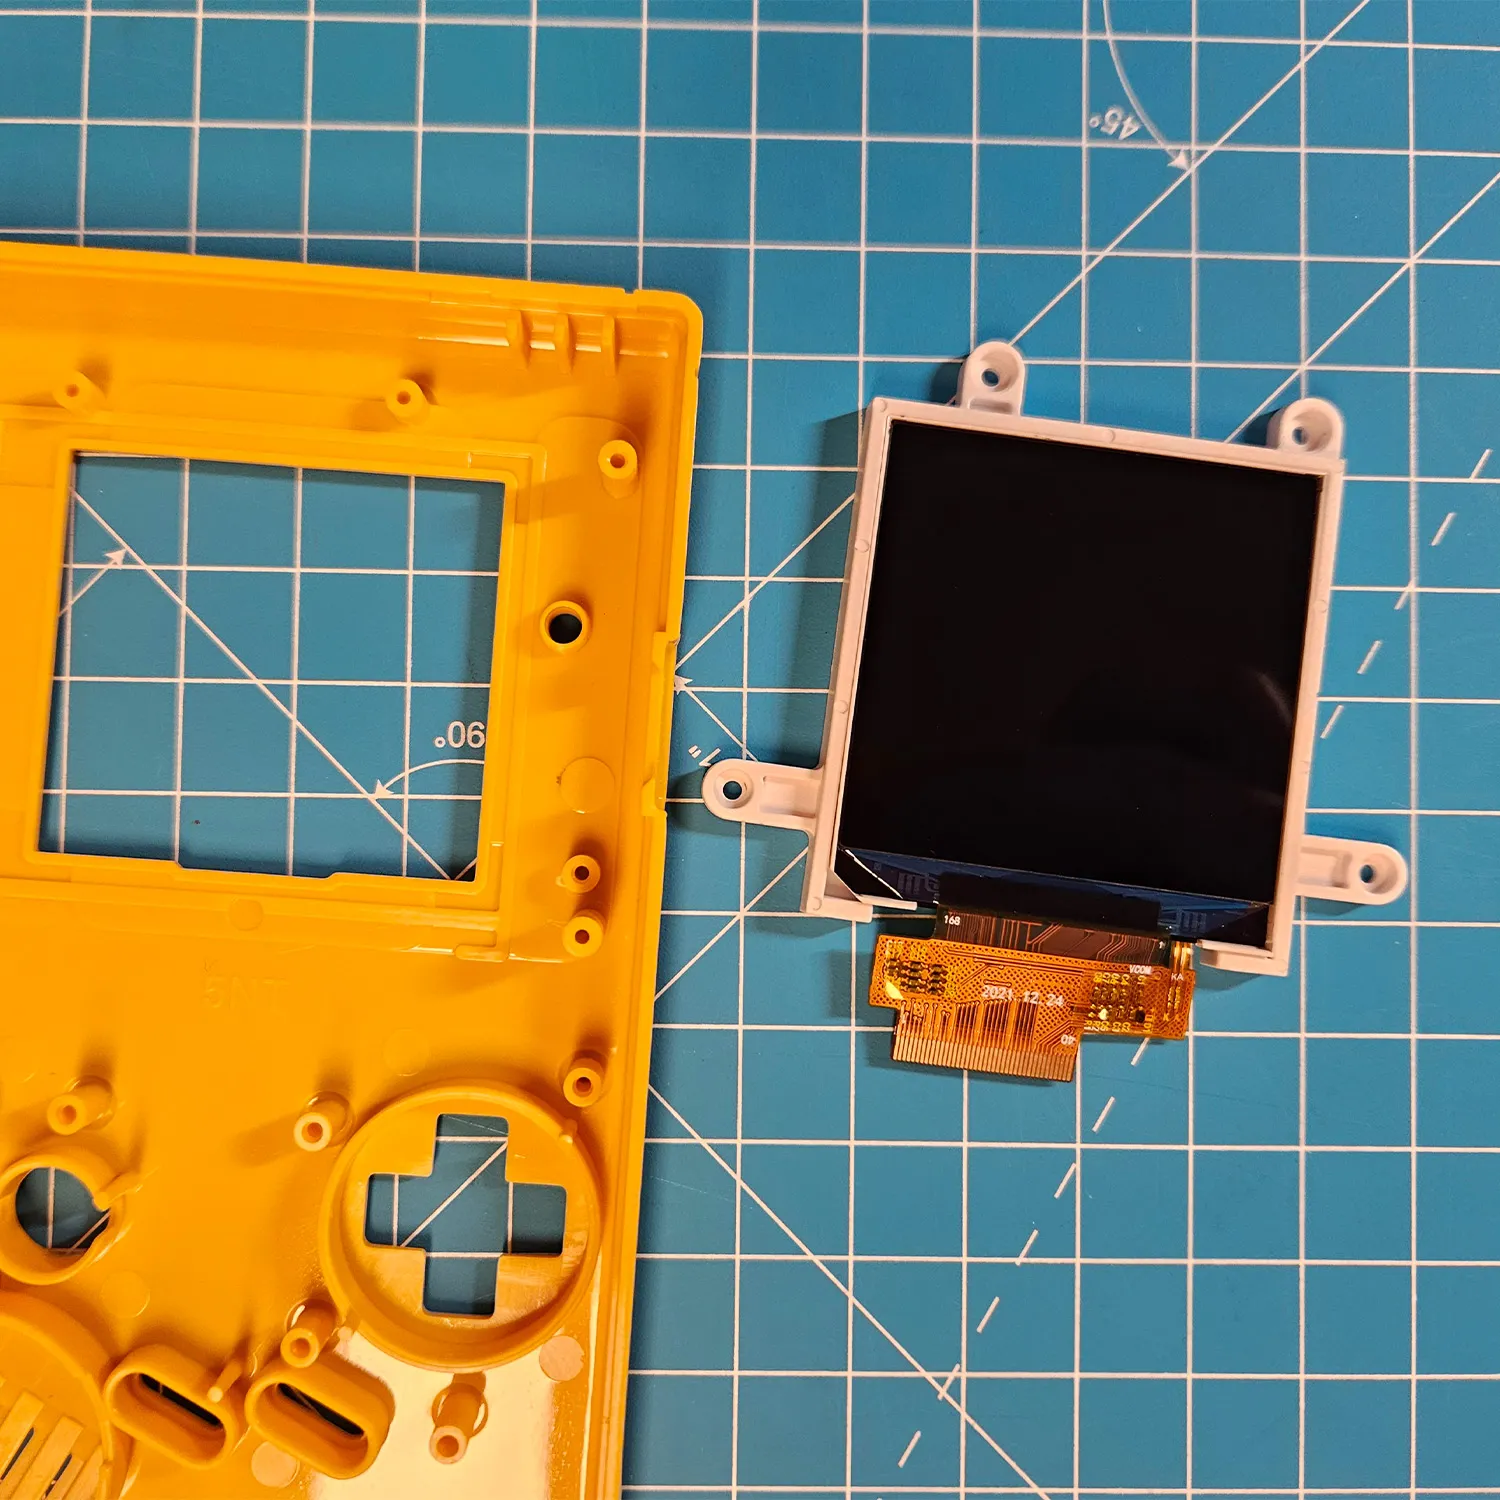
Section titled “Installation”After peeling off the protective film, place the LCD together with its bracket as shown in the picture
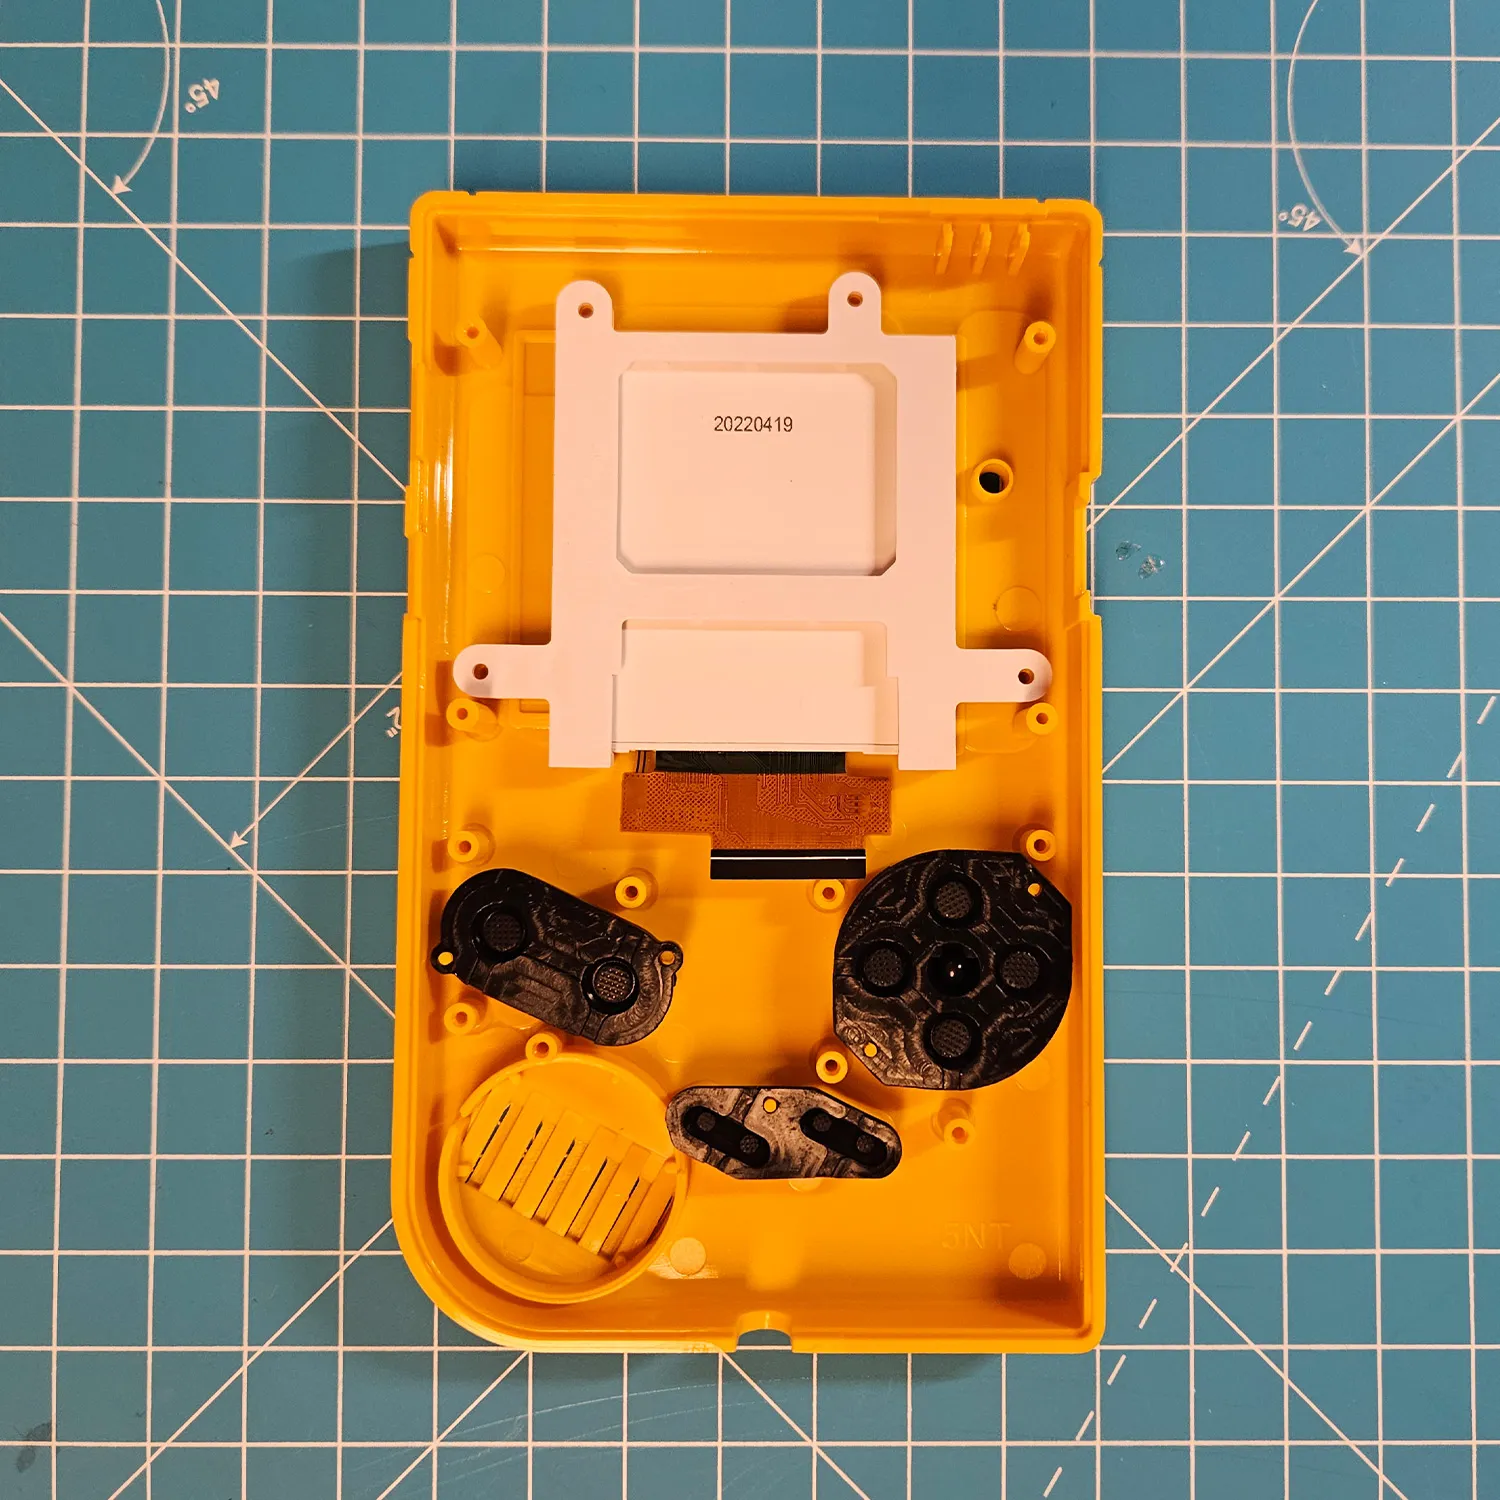
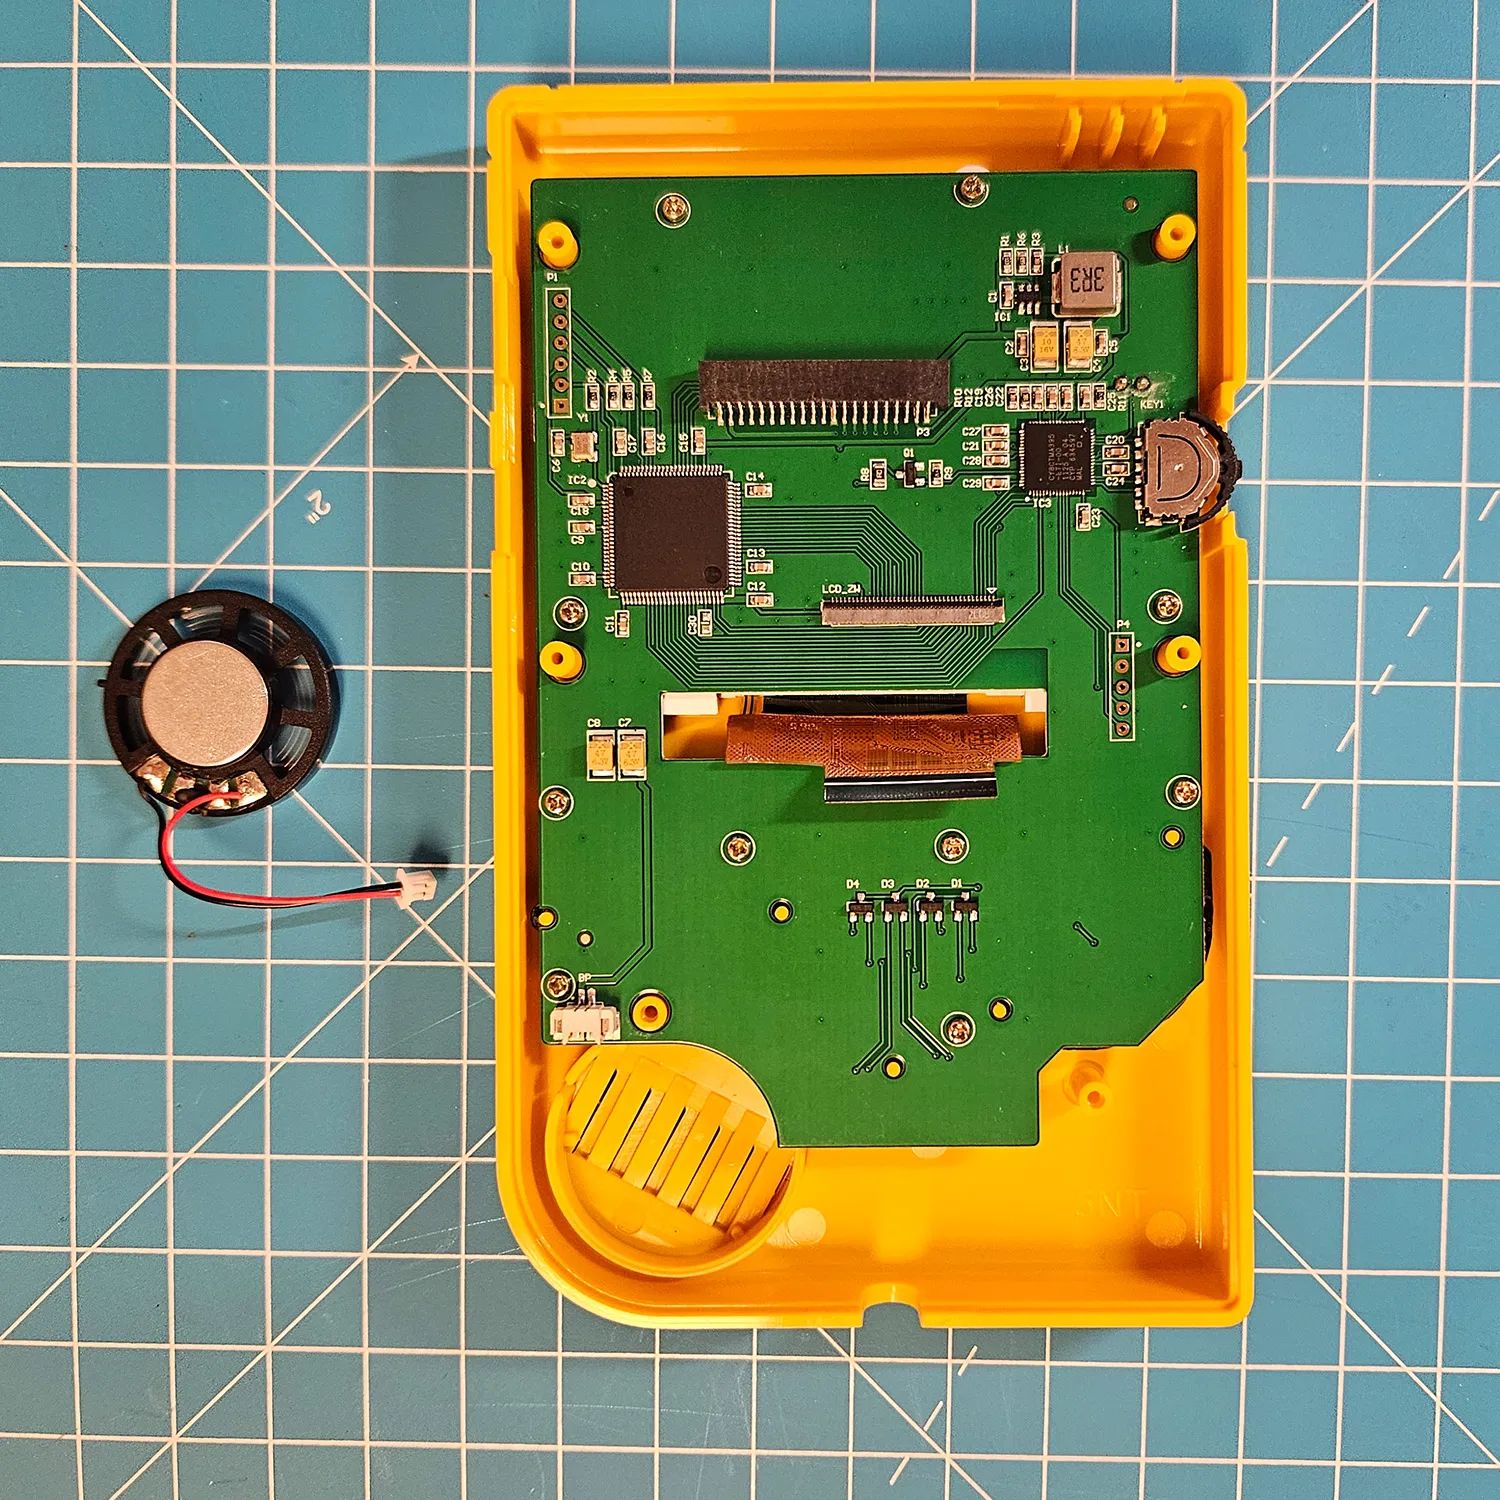
Now insert the DMG main board and secure it with the two screws. After inserting the buttons and pads, place the button board of the TFT kit and connect it to the LCD. The LCD’s ribbon cable won’t sit 100% straight in the connector; that’s fine and doesn’t affect how it works.
The speaker simply plugs in, no soldering needed.
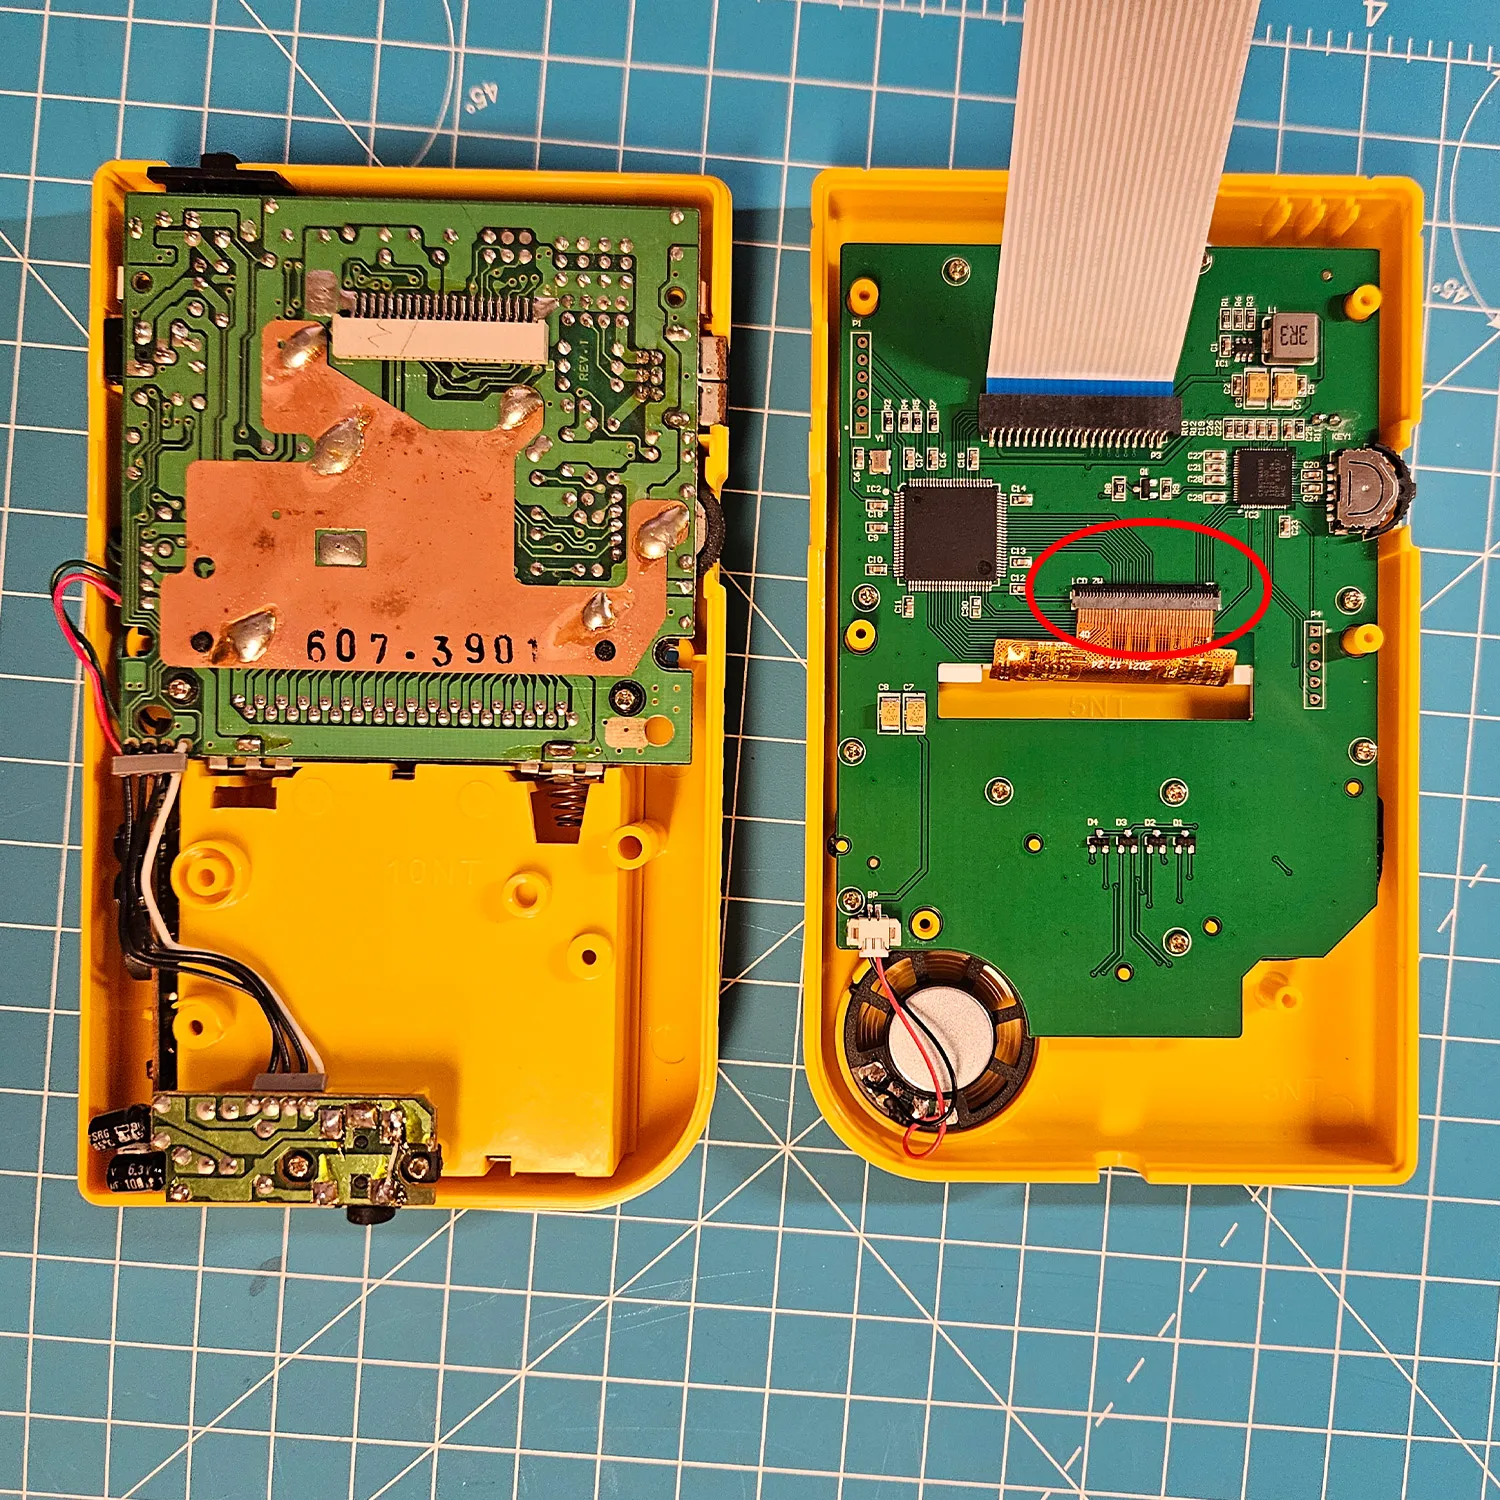
Now connect the other end of the ribbon cable to the DMG main board and put the two shell halves together.
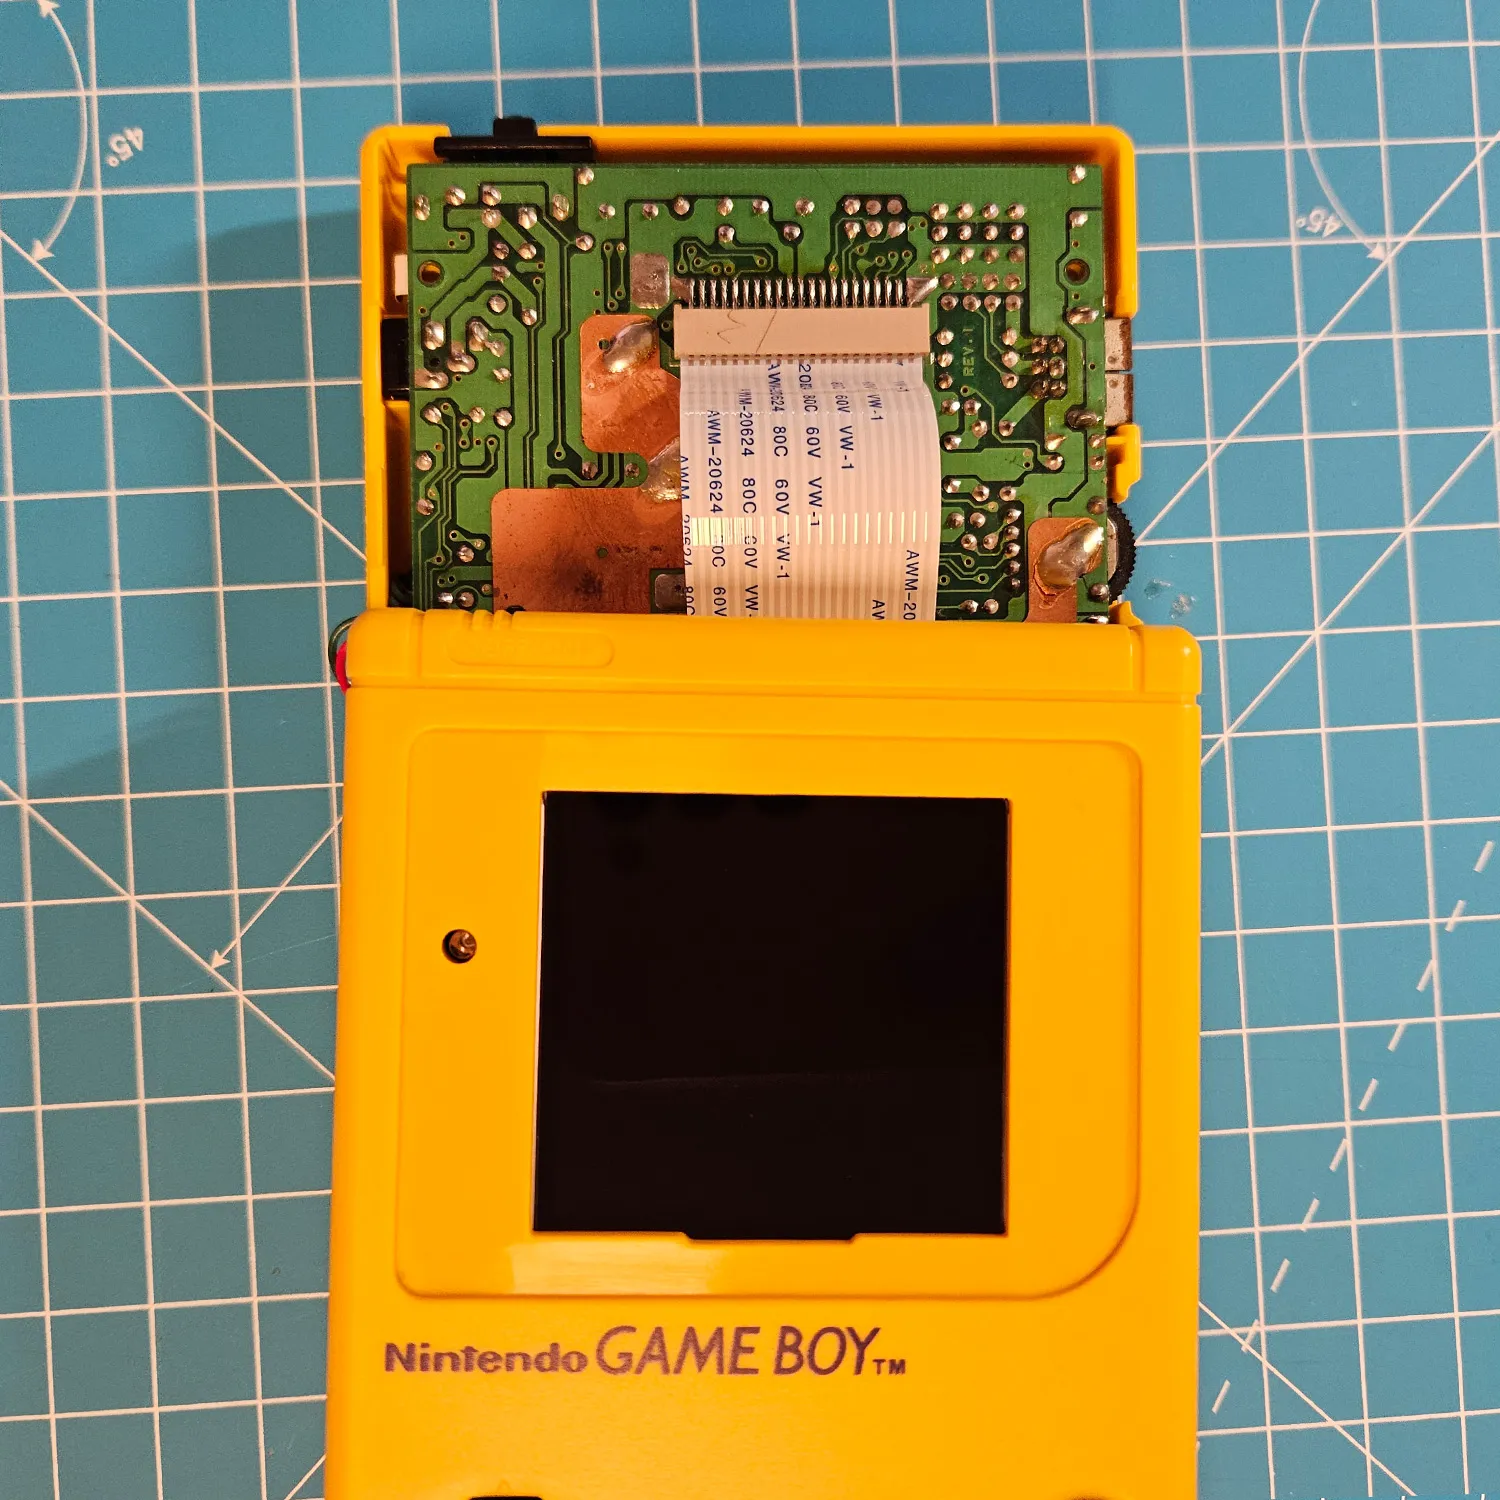
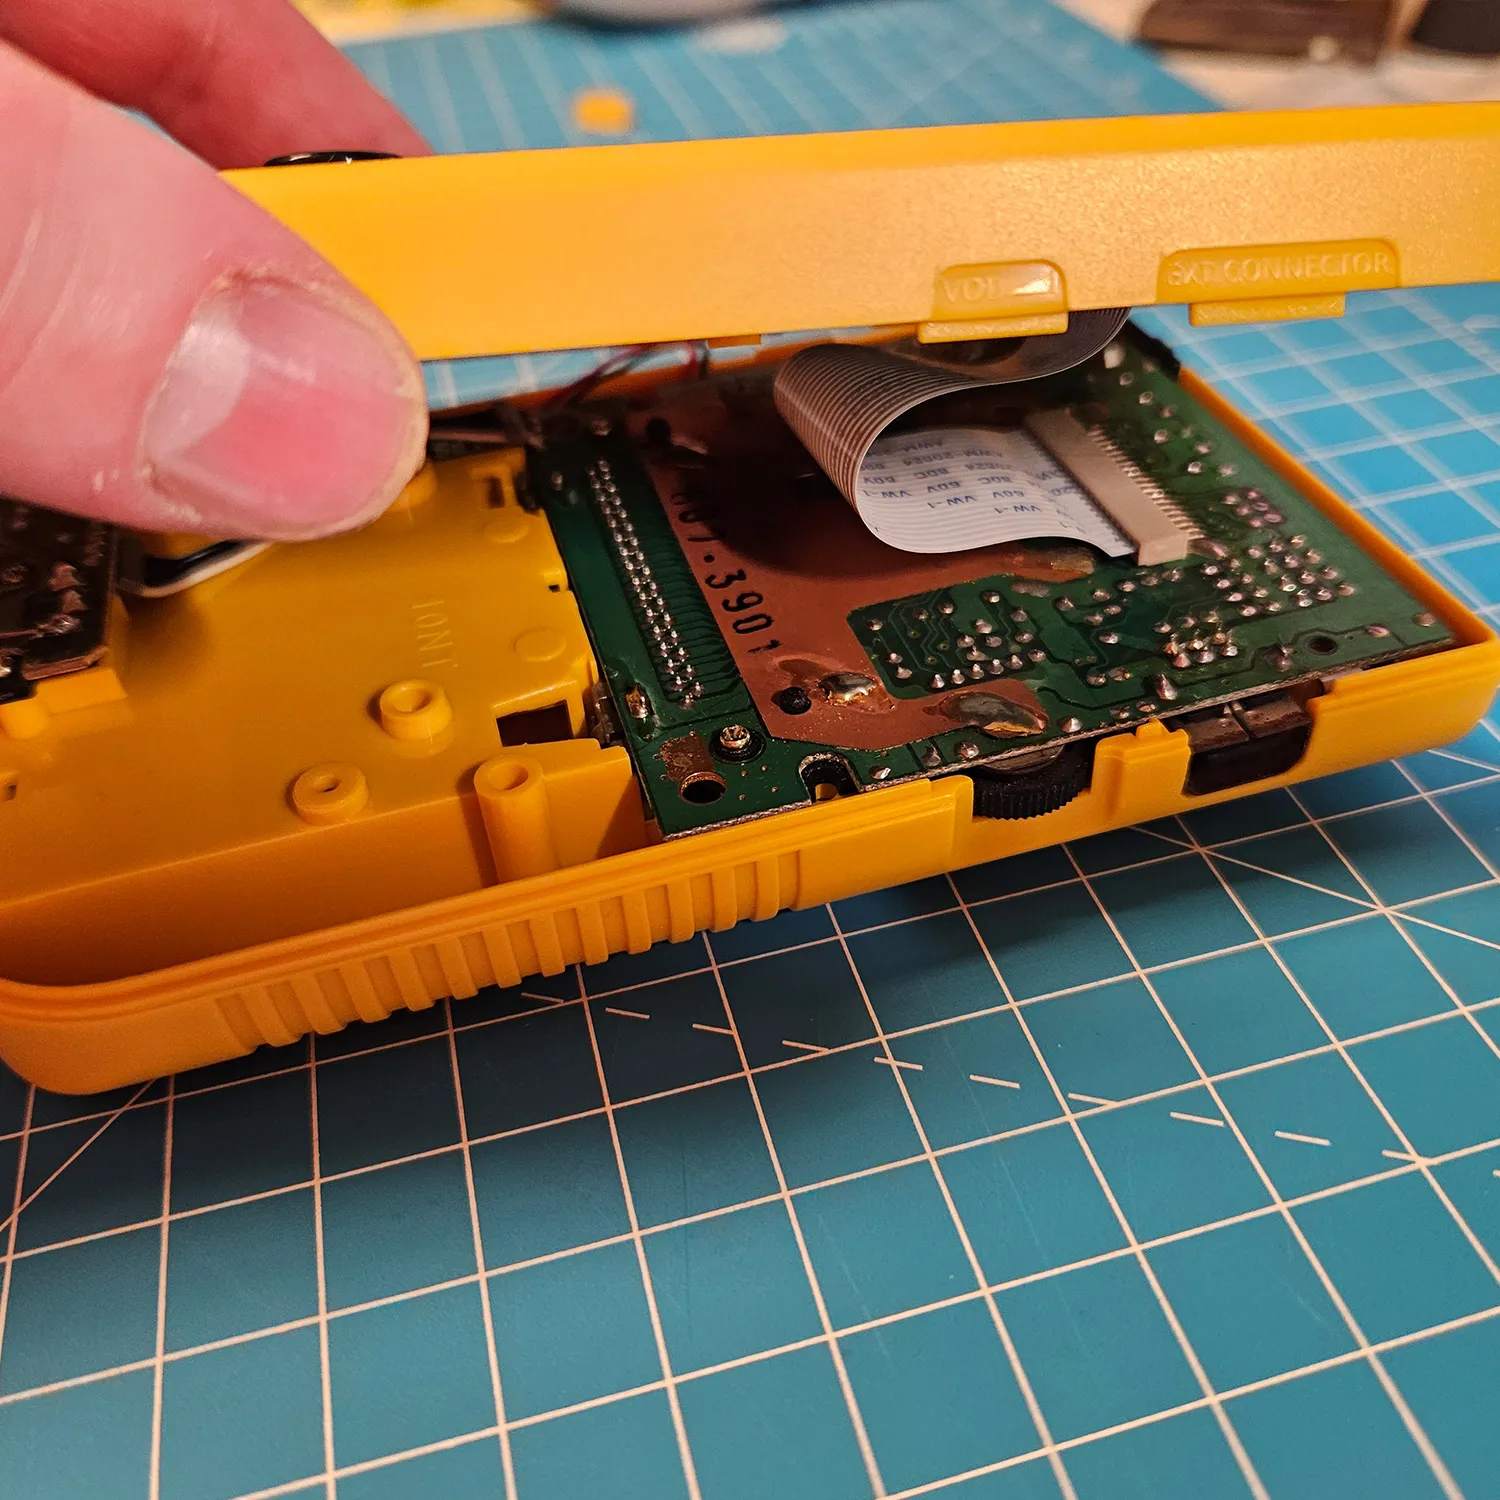
After a quick function test, screw the Game Boy Classic shell together and fit the screen lens. To remove dust between the display and the lens, it’s best to use an air blower
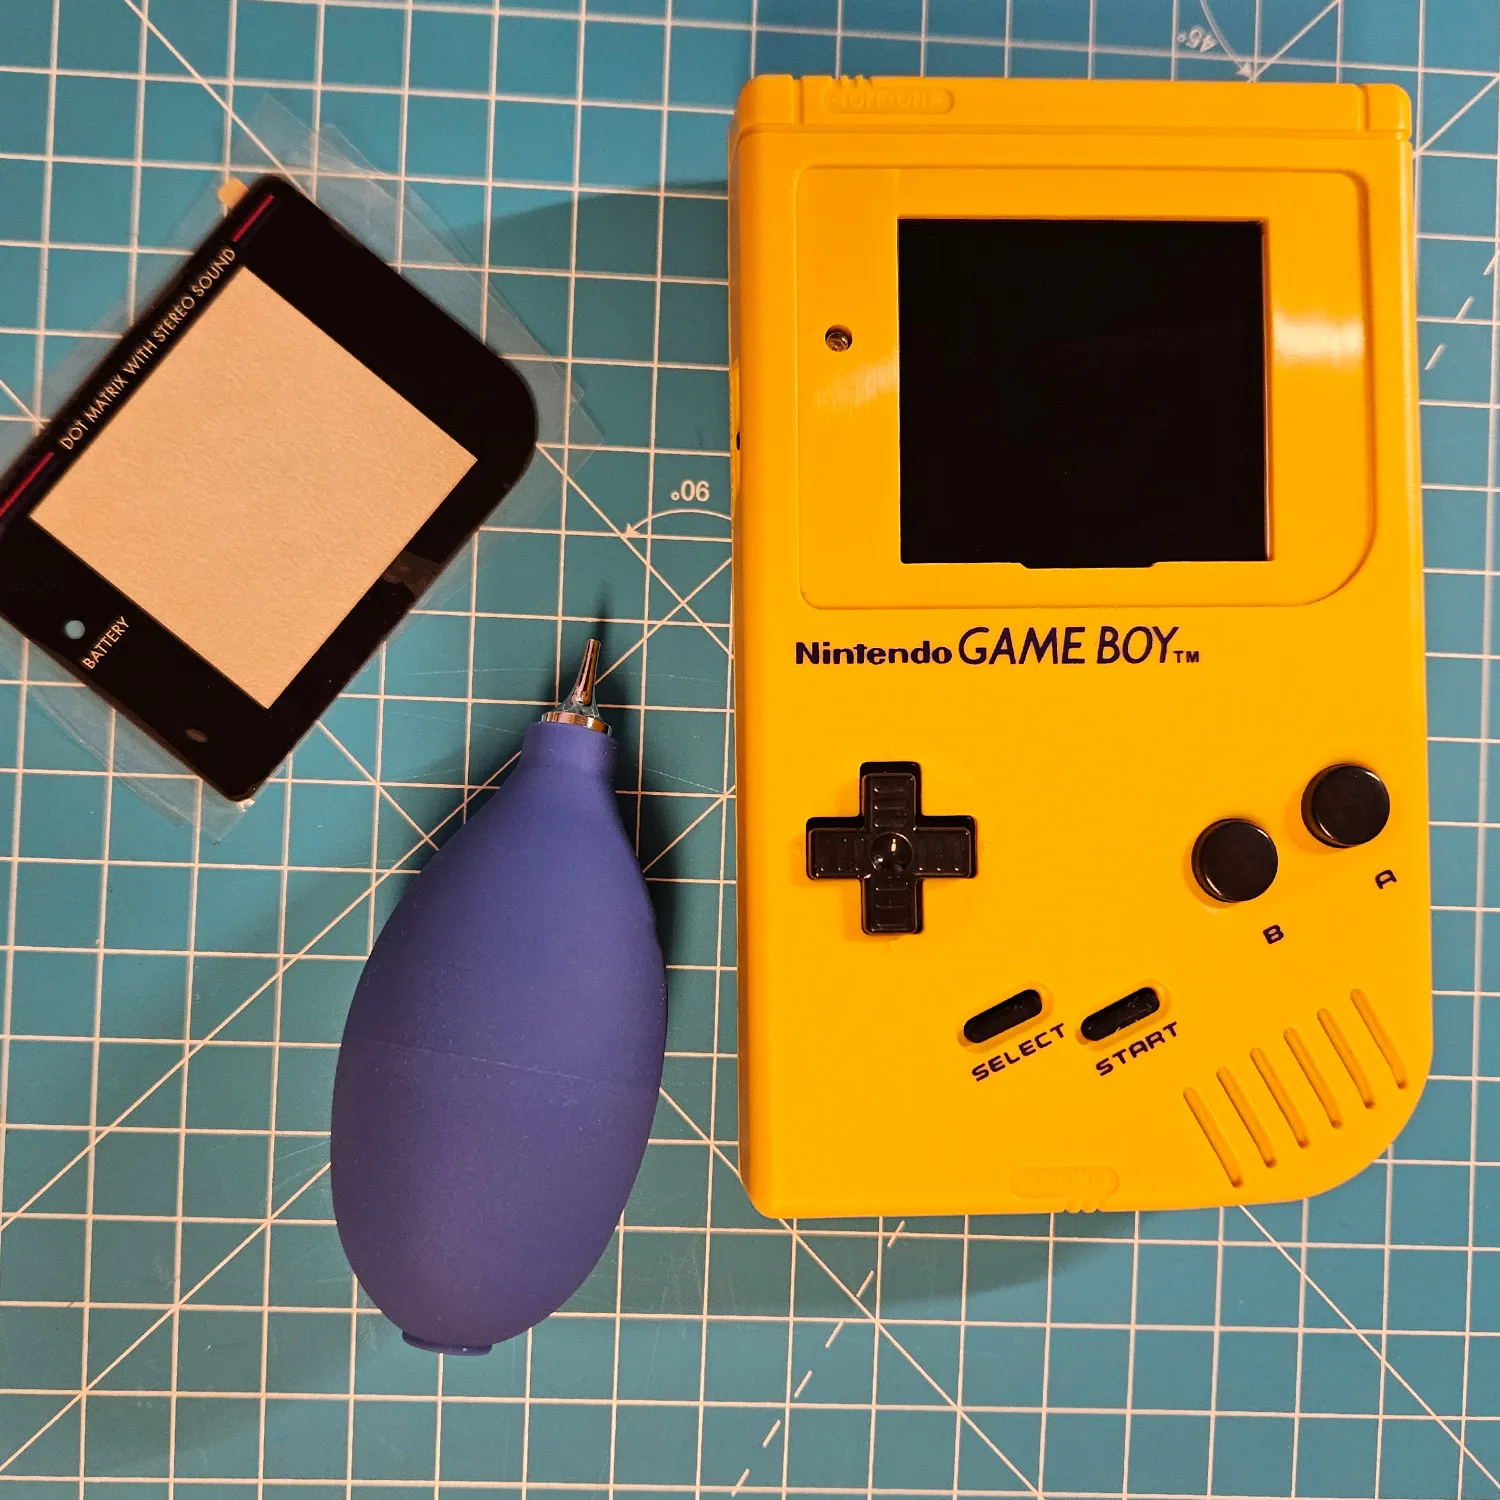
Your Game Boy DMG is now ready to go!