[GBA] Shell Disassembly
Getting started
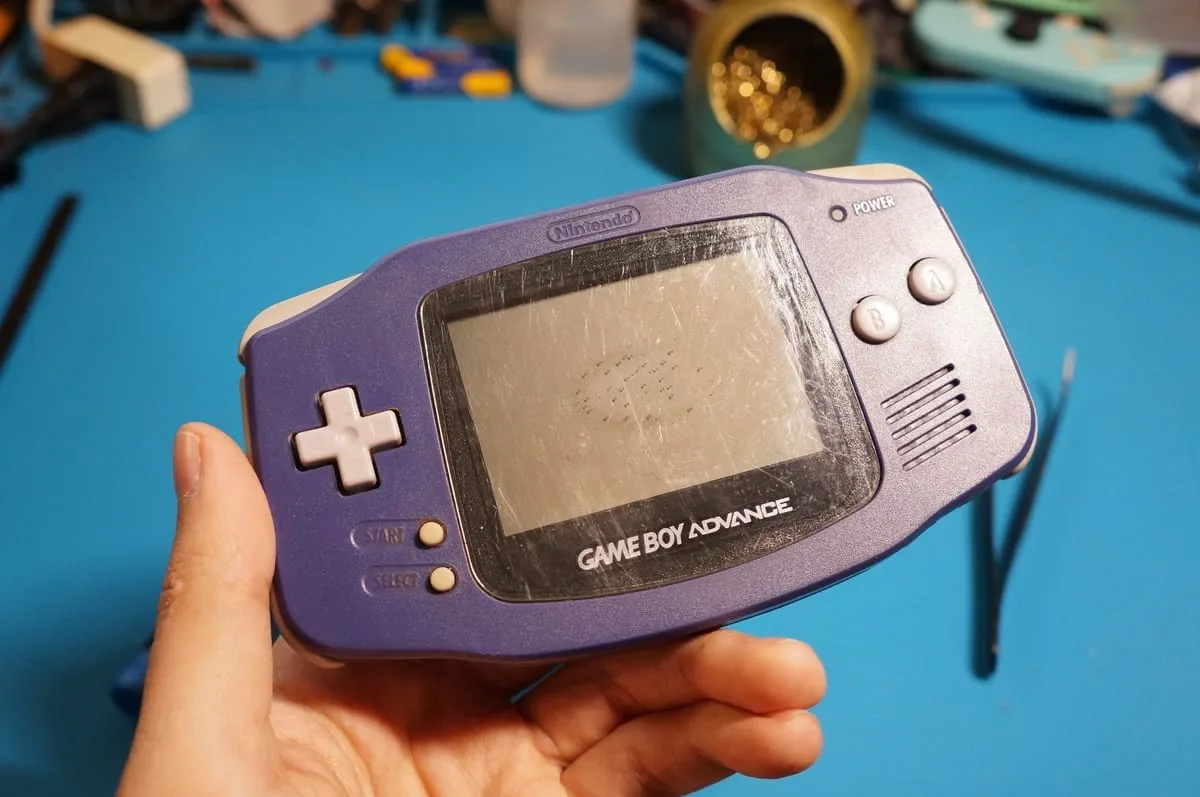
Section titled “Getting started”In this guide we’ll show you how to disassemble your AGB model Game Boy Advance.
Required tools
Section titled “Required tools”- J1 (Japanese Industrial Standard) screwdriver
- Y1 tri-point screwdriver
Recommended tools
Section titled “Recommended tools”- Plastic spudger tool
- Tweezers
- J0 screwdriver
Step by step
Section titled “Step by step”Rear shell removal
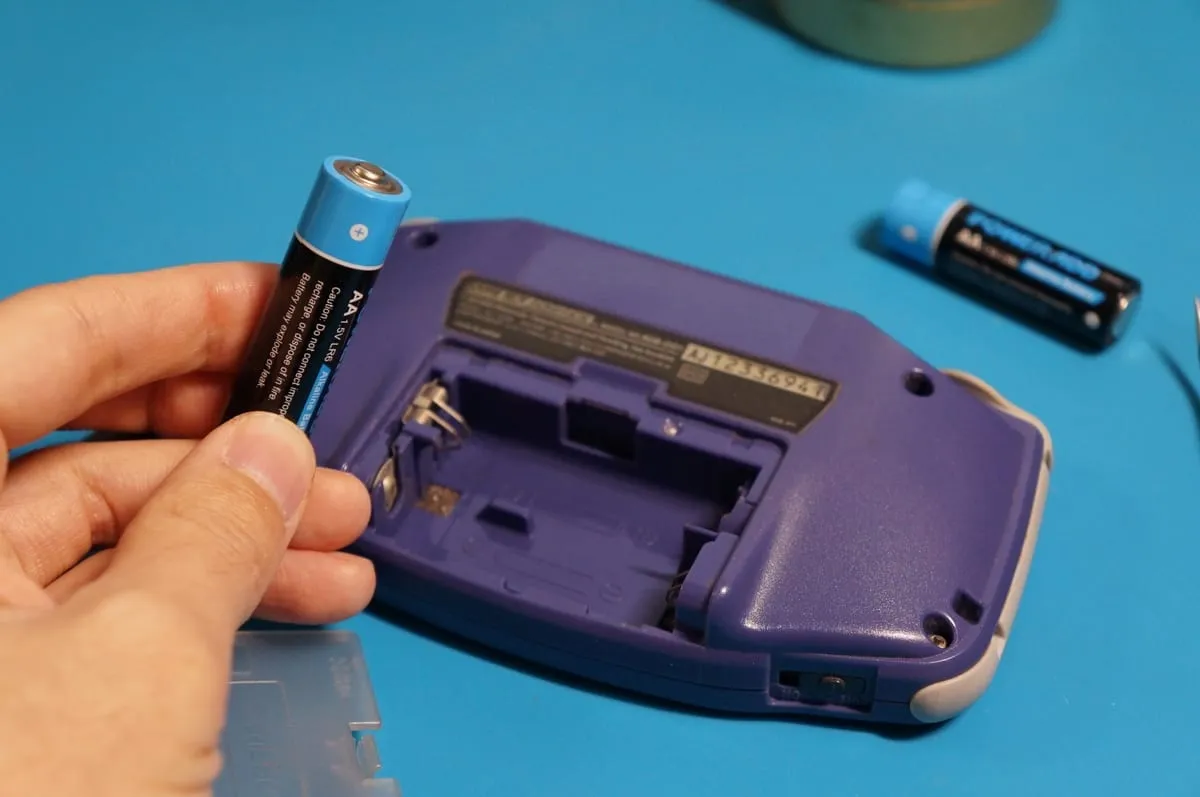
Section titled “Rear shell removal”Turn the Game Boy over so the battery cover is facing up. Remove the battery cover and any batteries.
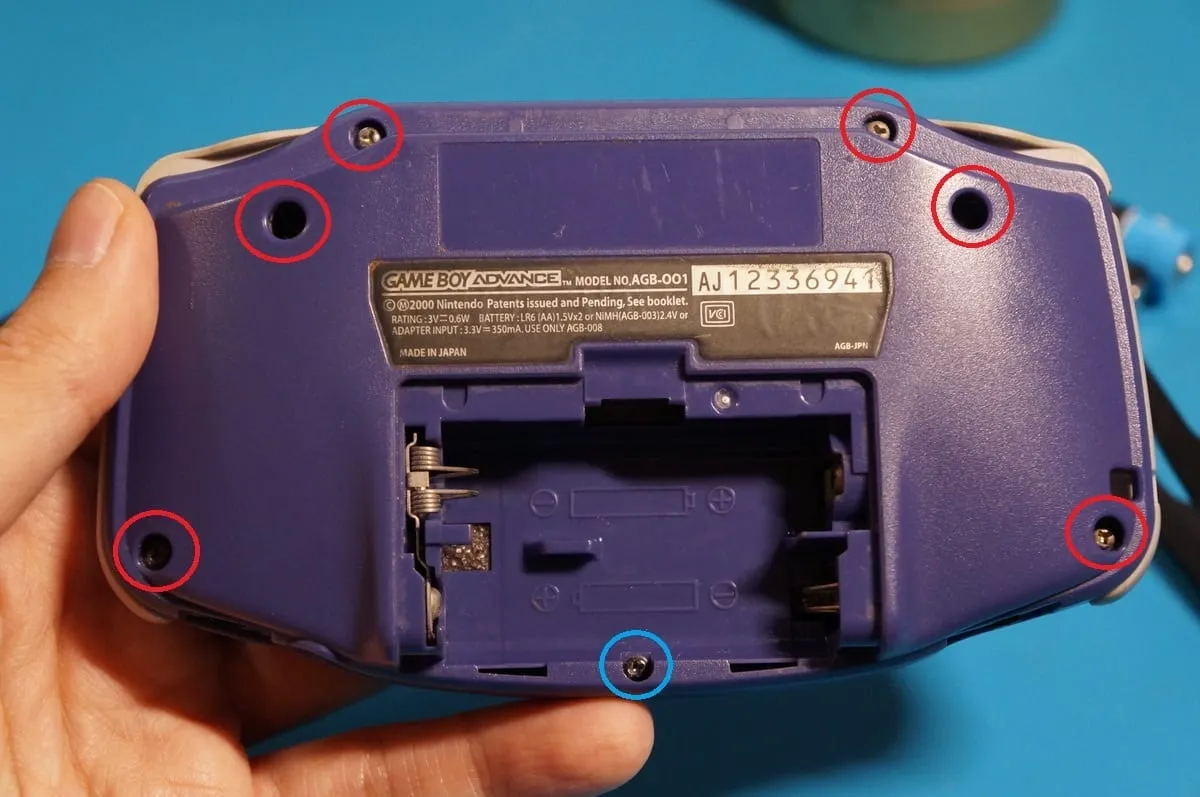
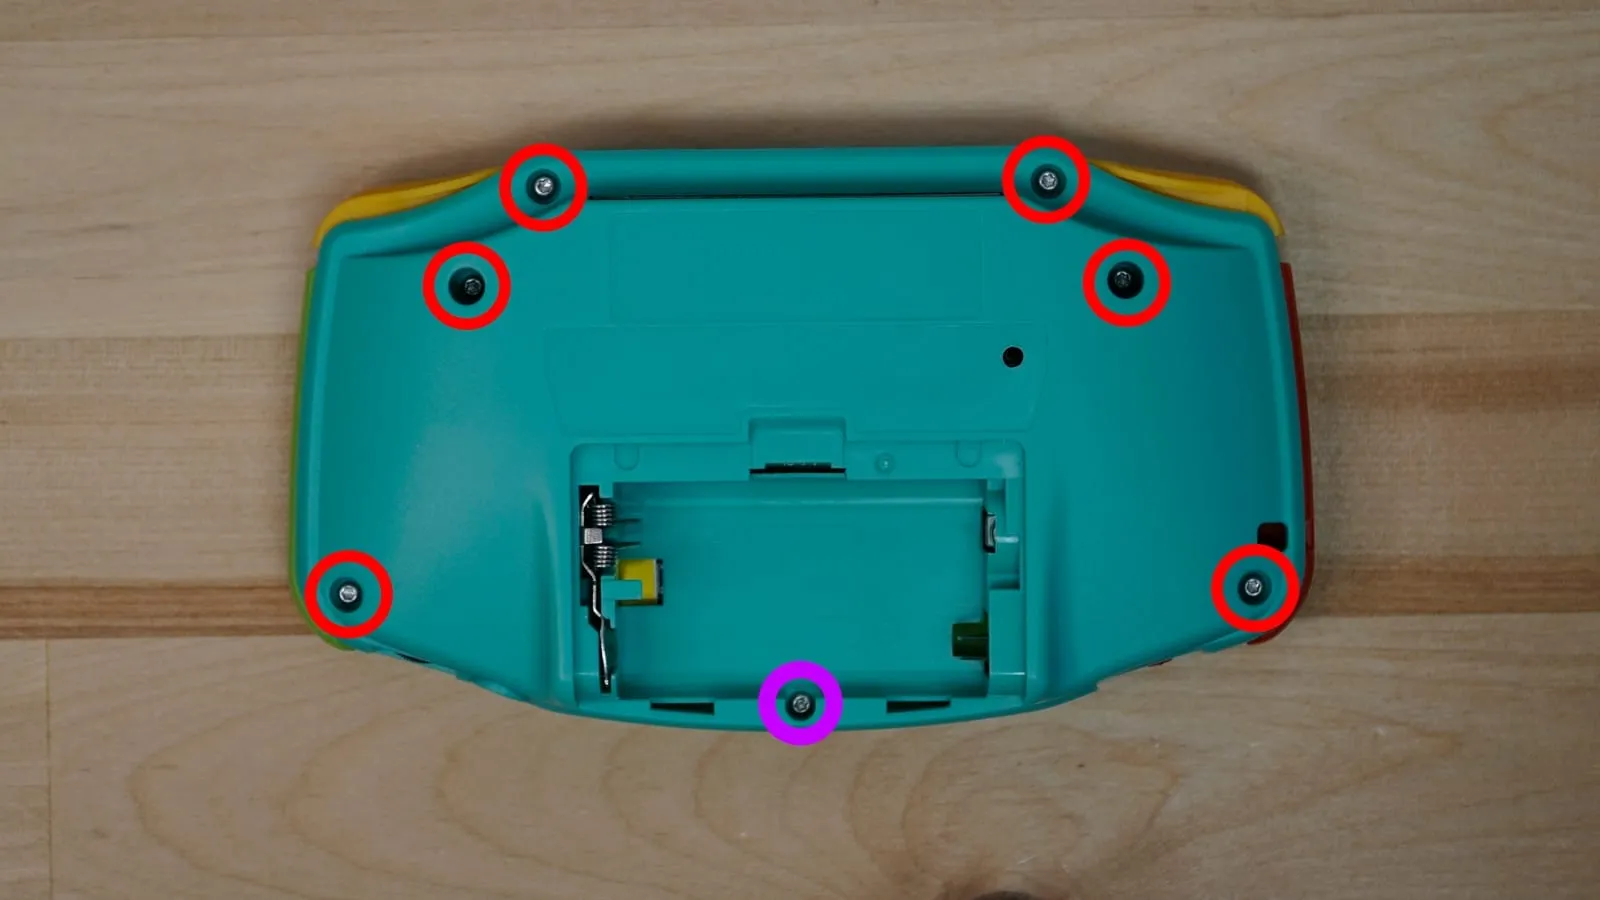
Use your Y1 screwdriver to remove the 6 screws marked in red. Remove the black screw in the battery compartment (marked in blue) using the J1 screwdriver.
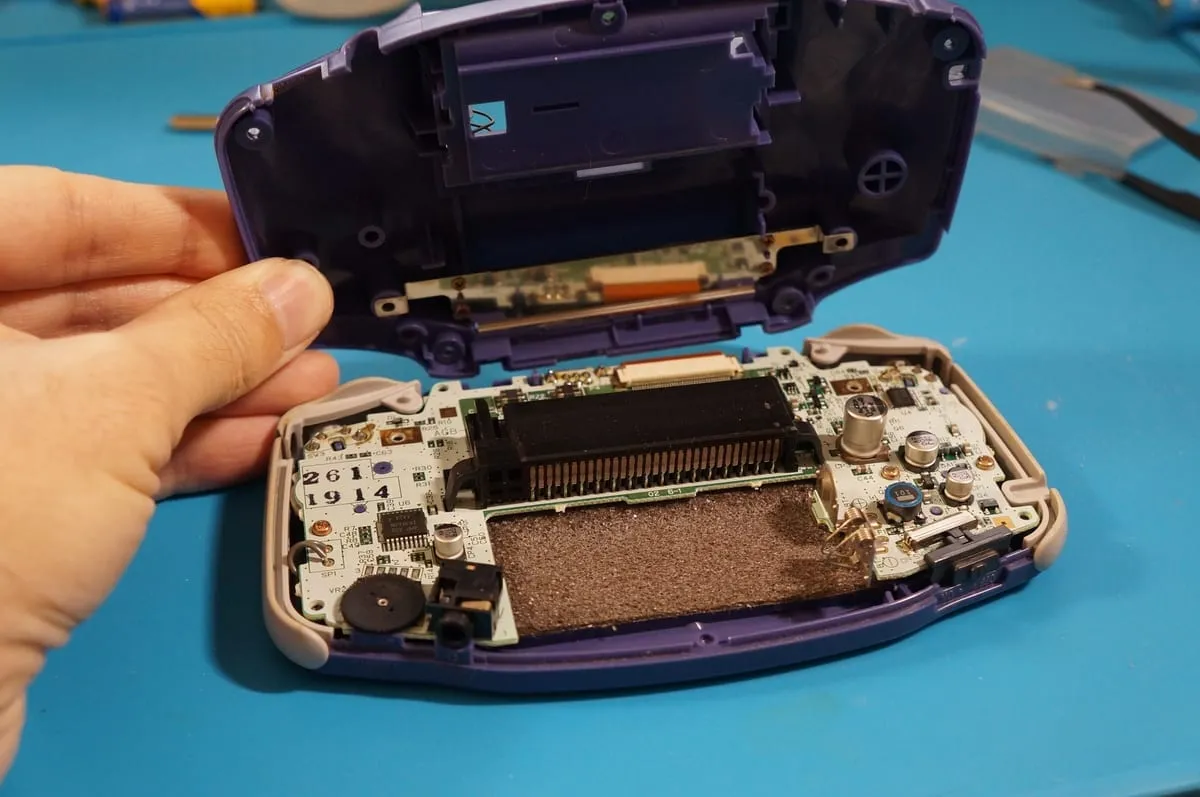
Separate the rear shell from the front half of the console.
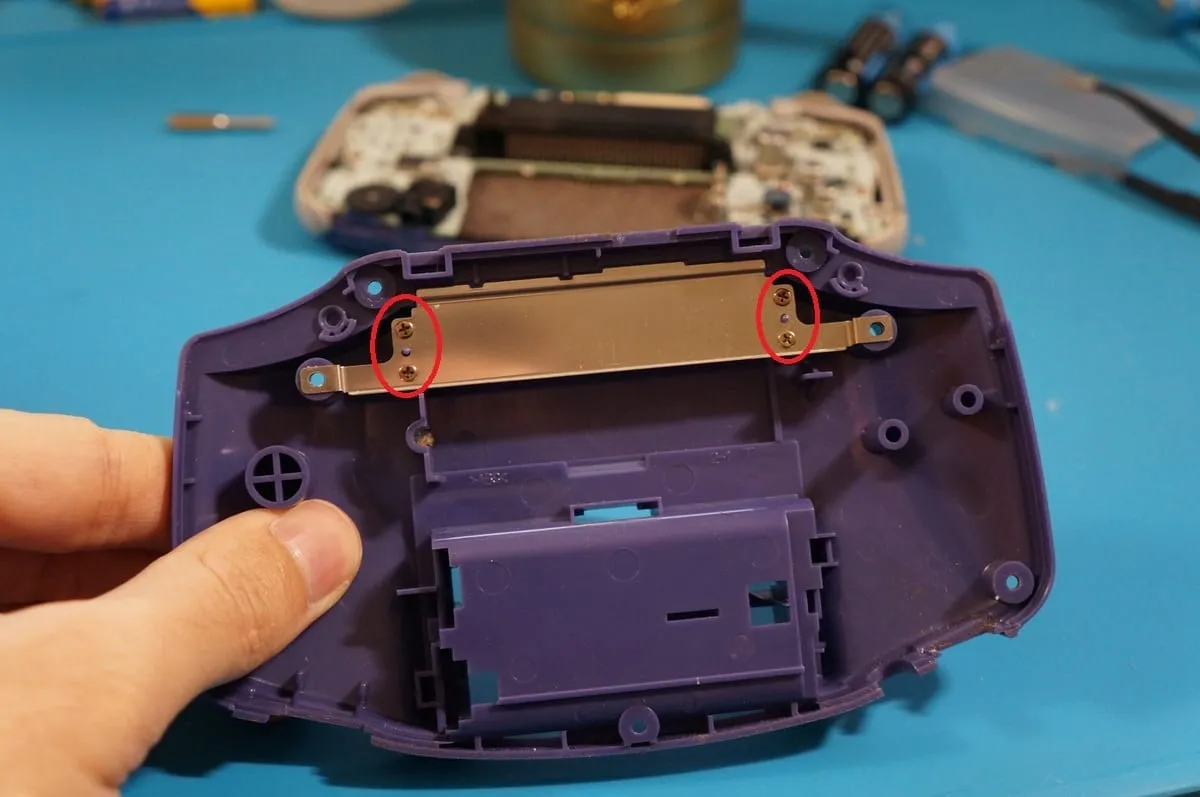
Optional: remove the cartridge shield
Section titled “Optional: remove the cartridge shield”Remove the 4 J0 screws holding the cartridge shield in place. The shield lifts away easily.
Optional: remove the battery tab
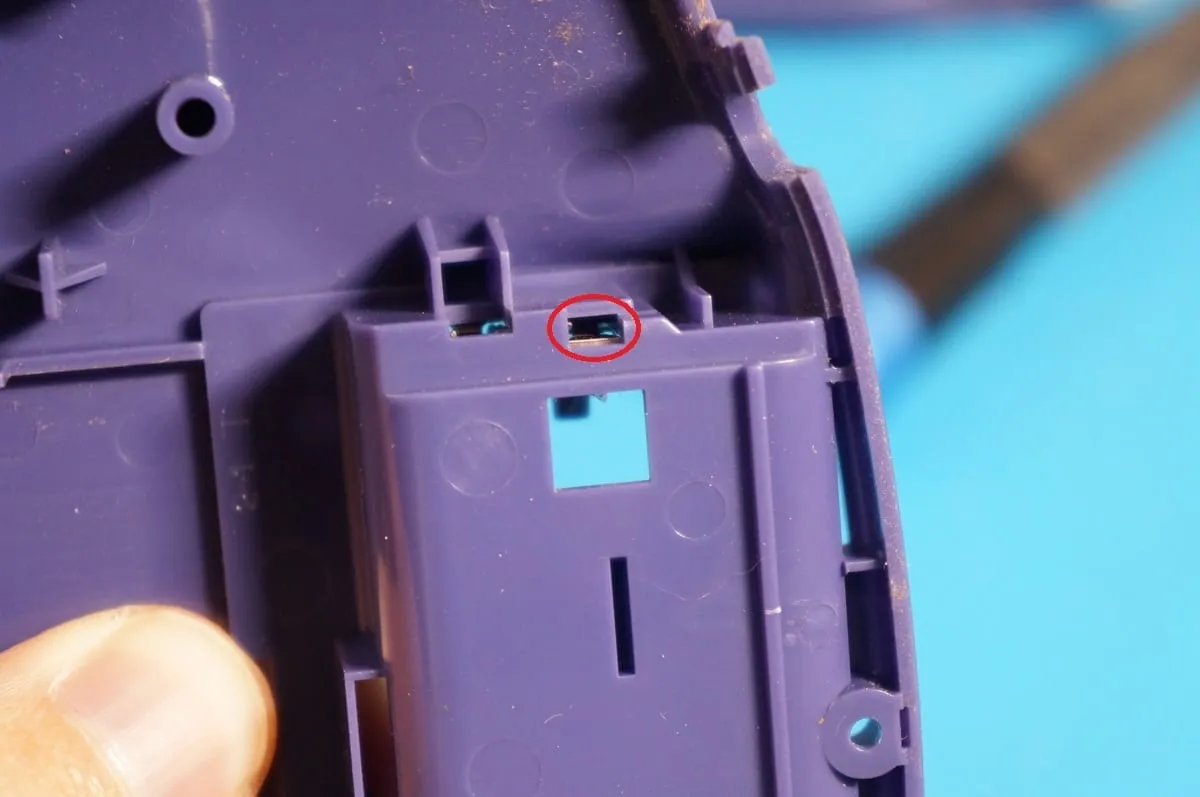
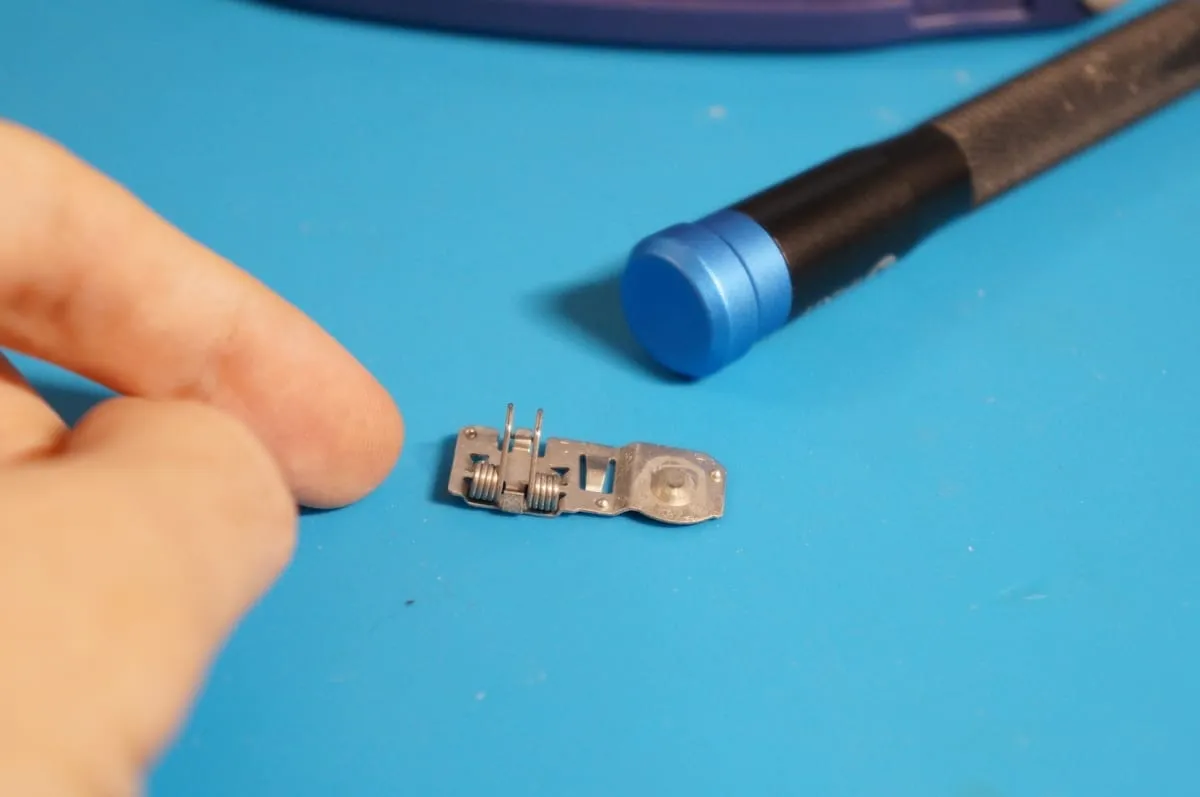
Section titled “Optional: remove the battery tab”Using your tweezers, poke into the gap shown in the picture to release the battery tab. It may fall out or need to be pulled from the inside of the battery compartment.
Unlatch the LCD
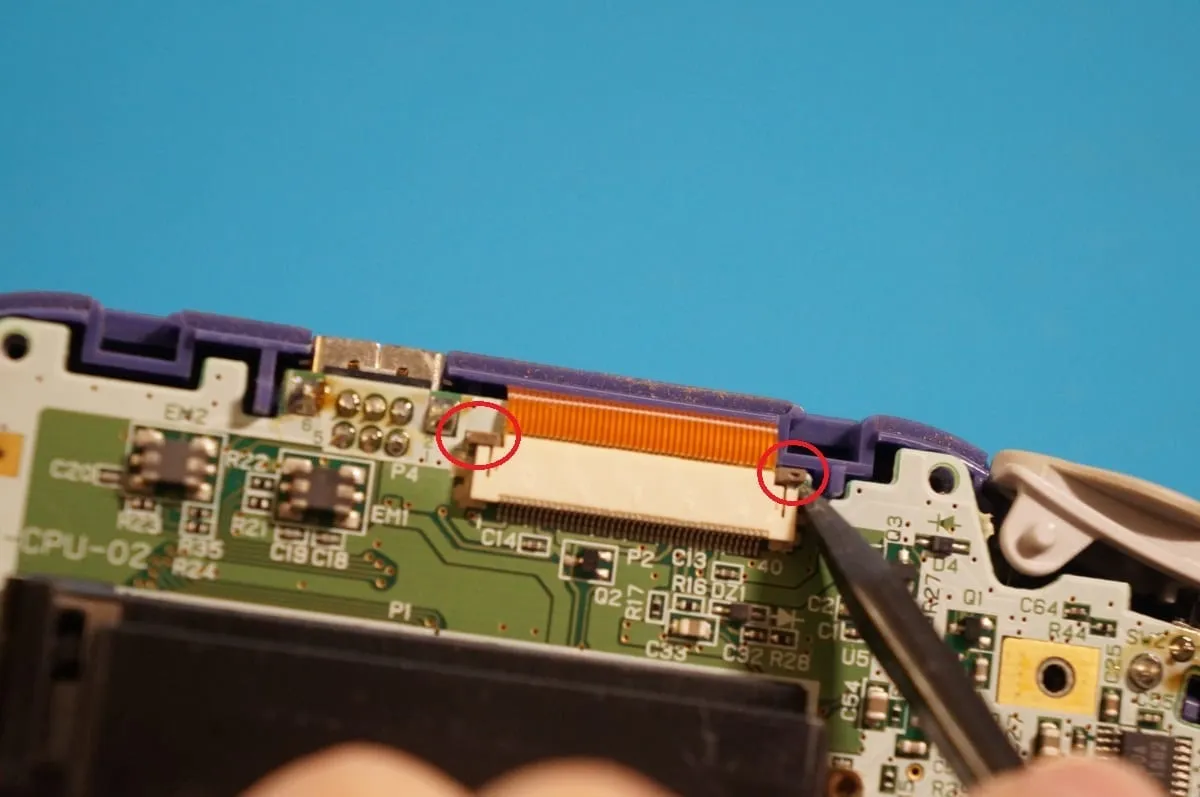
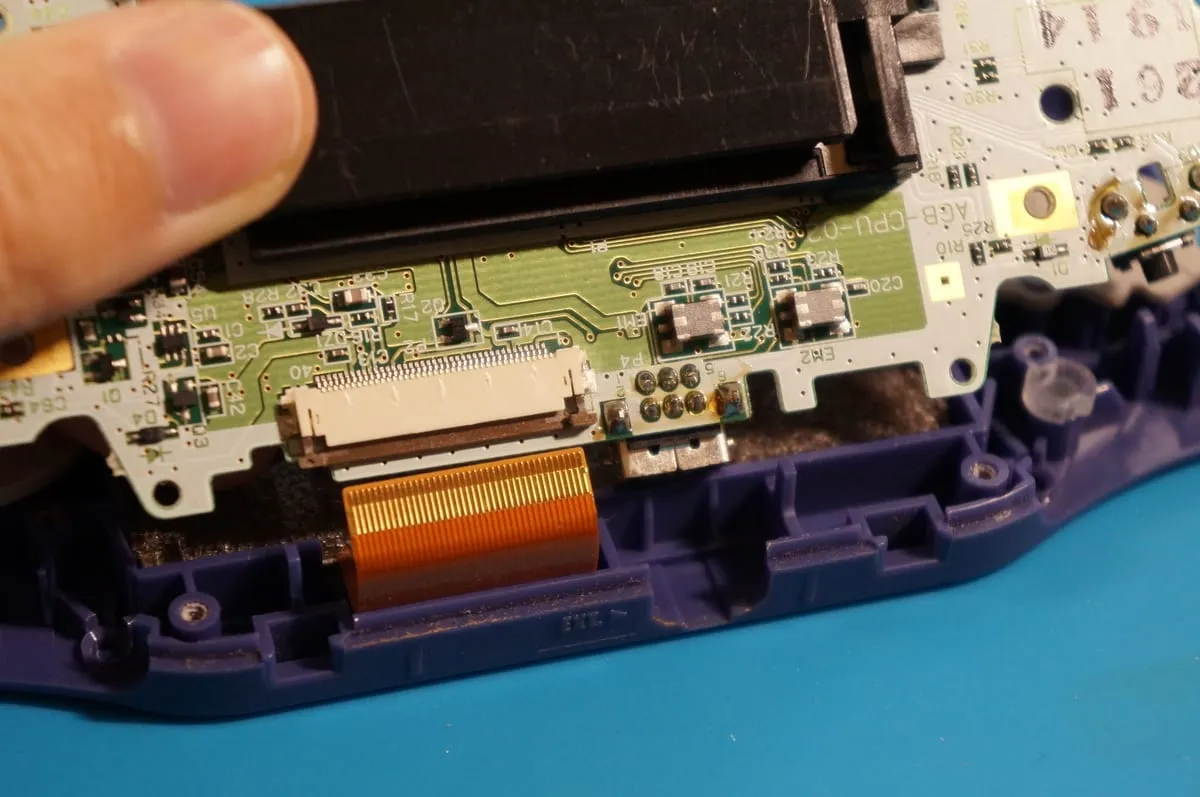
Section titled “Unlatch the LCD”Use a plastic spudger or your fingernail to release the plastic bale holding the LCD ribbon cable in place. At this point you’re only unlatching the cable – leave it plugged in for now.
Main board removal
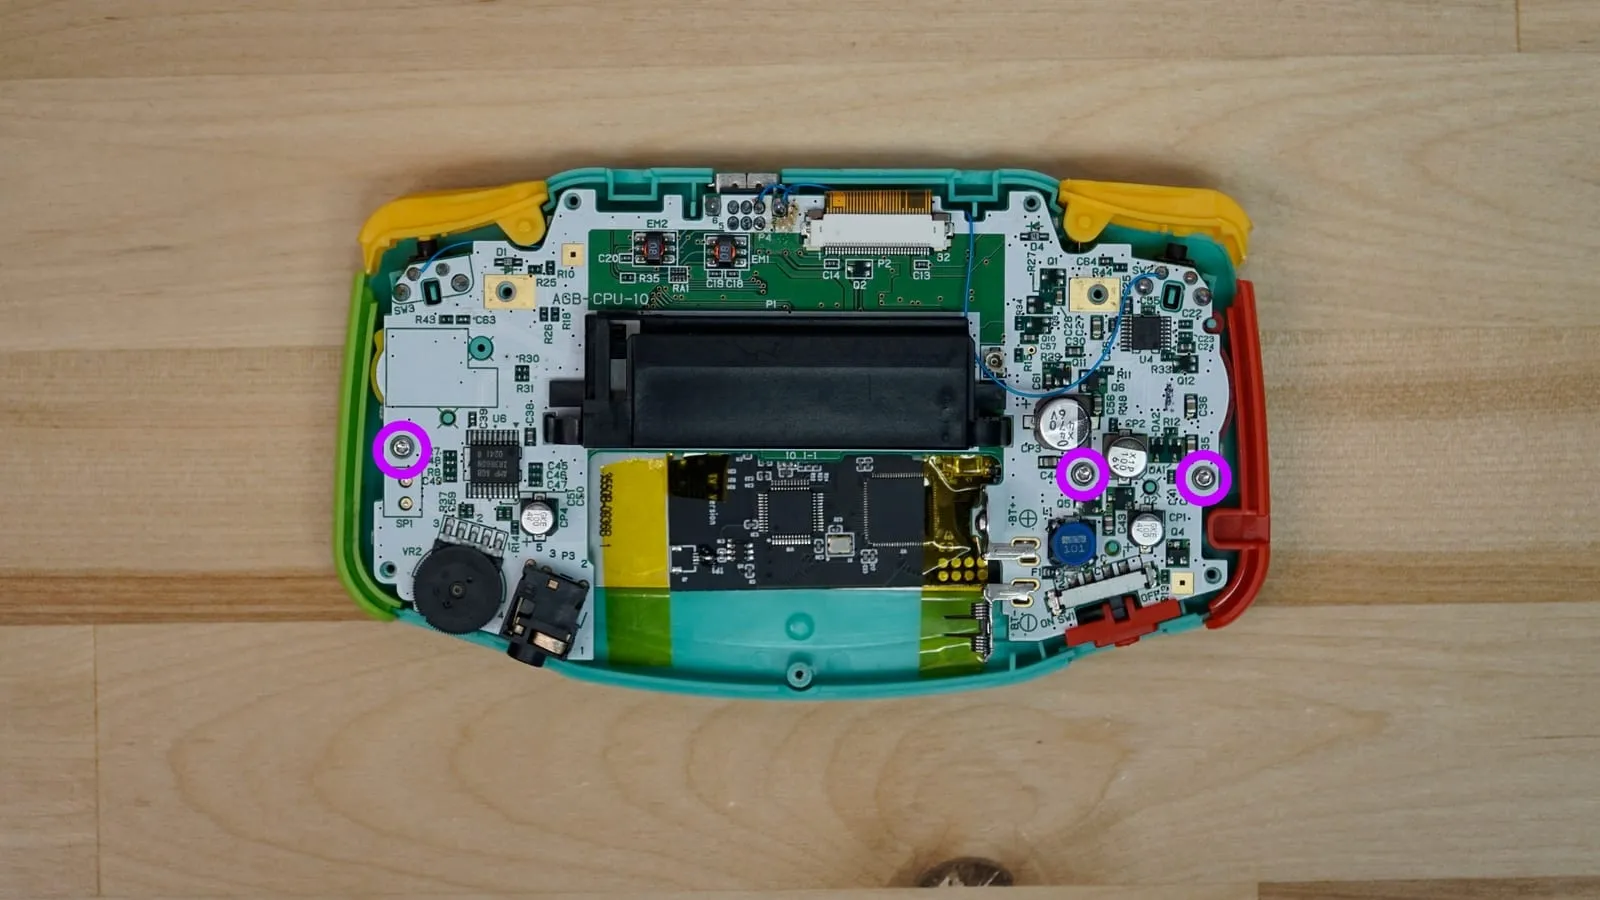
Section titled “Main board removal”Remove the 3 marked J1 screws holding the main board in place.
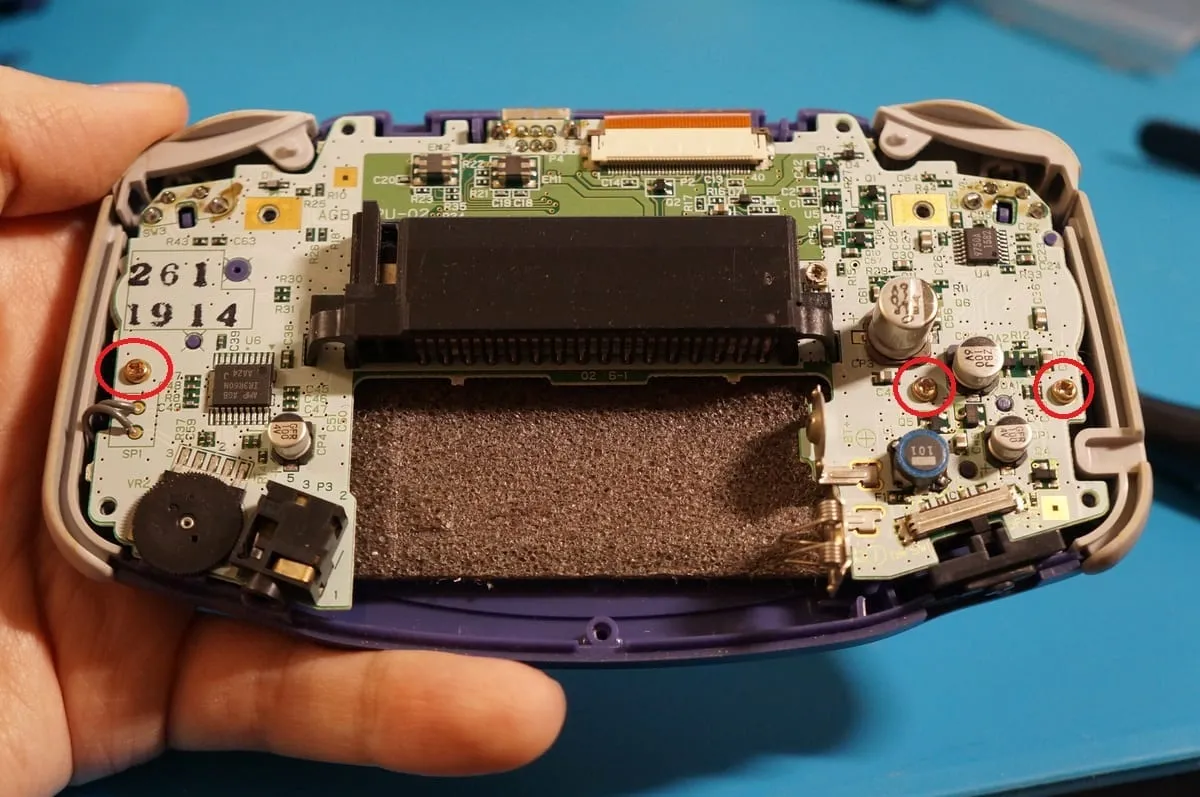
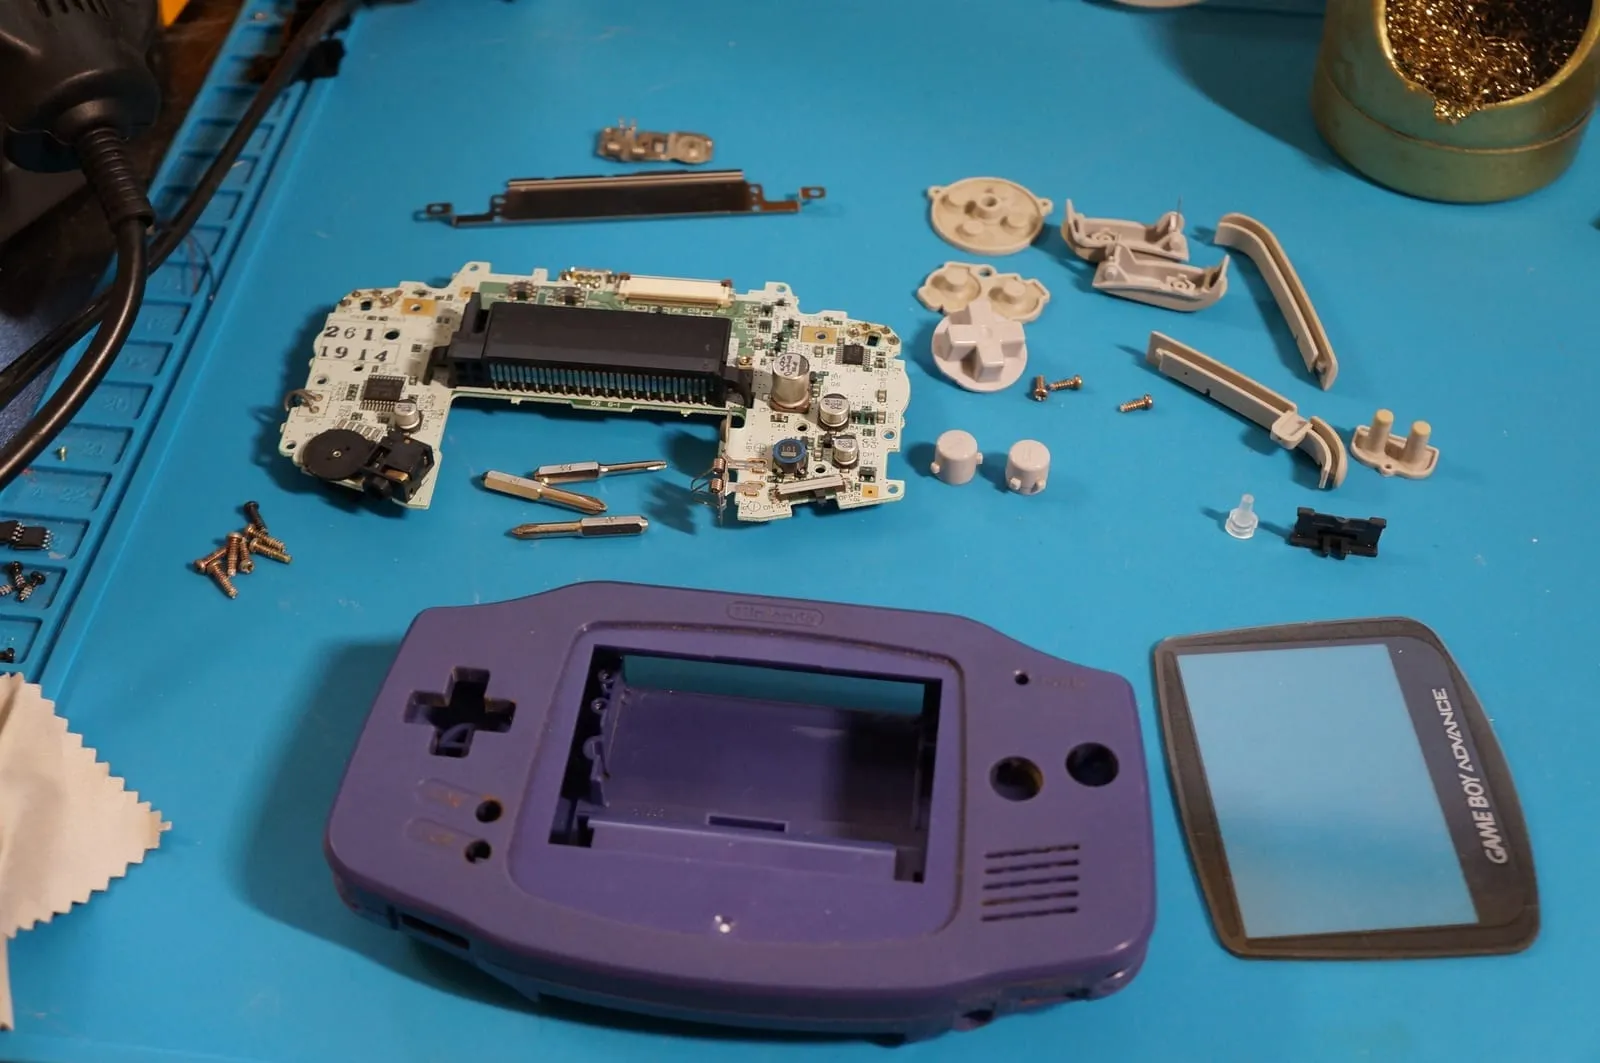
Take this opportunity to remove the shoulder buttons and the side grips as well. They lift out without any resistance.
Lift the main board out of the front of the console. Removing it from bottom to top makes it easier to pull out the LCD ribbon cable.
Buttons and D-pad
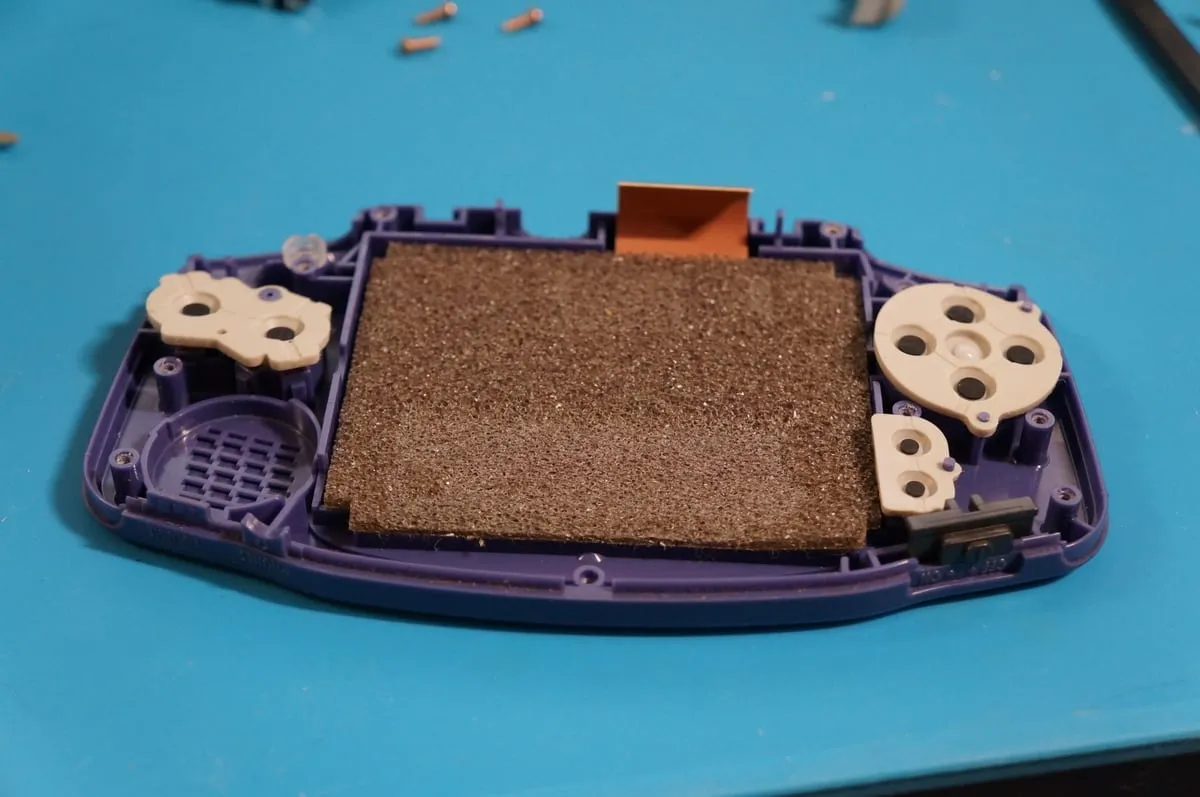
Section titled “Buttons and D-pad”You can now remove the silicone membranes, buttons and power LED diffuser.
LCD and lens removal
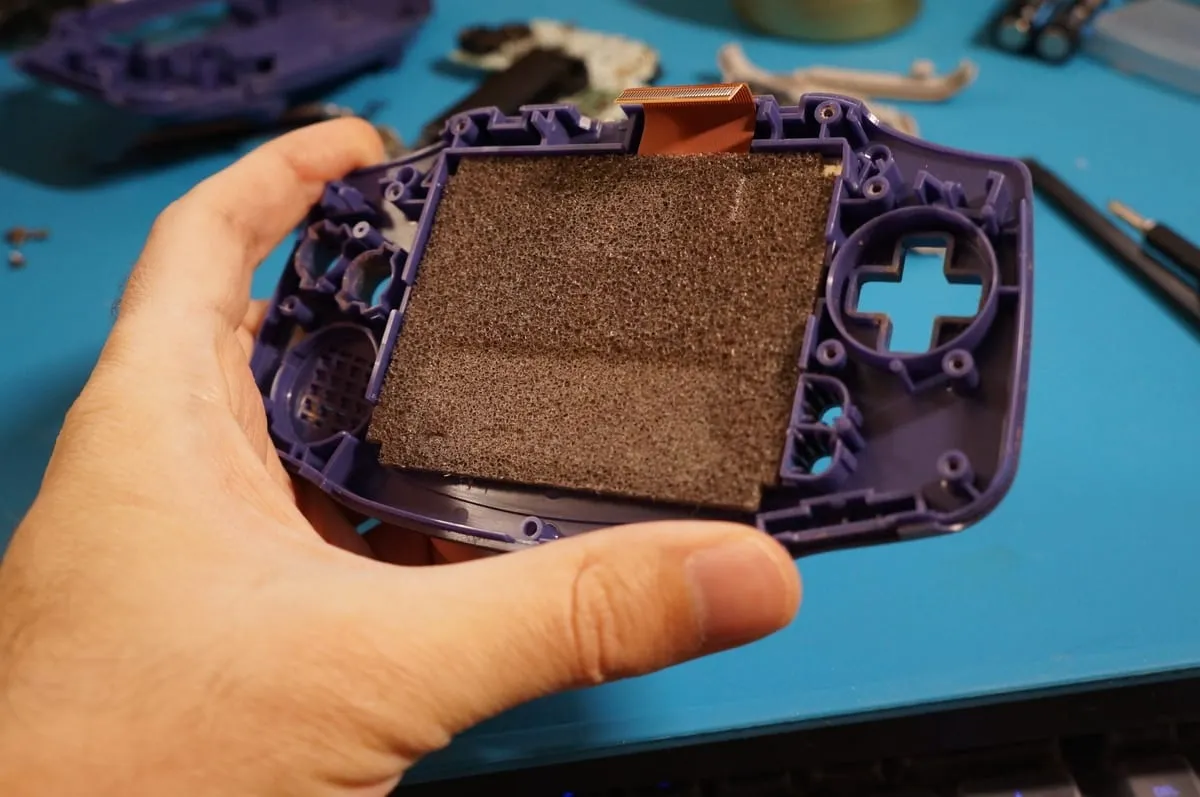
Section titled “LCD and lens removal”Gently twist the front plastic housing. This frees the LCD from the front housing, so it lifts up and away easily.
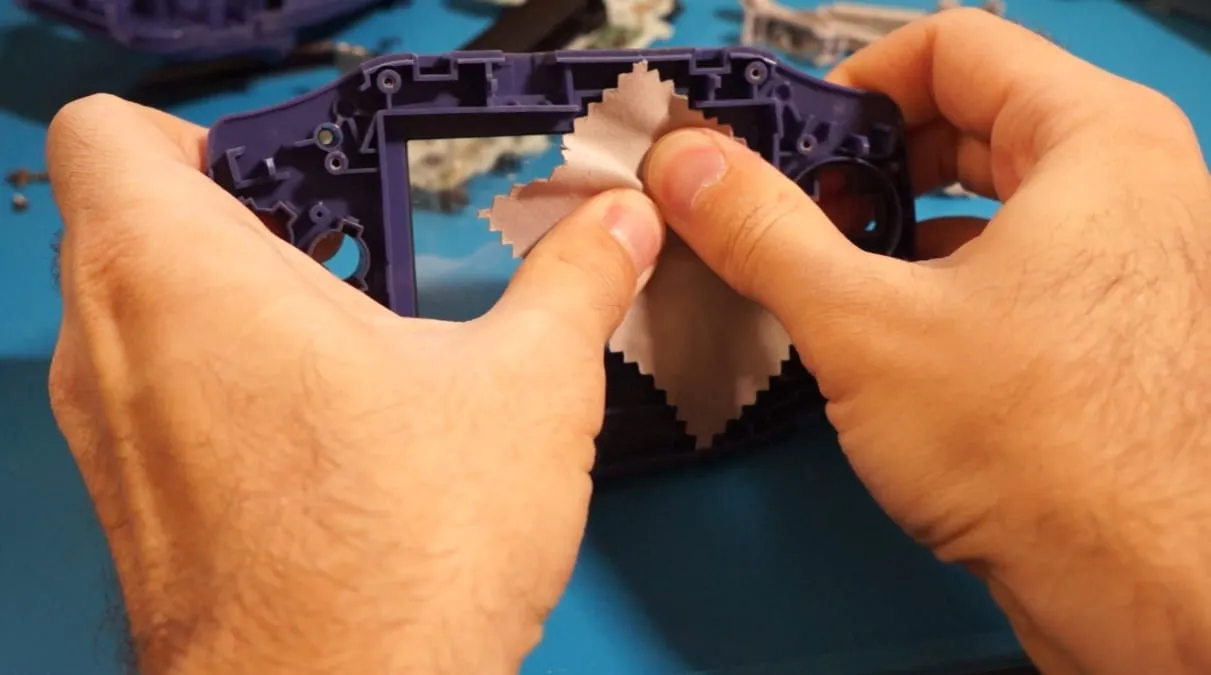
To remove the plastic screen lens, press firmly from the inside of the console. If you want to reuse the lens, press through a microfiber cloth.
Complete!
Section titled “Complete!”To reassemble your console, simply follow these steps in reverse.
Screw guide
Section titled “Screw guide”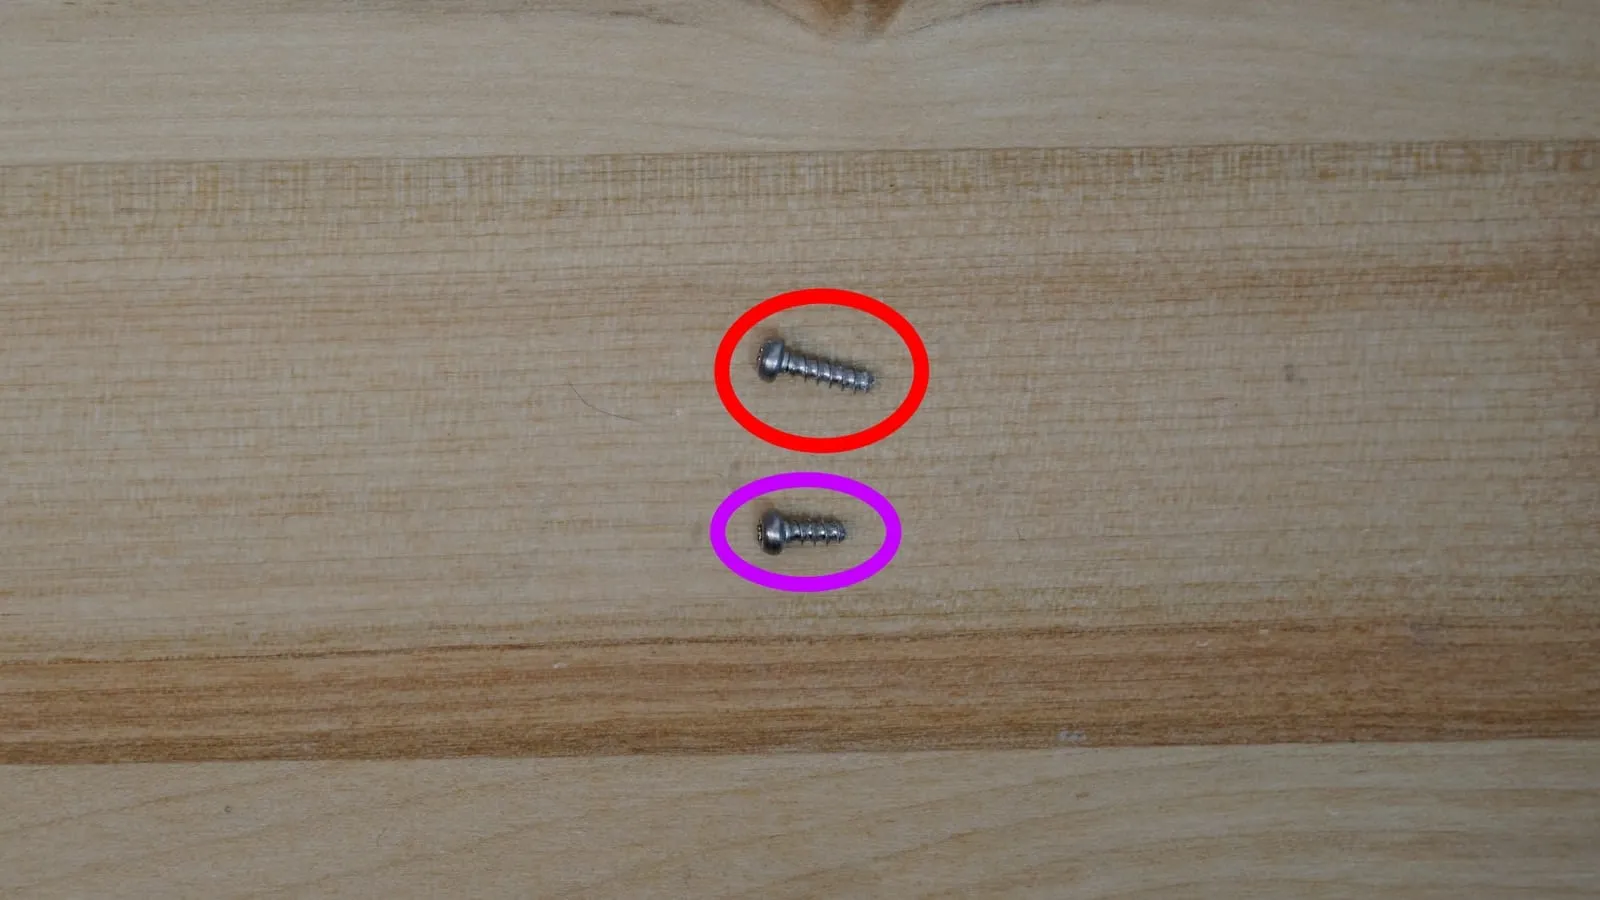
Trimming the original shell for IPS
Section titled “Trimming the original shell for IPS”Original (non-IPS) GBA shells need to be modified to fit an IPS kit.
Enlarging the viewing window and removing protruding plastic
Section titled “Enlarging the viewing window and removing protruding plastic”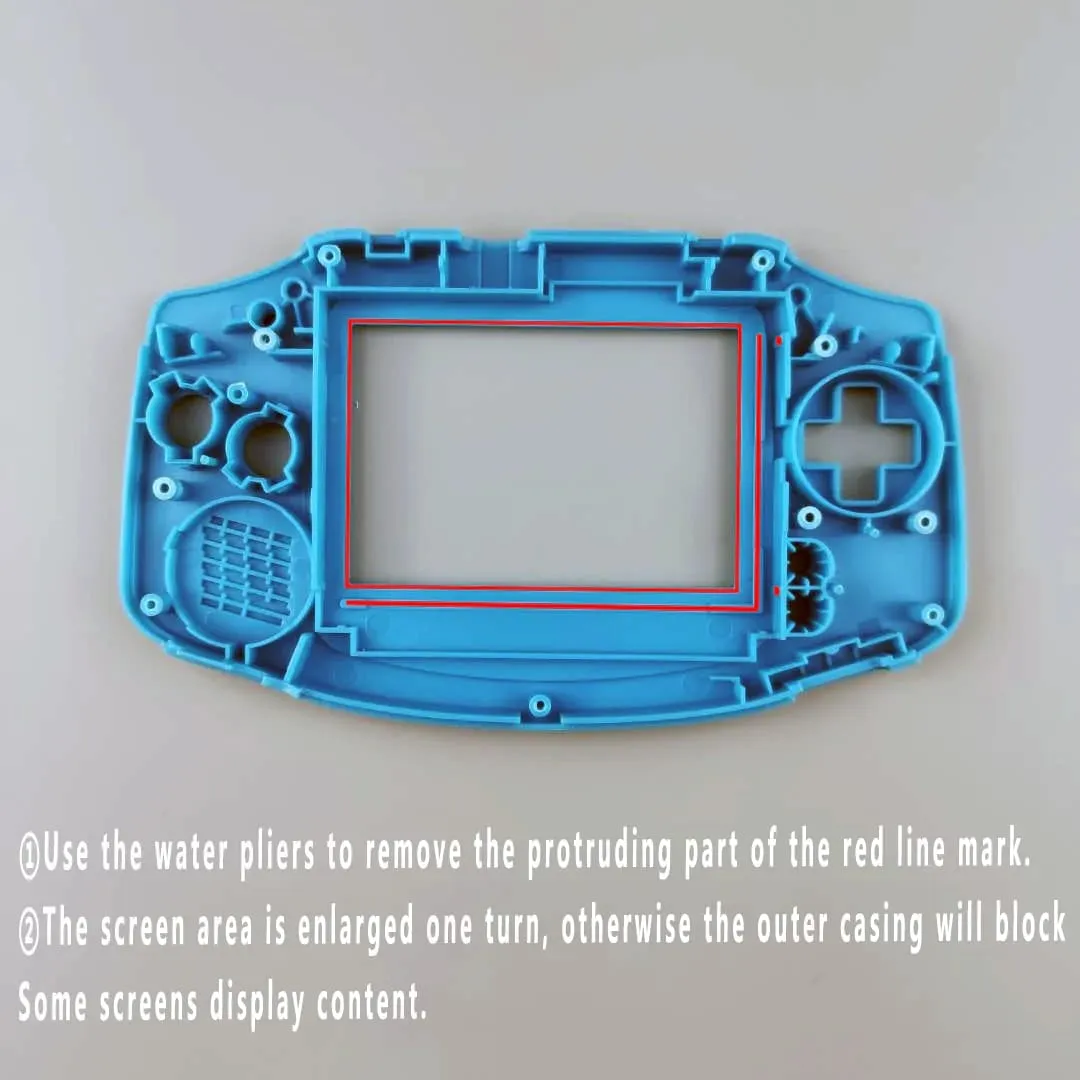
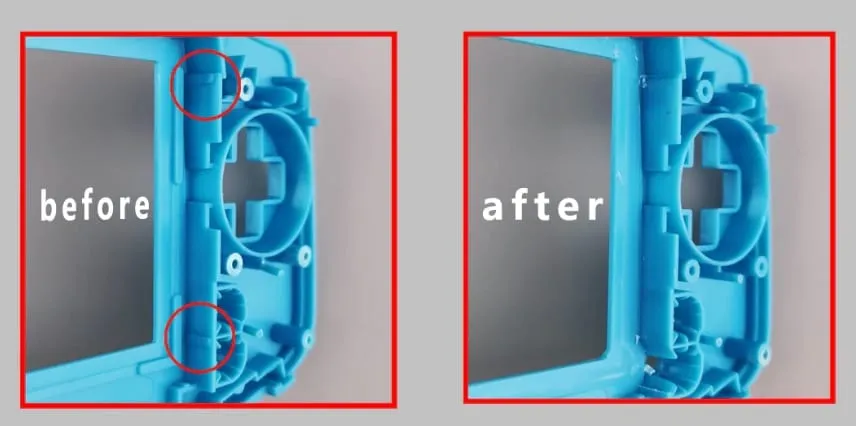
Start/Select
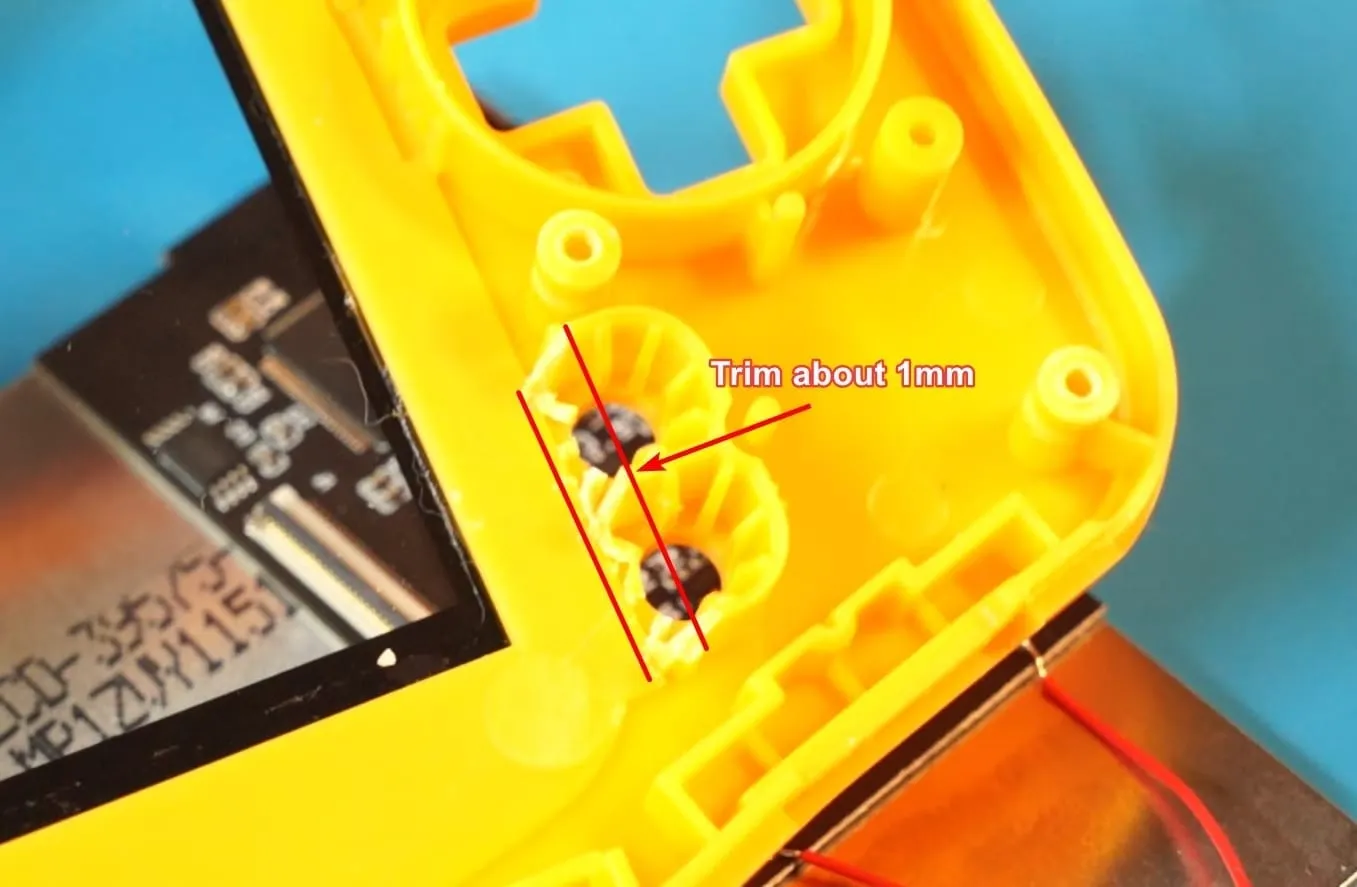
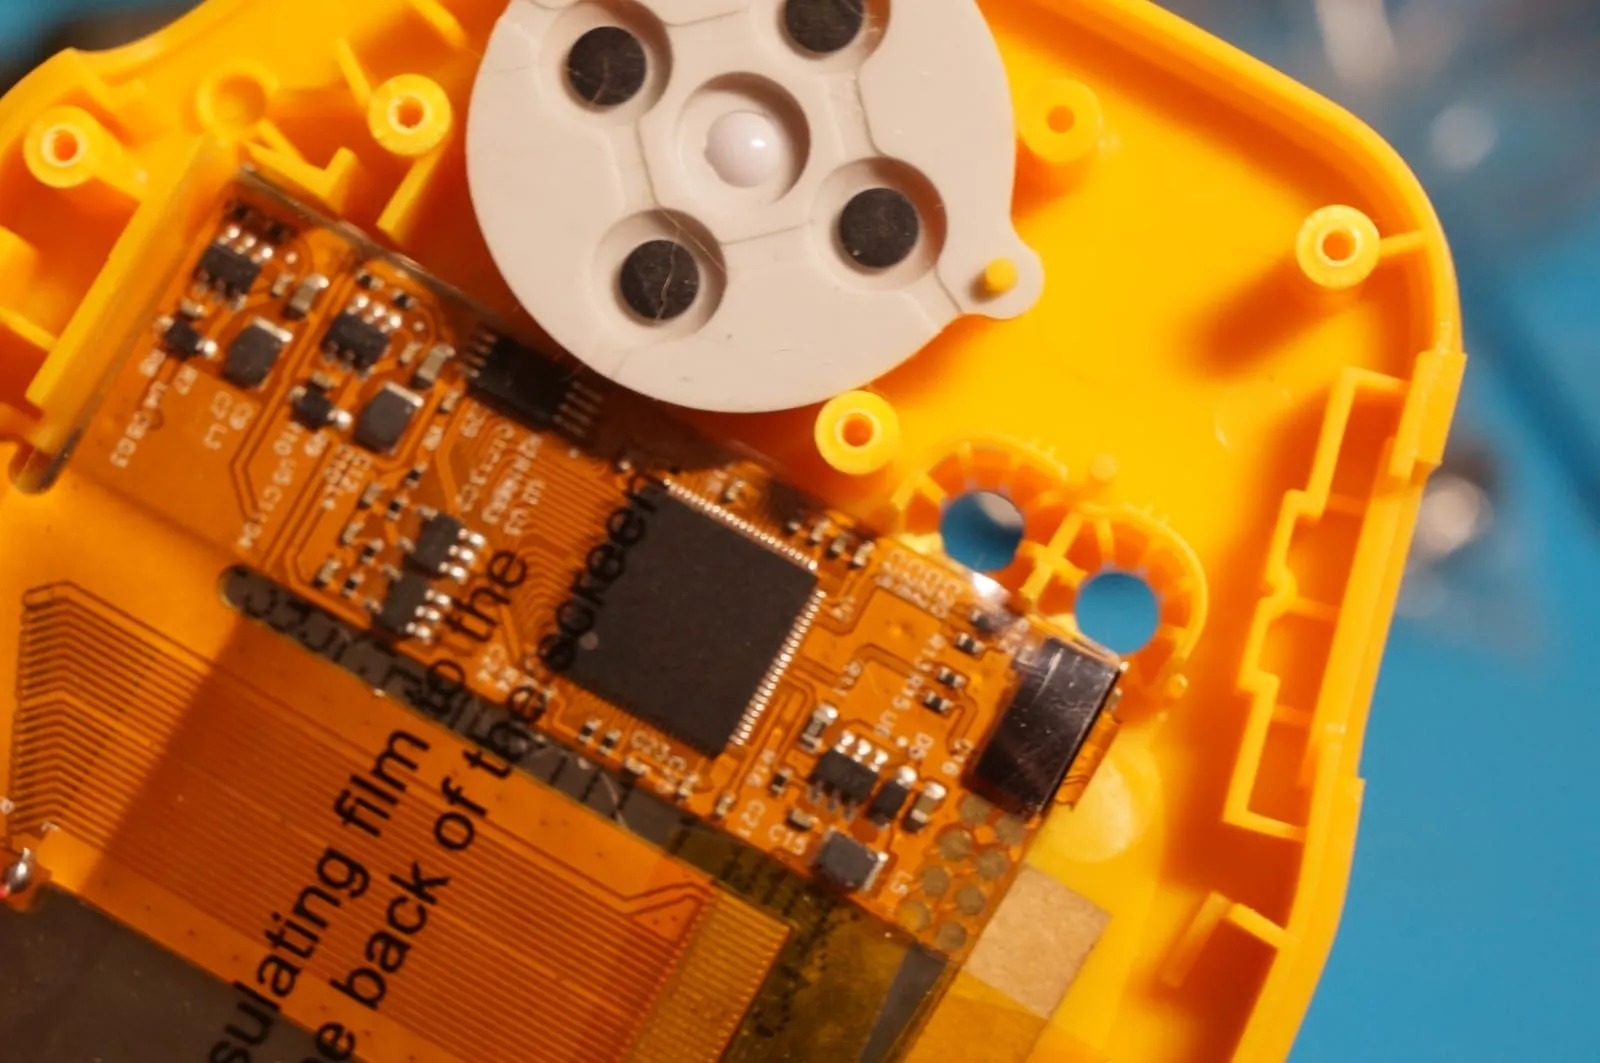
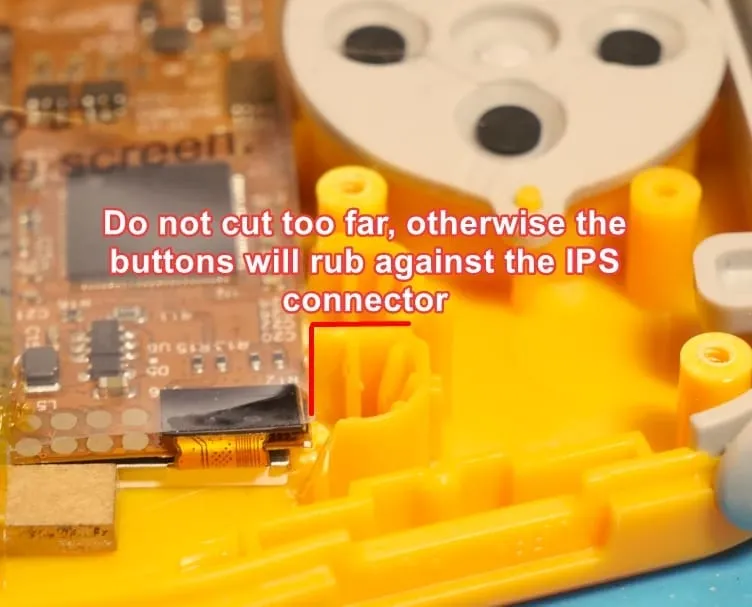
Section titled “Start/Select”Carefully examine the Start/Select area and trim as needed. Depending on your IPS kit, you may only need to trim the small area shown in the photo above, or you may need to remove a bit more. If you need to trim more, check the photos below: