
[GBASP] HHL RetroGlow LED Kit
Video guide
Section titled “Video guide”Installation
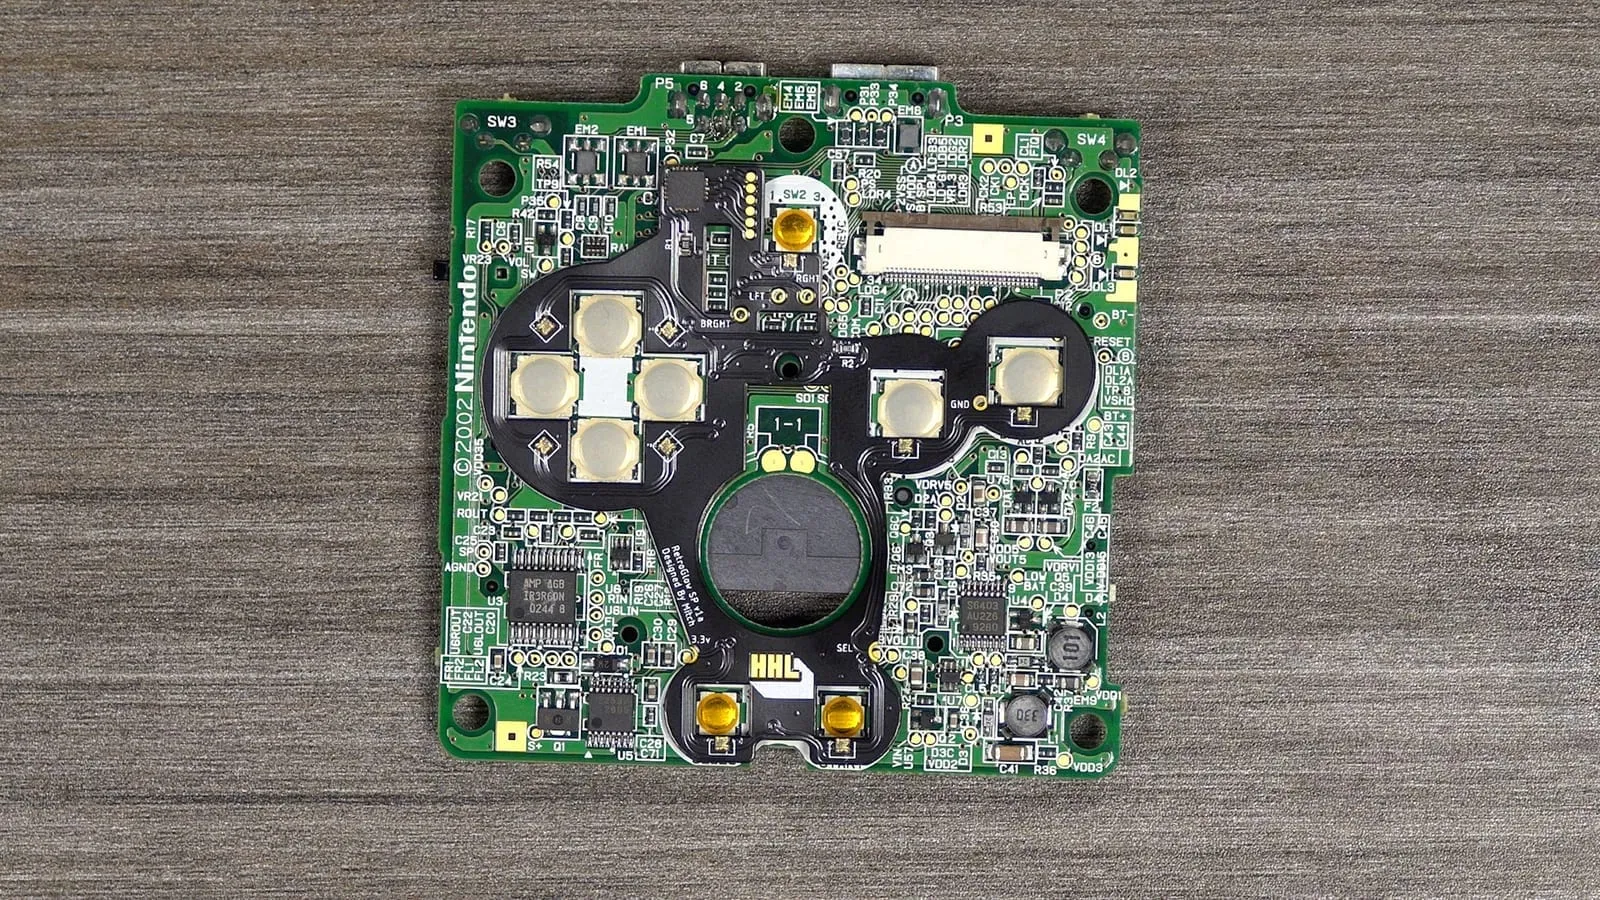
Section titled “Installation”We assume you have disassembled the console down to the main board. Lay the RetroGlow PCB over the main board and align the points.
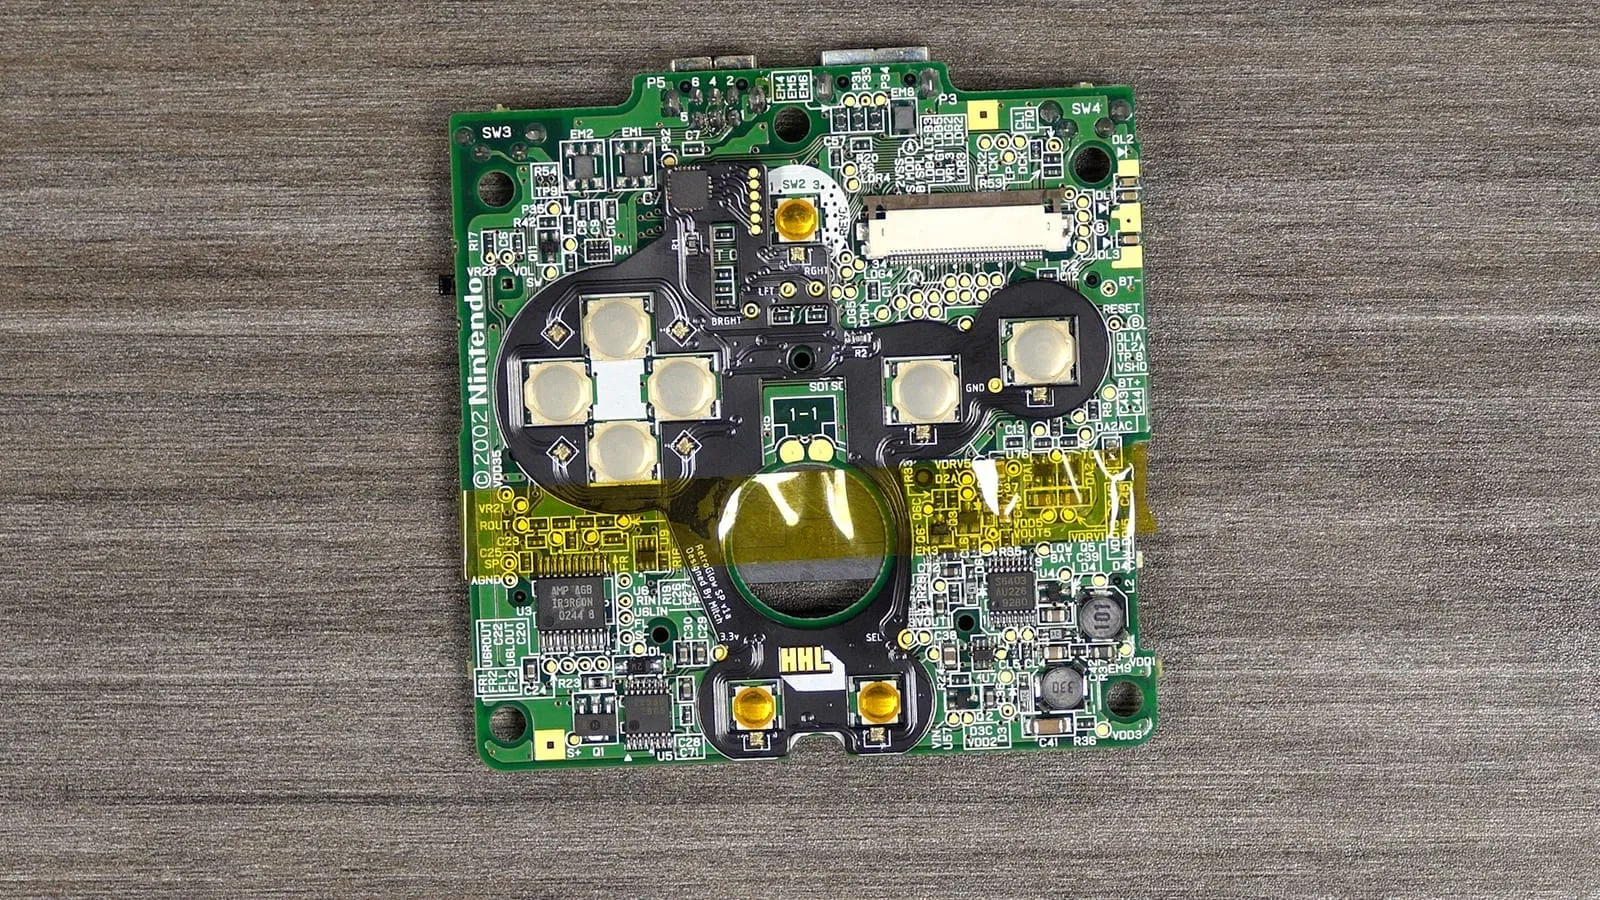
We recommend securing the board with some Kapton tape so it doesn’t move around while soldering.
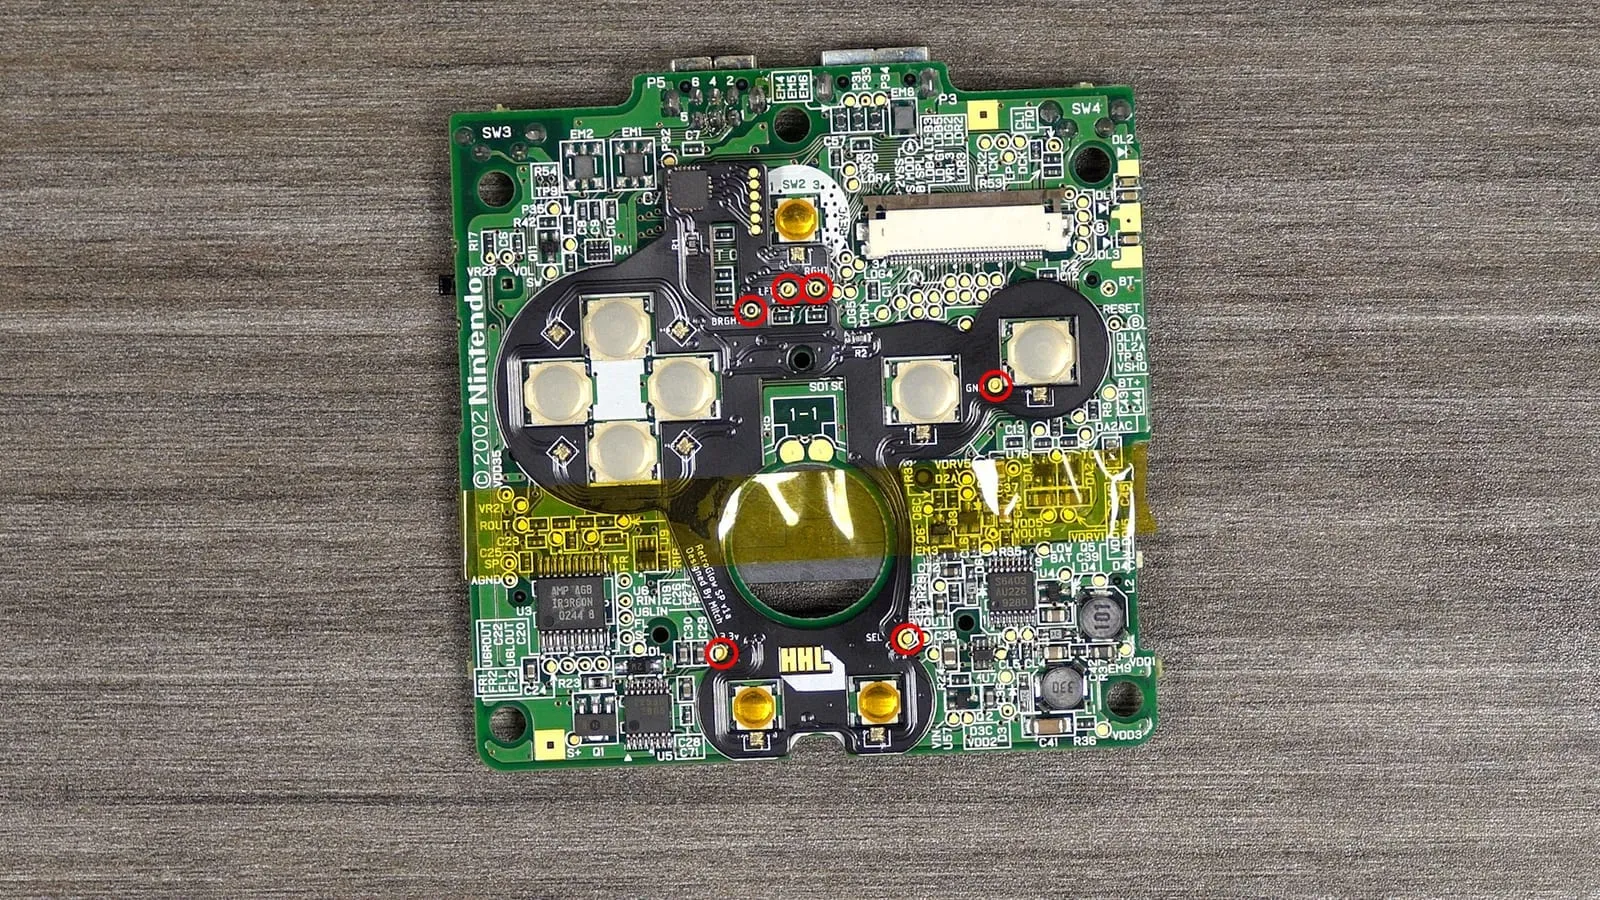
Next, apply some flux and start soldering. All points highlighted in red need to be soldered. If you are also installing an IPS screen, you can solder its brightness button wire to the point labelled BRGHT.
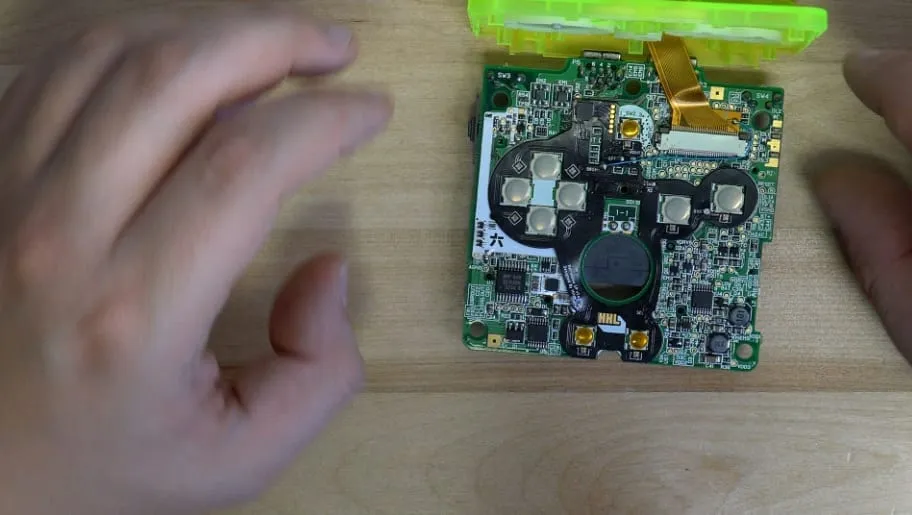
Example: the brightness button wire from an IPS ribbon soldered to the BRGHT point on the RetroGlow:
Before reassembly, you can test the kit by holding the battery against the contacts on the back of the console.
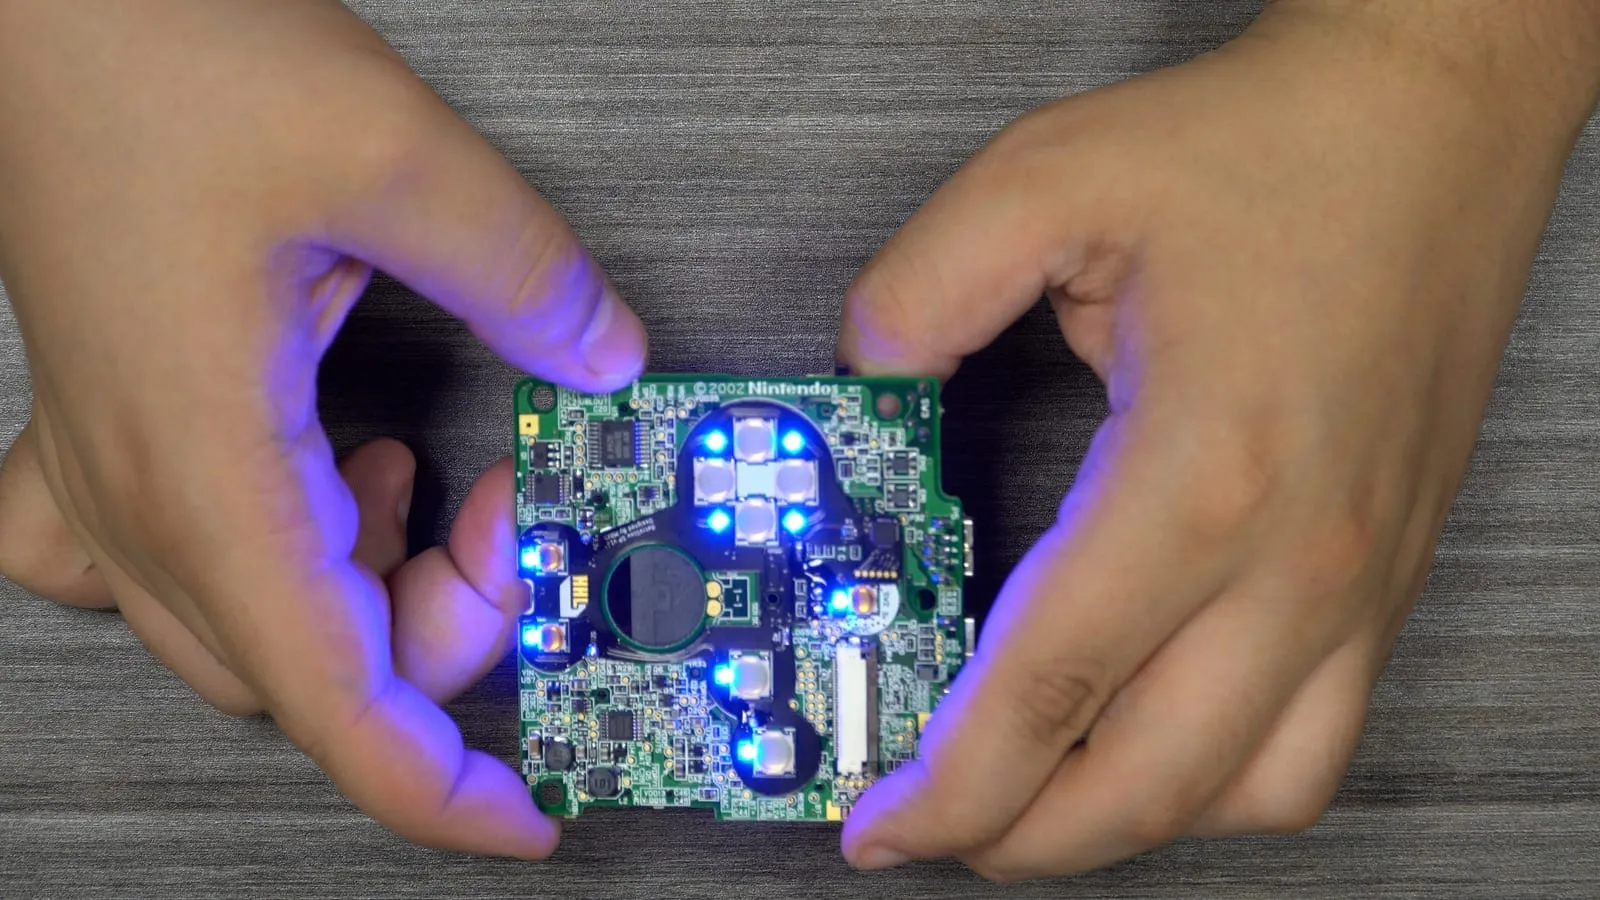
If all LEDs turn on, you can move on to final reassembly.
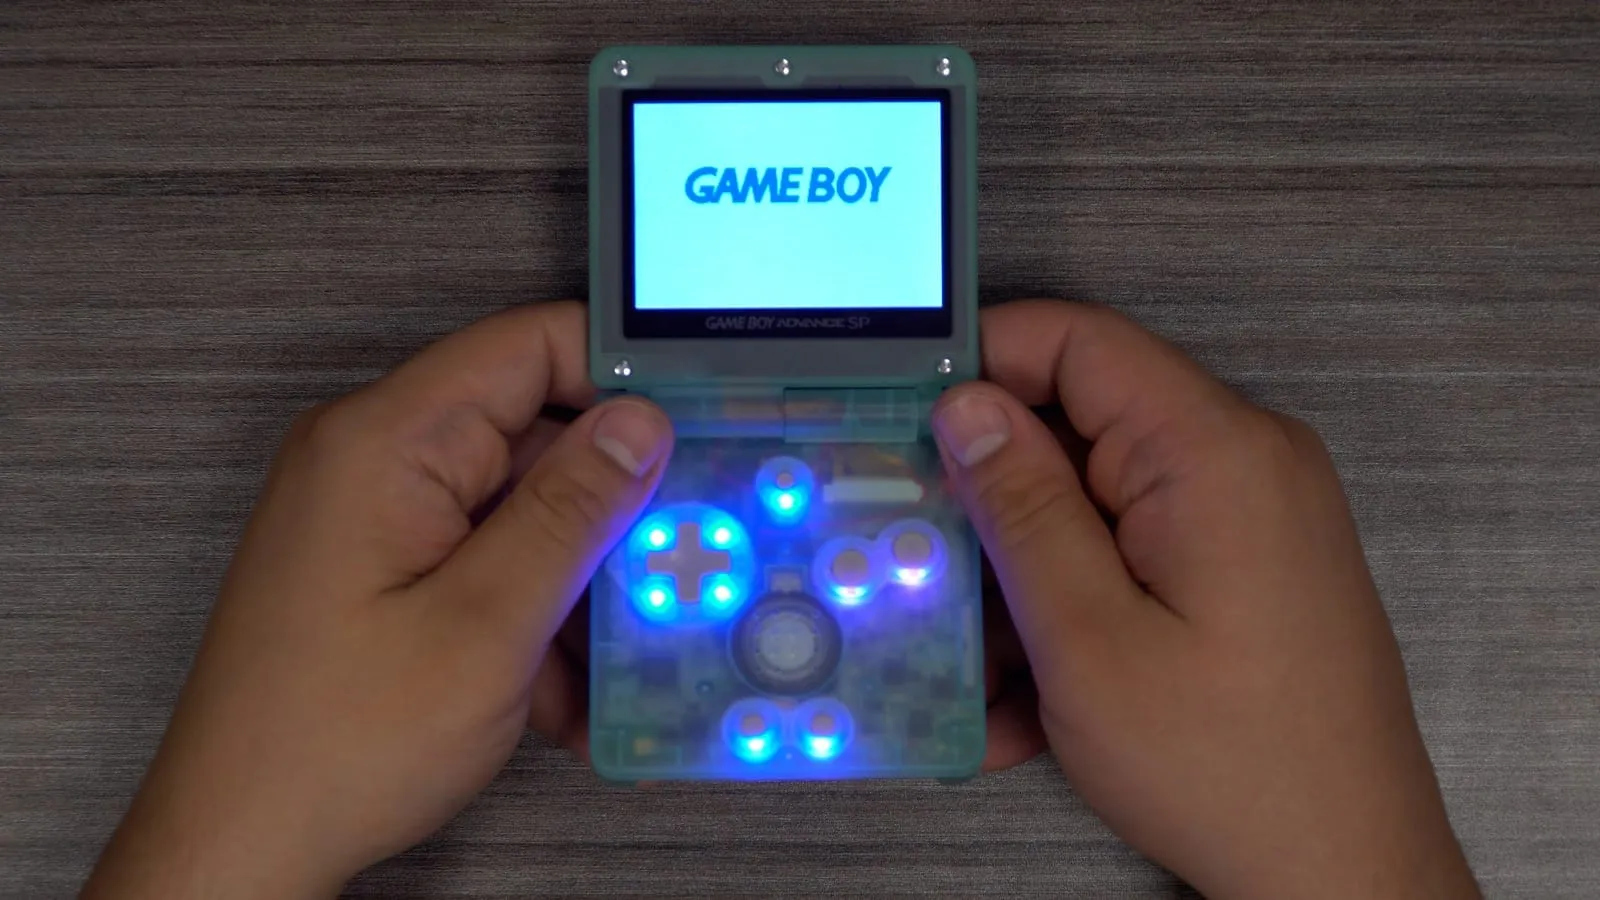
The video shows a GBA SP, but the controls are the same on all consoles.
Mode selection
Section titled “Mode selection”To enter the menu, hold Select first, then press Right while still holding Select.
You can cycle through several modes. Navigate the menus by holding Select and pressing Left or Right. You’ll know you’ve entered a menu when the LEDs blink twice. These are the menu options with their controls, in order:
- Default mode (console/RetroGlow powered on)
- No other controls
- Brightness mode
- Press Left or Right to adjust the brightness level
- Colour mode selection
- Press Left or Right to change the colour mode
- Colour mode edit
- See Colour mode edit
- Save all settings
- No other controls. Entering this menu saves all selections and reboots the LED controller
Colour mode edit
Section titled “Colour mode edit”In colour mode edit, the controls and options depend on the colour mode you have selected:
- User Preset – pick a unique colour for each button
- Press Select once to toggle between BUTTON SELECT, HUE SELECT and SATURATION SELECT.
- In BUTTON SELECT, press Left or Right to choose the button you want to edit.
- In HUE SELECT, press Left or Right to change the hue.
- In SATURATION SELECT, press Left or Right to change the saturation.
- Rainbow – fades through all colours and repeats
- Press Select once to toggle between SPEED SELECT and SATURATION SELECT.
- In SPEED SELECT, press Left or Right to adjust the fade speed.
- In SATURATION SELECT, press Left or Right to change the saturation.
- Fairy – a rainbow fade from left to right
- Press Select once to toggle between SPEED SELECT and SATURATION SELECT.
- In SPEED SELECT, press Left or Right to adjust the fade speed.
- In SATURATION SELECT, press Left or Right to change the saturation.
- Solid – one colour across all LEDs
- Press Select once to toggle between HUE SELECT and SATURATION SELECT.
- In HUE SELECT, press Left or Right to change the hue.
- In SATURATION SELECT, press Left or Right to change the saturation.
- To save all settings, hold Select and press Right.
Usage chart
Section titled “Usage chart”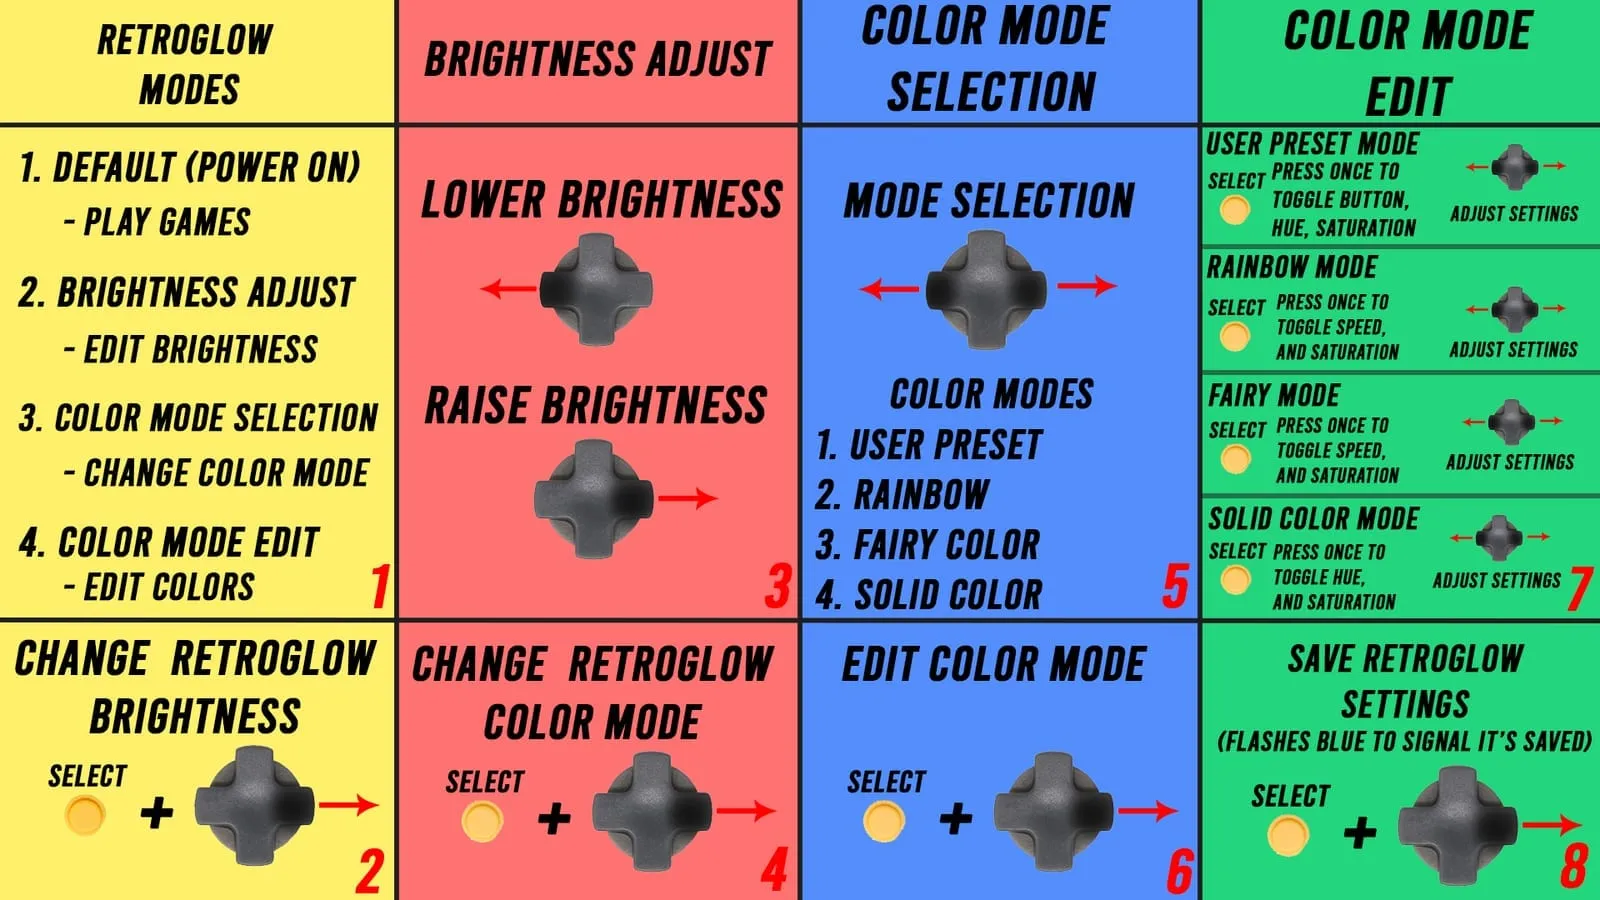
Factory reset
Section titled “Factory reset”If you run into issues, a factory reset may help: hold Select + D-pad Left while turning on the console.