
[GBA] IPS V5 Kit by Hispeedid
The V5 IPS Kit by Hispeedido is an LCD upgrade for your Game Boy Advance, with rich colors, high contrast and a bright picture! Thanks to the IPS LCD, the picture stays stable at any viewing angle, giving your retro console a modern look. The glass lens is mounted industrially, which allows for a quick and dust-free installation. The V5 Kit combines the display lens, LCD and LCD controller in one part, which makes installation much easier - combined with the matching IPS shells by Hispeedido, no shell modifications are needed! Since it’s controlled via touch sensors, you can install it even without any soldering skills.
(This guide was kindly provided by handheldlegend.com)
Installation
Section titled “Installation”Make sure your kit contains all parts:
- 1 x IPS LCD
- 1 x ribbon cable
- 3 x wires
To start, tin the three solder points on the back of the mainboard (optional). Don’t hold the soldering iron on the pads for too long, because this kit is laminated and the heat can damage the screen.
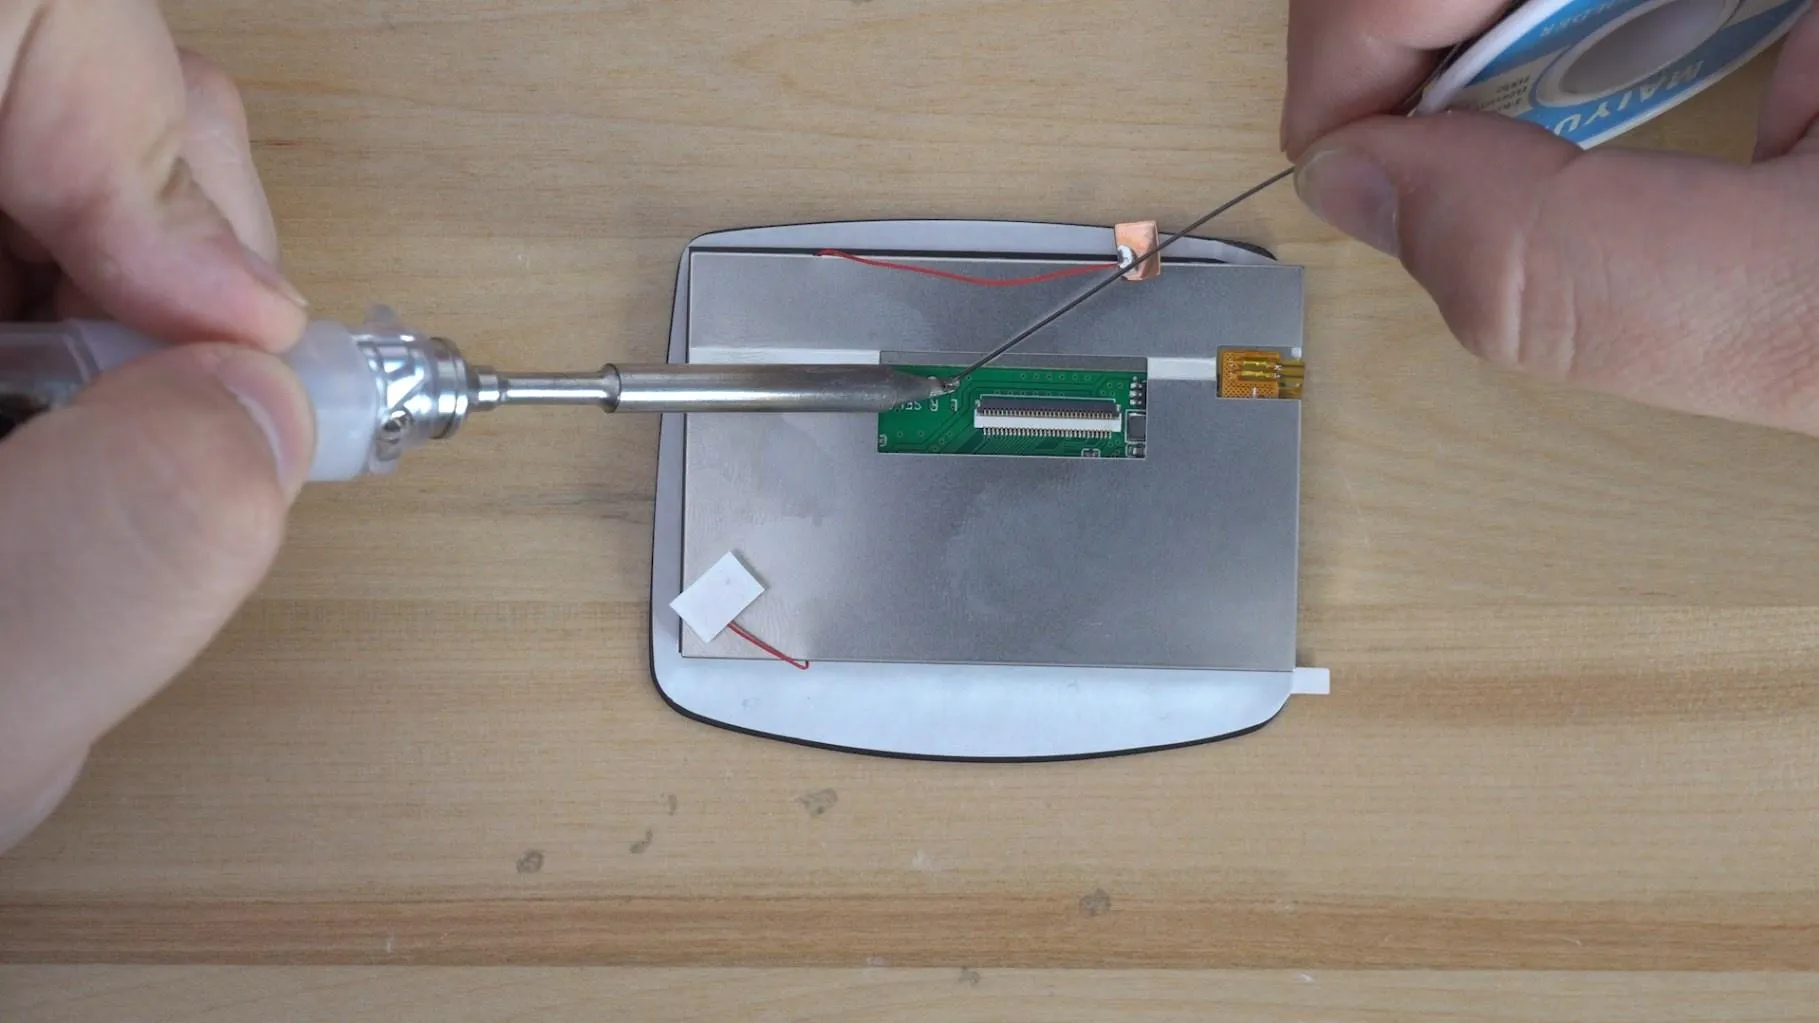
Now we can solder the three wires to the corresponding points on the control PCB.
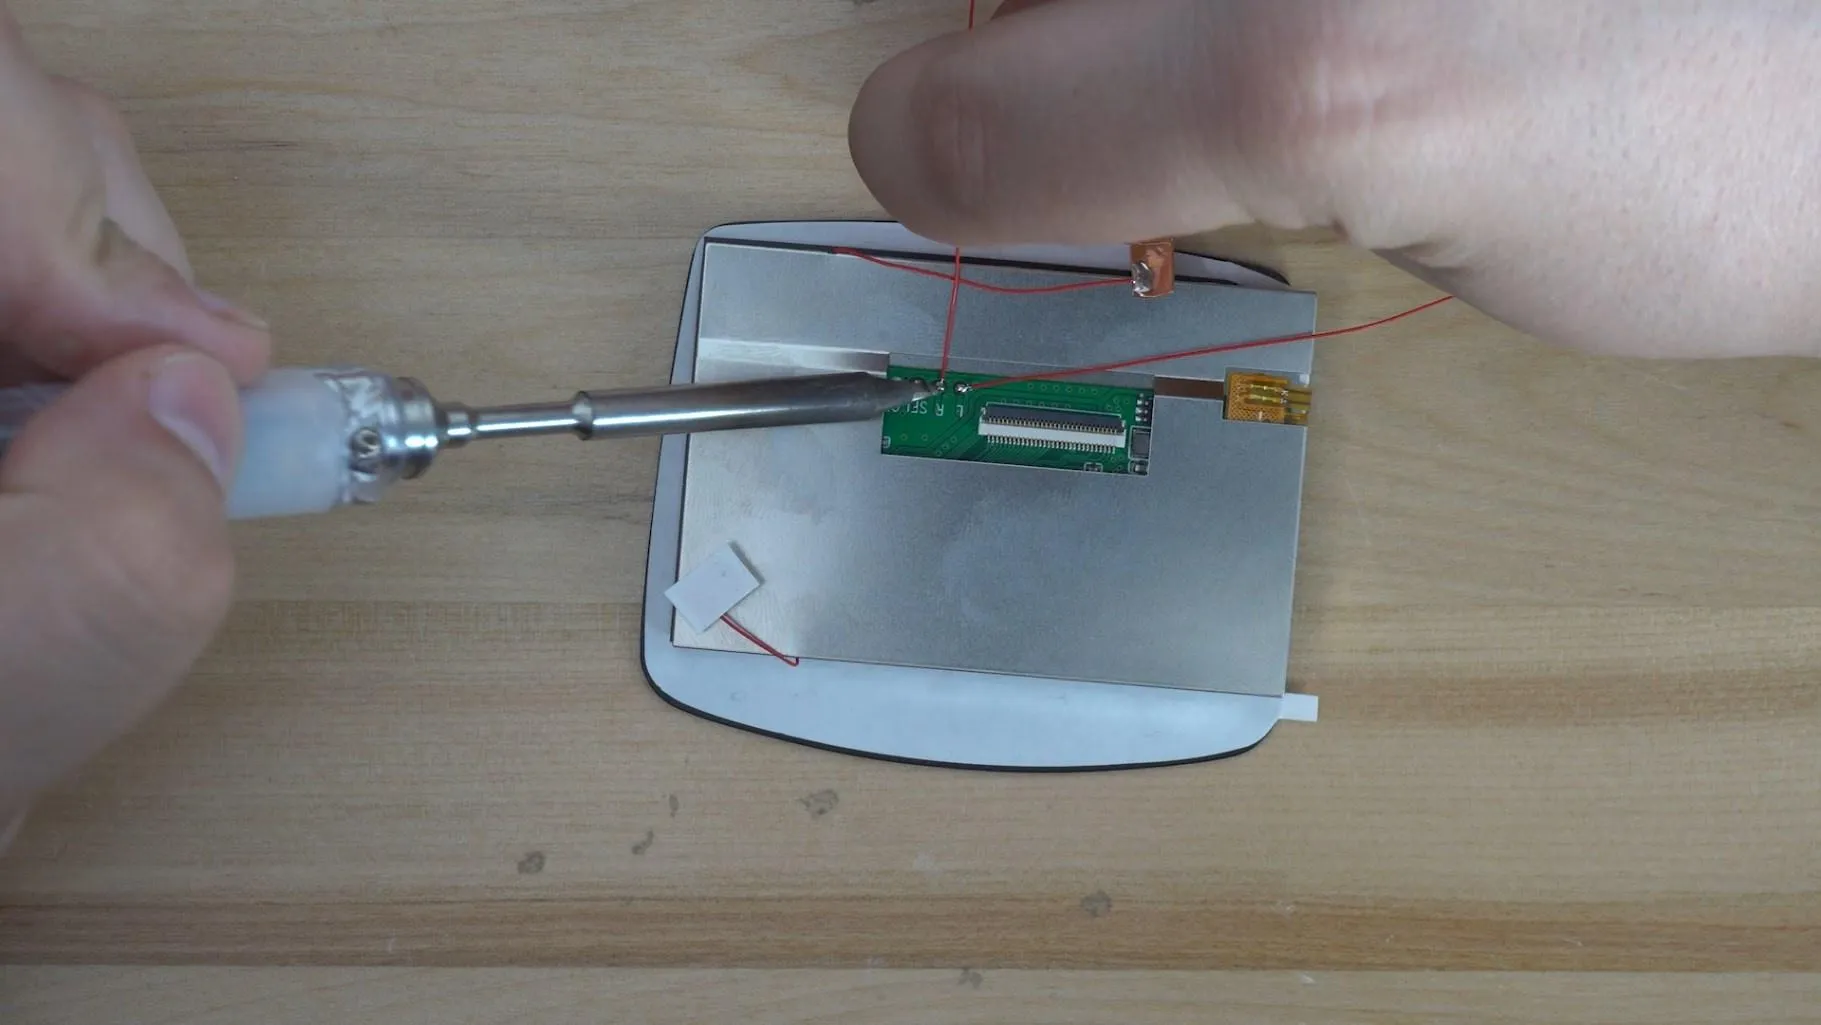
Once the wires are soldered, we can insert the display into the shell. Remove the film from the adhesive strip. Insert the left side of the screen into the shell first.
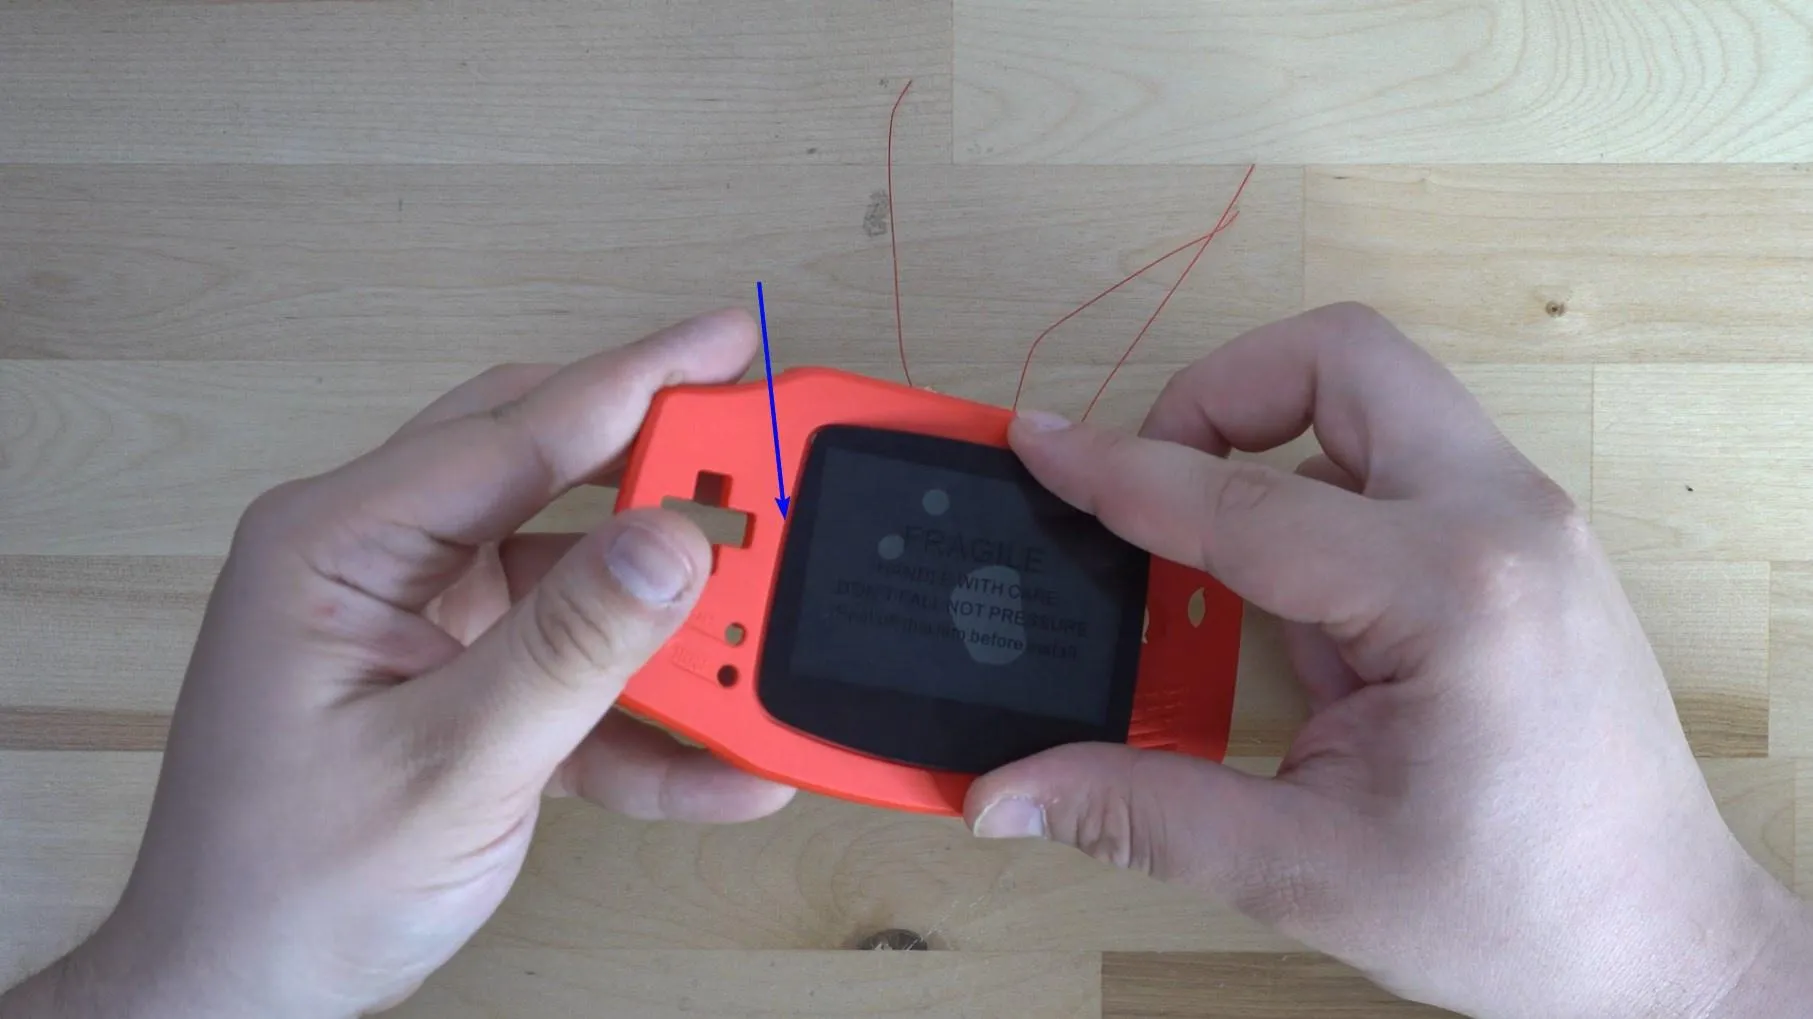
The rest of the screen is then swung into the shell like a hinge.
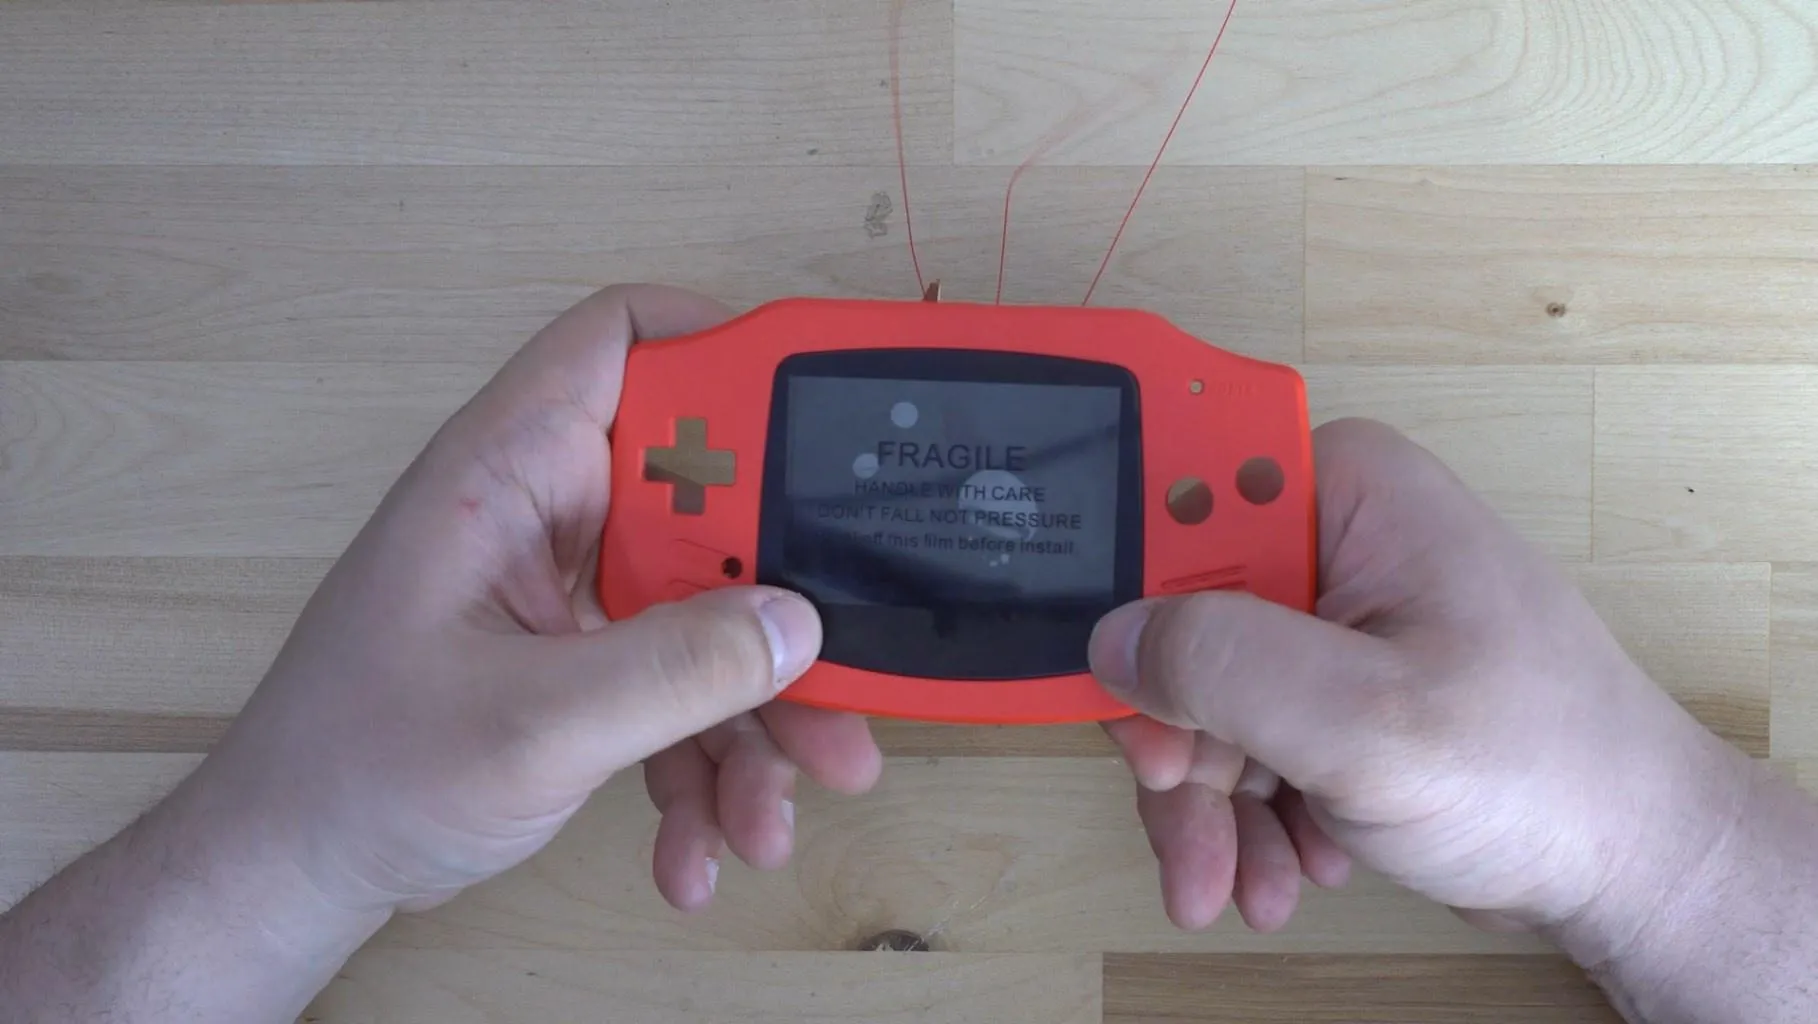
Now we solder the connections to the mainboard (optional):
- “Select” is soldered to TP2.
- “R” is soldered to TP8.
- “L” is soldered to TP9.
Alternatively, L and R can also be soldered directly to the switches on the back of the mainboard.
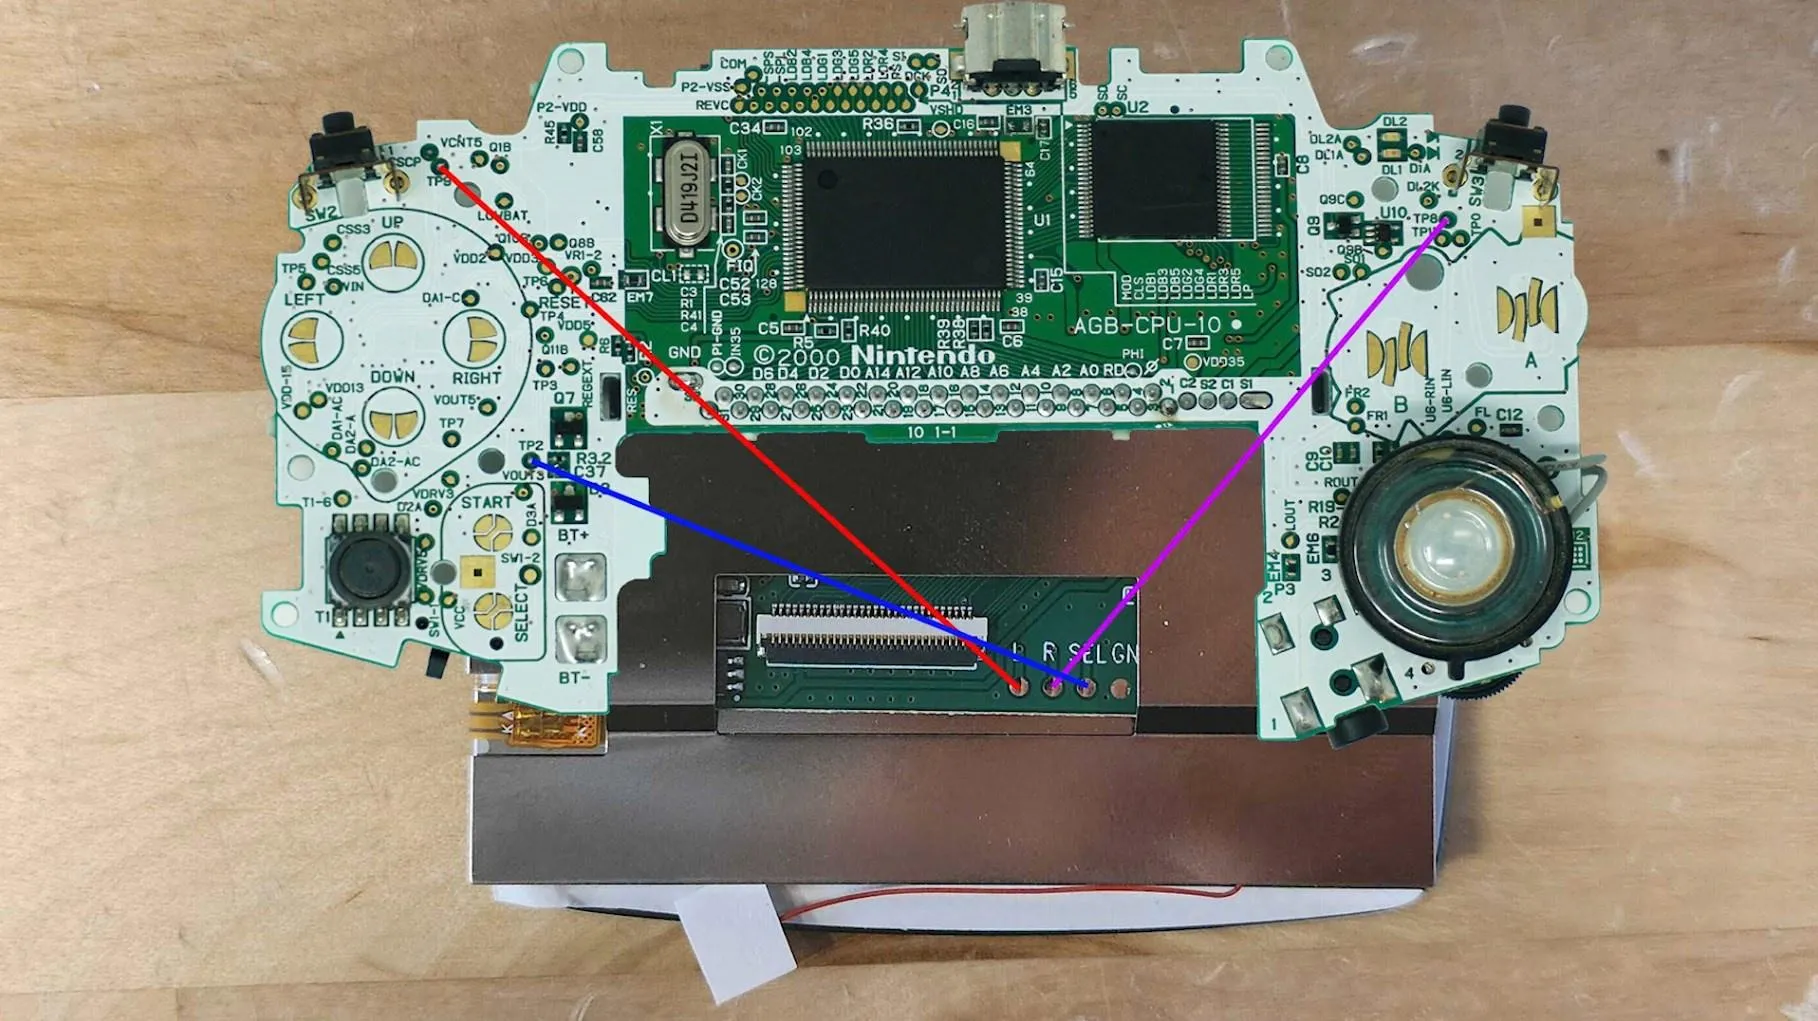
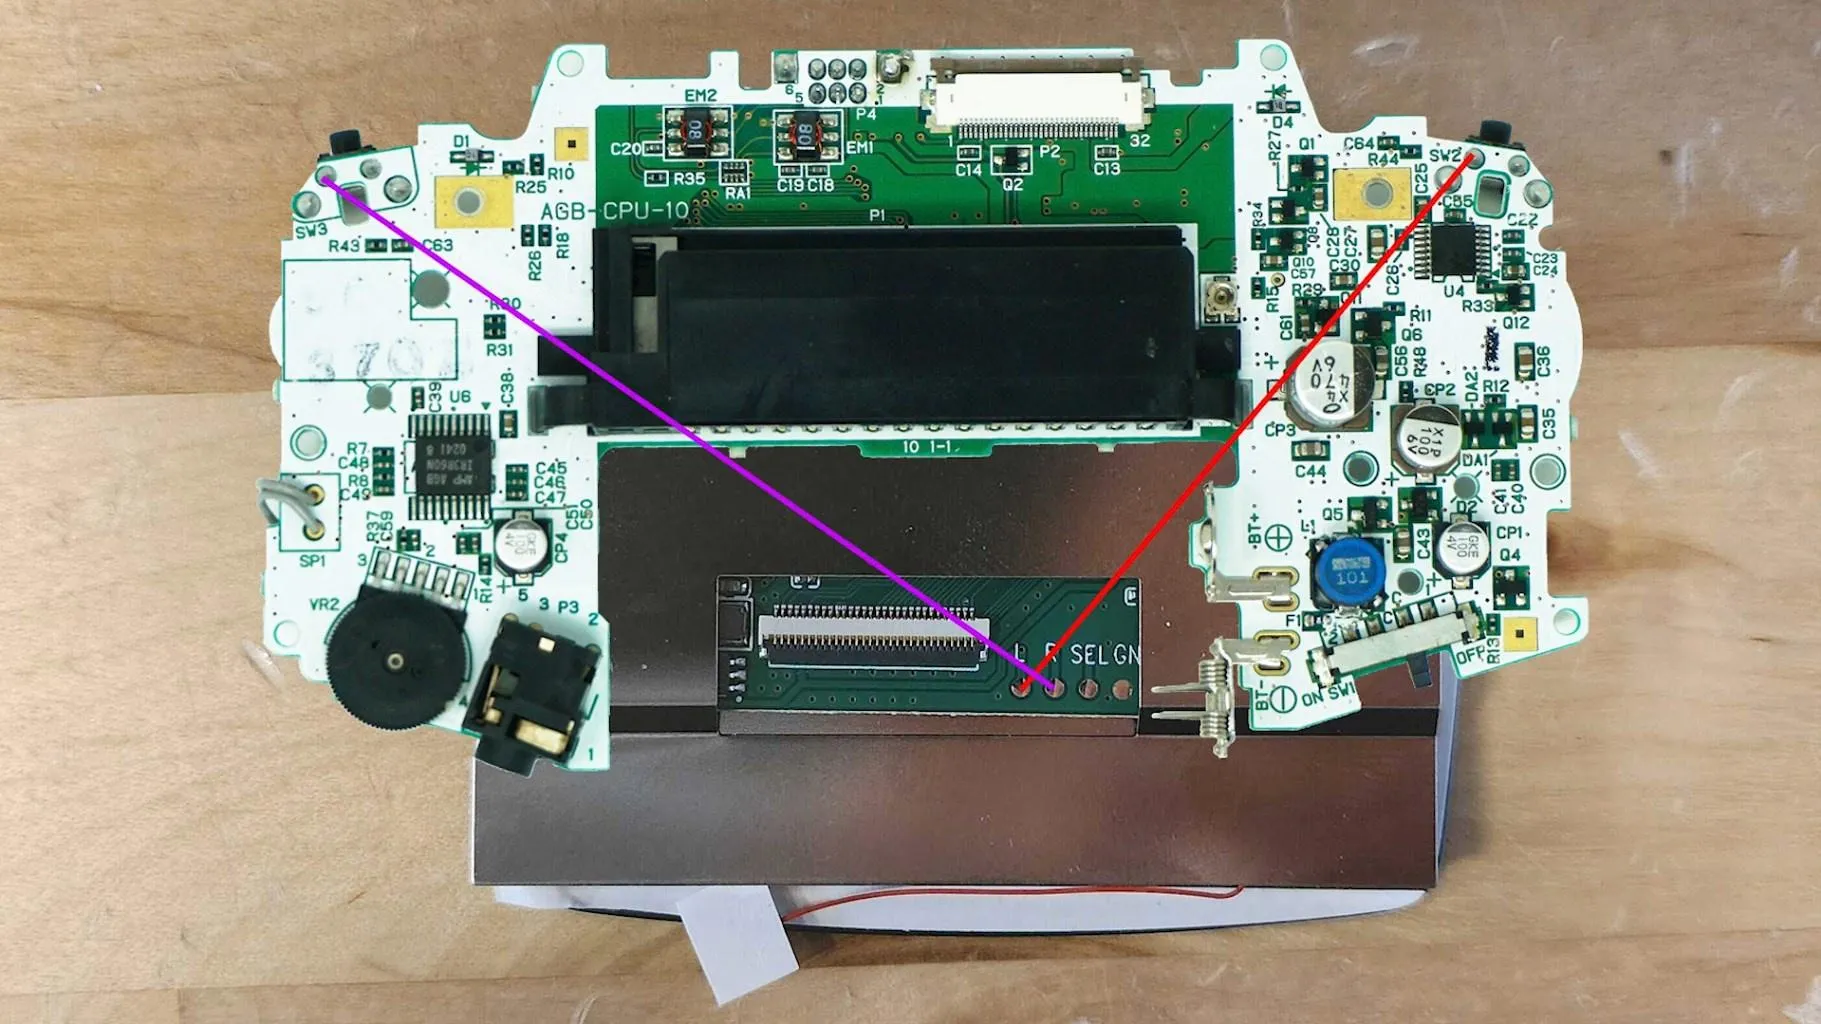
Once soldering is done (optional), it’s time for the touch sensors. If the touchpads aren’t sensitive enough, you can replace them with copper foil. Desolder the wire from the included pad. Solder the wire to your new copper foil pad.
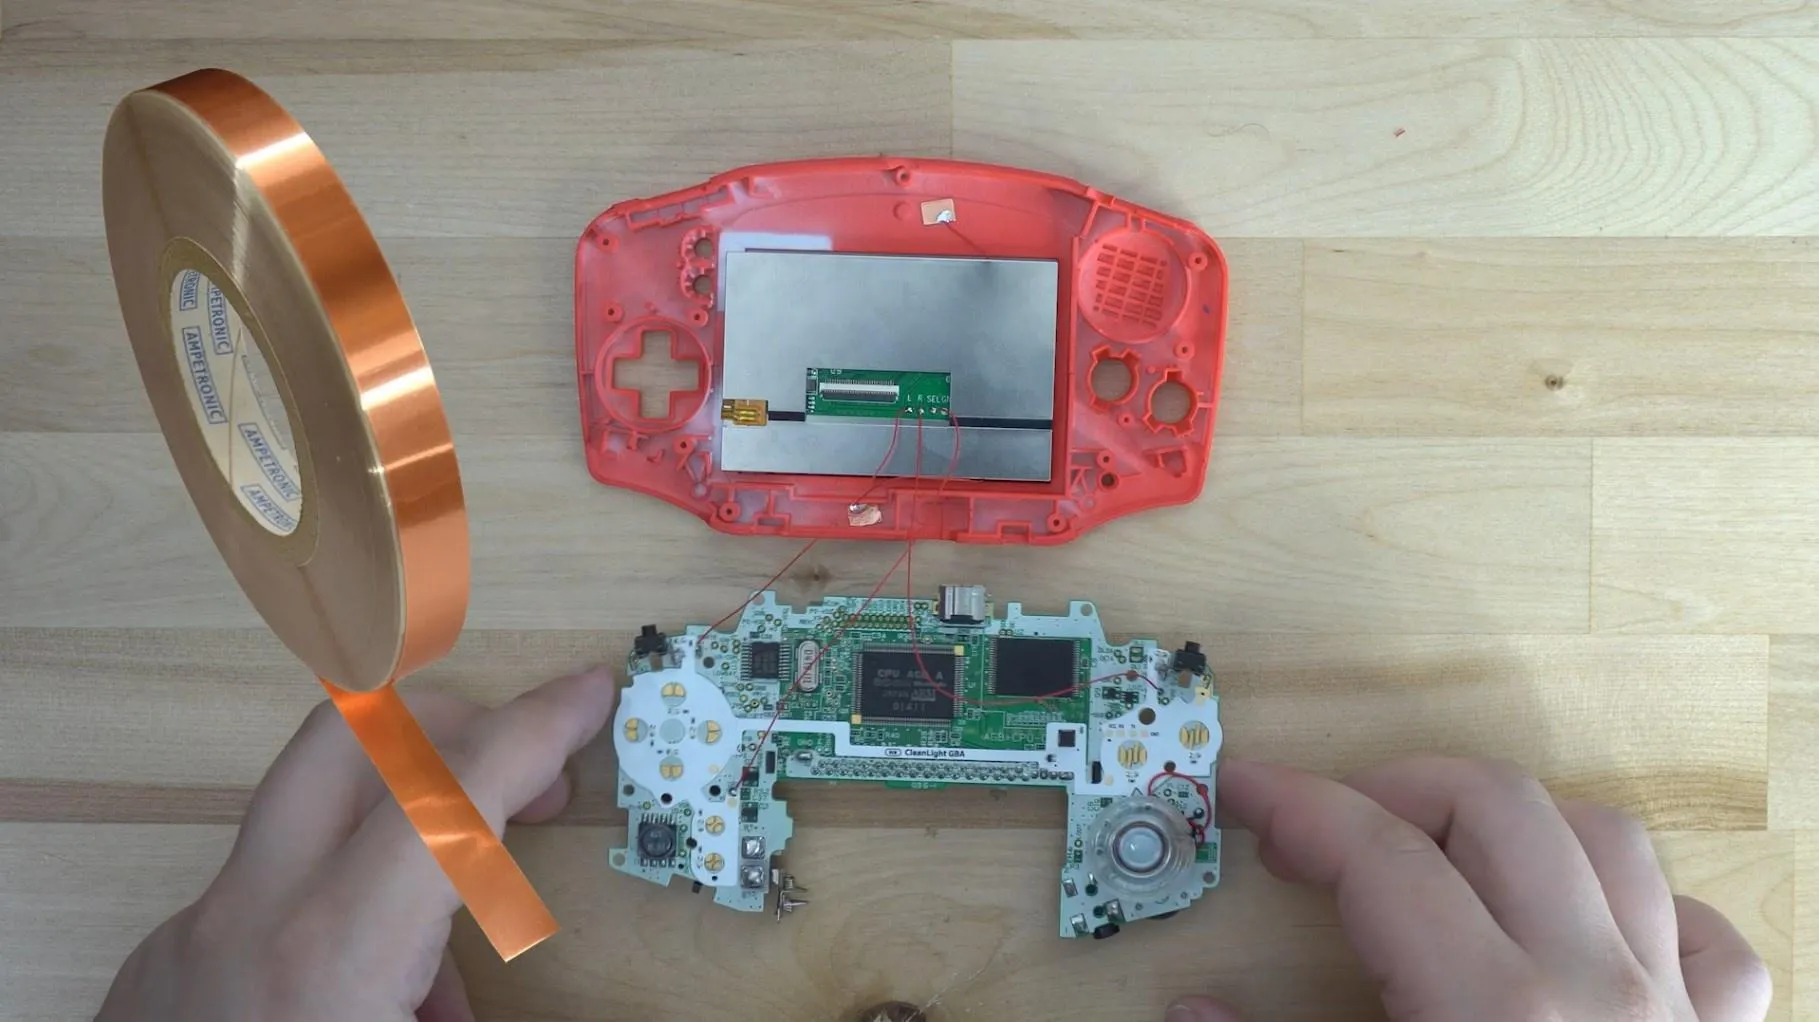
Now we can connect the ribbon cable from the display PCB. The black side of the cable must face up.
From this point on, the console can be reassembled as usual. Insert the buttons and their rubber membranes. Insert the light pipe.
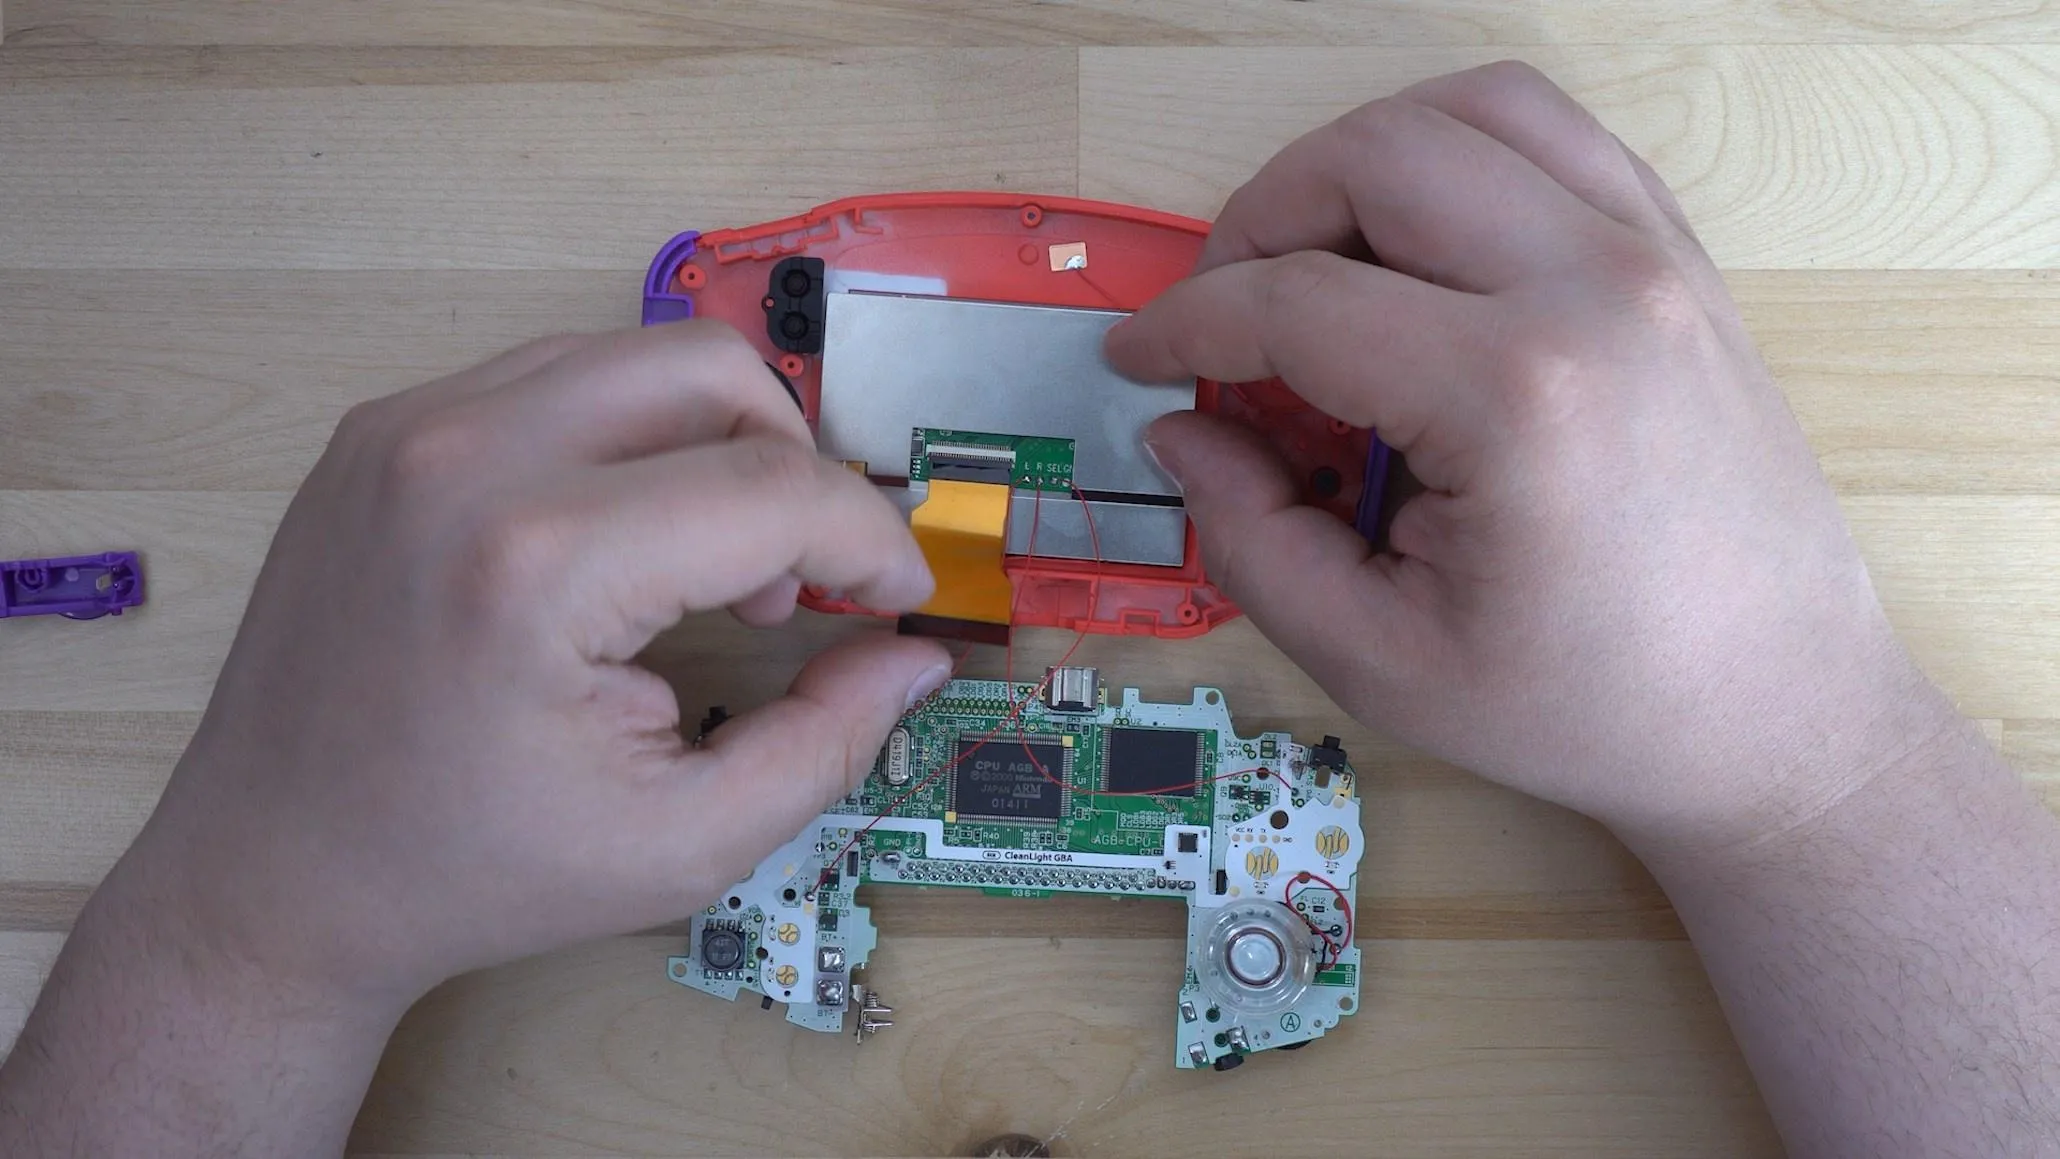
Now we can flip the mainboard over and place it into the console’s shell. Then plug in the ribbon cable with the gold contacts facing up. If the shoulder buttons come loose, you can put them back in at the end.
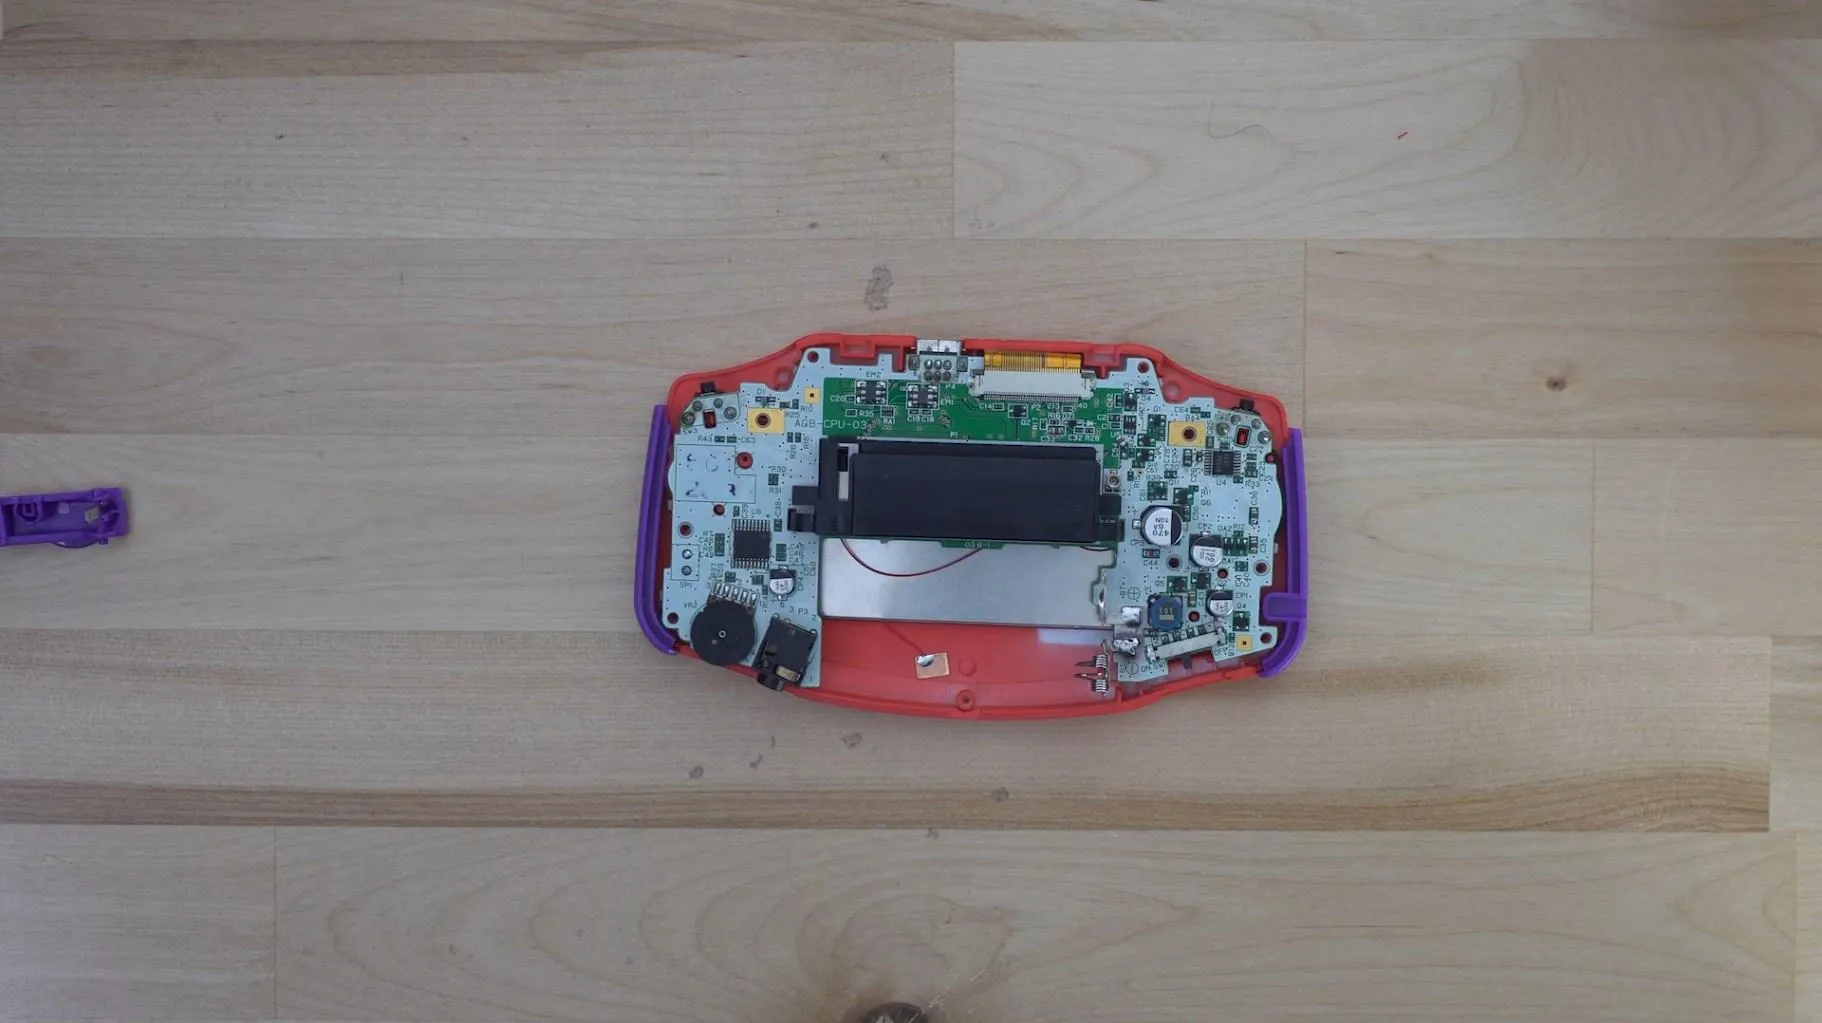
Once the console is fully assembled, you can test it!
- Turn on the console and check that the display works correctly.
- Test the touch sensors and the buttons to make sure everything responds properly.
Have fun with your modded Game Boy Advance!
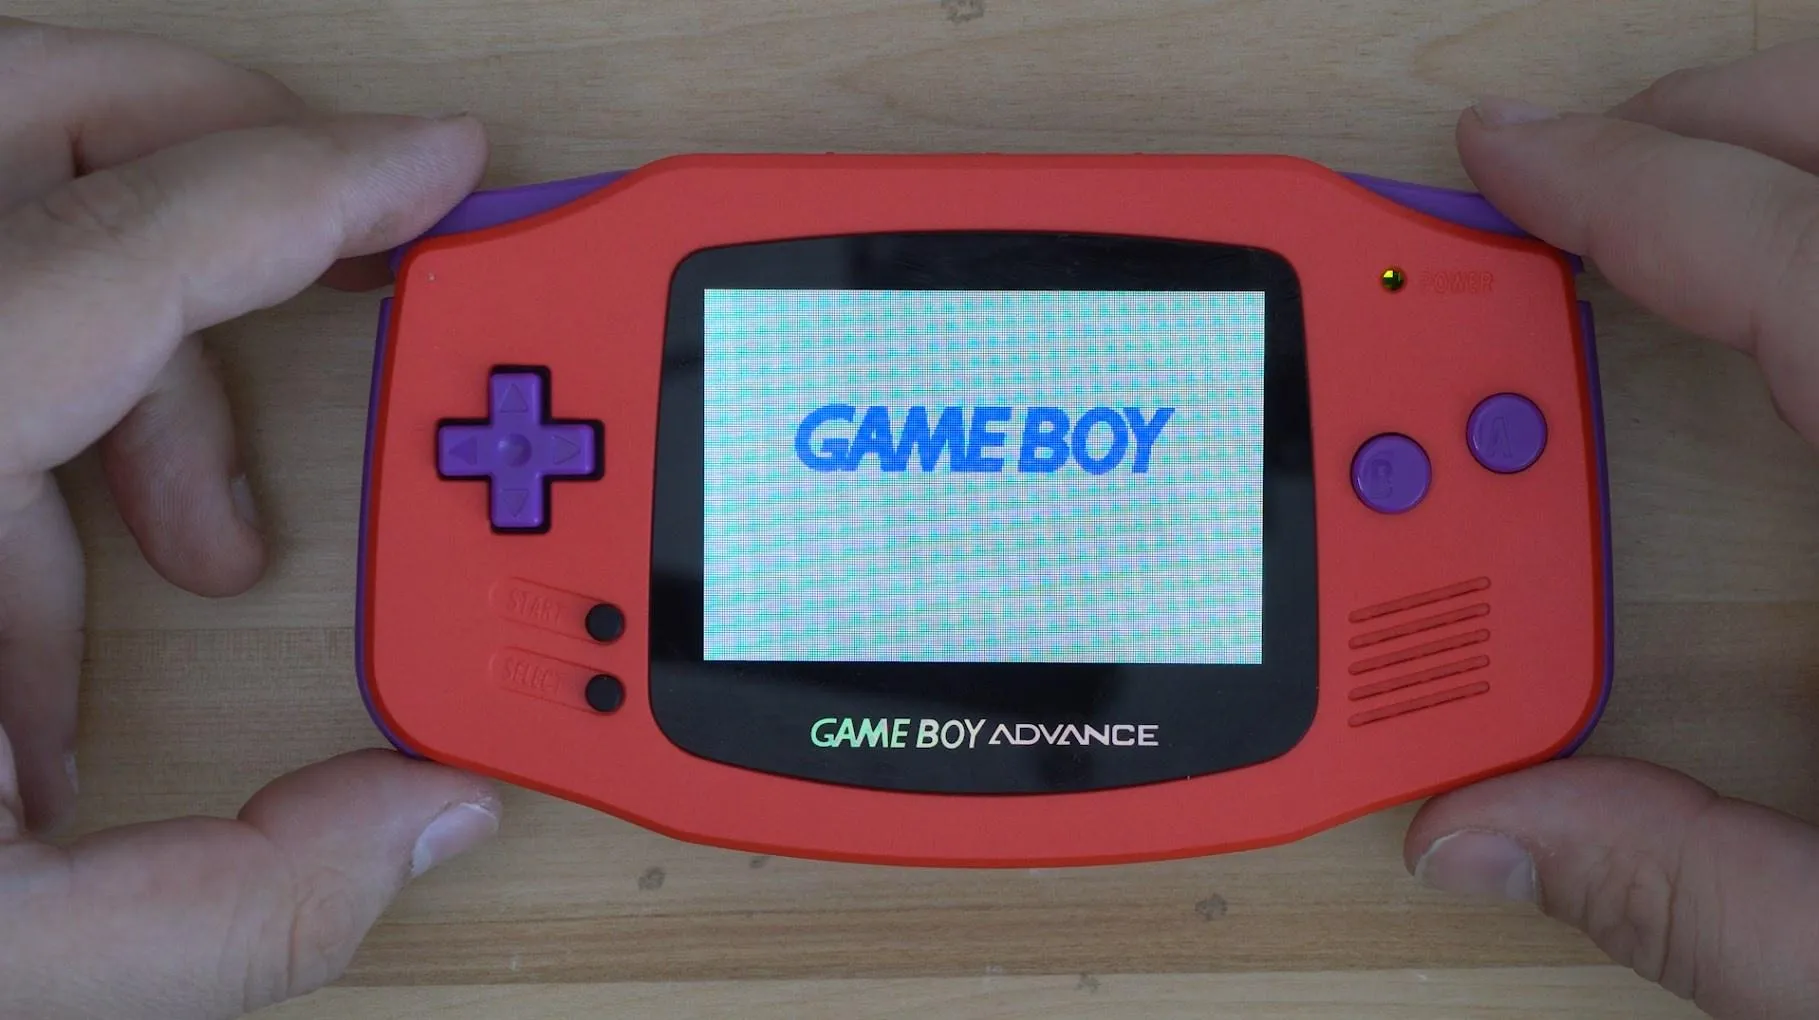
Operation
Section titled “Operation”To use the OSD (On-Screen Display), hold Select, L and R at the same time for one second. This opens the OSD menu.
- Brightness is selected by default.
- L decreases the brightness.
- R increases the brightness.
- To switch between options, press Select.
To close the OSD, simply repeat the opening procedure: hold Select, L and R for one second.