Cleaning and Replacing the Power Switch
Many power issues on retro handhelds can be fixed by thoroughly cleaning the power switch. This guide shows you how, step by step.
Common symptoms
Section titled “Common symptoms”- The console powers off at the slightest touch of the power switch
- The battery indicator light flickers between green and red (GBA models)
- The screen fades out slowly when powering off
- You hear a noise when powering on, but get no picture or sound
Supplies
Section titled “Supplies”Required
Section titled “Required”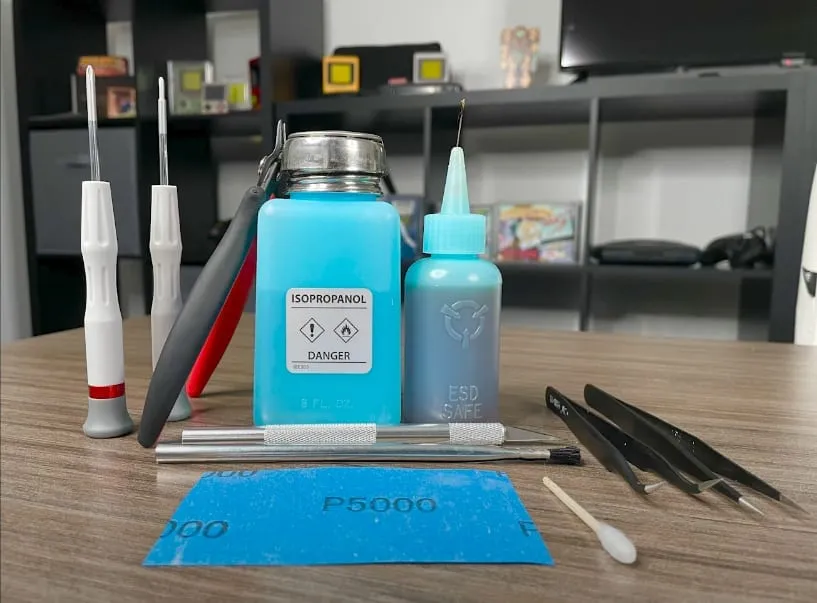
- Screwdriver bits for your console (commonly J0, P0 and Y0, though this may vary)
- Soldering iron, recommended 365 °C
- Isopropyl alcohol (99% recommended)
- Razor blade
- 100% cotton swab (no plastic handle)
- Flush cutters
- Tweezers
Recommended
Section titled “Recommended”- Solder flux
- Leaded solder
- High grit sandpaper
Written guide
Section titled “Written guide”Disassemble your console completely before you start. If this is your first time cleaning a switch, it’s recommended to fully remove the mainboard before doing any soldering.
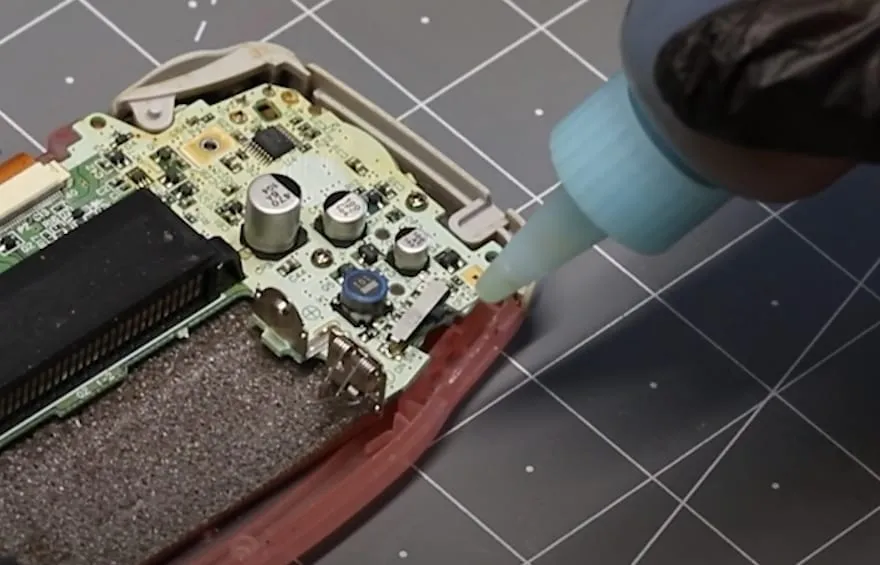
Recommended: apply flux and leaded solder
Section titled “Recommended: apply flux and leaded solder”Leaded solder has a lower melting point than the solder used in production. This lets you desolder the switch cover at a lower temperature than you would otherwise need.
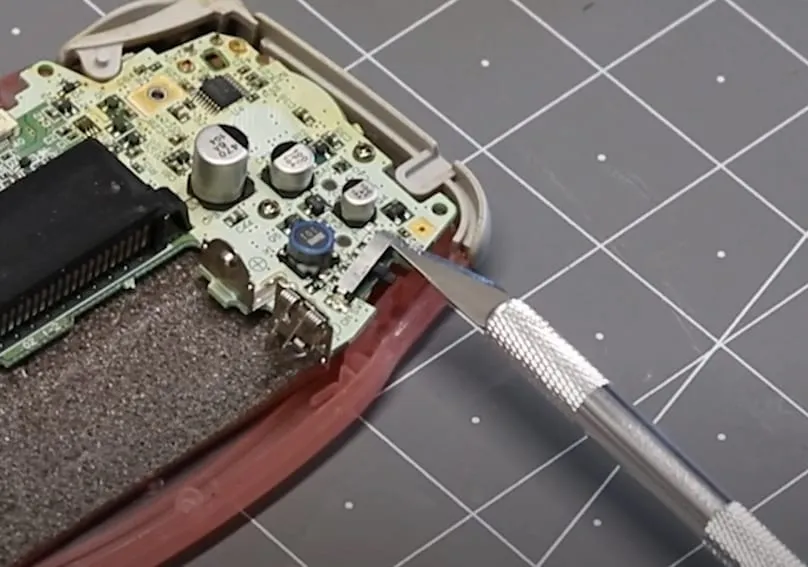
Insert the blade
Section titled “Insert the blade”Carefully slide your blade under the switch cover. You’ll use it to lift the cover in the next step. Applying pressure can damage the board, so be extra gentle here.
Desolder and lift
Section titled “Desolder and lift”Heat the side of the switch closest to your blade with your soldering iron. Once the solder is molten, twist the blade to lift the switch cover.
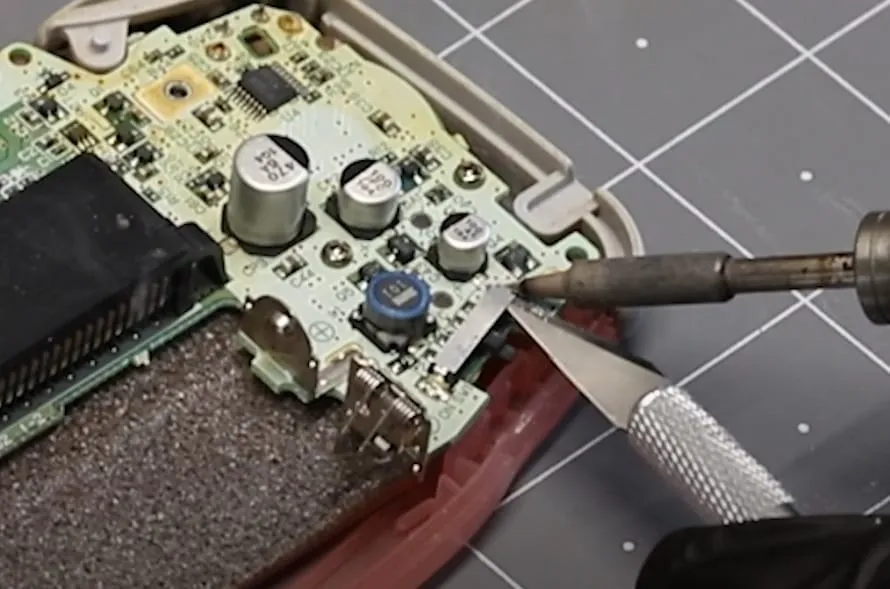
Remove the switch cover
Section titled “Remove the switch cover”Heat the part of the cover that is still attached and lift the cover off with your tweezers.
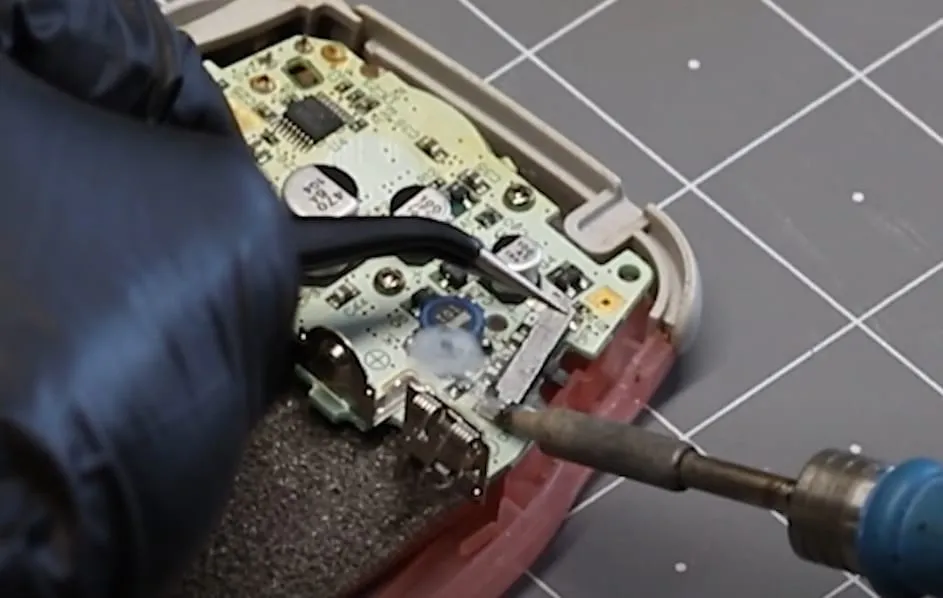
Scrub with a modified cotton swab
Section titled “Scrub with a modified cotton swab”Remove the power switch nub and set it aside for now.
Use a fresh cotton swab to apply a generous amount of isopropyl alcohol to the inside of the power switch.
Cut the tip off one end of your cotton swab at a 45-degree angle with your blade or scissors. This exposes the compacted part of the swab. Use this angled tip to scrub the inside of the switch until you are happy with the result.
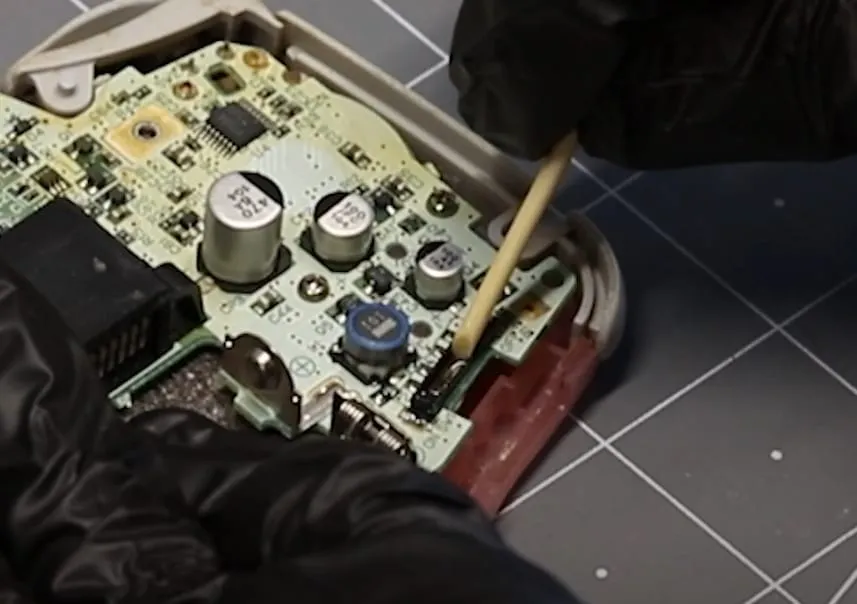
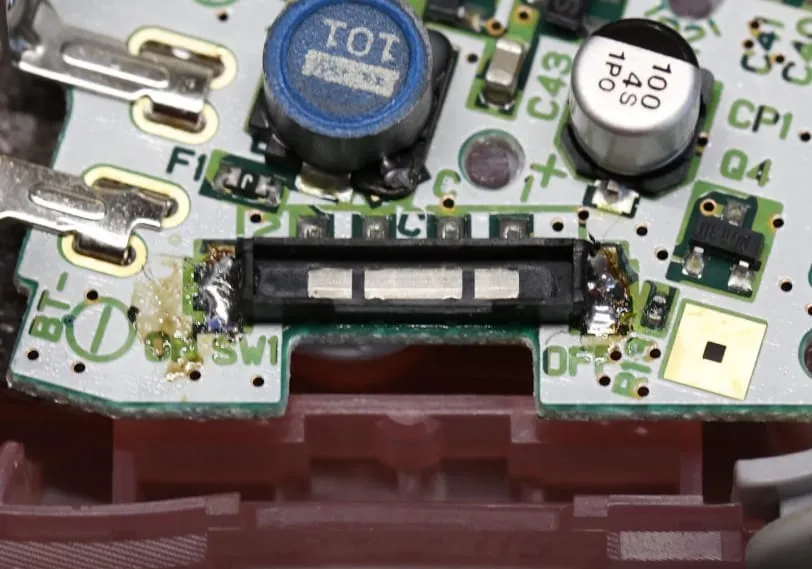
Optional: sand or scrape the switch contacts
Section titled “Optional: sand or scrape the switch contacts”If the inside of your switch is heavily oxidized, you can cut a thin strip of sandpaper and sand the inside of the switch. This is an advanced step and only makes sense if the cotton swab won’t remove visible corrosion or oxidization.
You can use the tip of your modified cotton swab to press the sandpaper strip into the switch.
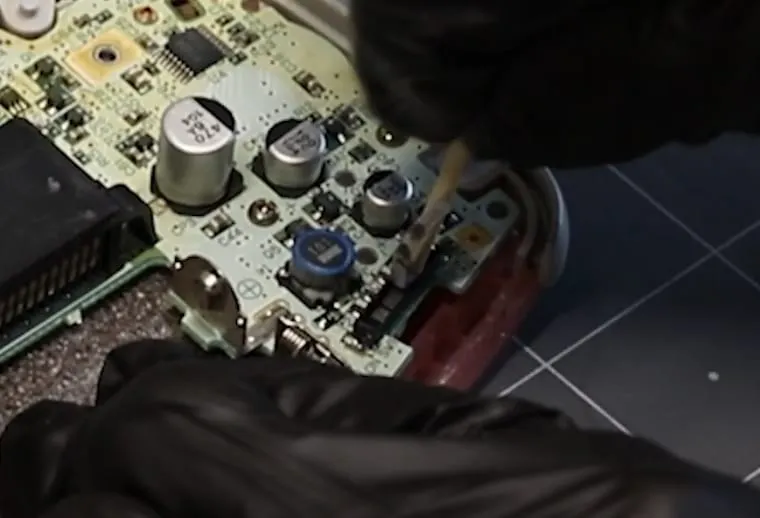
If you don’t have sandpaper handy, you can try gently scraping off corrosion with the tip of your tweezers.
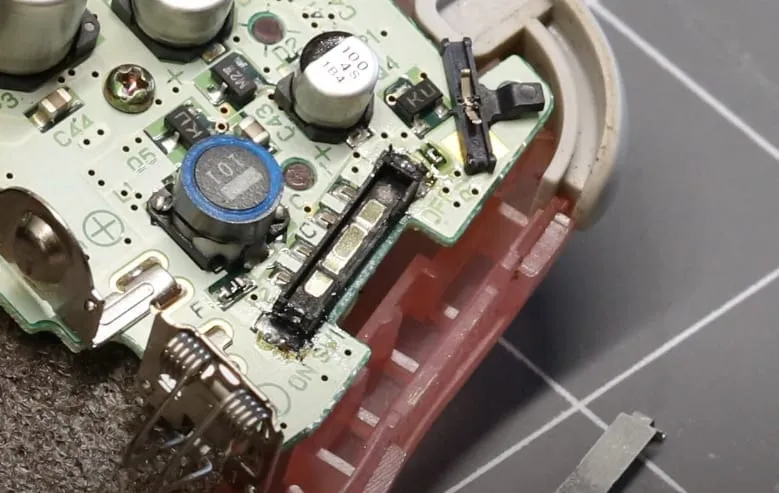
Clean the switch legs
Section titled “Clean the switch legs”Before reassembling the switch, it’s recommended to brush the underside of the switch nub, with its two metal legs sticking up, using IPA.
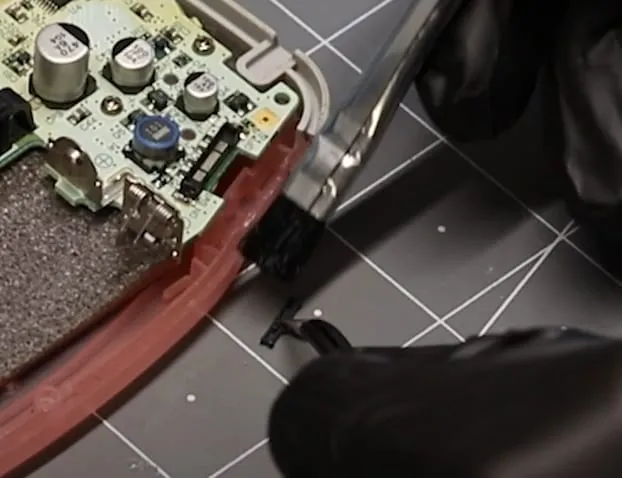
If the nub is heavily oxidized, hold the center of the metal piece in place and carefully scrape the tips that contact the metal pads with your blade.
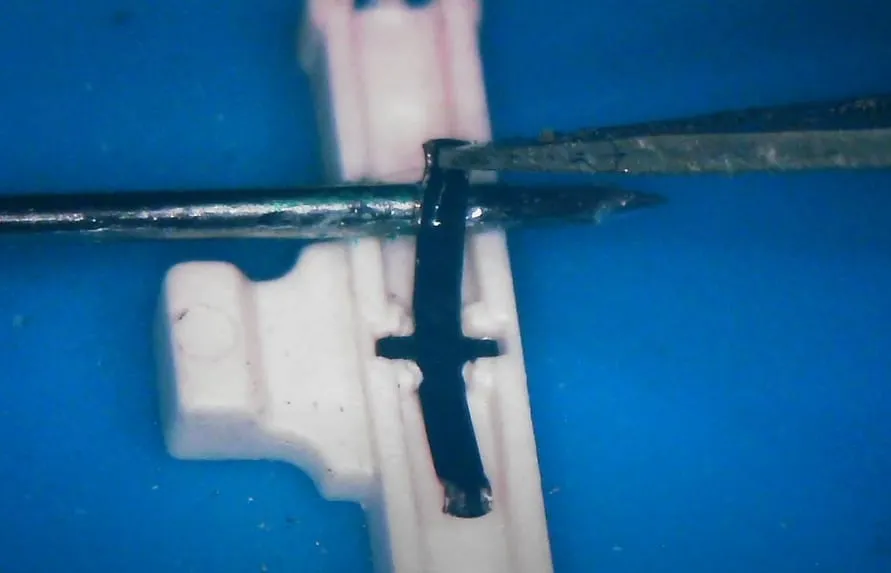
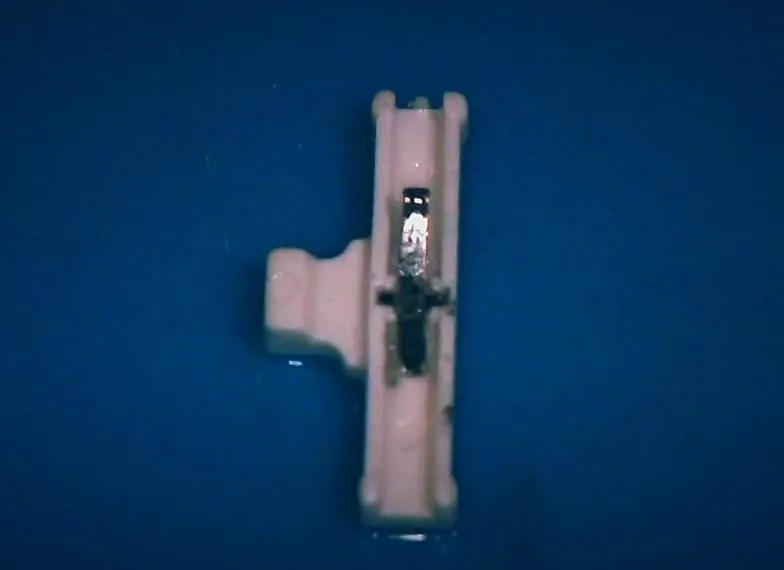
Reassemble
Section titled “Reassemble”Put the nub back into the switch housing and place the cover on top. Solder each side while pressing the cover down with your tweezers. Take your time to get a good fit.
Example: Game Boy Color
Section titled “Example: Game Boy Color”This is how the cleaning works on a Game Boy Color:
First, remove all the old solder from the pads holding the switch in place. Apply some flux to your solder wick and, using a big tip on your iron, wick away as much solder as you can from both pads.
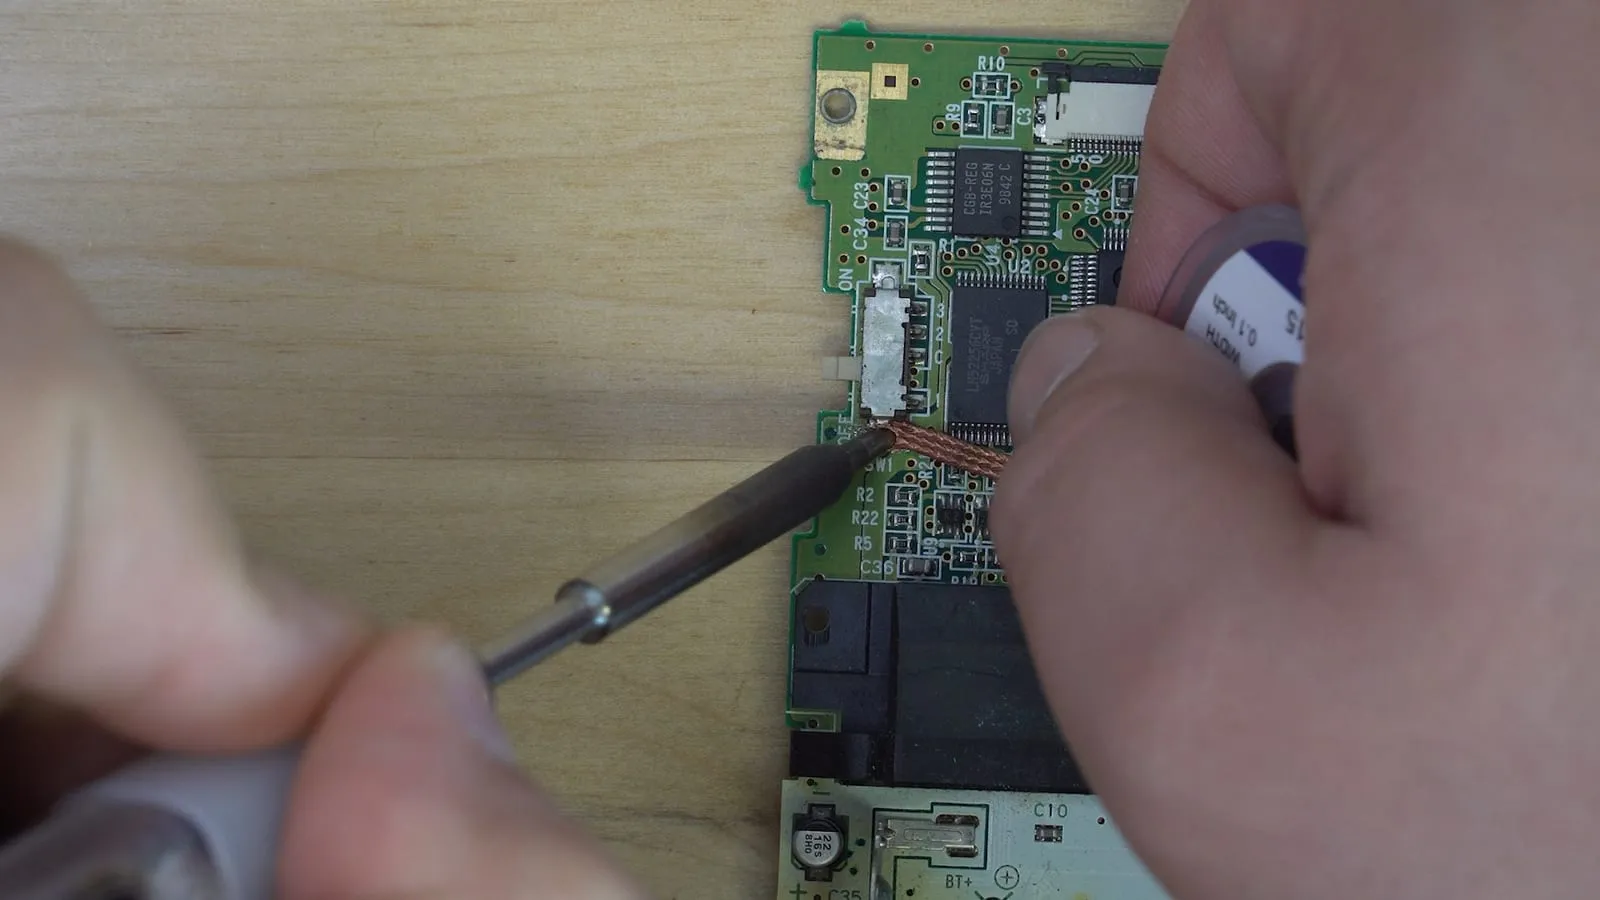
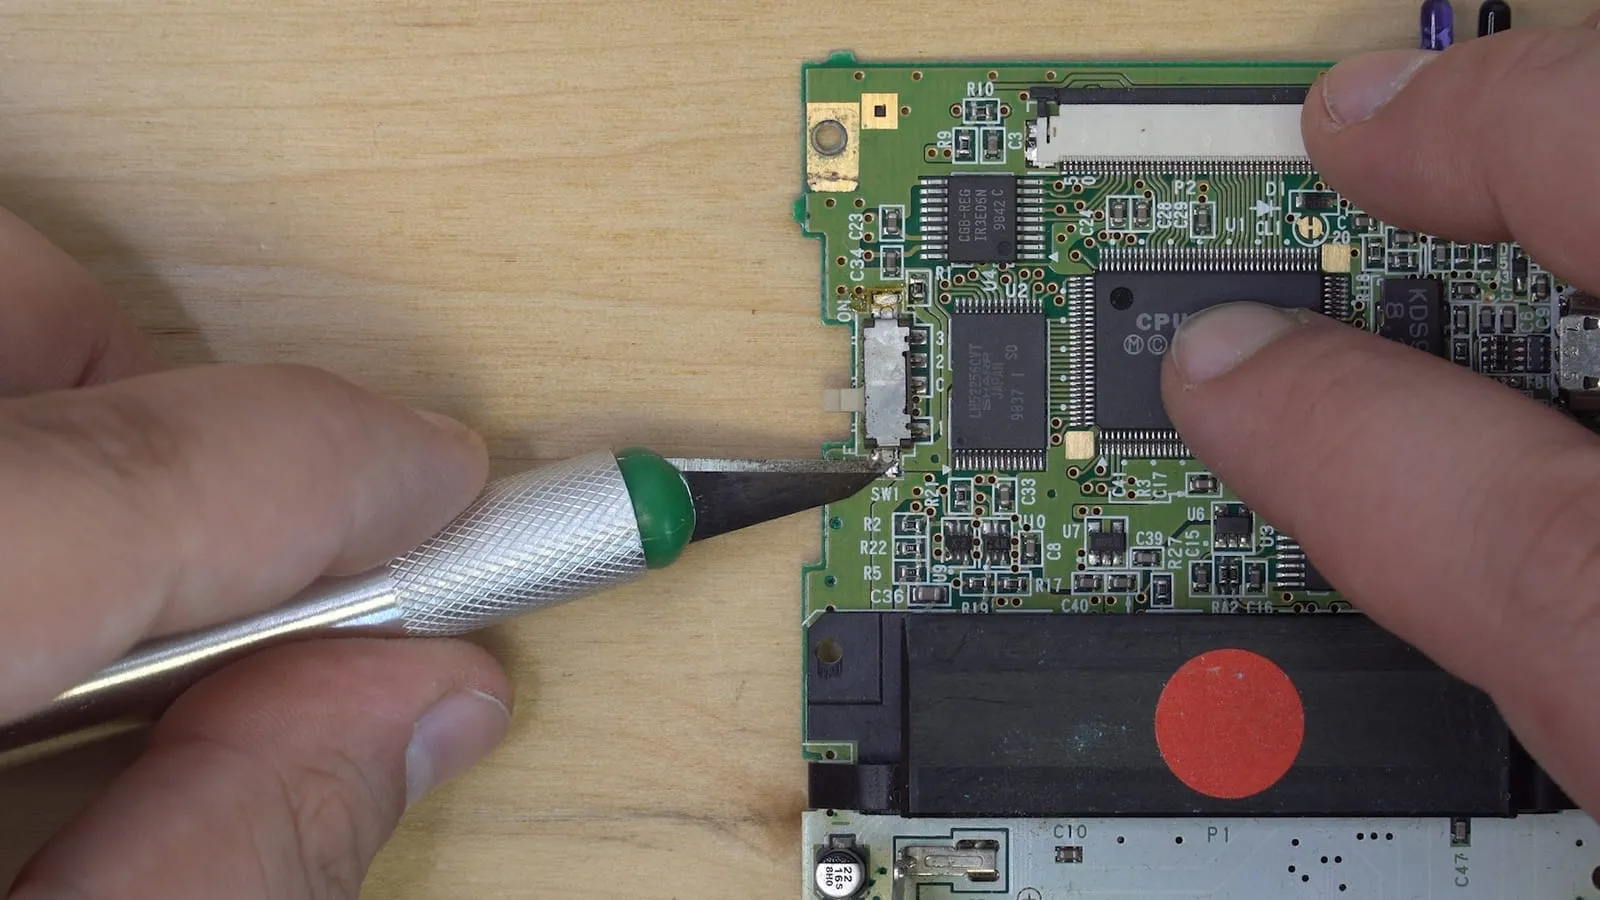
Even with the solder wicked away, a small amount still holds the metal cover in place. Heat the pad and slide a craft knife under the metal cover.
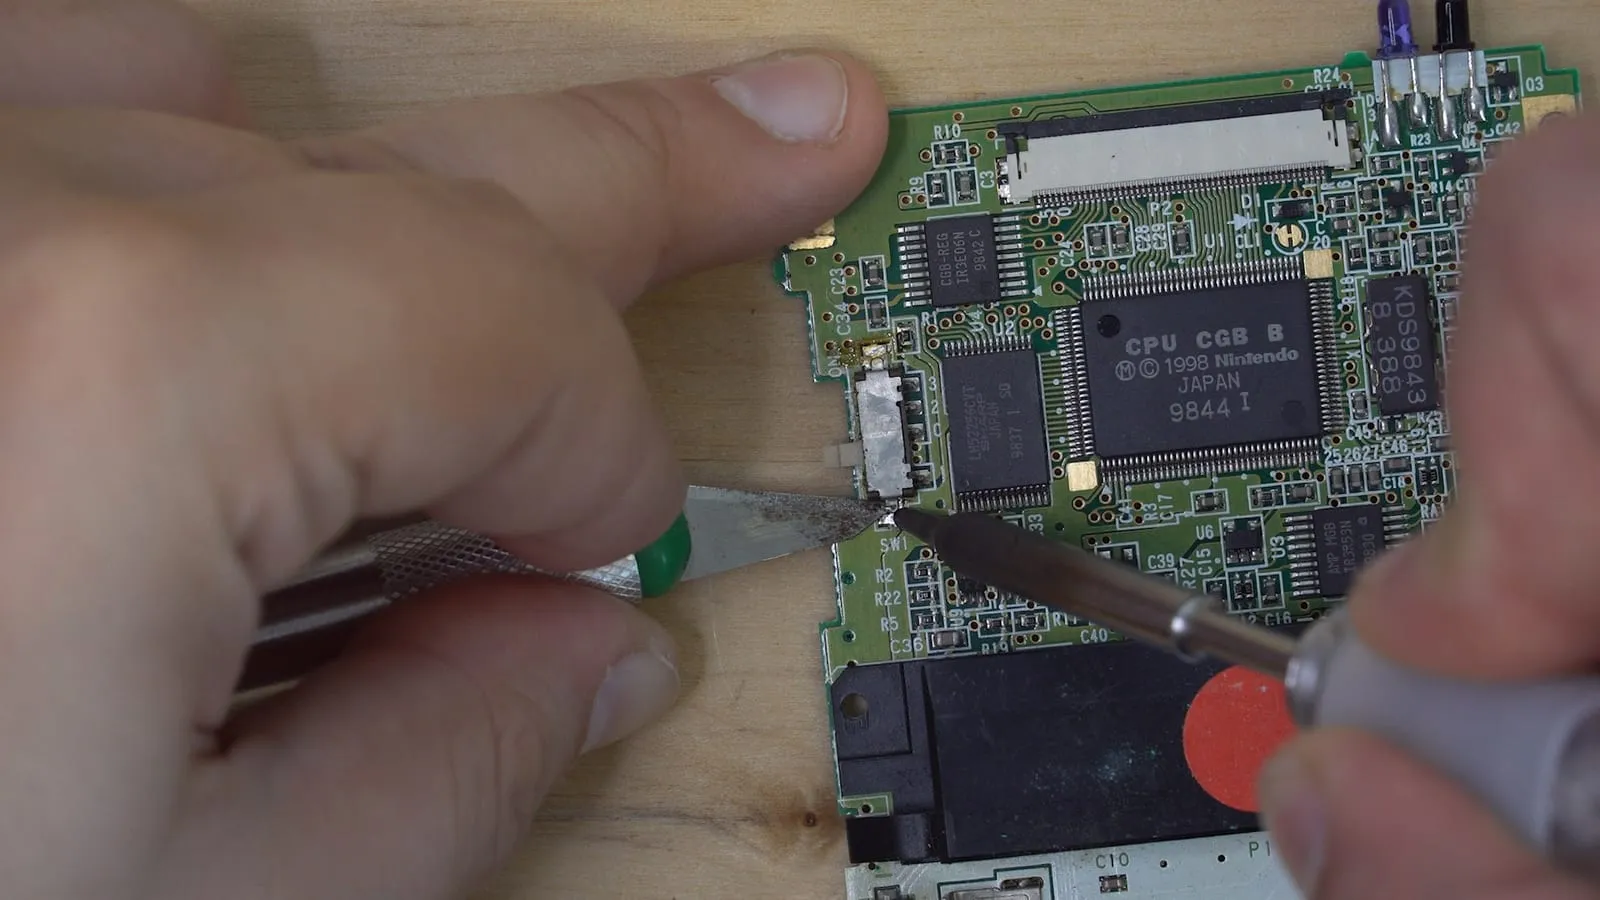
Once the knife is under the cover, let the solder cool, then carefully pry up the cover. You may need to hold the other side with your finger so it doesn’t move too much. Don’t slide the knife too far under the metal, or you’ll start prying on the brown plastic, which can damage the traces on the motherboard.
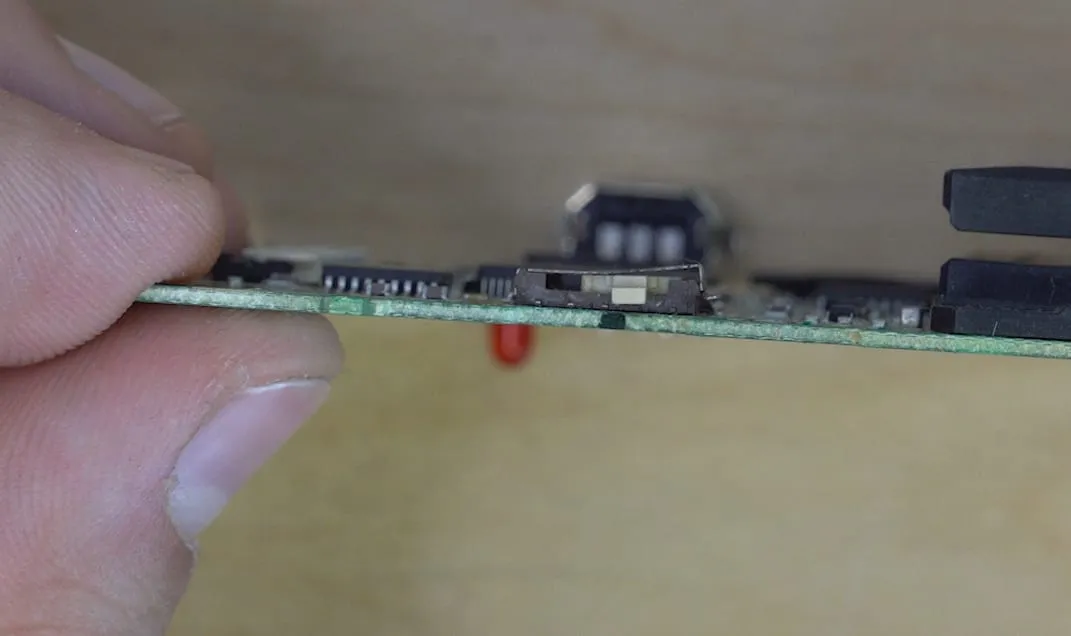
Once one side of the cover is up, grab the cover with tweezers and heat the other pad to remove it.
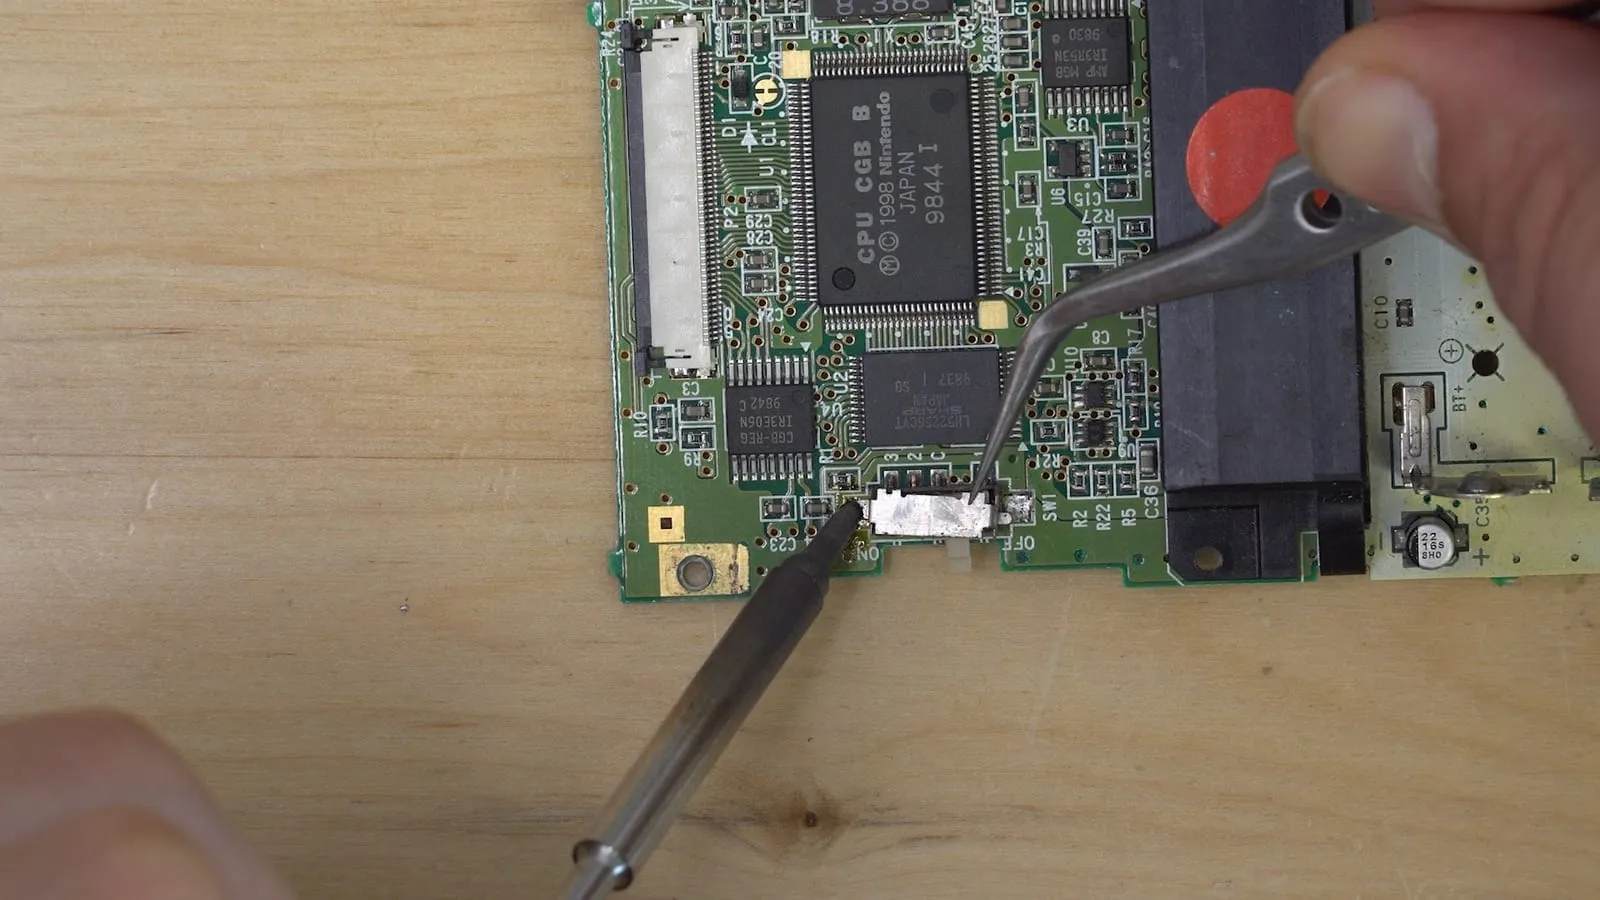
Now remove the metal cover and take the actual switch out of its housing. To clean the tracks the switch slides on, cut one end off a cotton swab. Dip the stick in alcohol and rub it over the tracks to clean them.
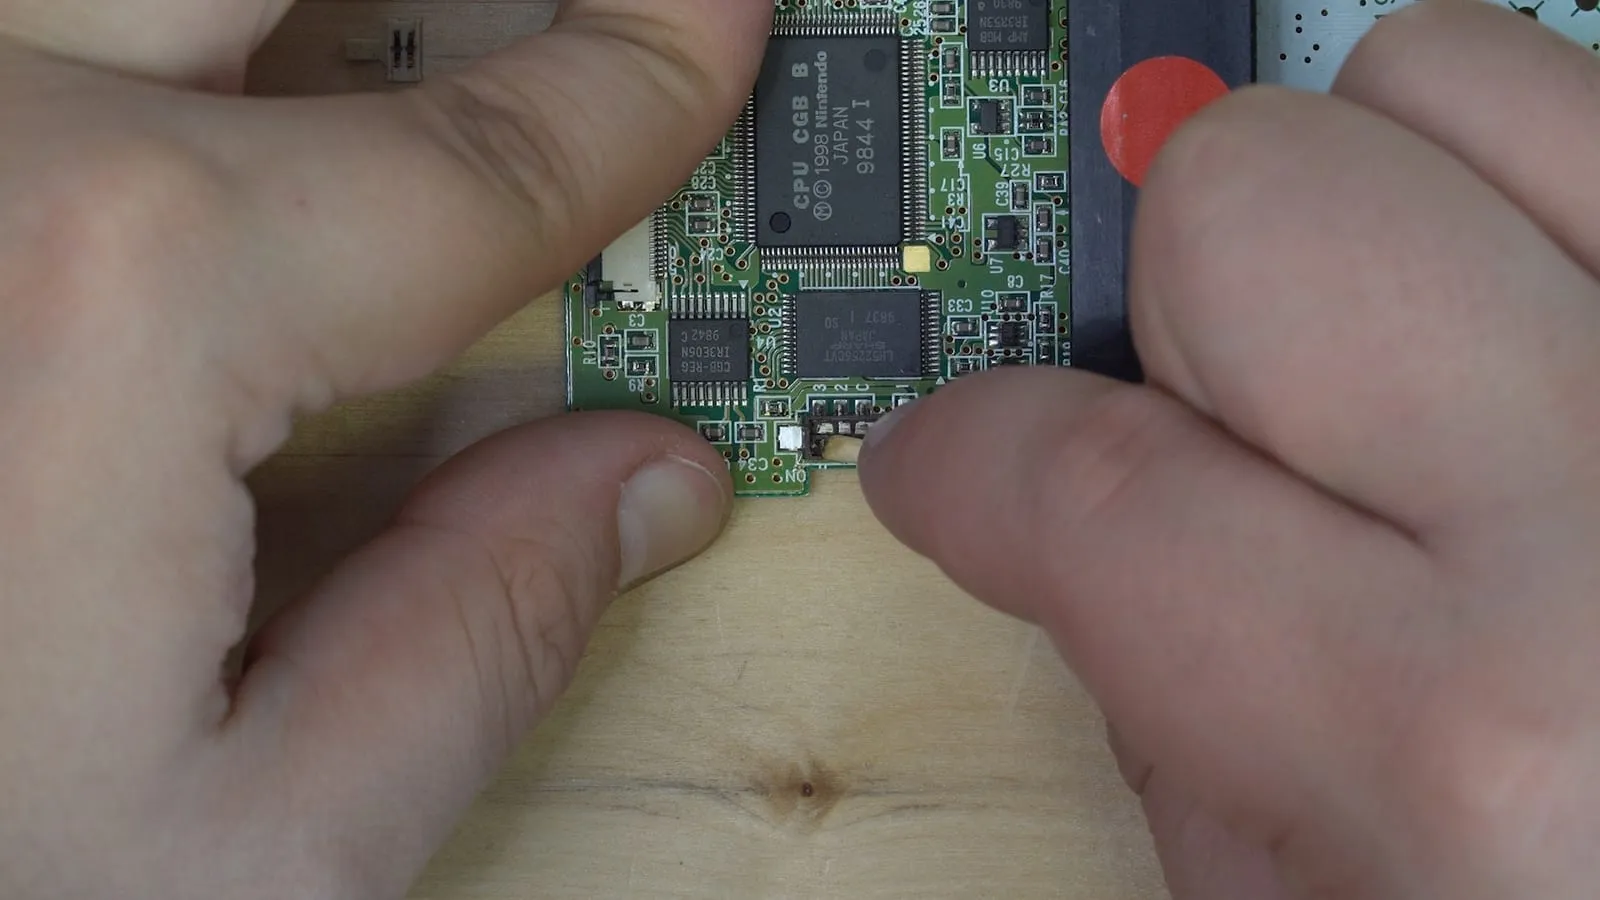
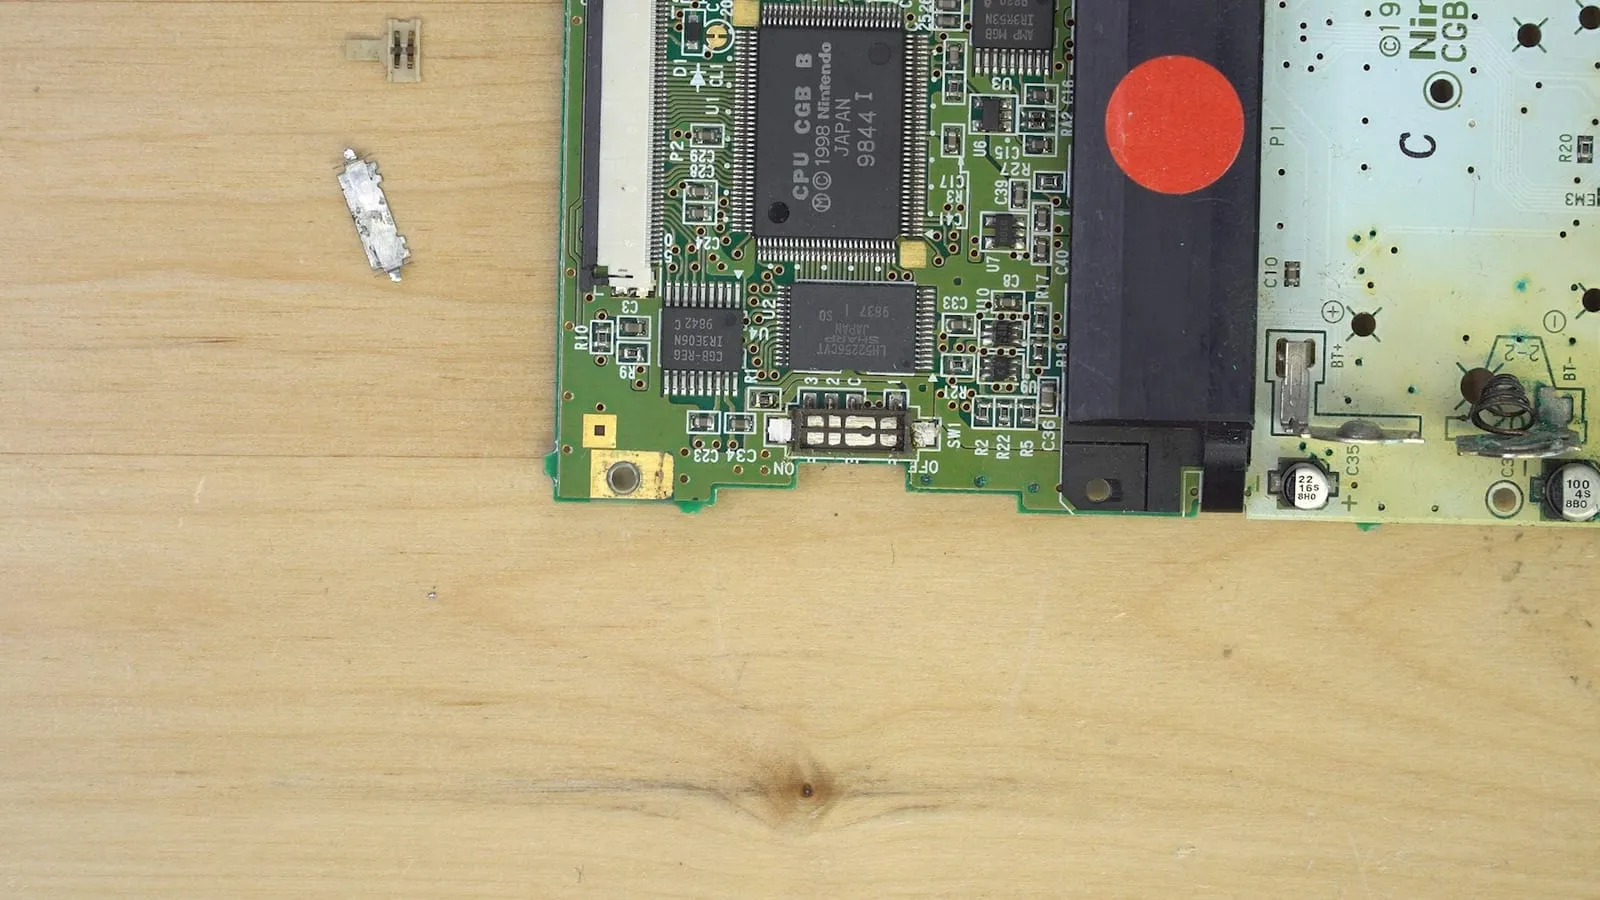
The metal should be nice and shiny before you move on to the switch itself. When you’re happy with the tracks, brush the small metal parts of the switch with alcohol.
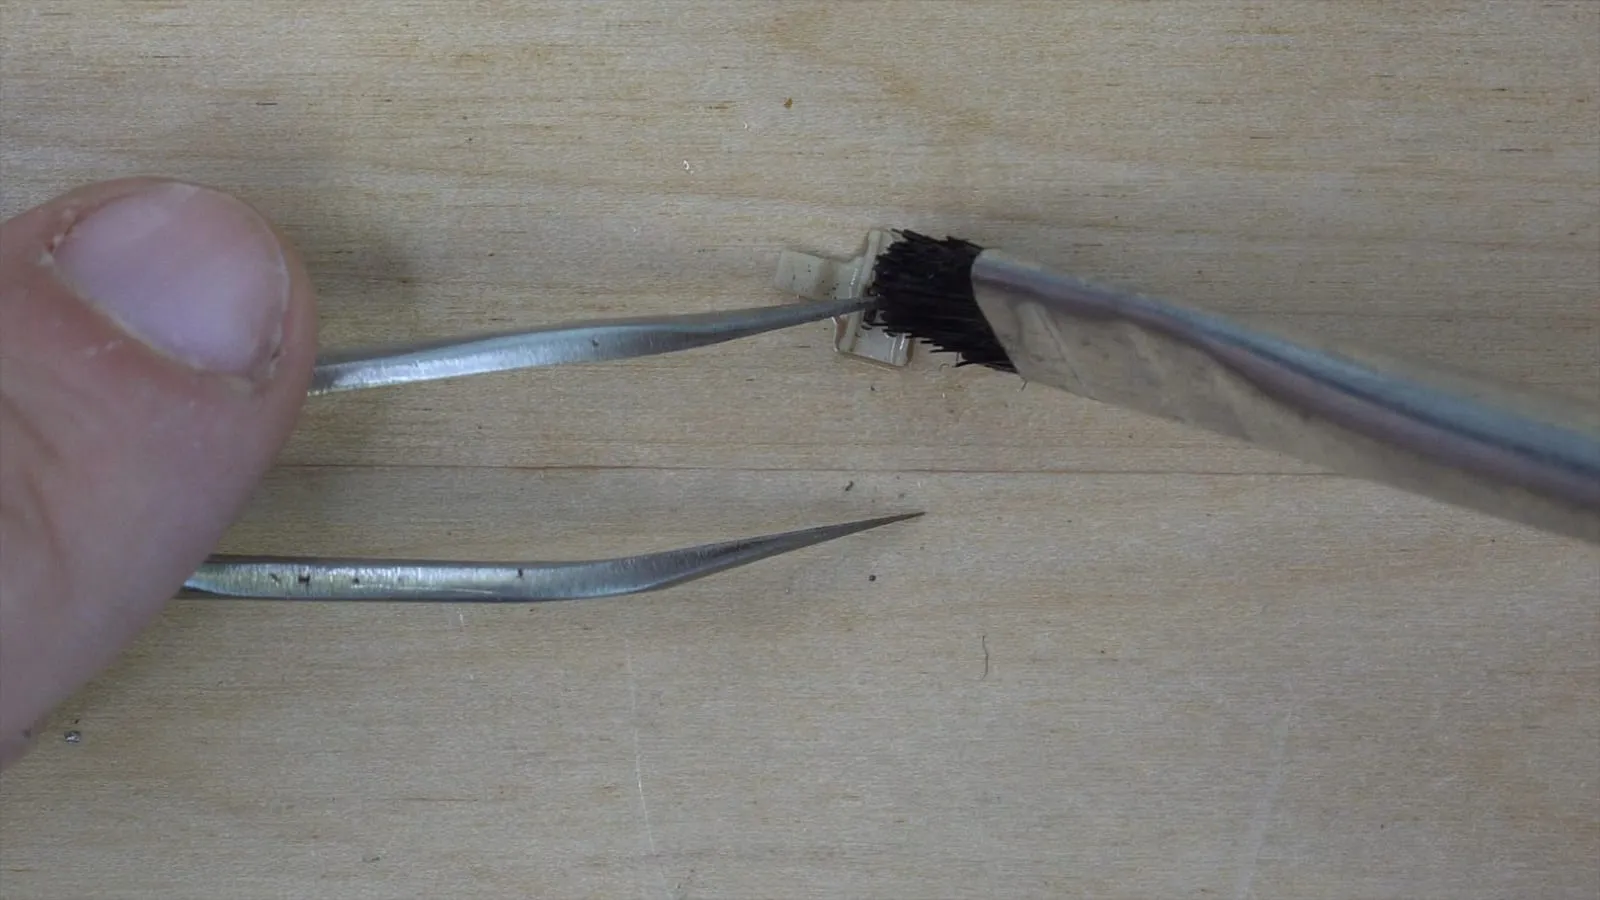
Once the switch is clean, reassemble it: place the switch back into the tracks and put the metal cover over the switch and tracks.
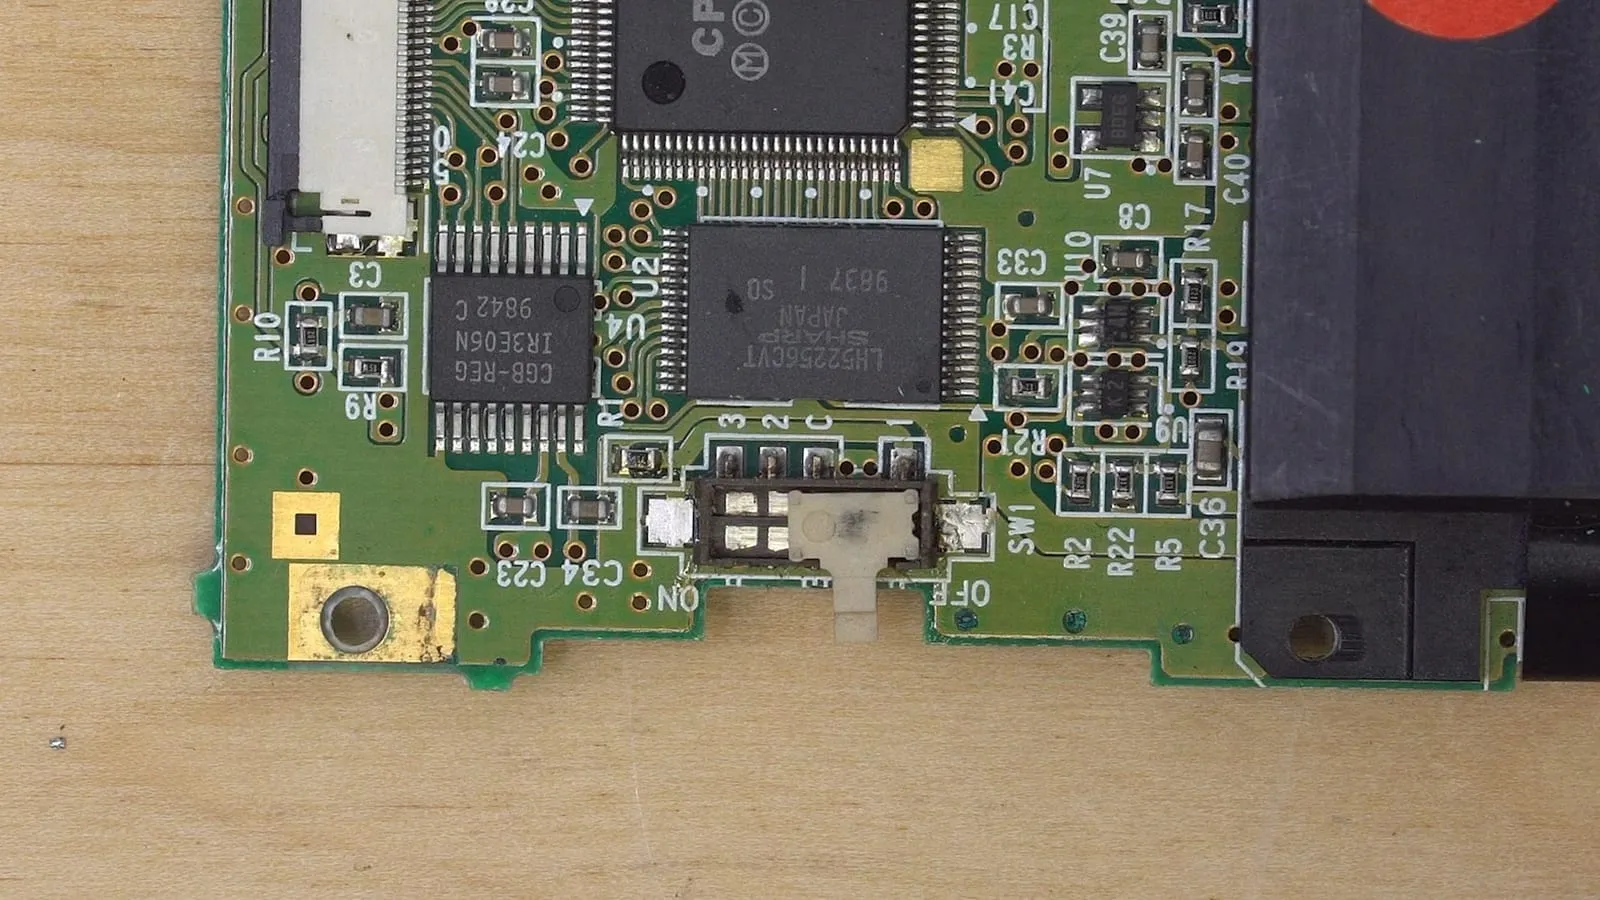
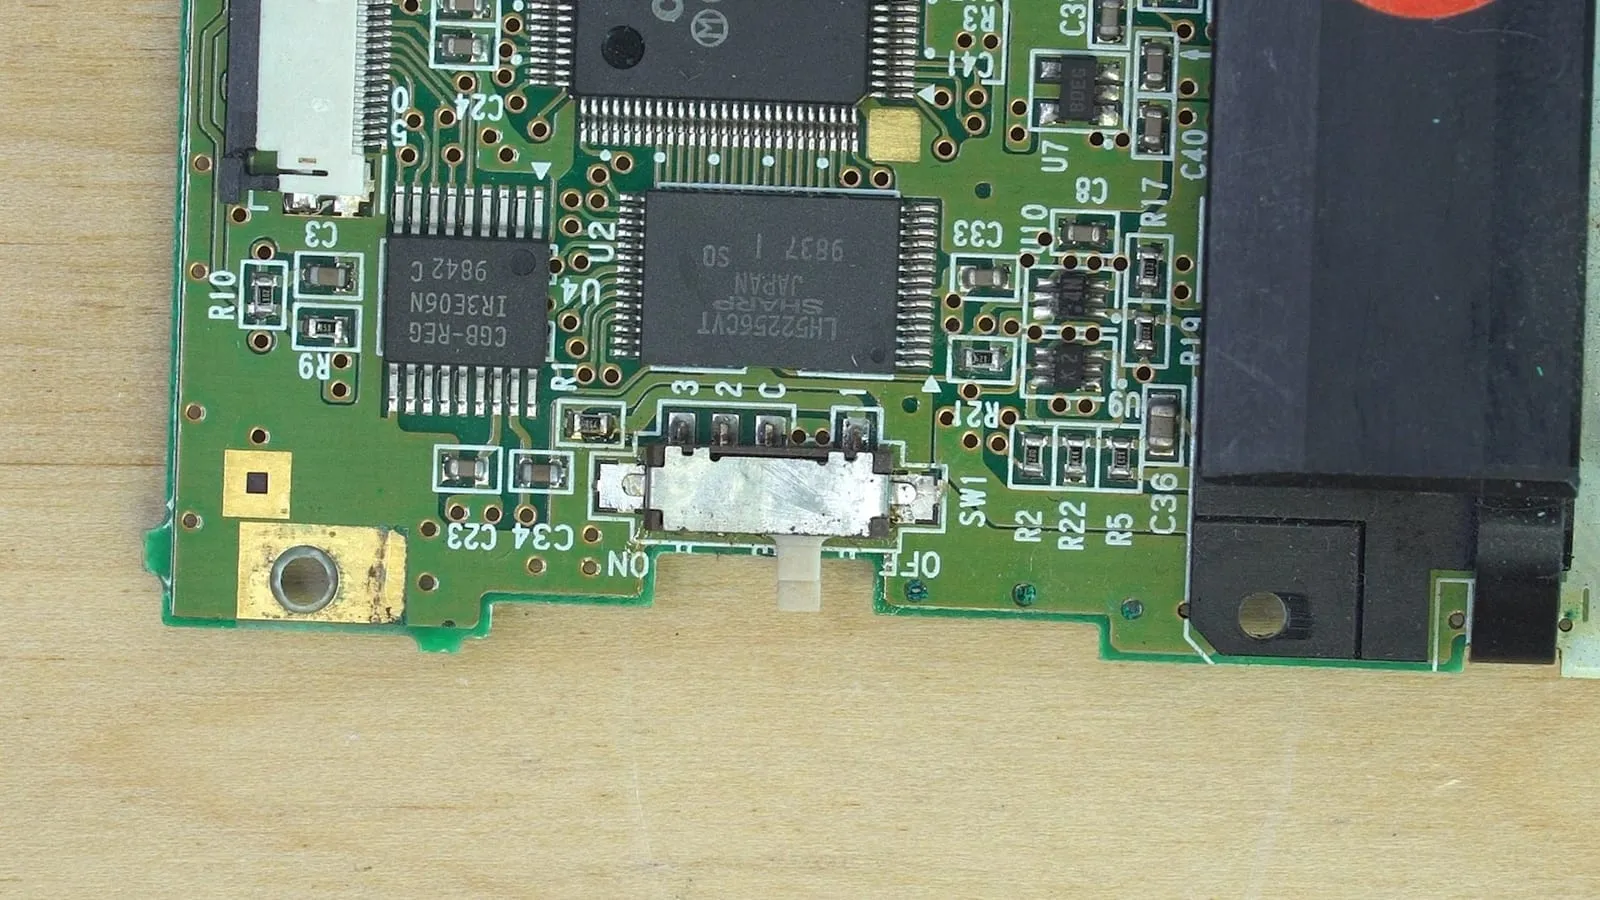
The final step is to solder the two pads that hold the metal cover down. Recreate what Nintendo did at the factory by only wrapping solder around the leg of the metal cover.
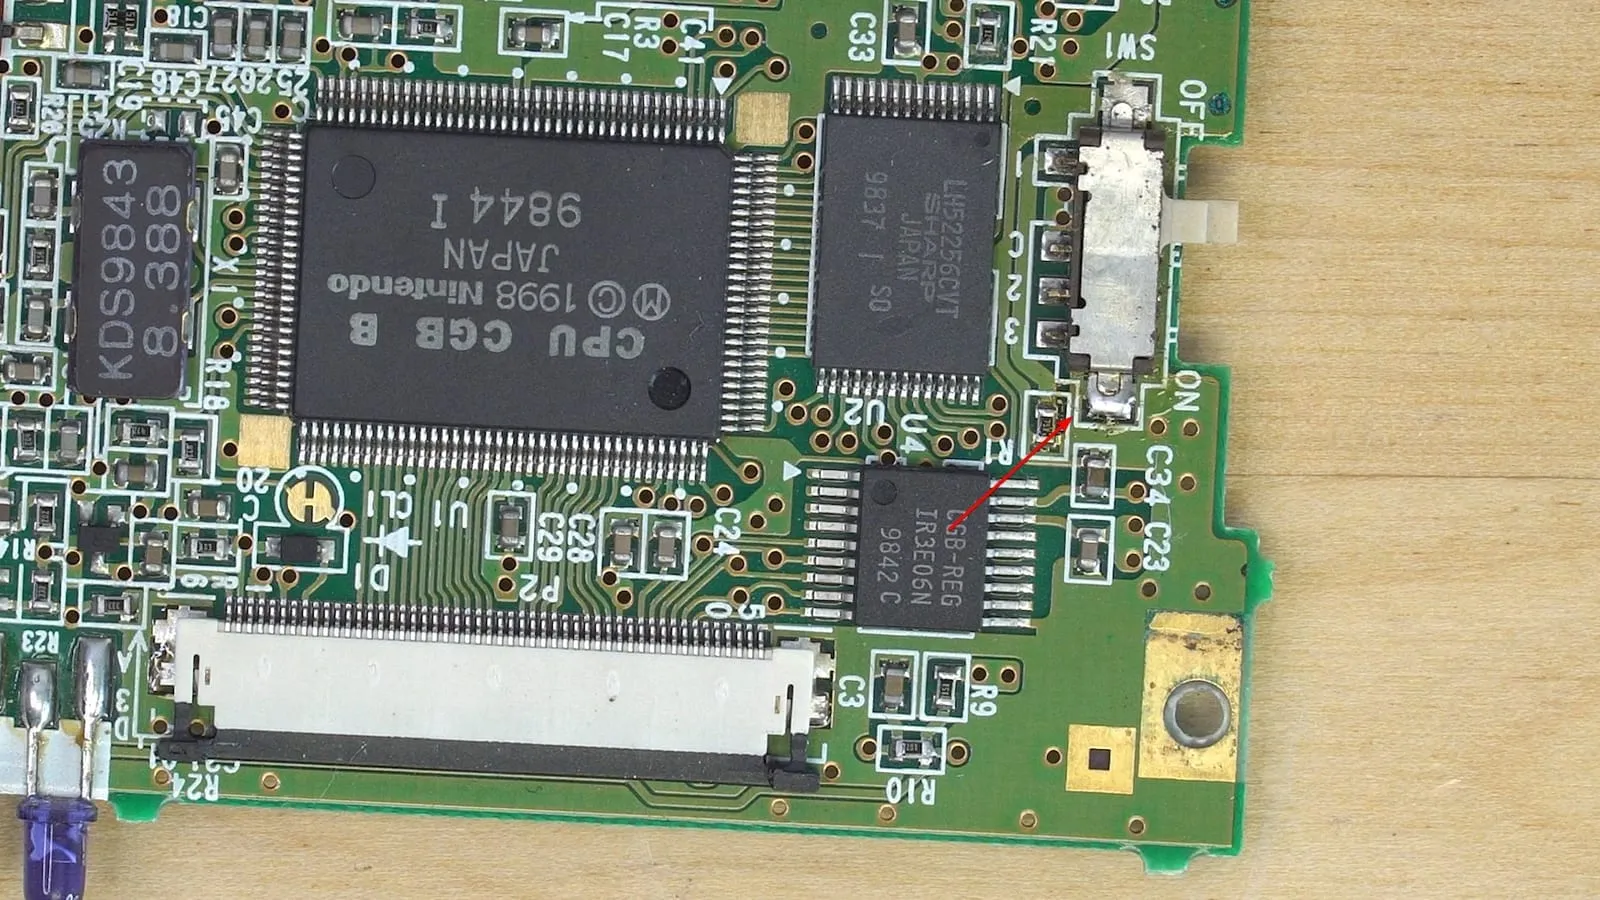
That way you can repeat the process later when you want to clean the switch again. You now have a fully cleaned power switch!
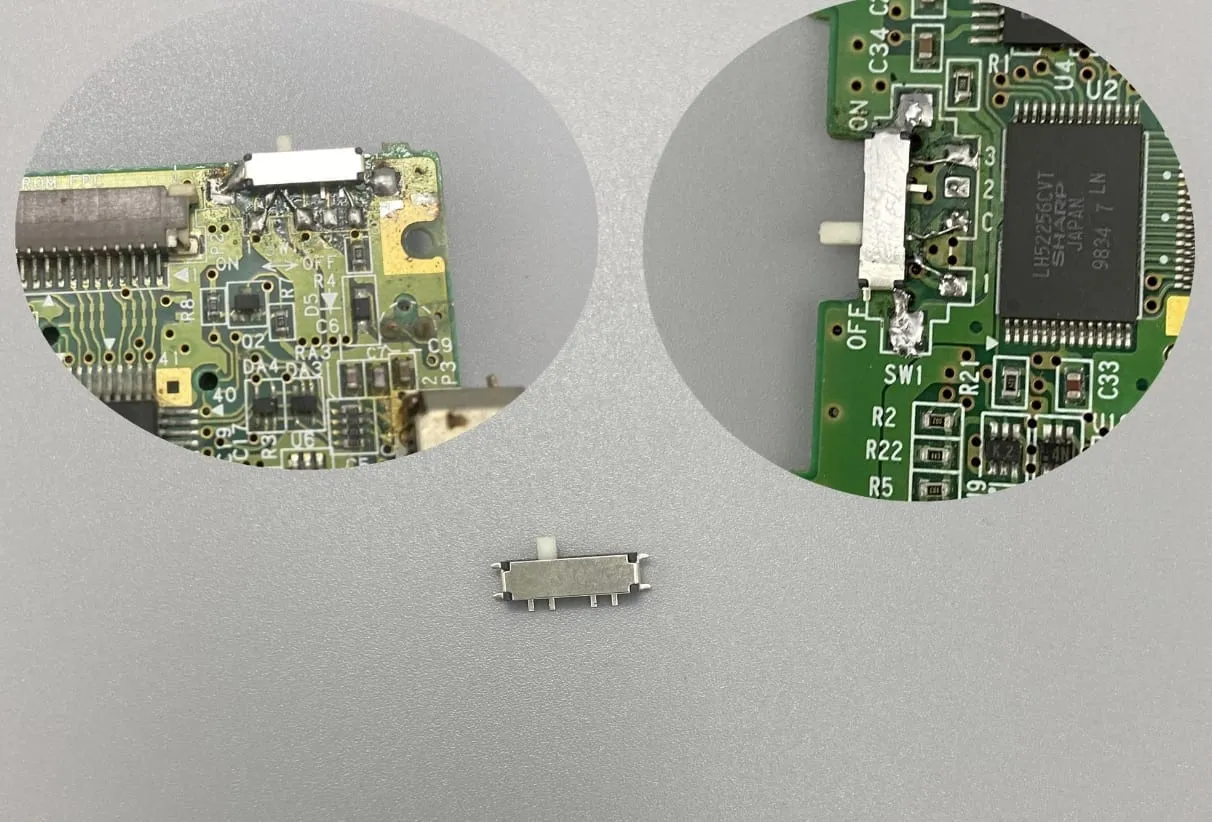
Replacement switch too small?
Section titled “Replacement switch too small?”Did you just receive a new power switch and you’re unsure whether it’s the right part because of the size difference?
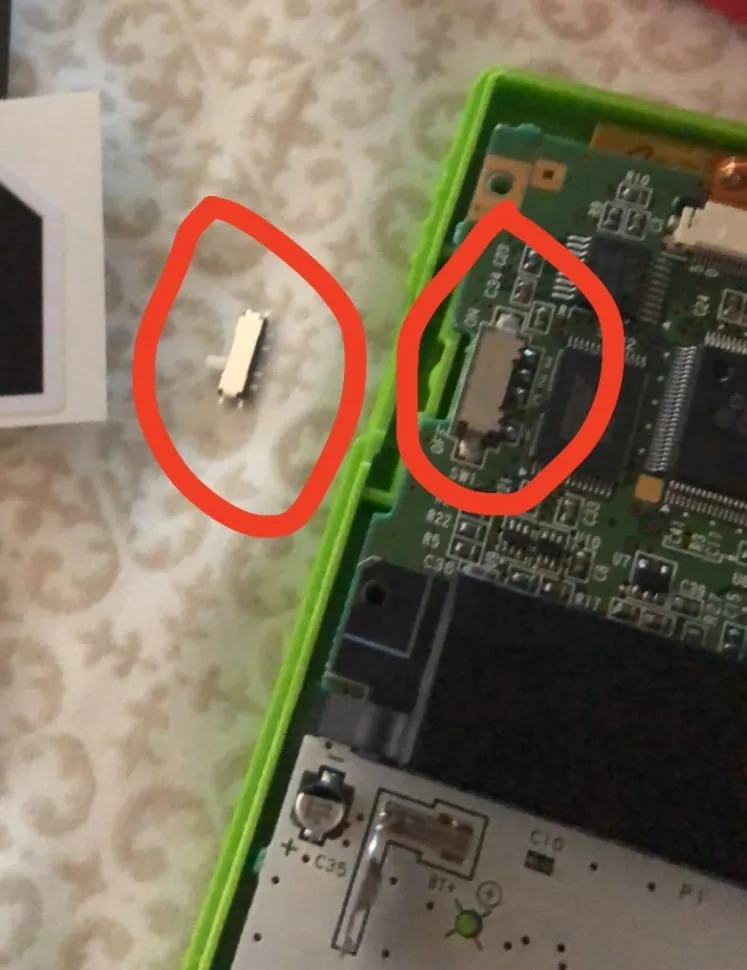
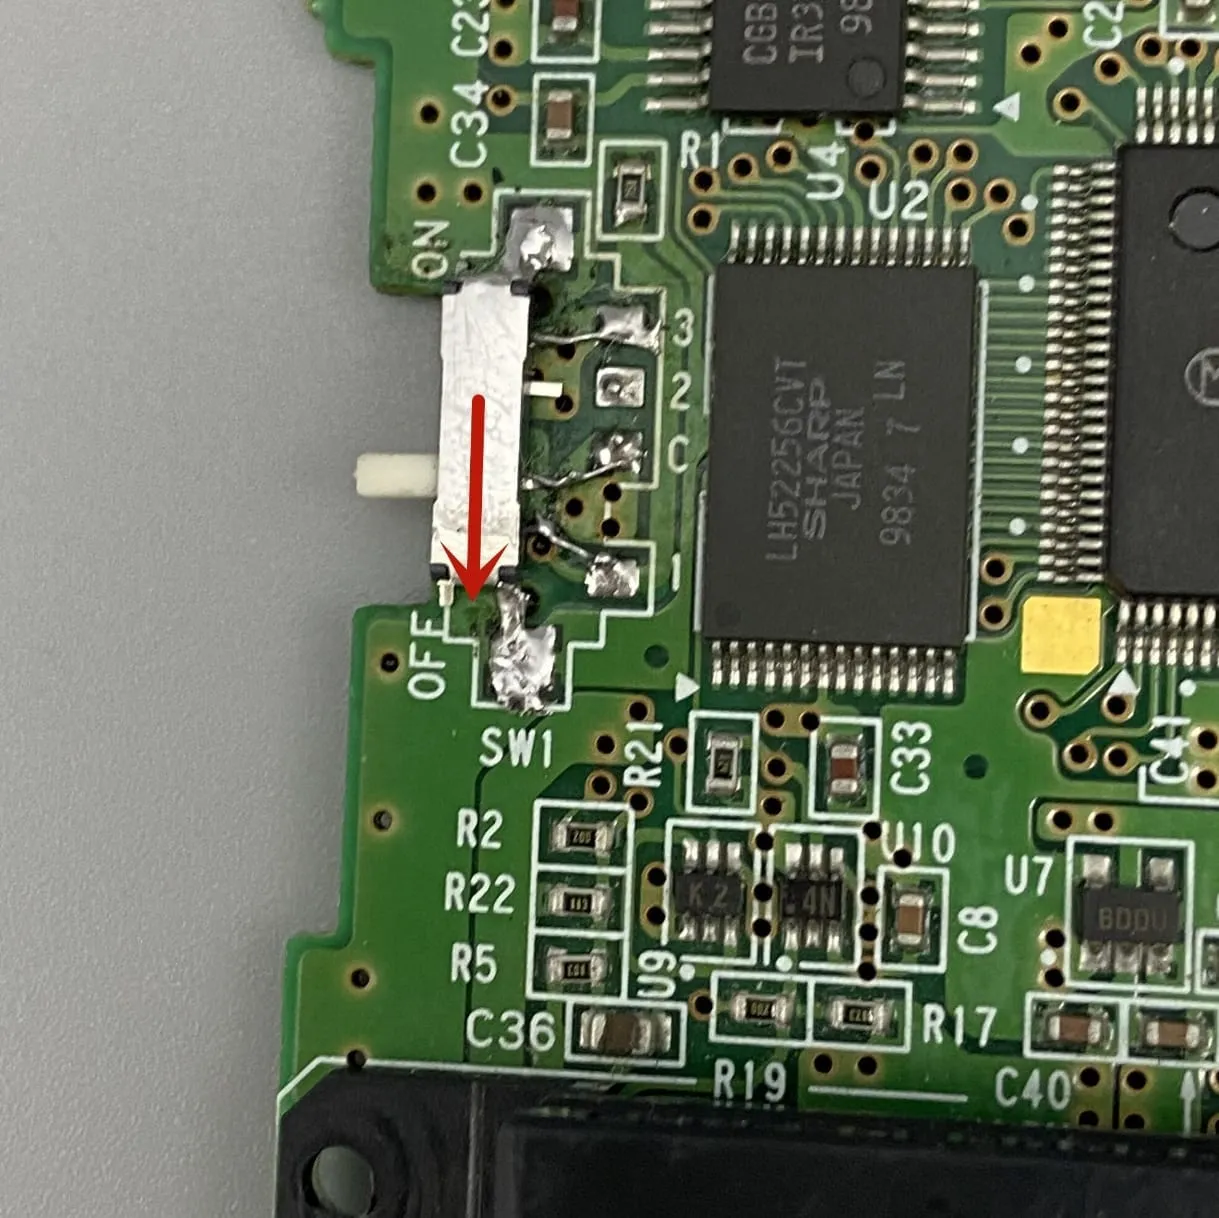
It is correct! The size difference just means a little extra soldering. Use the photos below as a reference and connect the contacts of the new switch to the solder pads on the motherboard with wire or solder bridges.