
How do I test the LCD
In a so-called dry run, the LCD of the LCD upgrade kit is checked for proper function BEFORE it is installed in the shell. Once an LCD has been installed, handling errors can’t be ruled out, so warranty claims for the LCD can no longer be accepted.
Typical mistakes that can destroy an LCD
Section titled “Typical mistakes that can destroy an LCD”- Pressure on the back of the LCD after it has been placed in the shell (on the adhesive tape)
- Removing it from the shell again after it is already sitting on the adhesive tape
- Changing the position of the LCD after it has already been fully installed
- A protruding obstacle in the shell that presses on the LCD when screwing it together
- …
How do I test an LCD
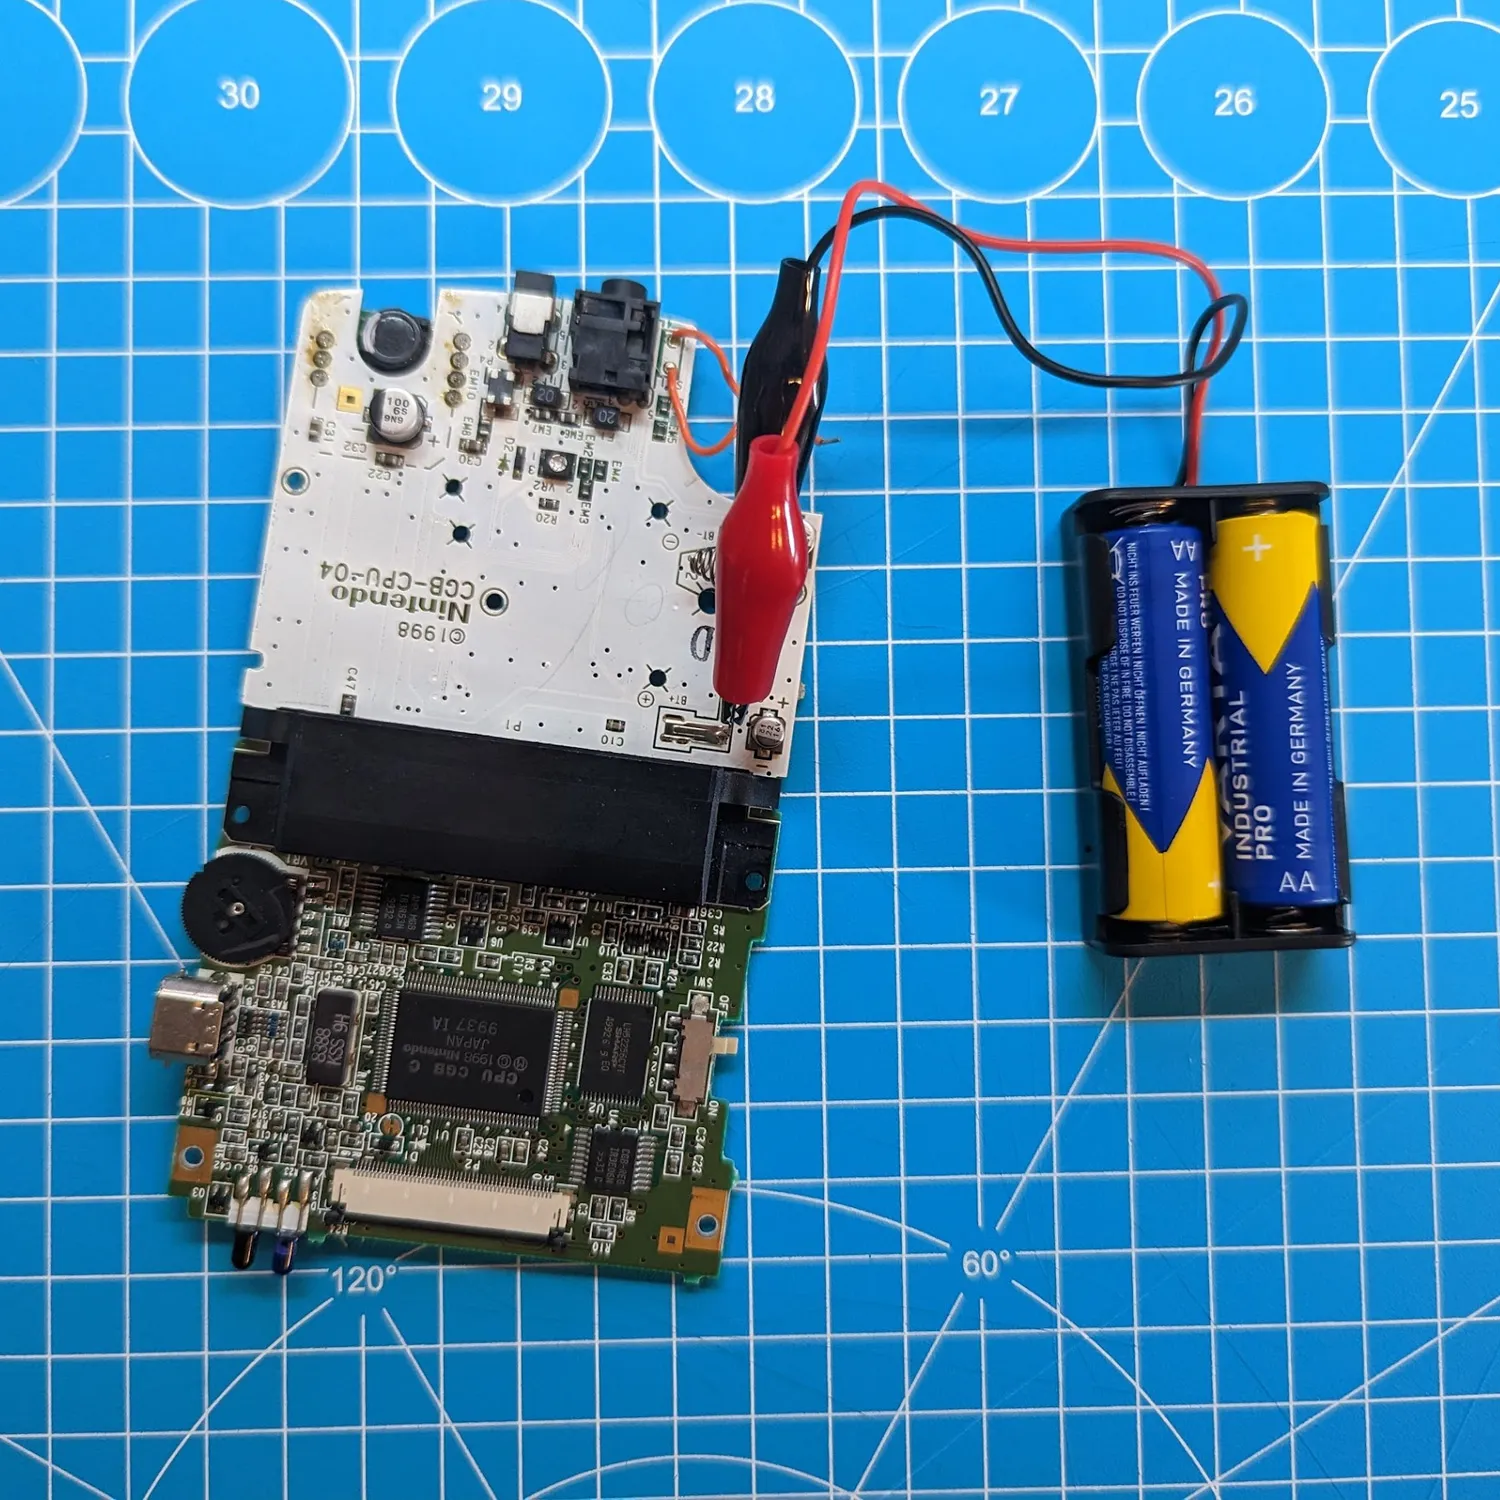
Section titled “How do I test an LCD”The example shows a Game Boy Color being used to test the Q5 XL Kit. First, take the console apart until the mainboard is exposed. In this state, power is supplied using a battery holder with clips, a suitable external power adapter or an adjustable power supply. Make sure not to exceed the operating voltage of the respective console! An AA/AAA battery has 1.5V, a rechargeable battery pack usually 3.7V.
Common voltages are:
| Console | Power source | Voltage |
|---|---|---|
| Game Boy Classic | 4 x AA batteries | 6V |
| Game Boy Color, Game Boy Pocket, Game Boy Advance | 2 x AA/AAA batteries | 3V |
| Game Boy Advance SP, Game Boy Micro, … | Rechargeable battery | 3.7V |
| Sega Game Gear | 6 x AA batteries | 9V |
| … |
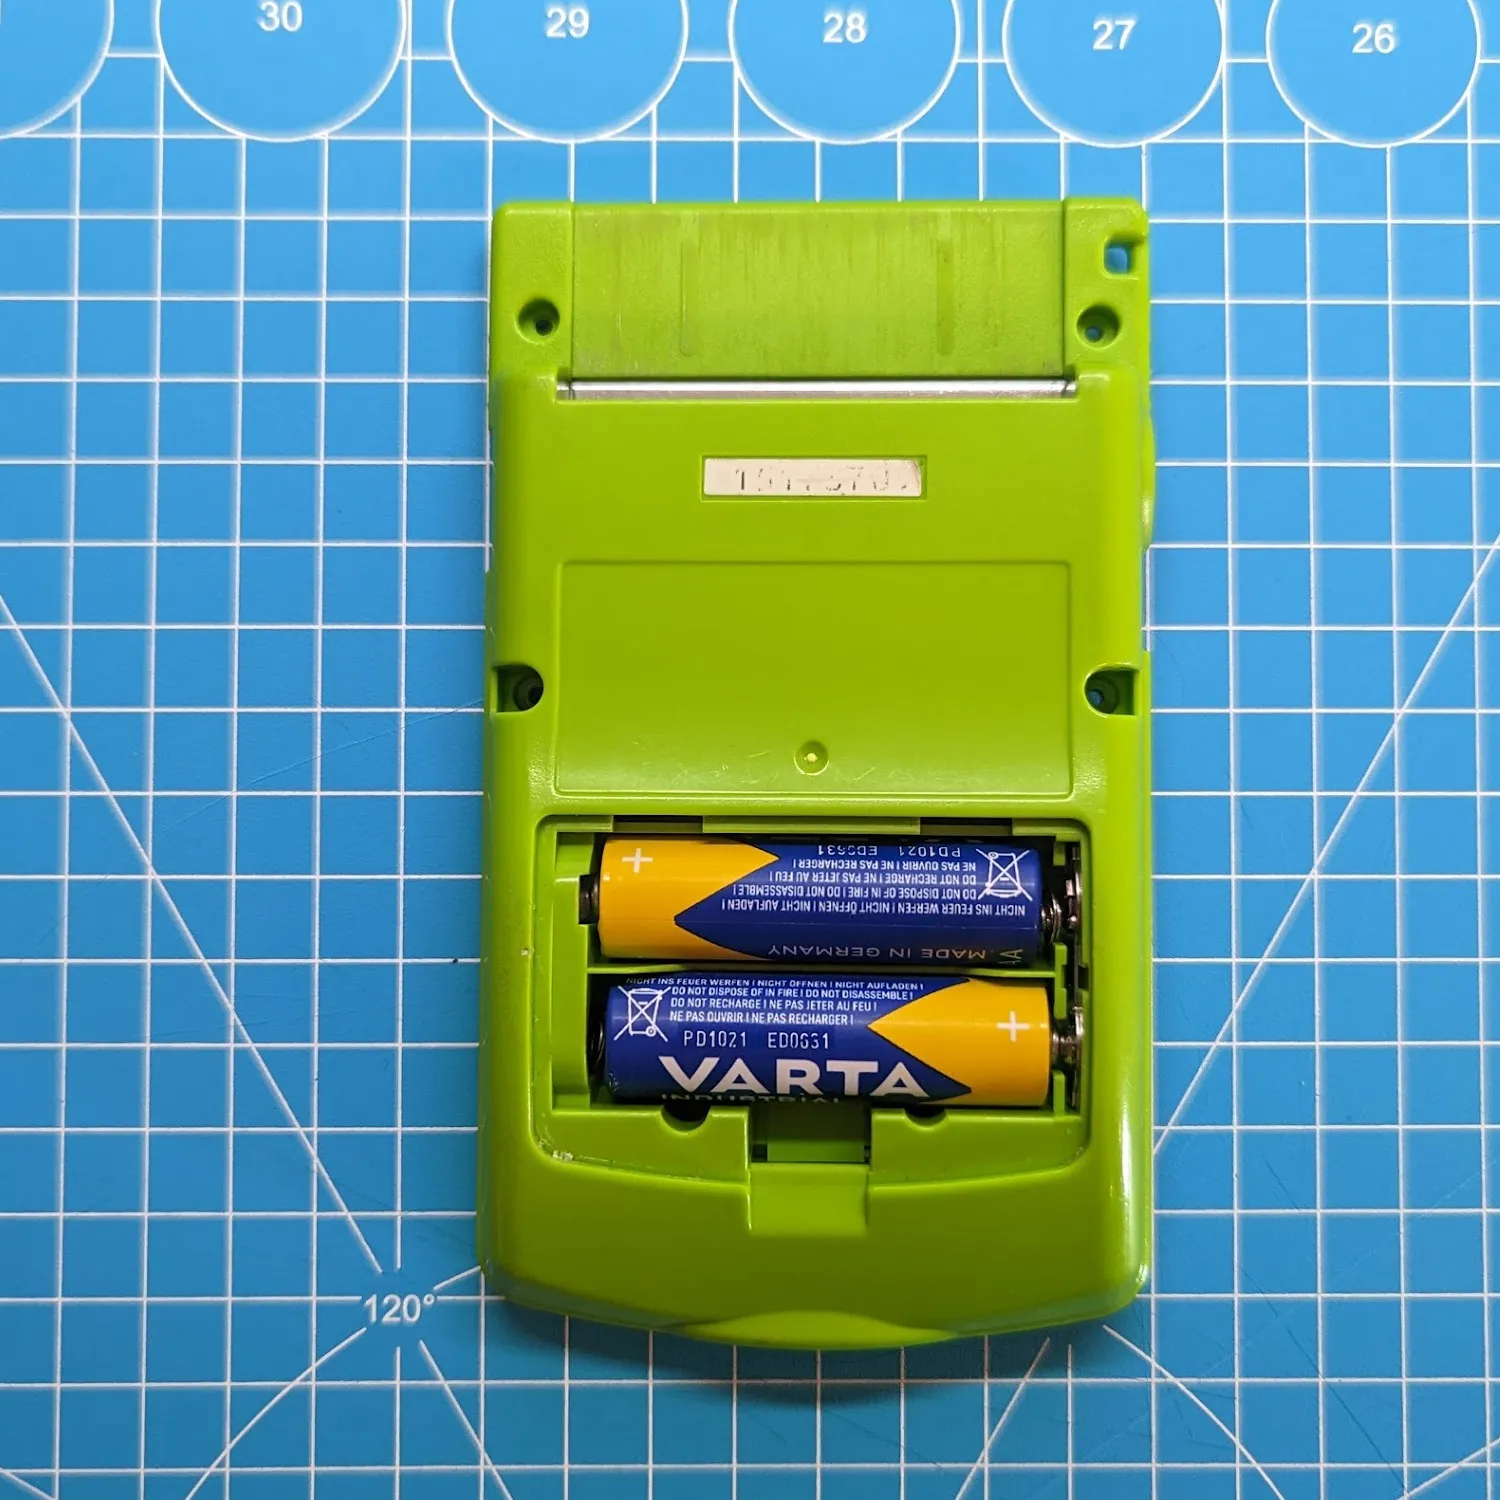
You can also use the back half of the shell by placing the mainboard into the back shell and inserting the batteries.
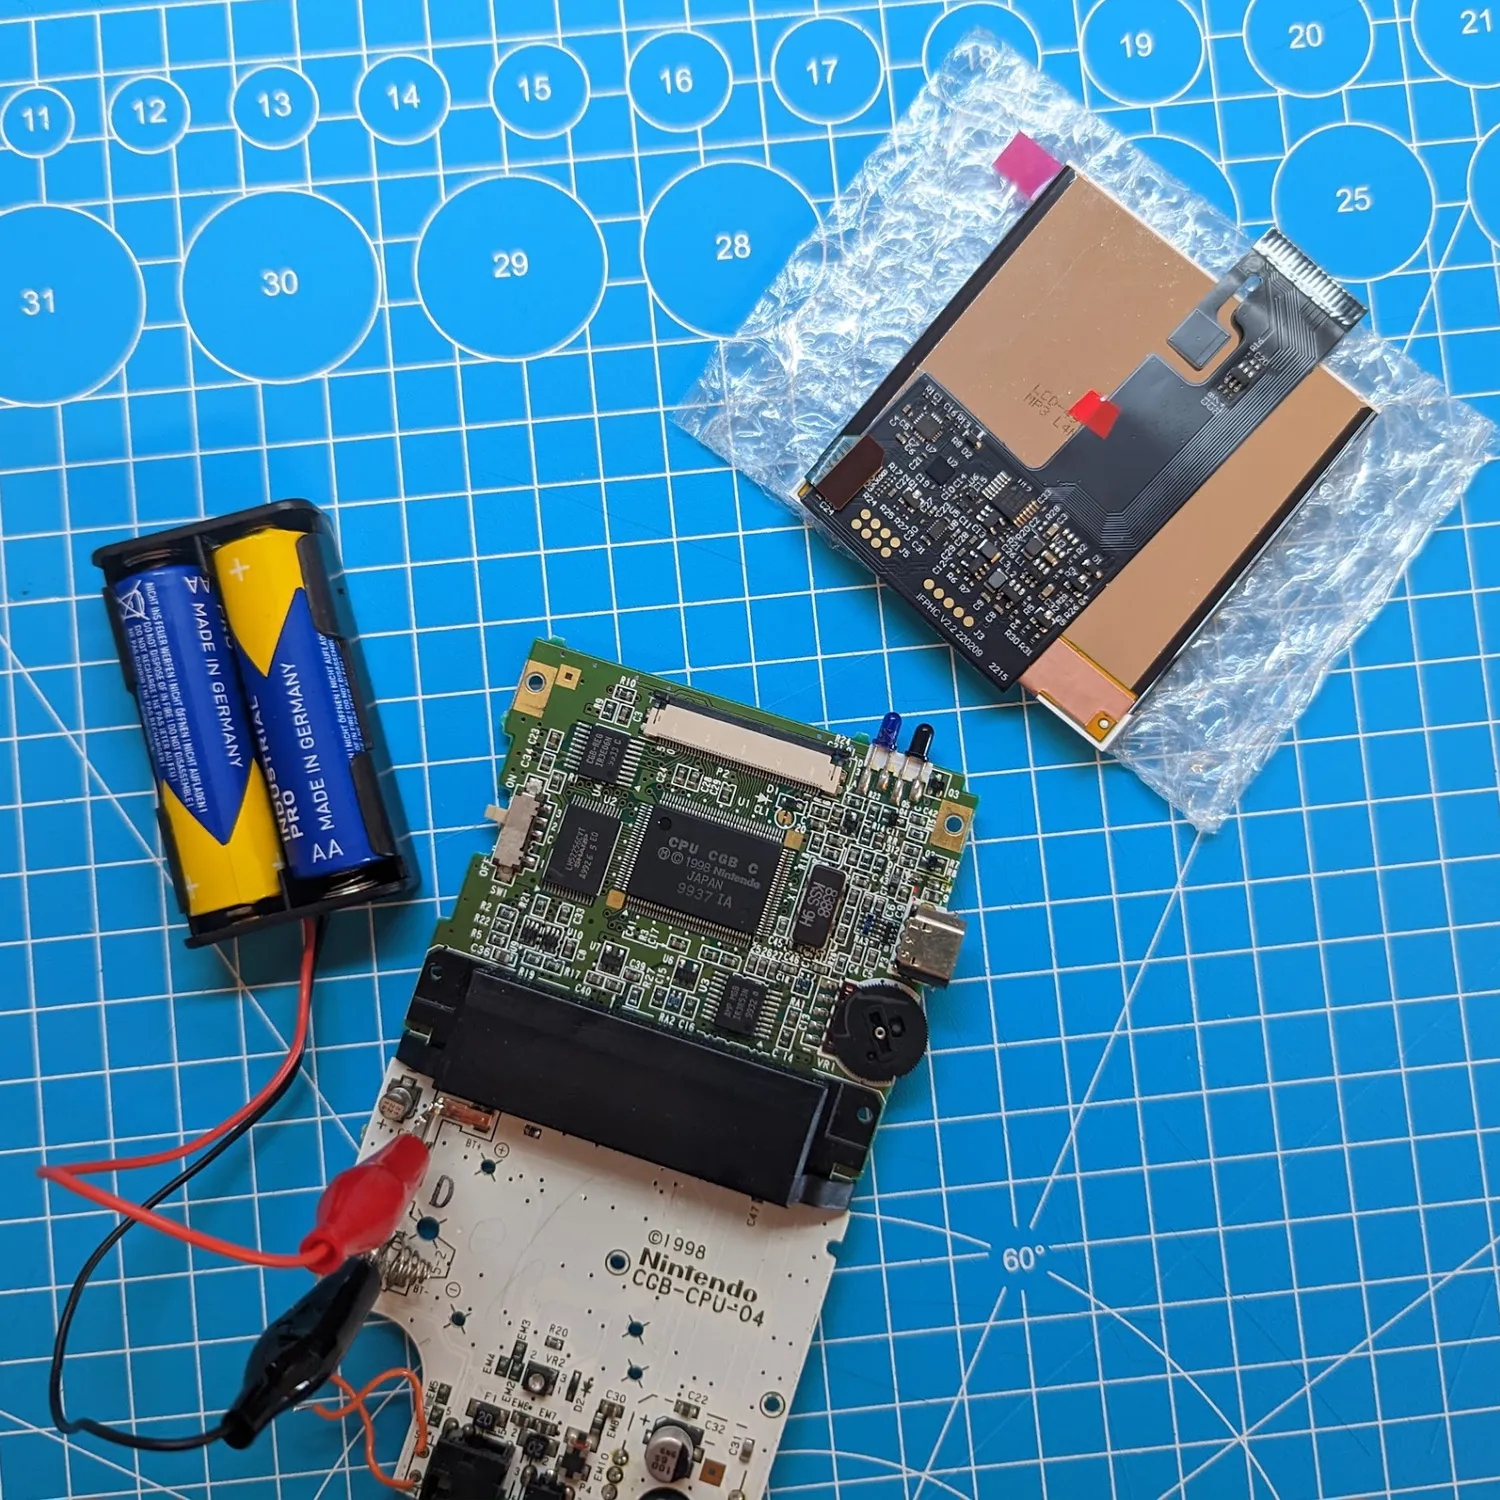
Now connect the cable of the LCD upgrade kit to the mainboard’s LCD connector and to the LCD. Make sure the cable is oriented correctly.
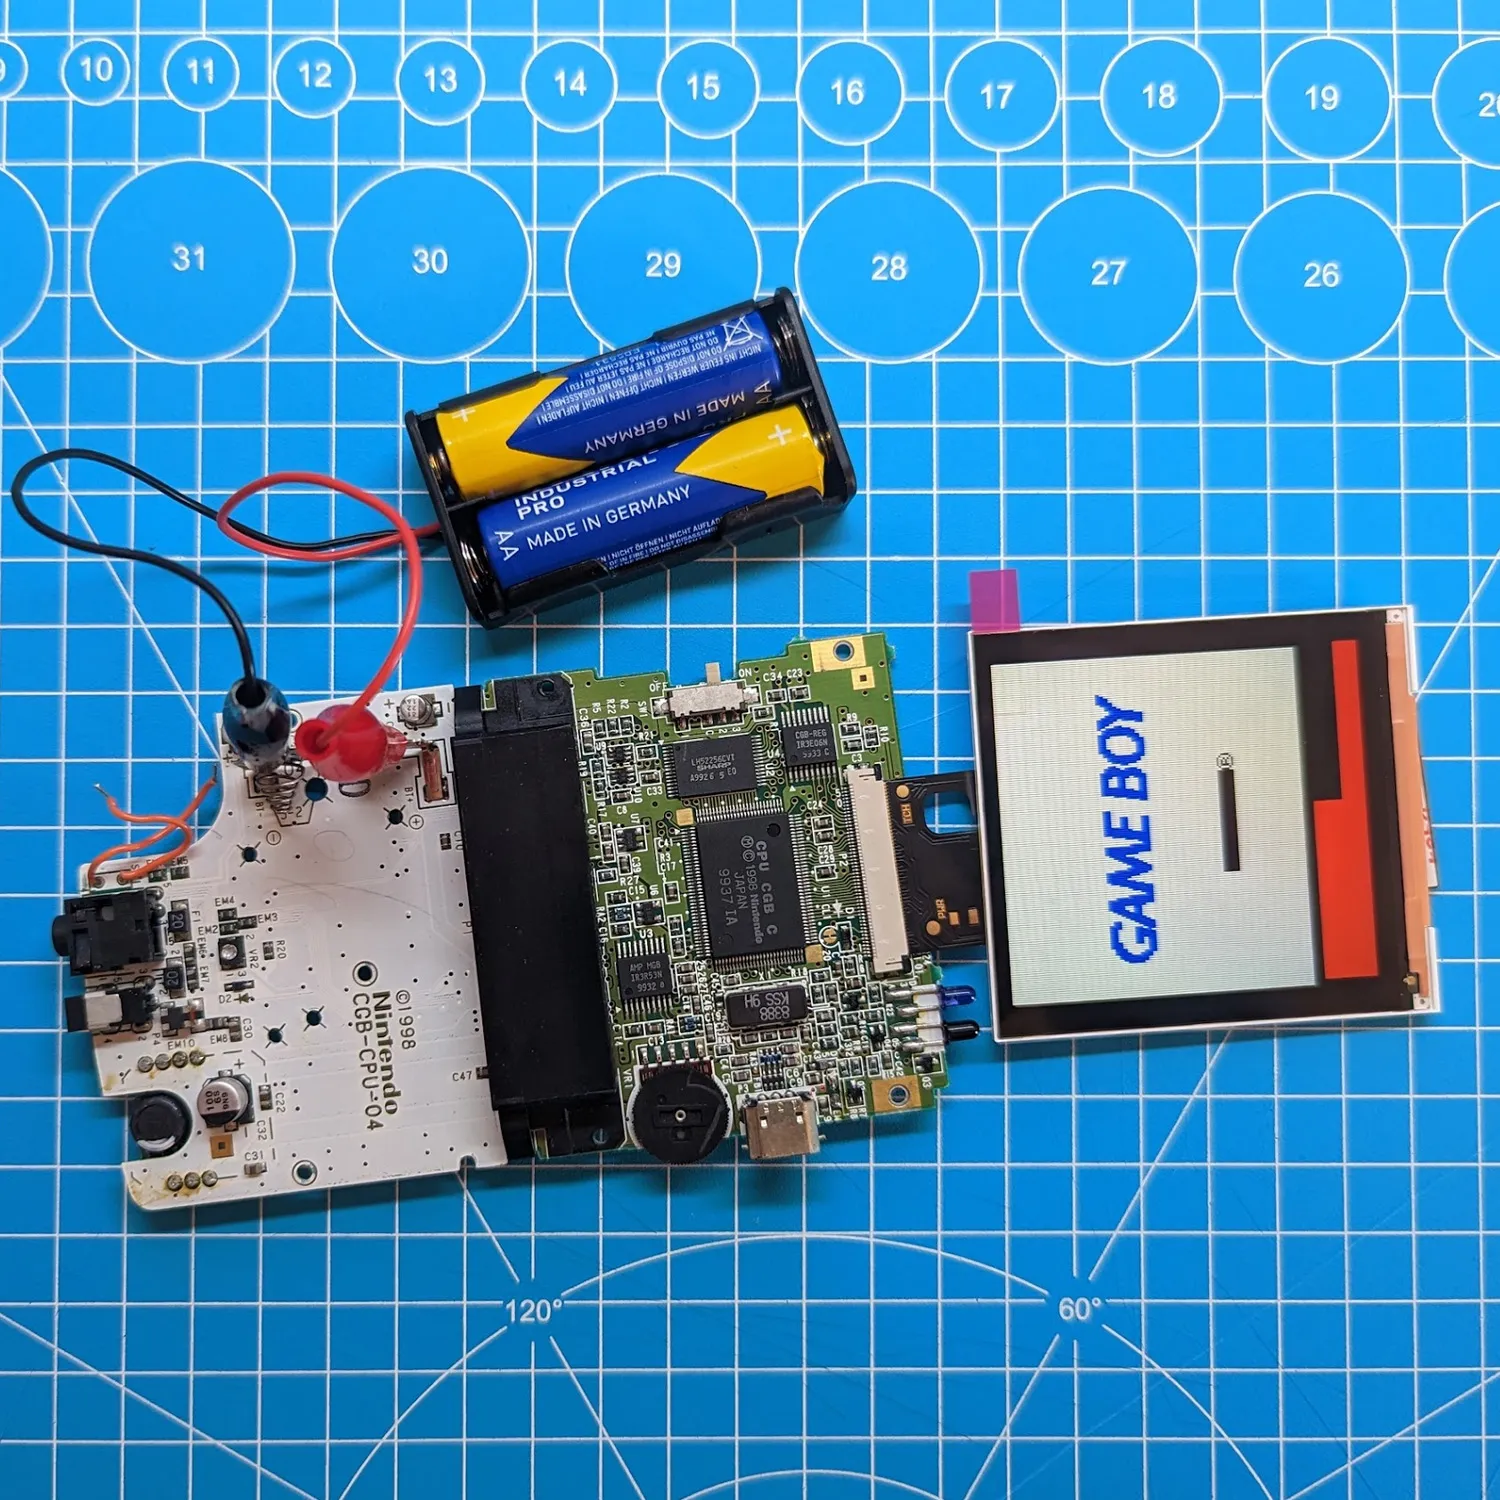
Now turn on the mainboard using the power switch and the LCD should show a picture. Carefully check the powered-on LCD for defects:
- Dead pixels / black or white dots
- Spots
- Scratches (careful, there is a protective film on the LCD!)
- Pressure marks
- Cracks
- Other defects
More examples
Section titled “More examples”Game Boy Advance V2 IPS Kit by Hispeedido
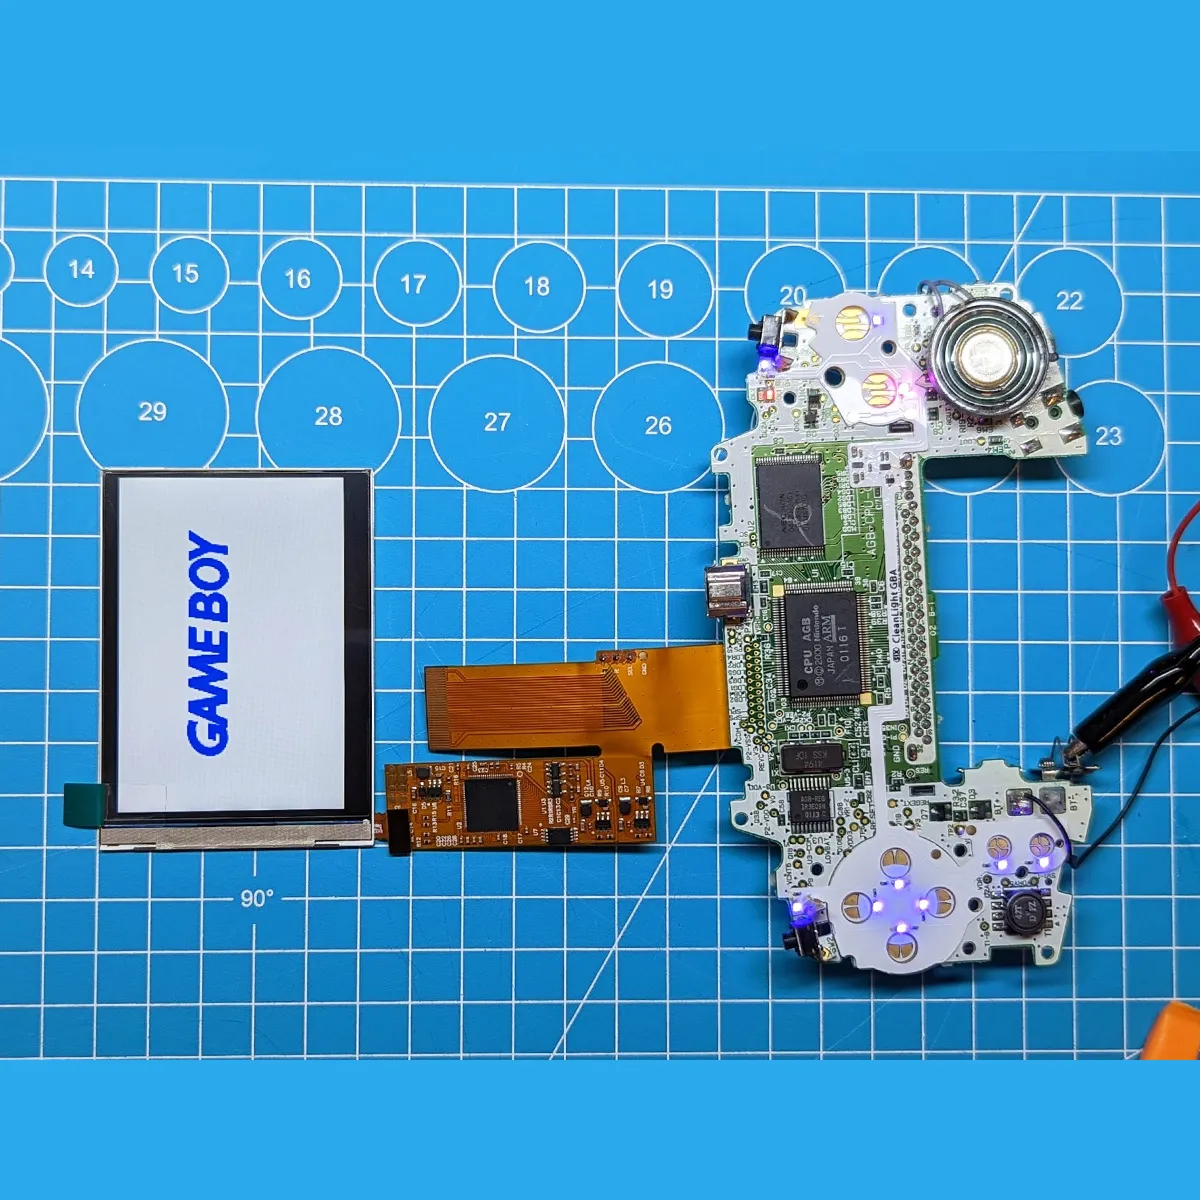
DMG IPS V5 by Hispeedido
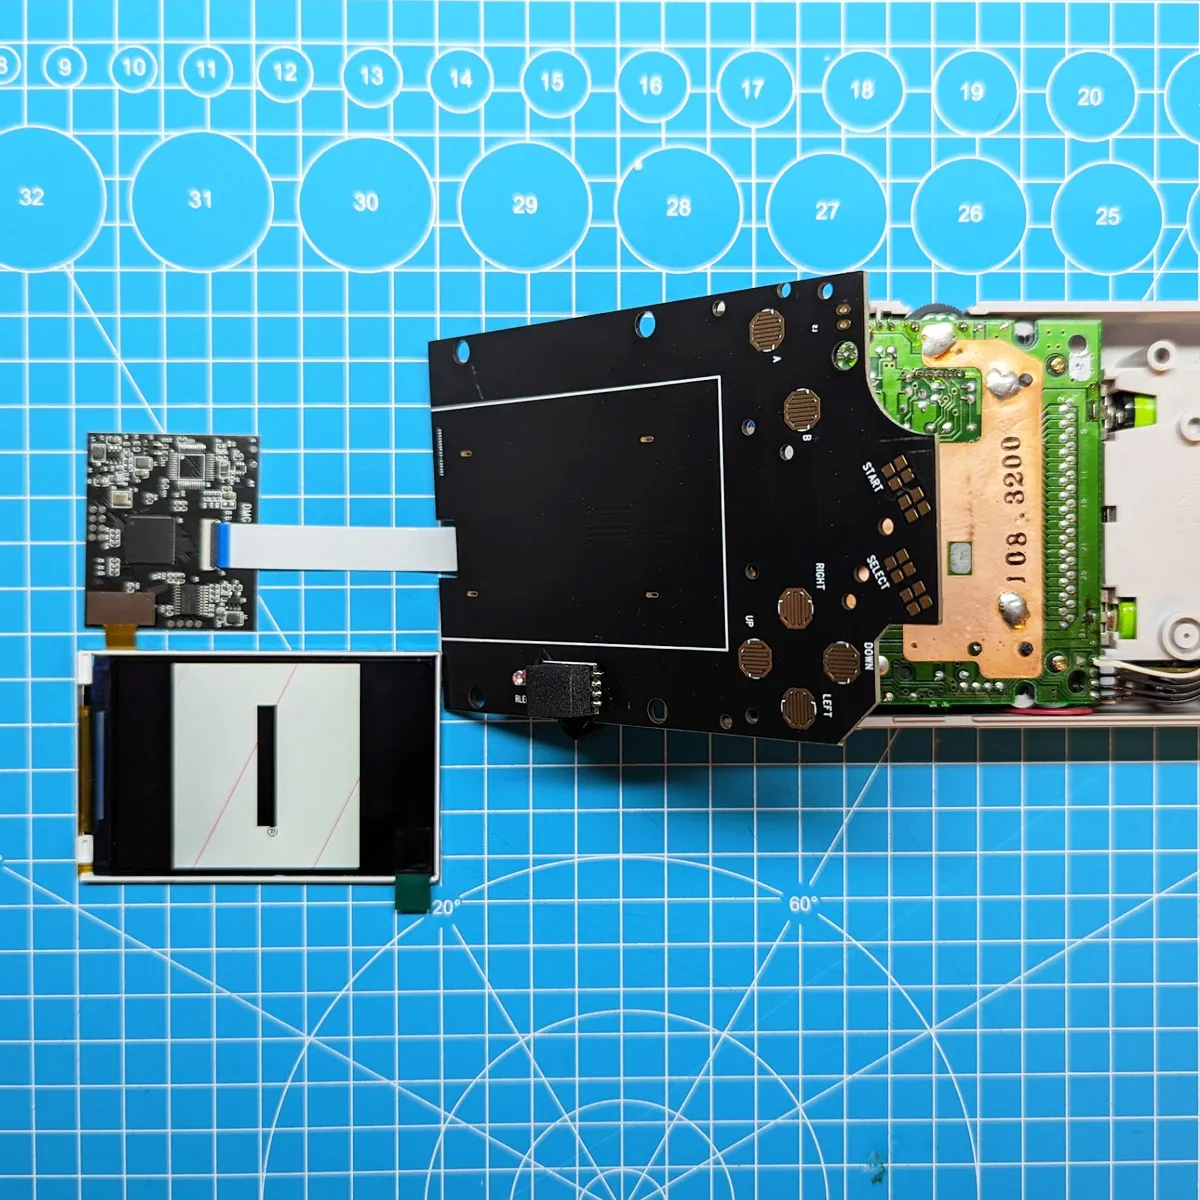
Common problems
Section titled “Common problems”| Problem | Possible cause |
|---|---|
| Screen stays black | - Cable plugged in the wrong way round - some IPS kits need a soldered wire for the power supply (see the respective guide) |
| Display very dark | - Increase brightness (usually possible via touch sensor) |
| Display flickers | - Not enough voltage at the device |
| Incorrect colors | - The cable connection is loose, make sure it is seated firmly - Connection to the LCD is not seated properly |
| Cracks, scratches, pressure marks, … | - Defective LCD -> warranty claim |