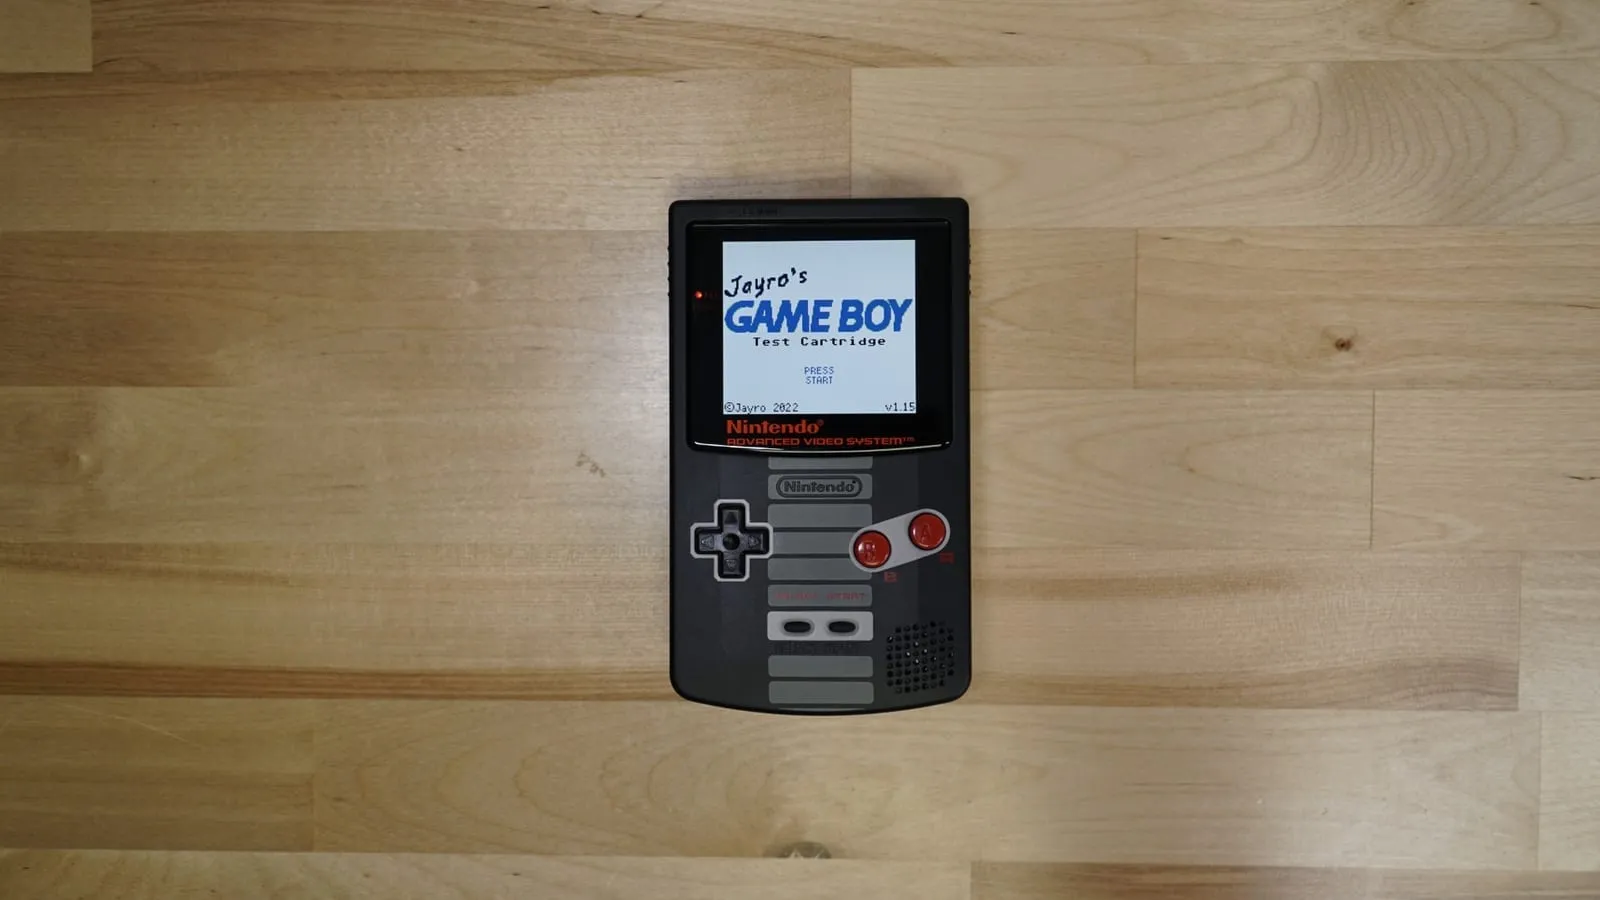
Writing a ROM to a Flash Cart
Requirements
Section titled “Requirements”- A cartridge flashing tool (a GBxCart RW v1.4a Pro is used here)
- A flash cartridge
- FlashGBX by Lesserkuma
Flashing a cartridge
Section titled “Flashing a cartridge”Plug your flash cartridge into your flashing tool, making sure the cart’s pins face the metal contacts on the tool.
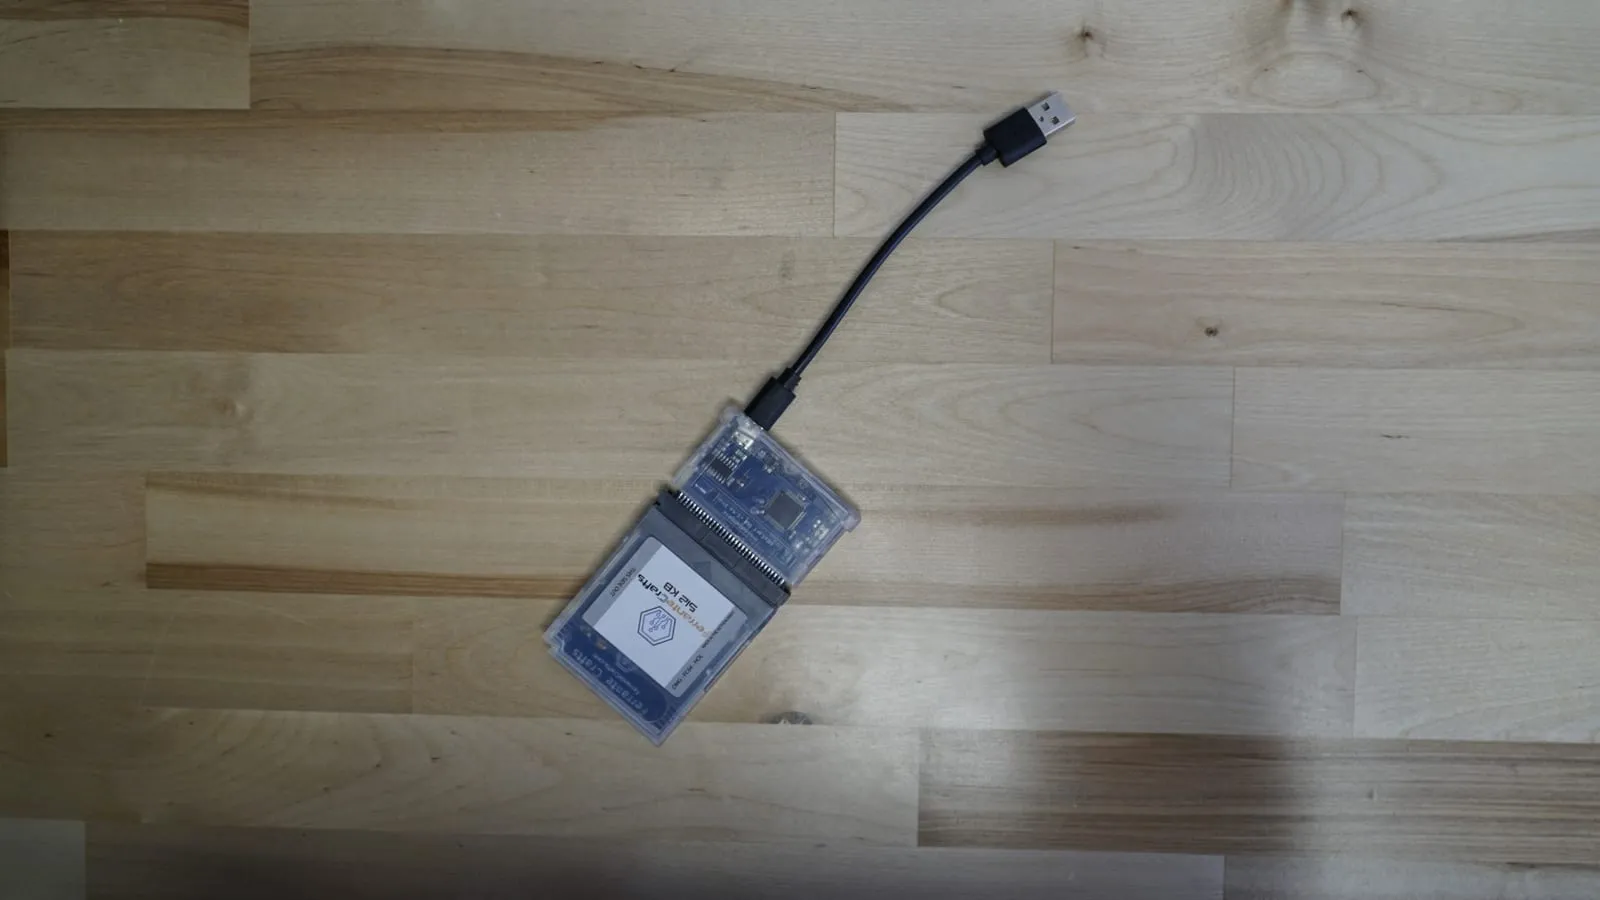
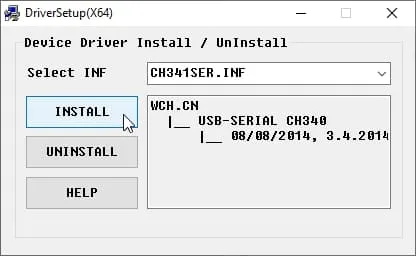
First, download the drivers for your flashing tool. For the GBxCart RW that’s the CH341 driver. Just click “Install” and the required driver is installed automatically.
With the drivers installed, plug your flashing tool into your PC. Open FlashGBX, the program used to flash the homebrew ROM to your cartridge. A black command prompt opens first, then the program itself.
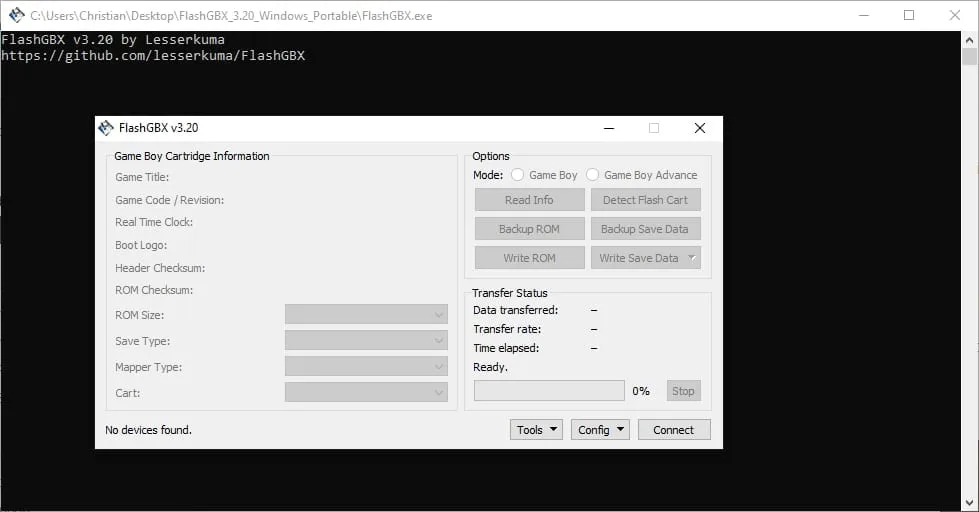
Click “Connect” in the bottom right to connect to your flashing tool.
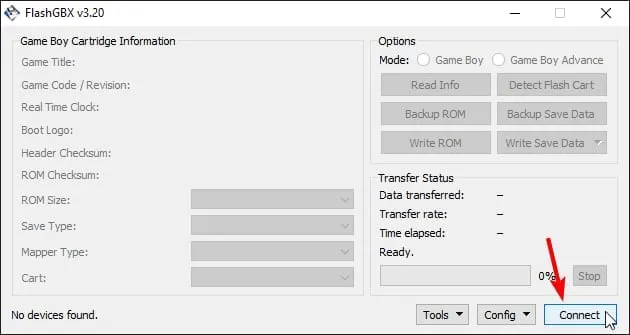
Next, select whether you are flashing a Game Boy or a Game Boy Advance game. This example uses a Game Boy cart, so select that.
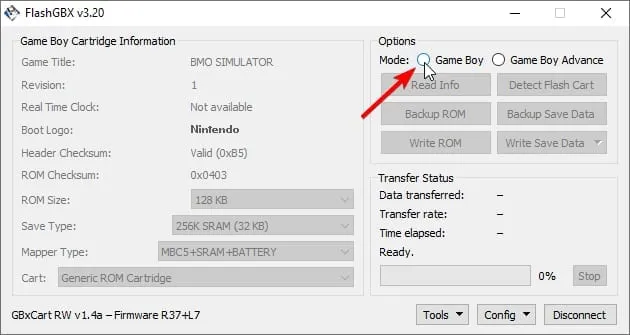
Once you pick the cartridge type, all options become available and the information on the left is filled in.
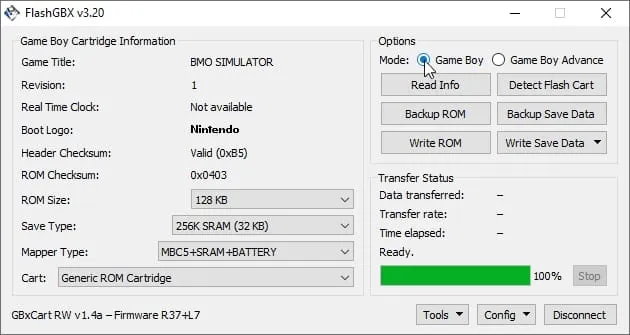
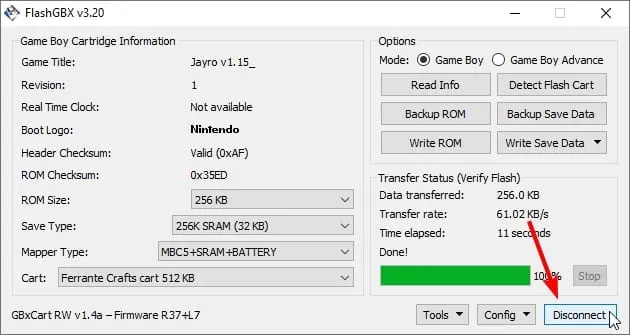
To write a new ROM, first select your cart type in the bottom left. This example uses a 512 KB FerranteCrafts cart, so it’s selected from the list.
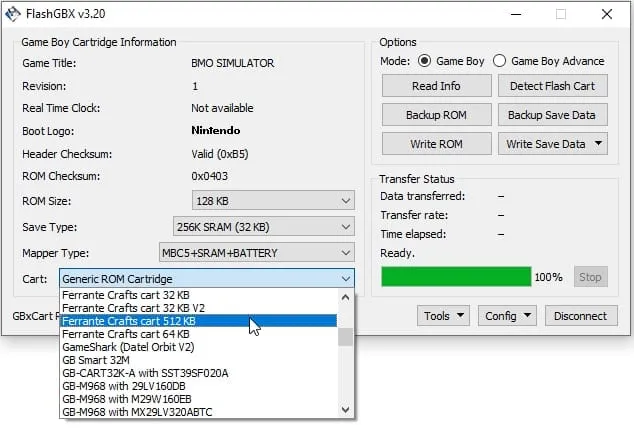
Now you can back up the ROM or write a new one. Select “Write ROM”.
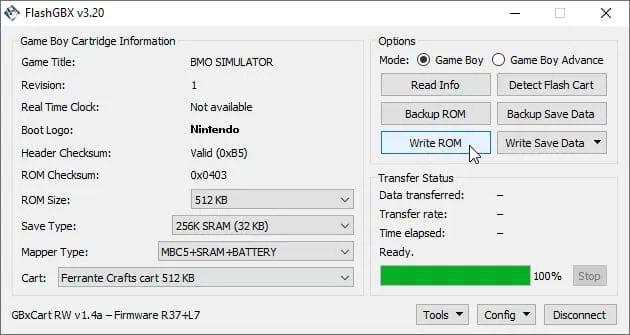
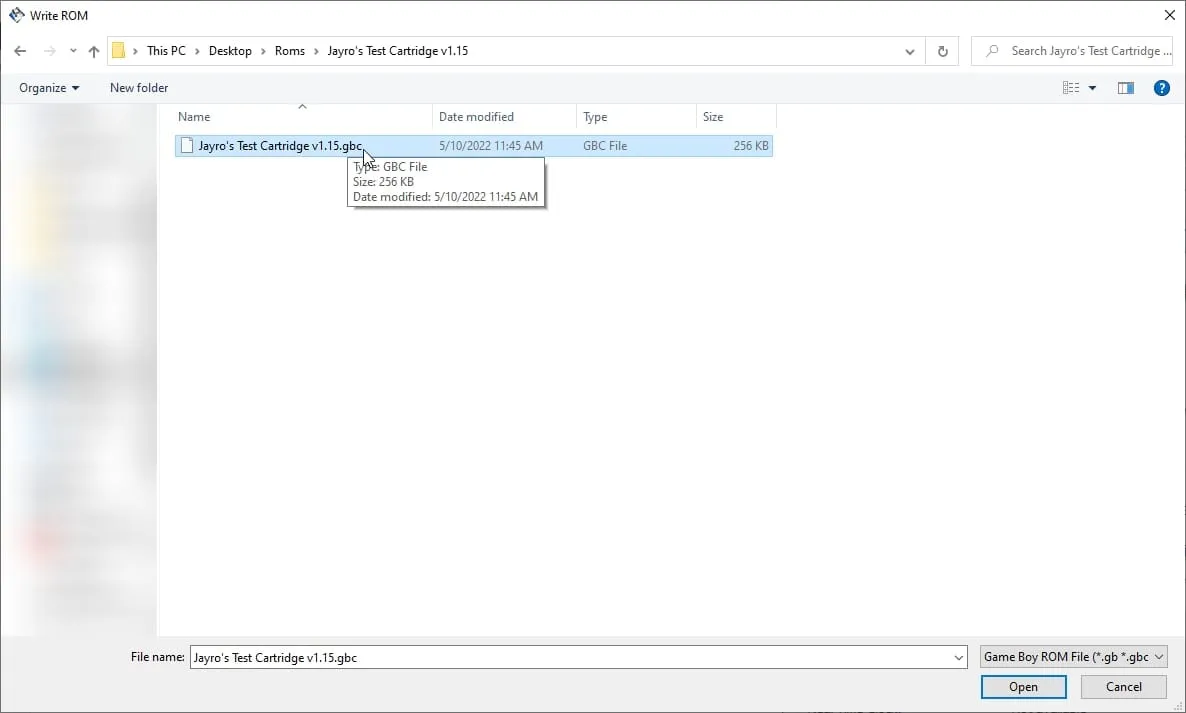
A window opens where you choose the homebrew ROM you want to flash. This example uses a test ROM.
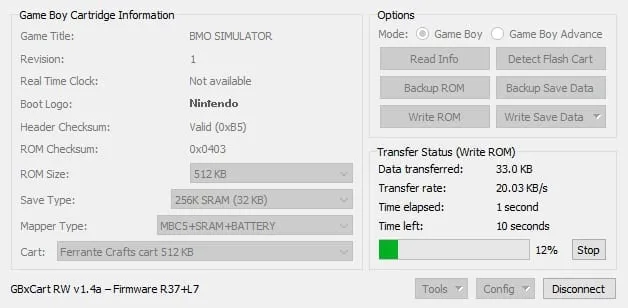
The upload starts immediately, followed by a check to verify it was written successfully.
When it’s done, a prompt tells you it was successful and how long the write took.
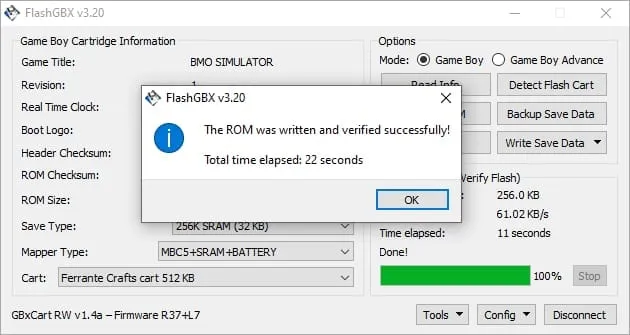
Before you unplug your flashing tool and start playing, click “Disconnect” in the program.
You can then unplug your cartridge and give it a test!