[GBASP] Shell Disassembly
This is how you disassemble the Game Boy Advance SP.
Getting started
Section titled “Getting started”Required tools
Section titled “Required tools”- Y0 tri-point screwdriver
- J0 screwdriver
- Plastic spudger
- Tweezers or needle nose pliers
Disassembly
Section titled “Disassembly”Back cover
Section titled “Back cover”Use the J0 screwdriver to unscrew the battery cover on the back of the console. Remove the battery.
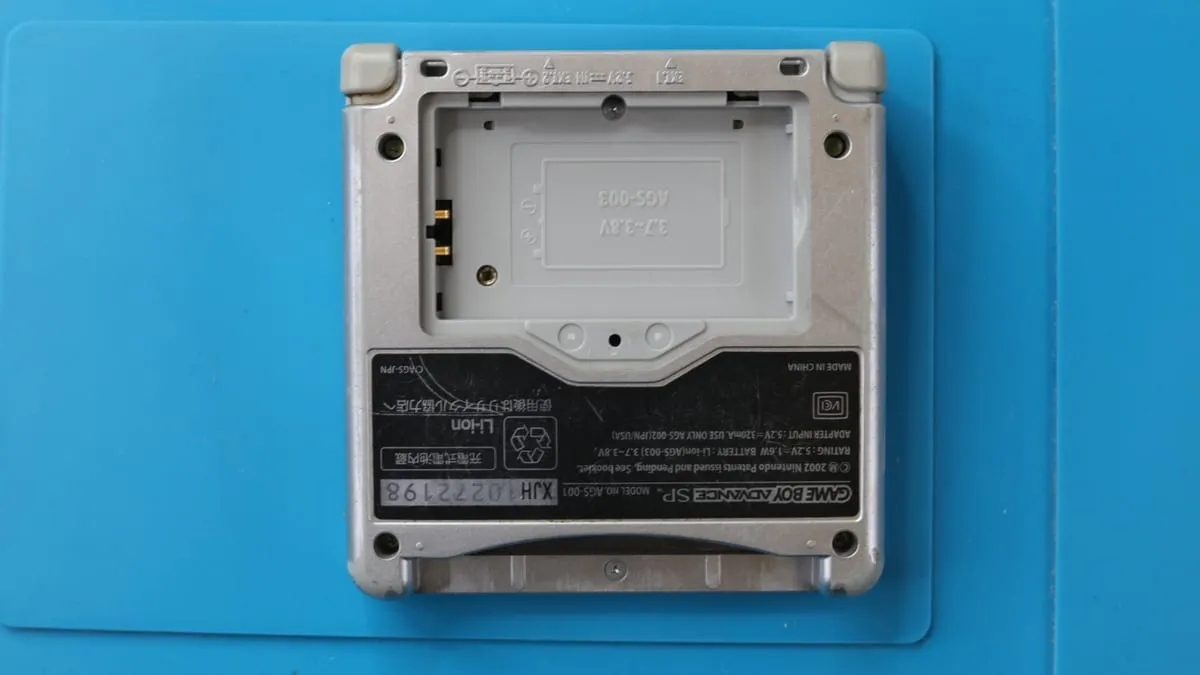
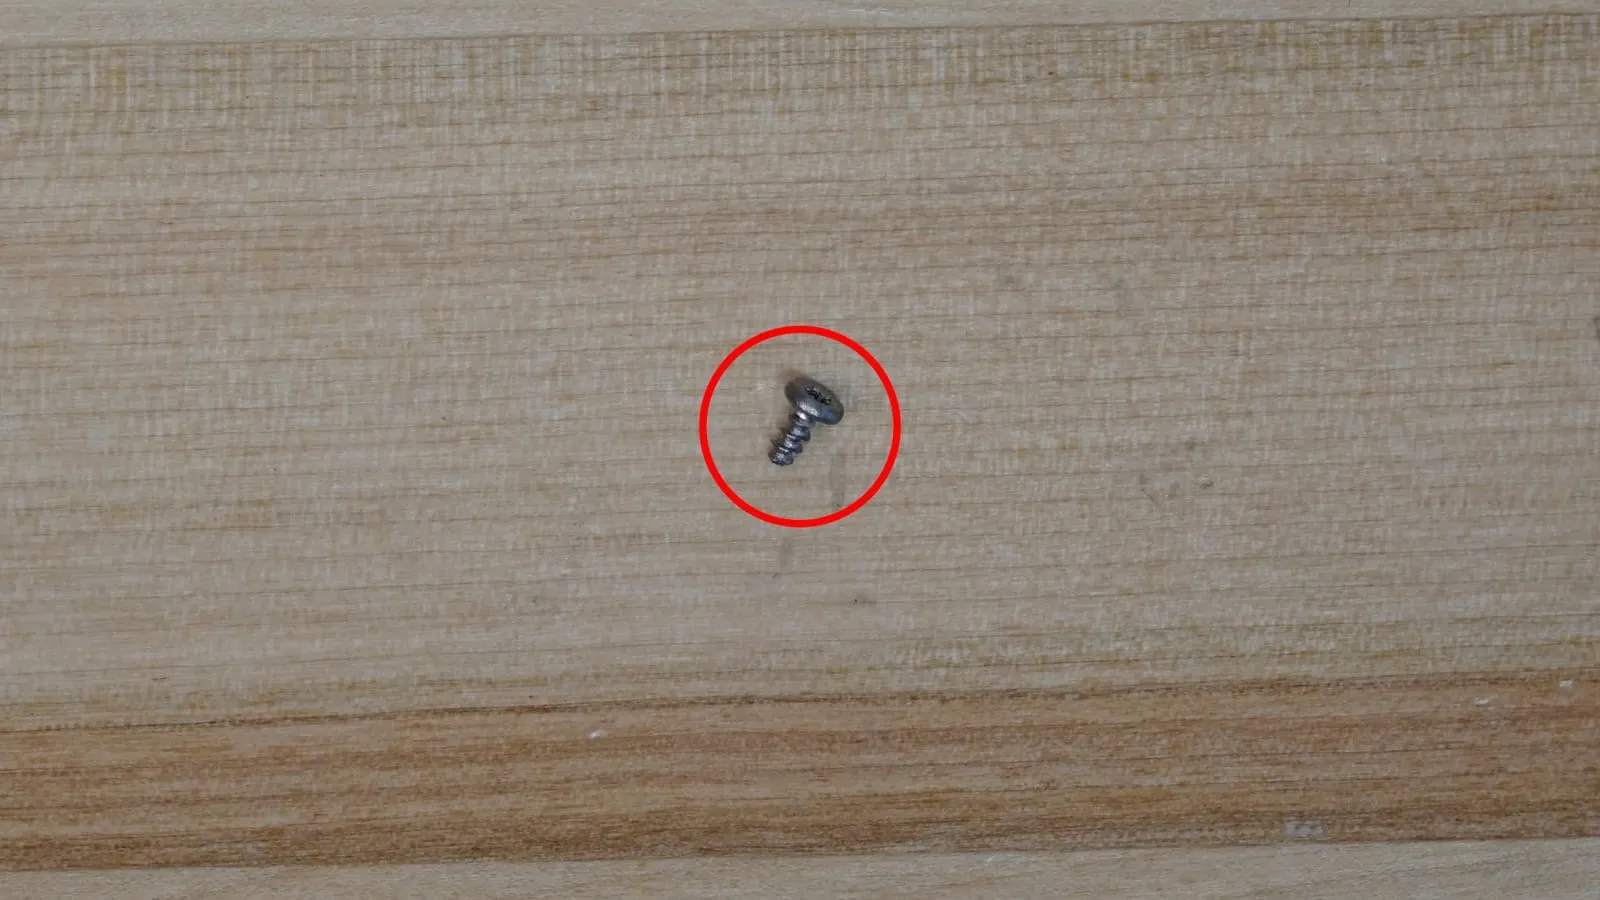
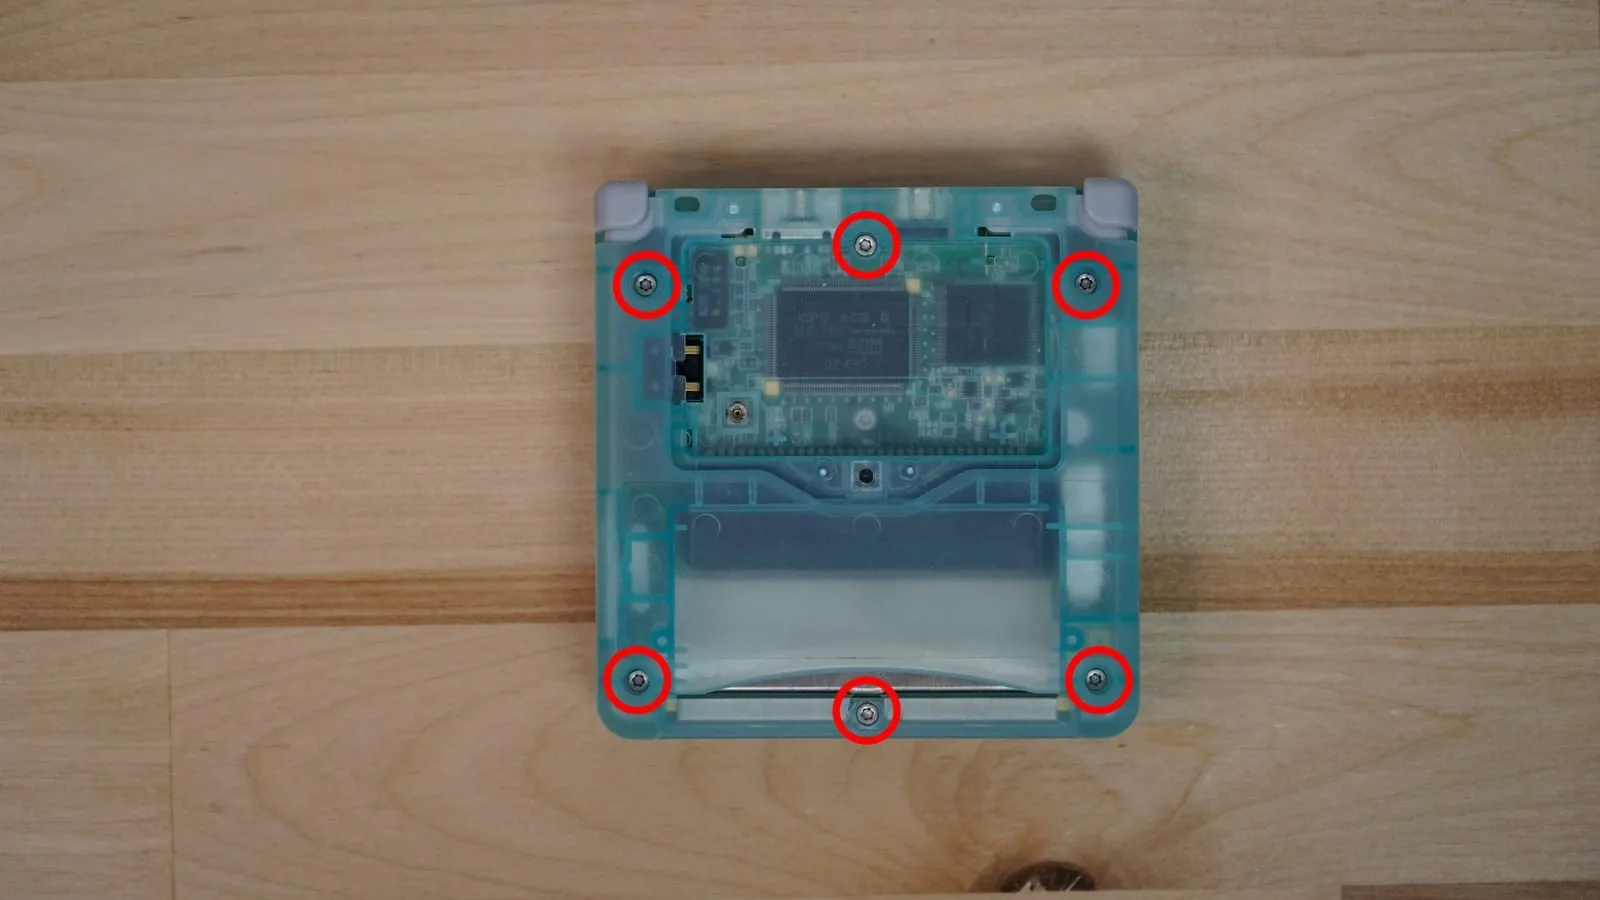
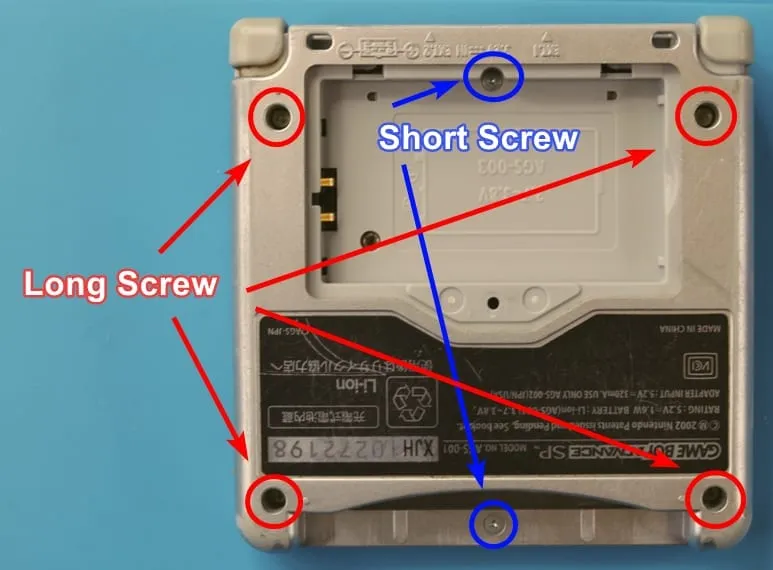
Use the Y0 screwdriver to remove the 6 screws holding the back cover. Note the two shorter screws and their locations.
The back cover lifts off to reveal the main board. Remove the power switch and place it aside.
Main board
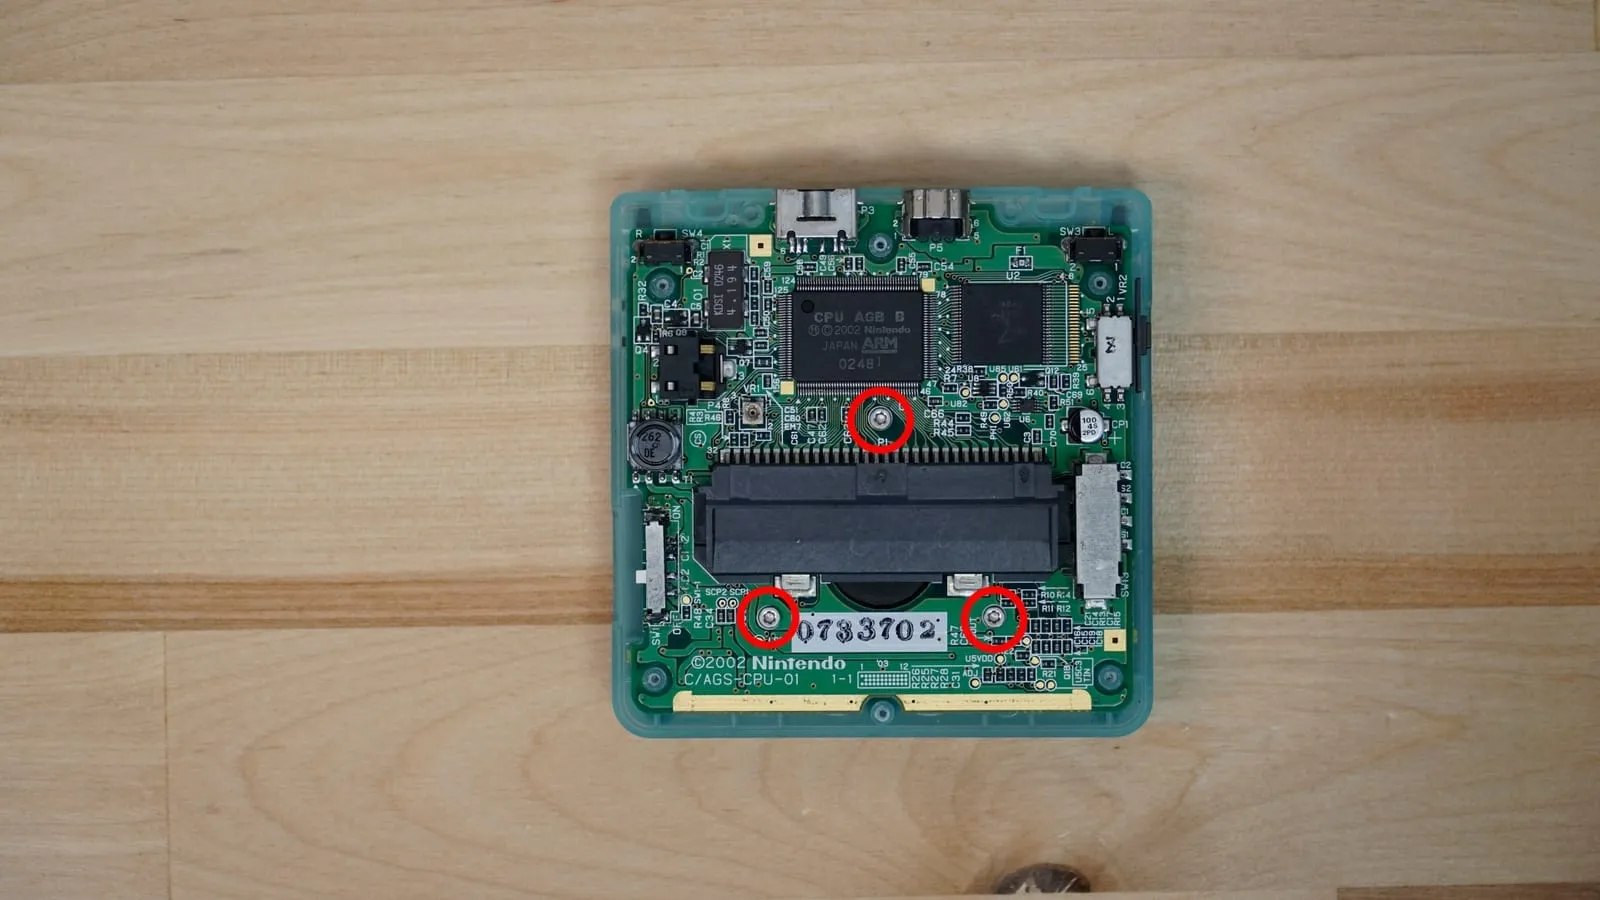
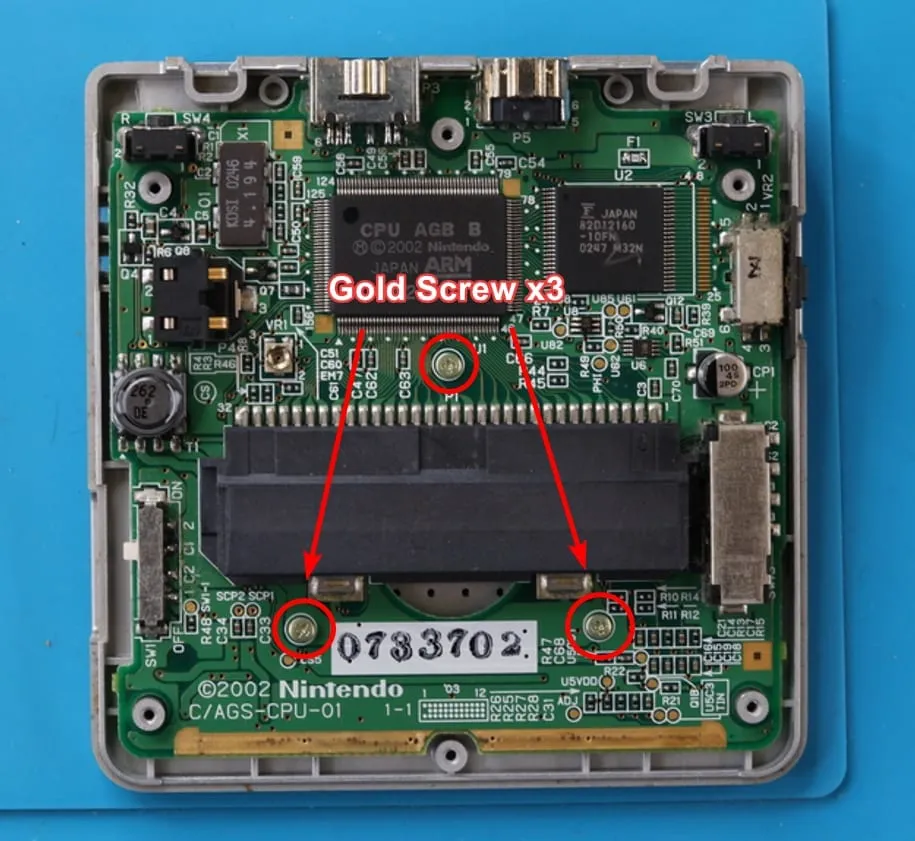
Section titled “Main board”Remove the 3 gold-colored J0 screws holding the main board to the front shell.
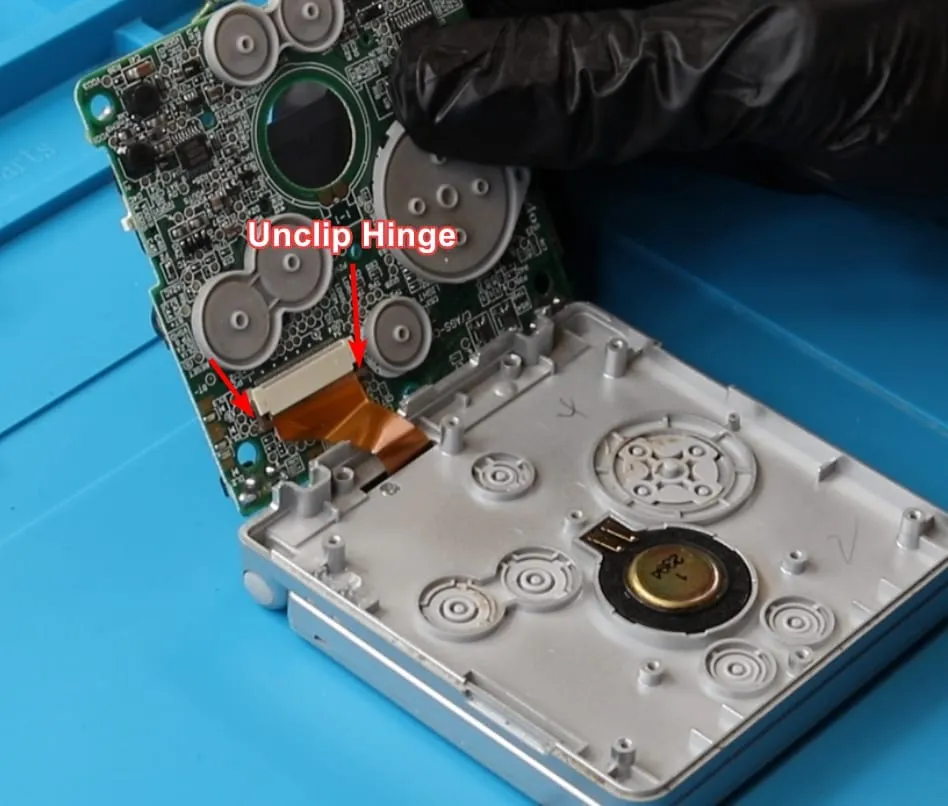
Carefully tilt the main board up and away from the front shell. The display ribbon cable is still attached to the main board – we’ll remove it next.
Use your plastic spudger to unclip the display ribbon cable.
The main board can now be removed and placed aside.
Display assembly
Section titled “Display assembly”Remove the buttons, membranes, speaker and speaker cover.
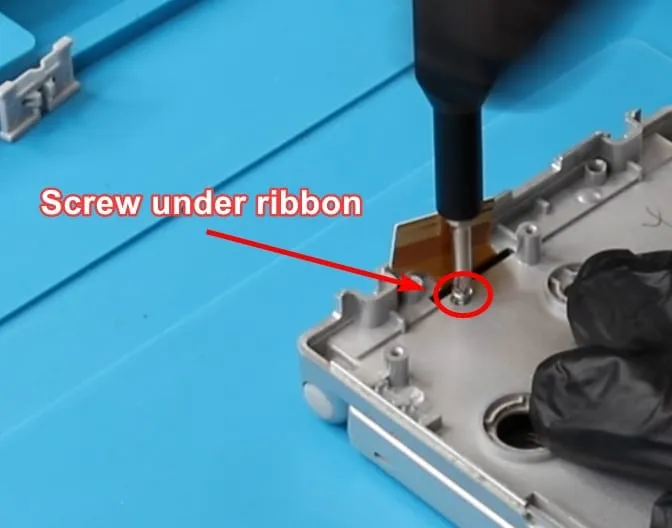
Remove the longer J0 screw hidden underneath the display ribbon cable. This screw holds down the hinge cover. Remove the hinge cover and place it aside.
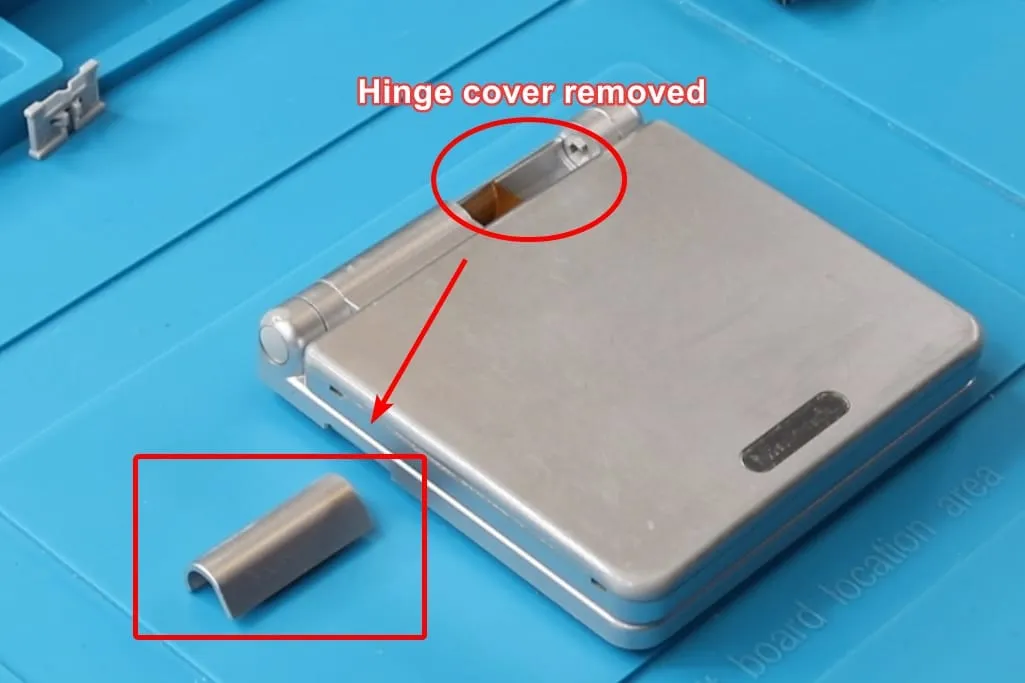
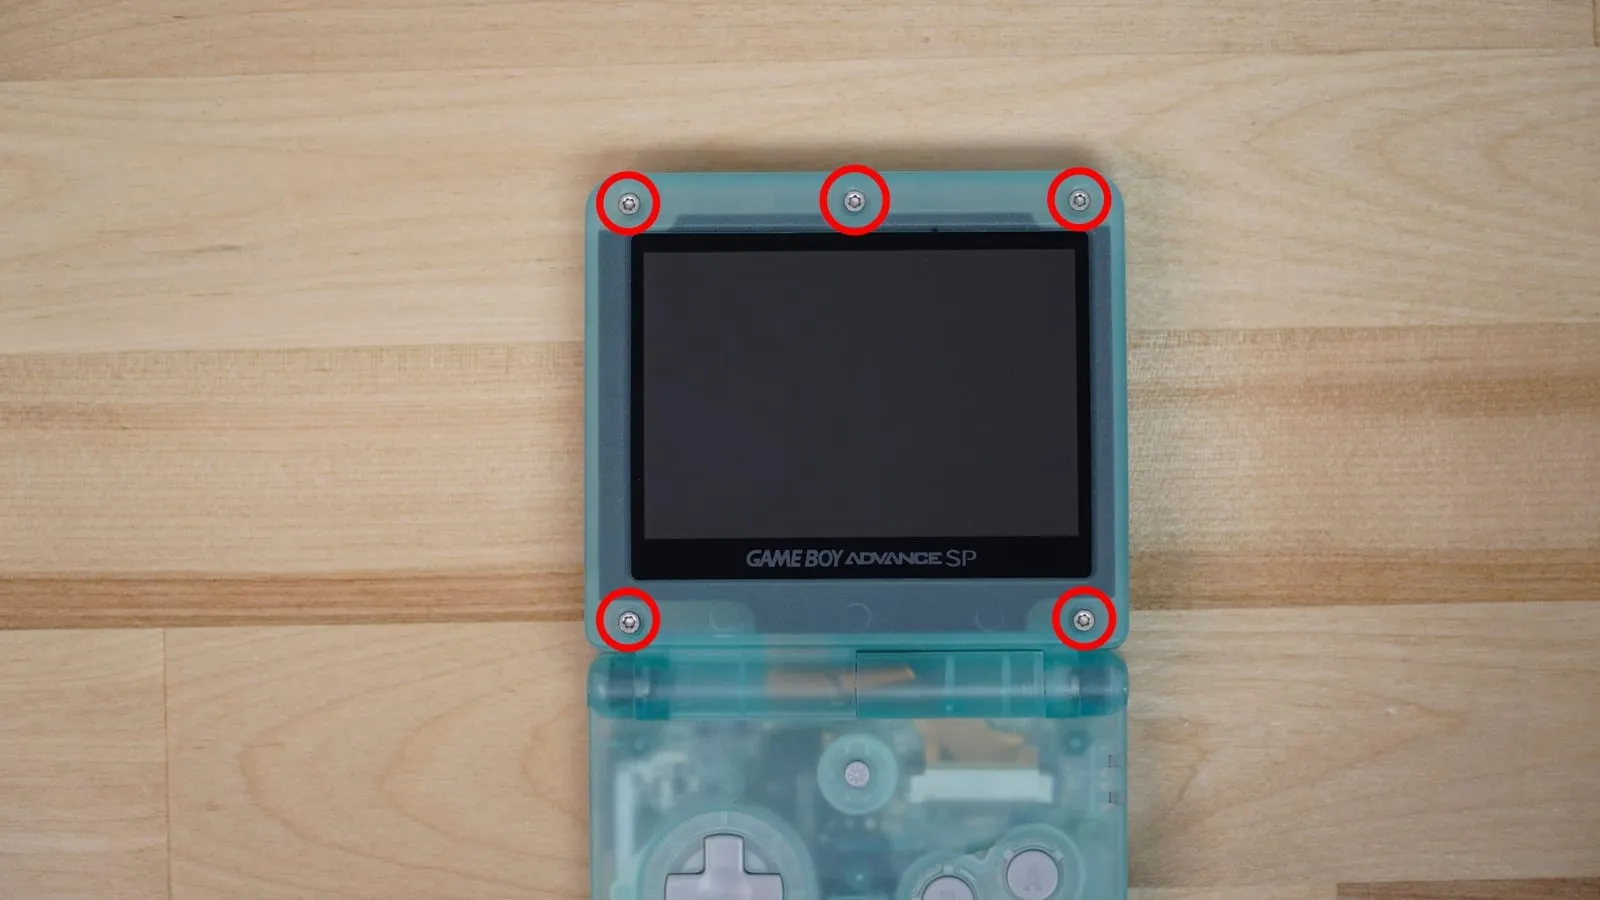
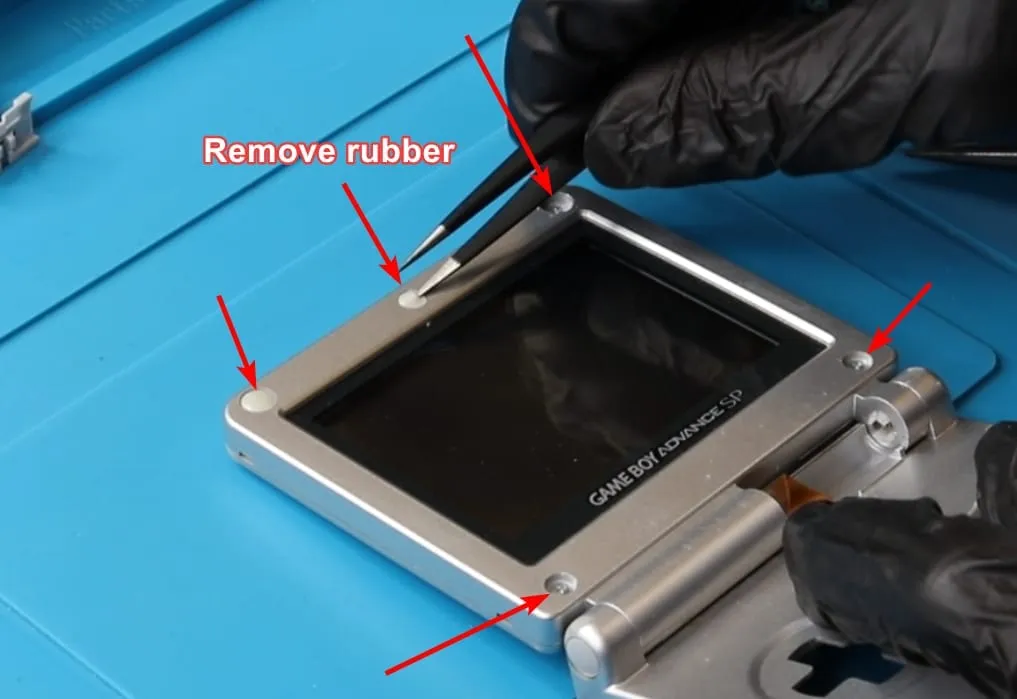
Turn the console over and look at the LCD bezel. There are 5 screws hidden under rubber covers. Use your plastic spudger or tweezers to lift the rubber pads away. If you want to reuse them, take extra care not to tear them. Having a set of spare pads on hand is recommended.
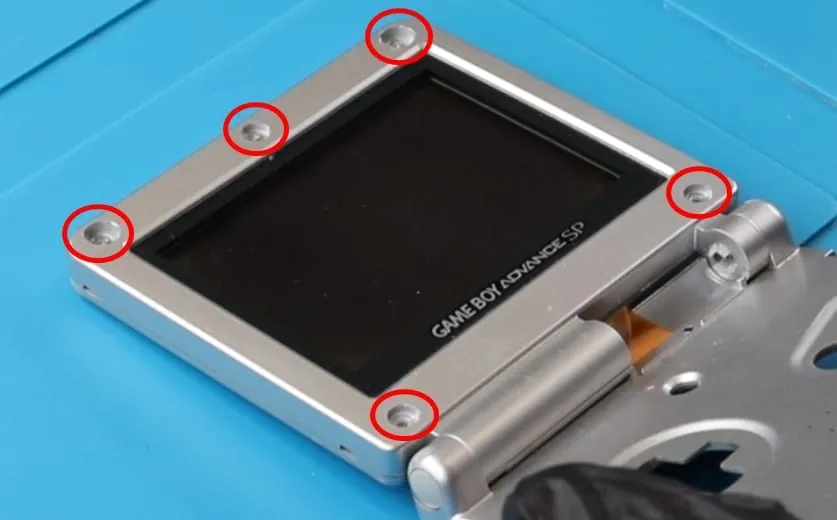
Remove the 5 Y0 screws.
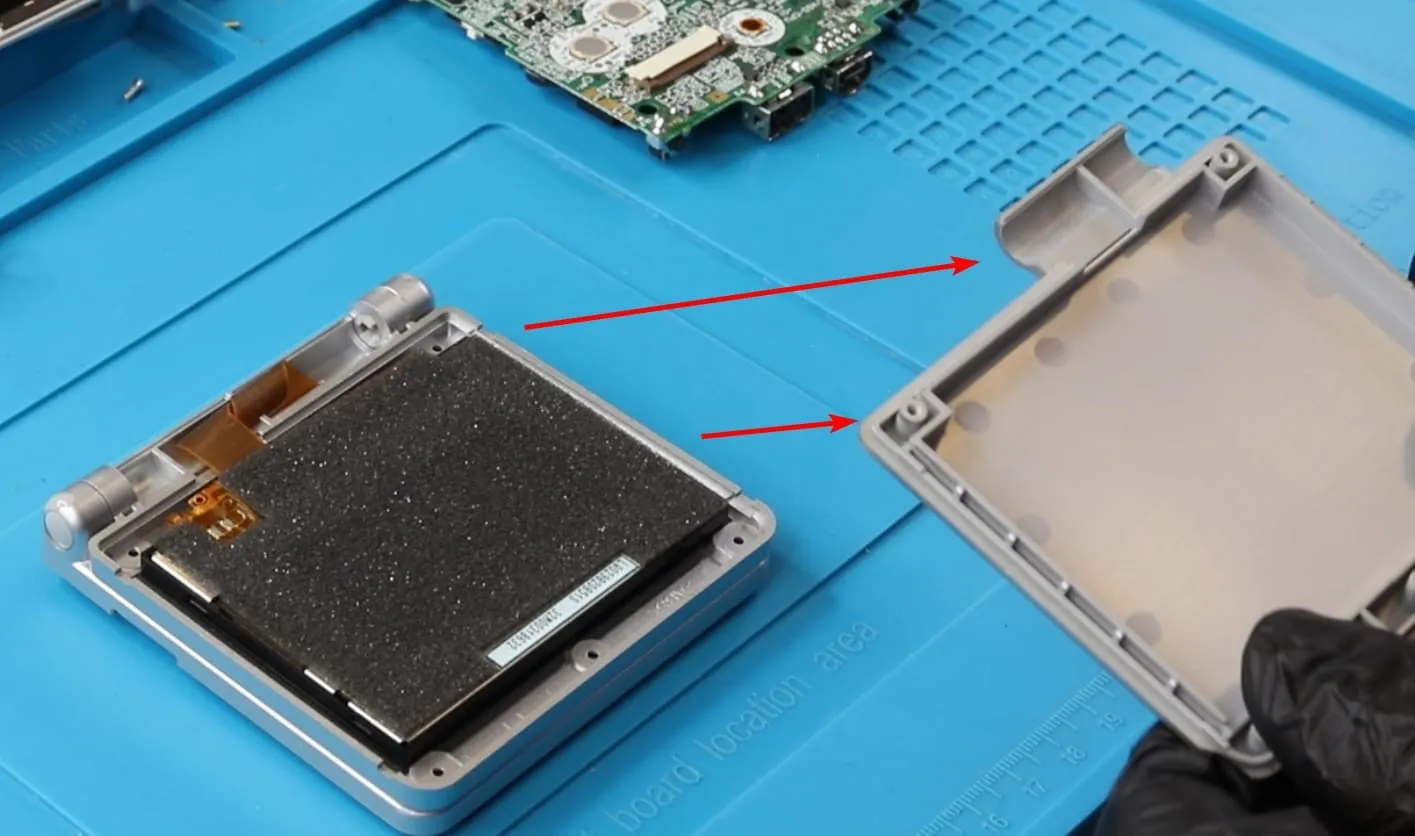
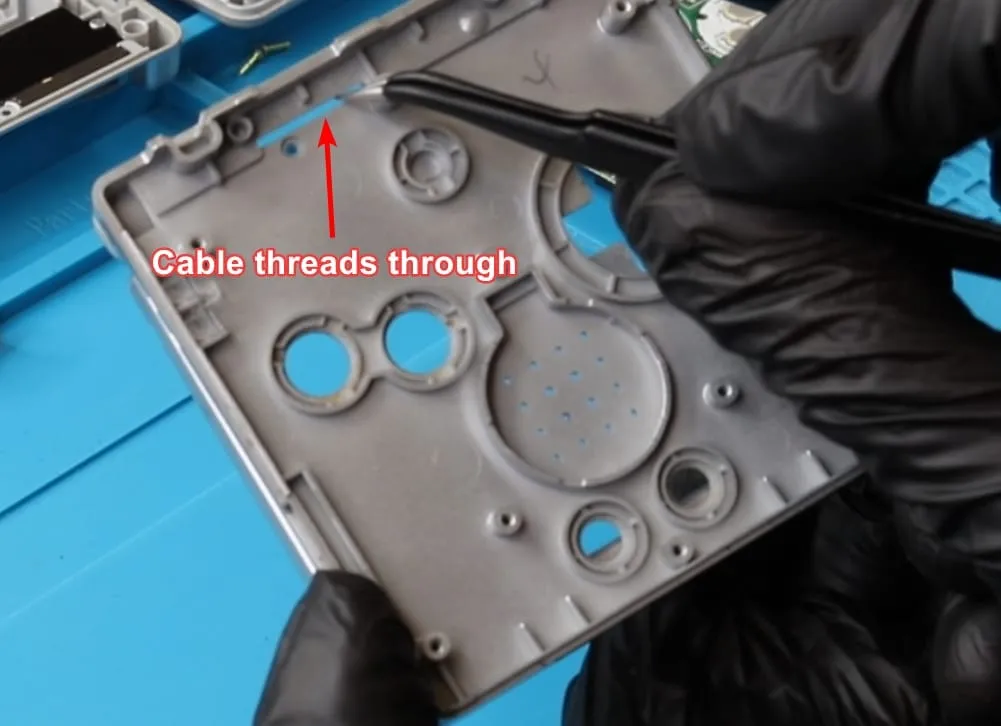
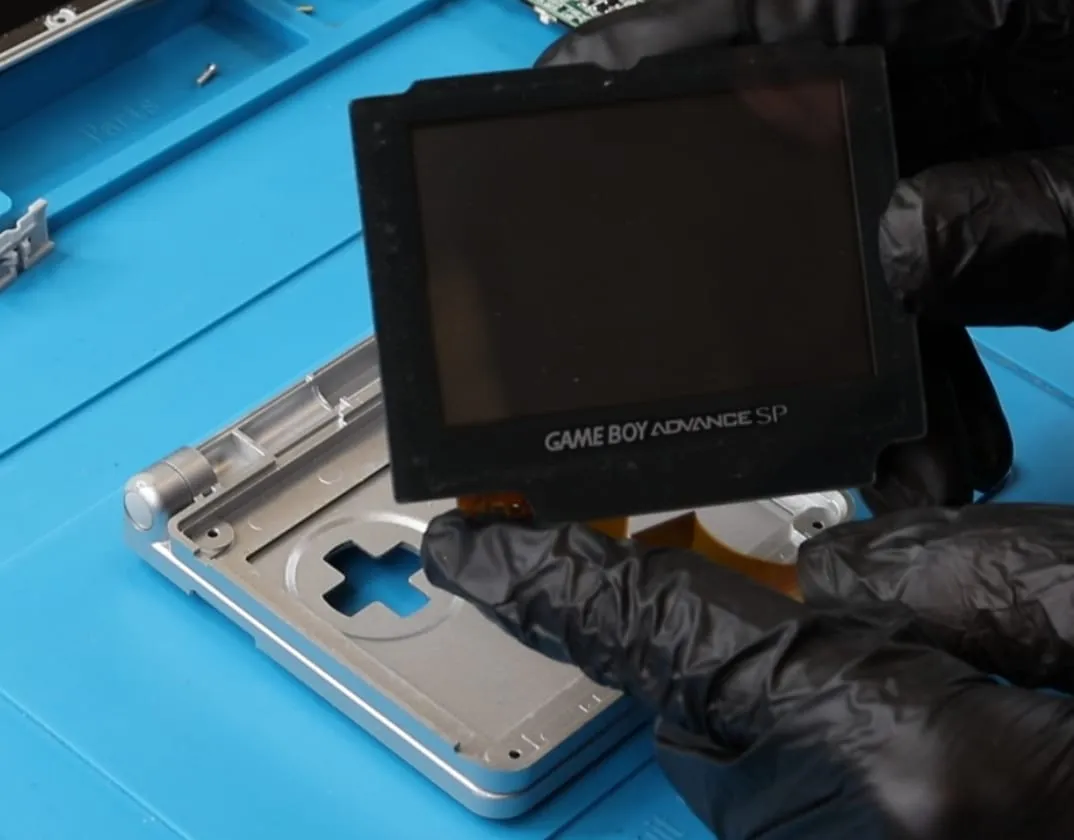
Close the clamshell lid and lift away the rear LCD cover. The LCD can now be removed. Carefully thread the ribbon cable through the front shell.
Hinge removal (optional)
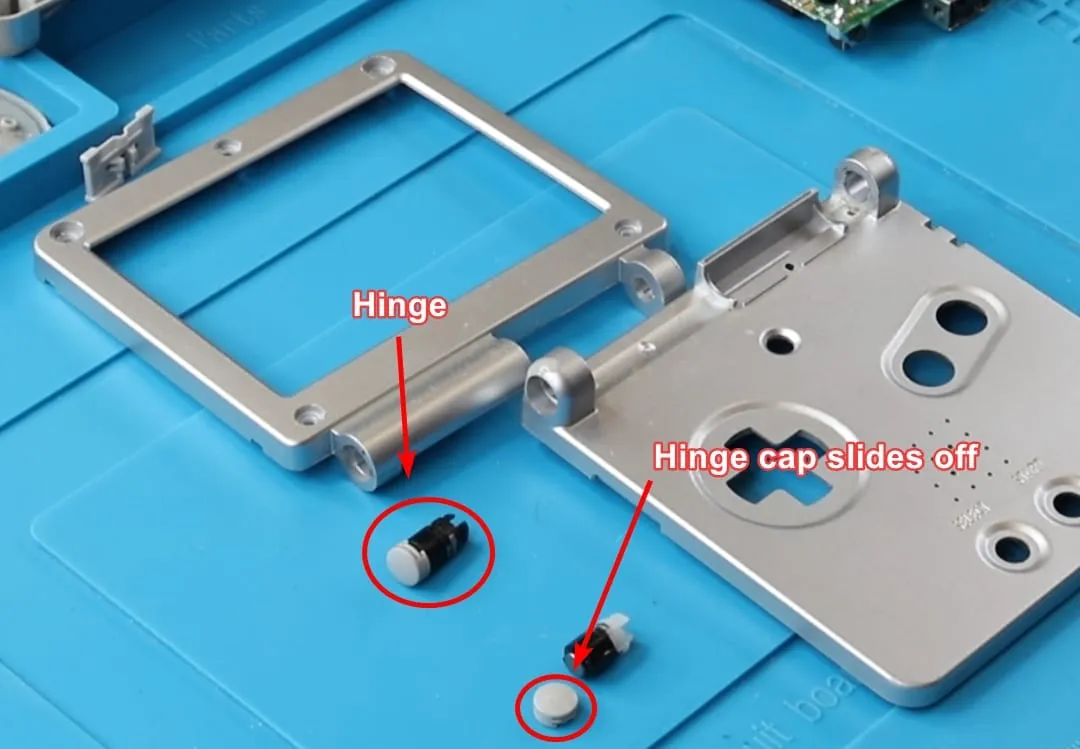
Section titled “Hinge removal (optional)”Optionally, you can remove the screen hinges. They are held in by plastic clips that need to be pushed in with a plastic spudger or a screwdriver.
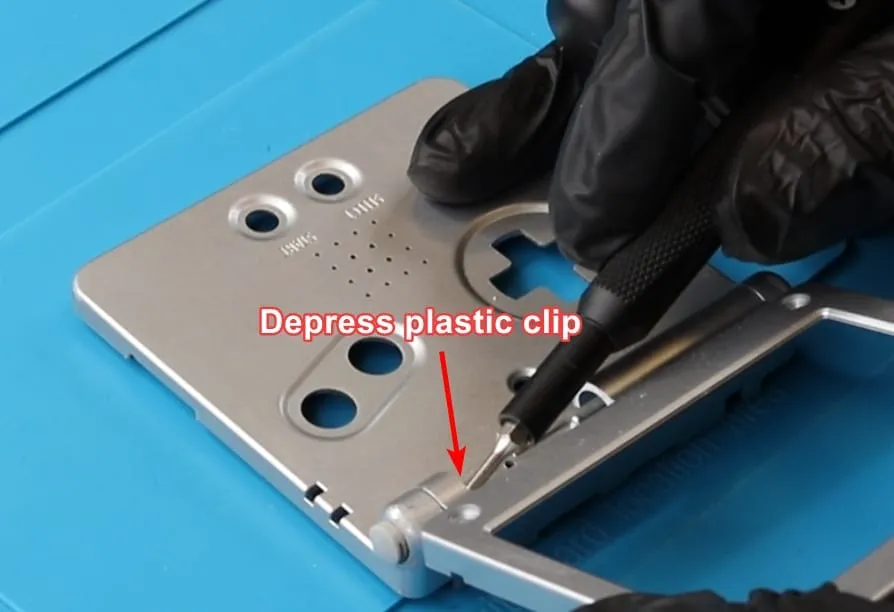
Open the front LCD cover. The hinges can now be fully removed.
Each hinge has a small plastic cap that slides off.
Reassembly
Section titled “Reassembly”To reassemble your console, simply follow these steps in reverse.
Screw guide
Section titled “Screw guide”