
[DMG] Q5 RIPS IPS Kit by Hispeedido
Foreword
Section titled “Foreword”- Make sure to run a function test , BEFORE you install the IPS kit! No warranty claims can be accepted for kits that have already been installed. You can see how to test the kit externally here: How do I test the LCD
- The LCD is very fragile and sensitive to pressure, impacts, etc. Please be especially careful when handling the LCD during installation
- Only operate the brightness and settings wheel once everything is fully installed, otherwise it can break very easily
Package contents
Section titled “Package contents”Make sure all parts are included:
- IPS LCD
- PCB for display
- Flex cable for PCB <-> LCD board
- Flex cable for LCD board <-> DMG mainboard
- Adhesive strips
- Positioning frame
- Display lens
Shell modification
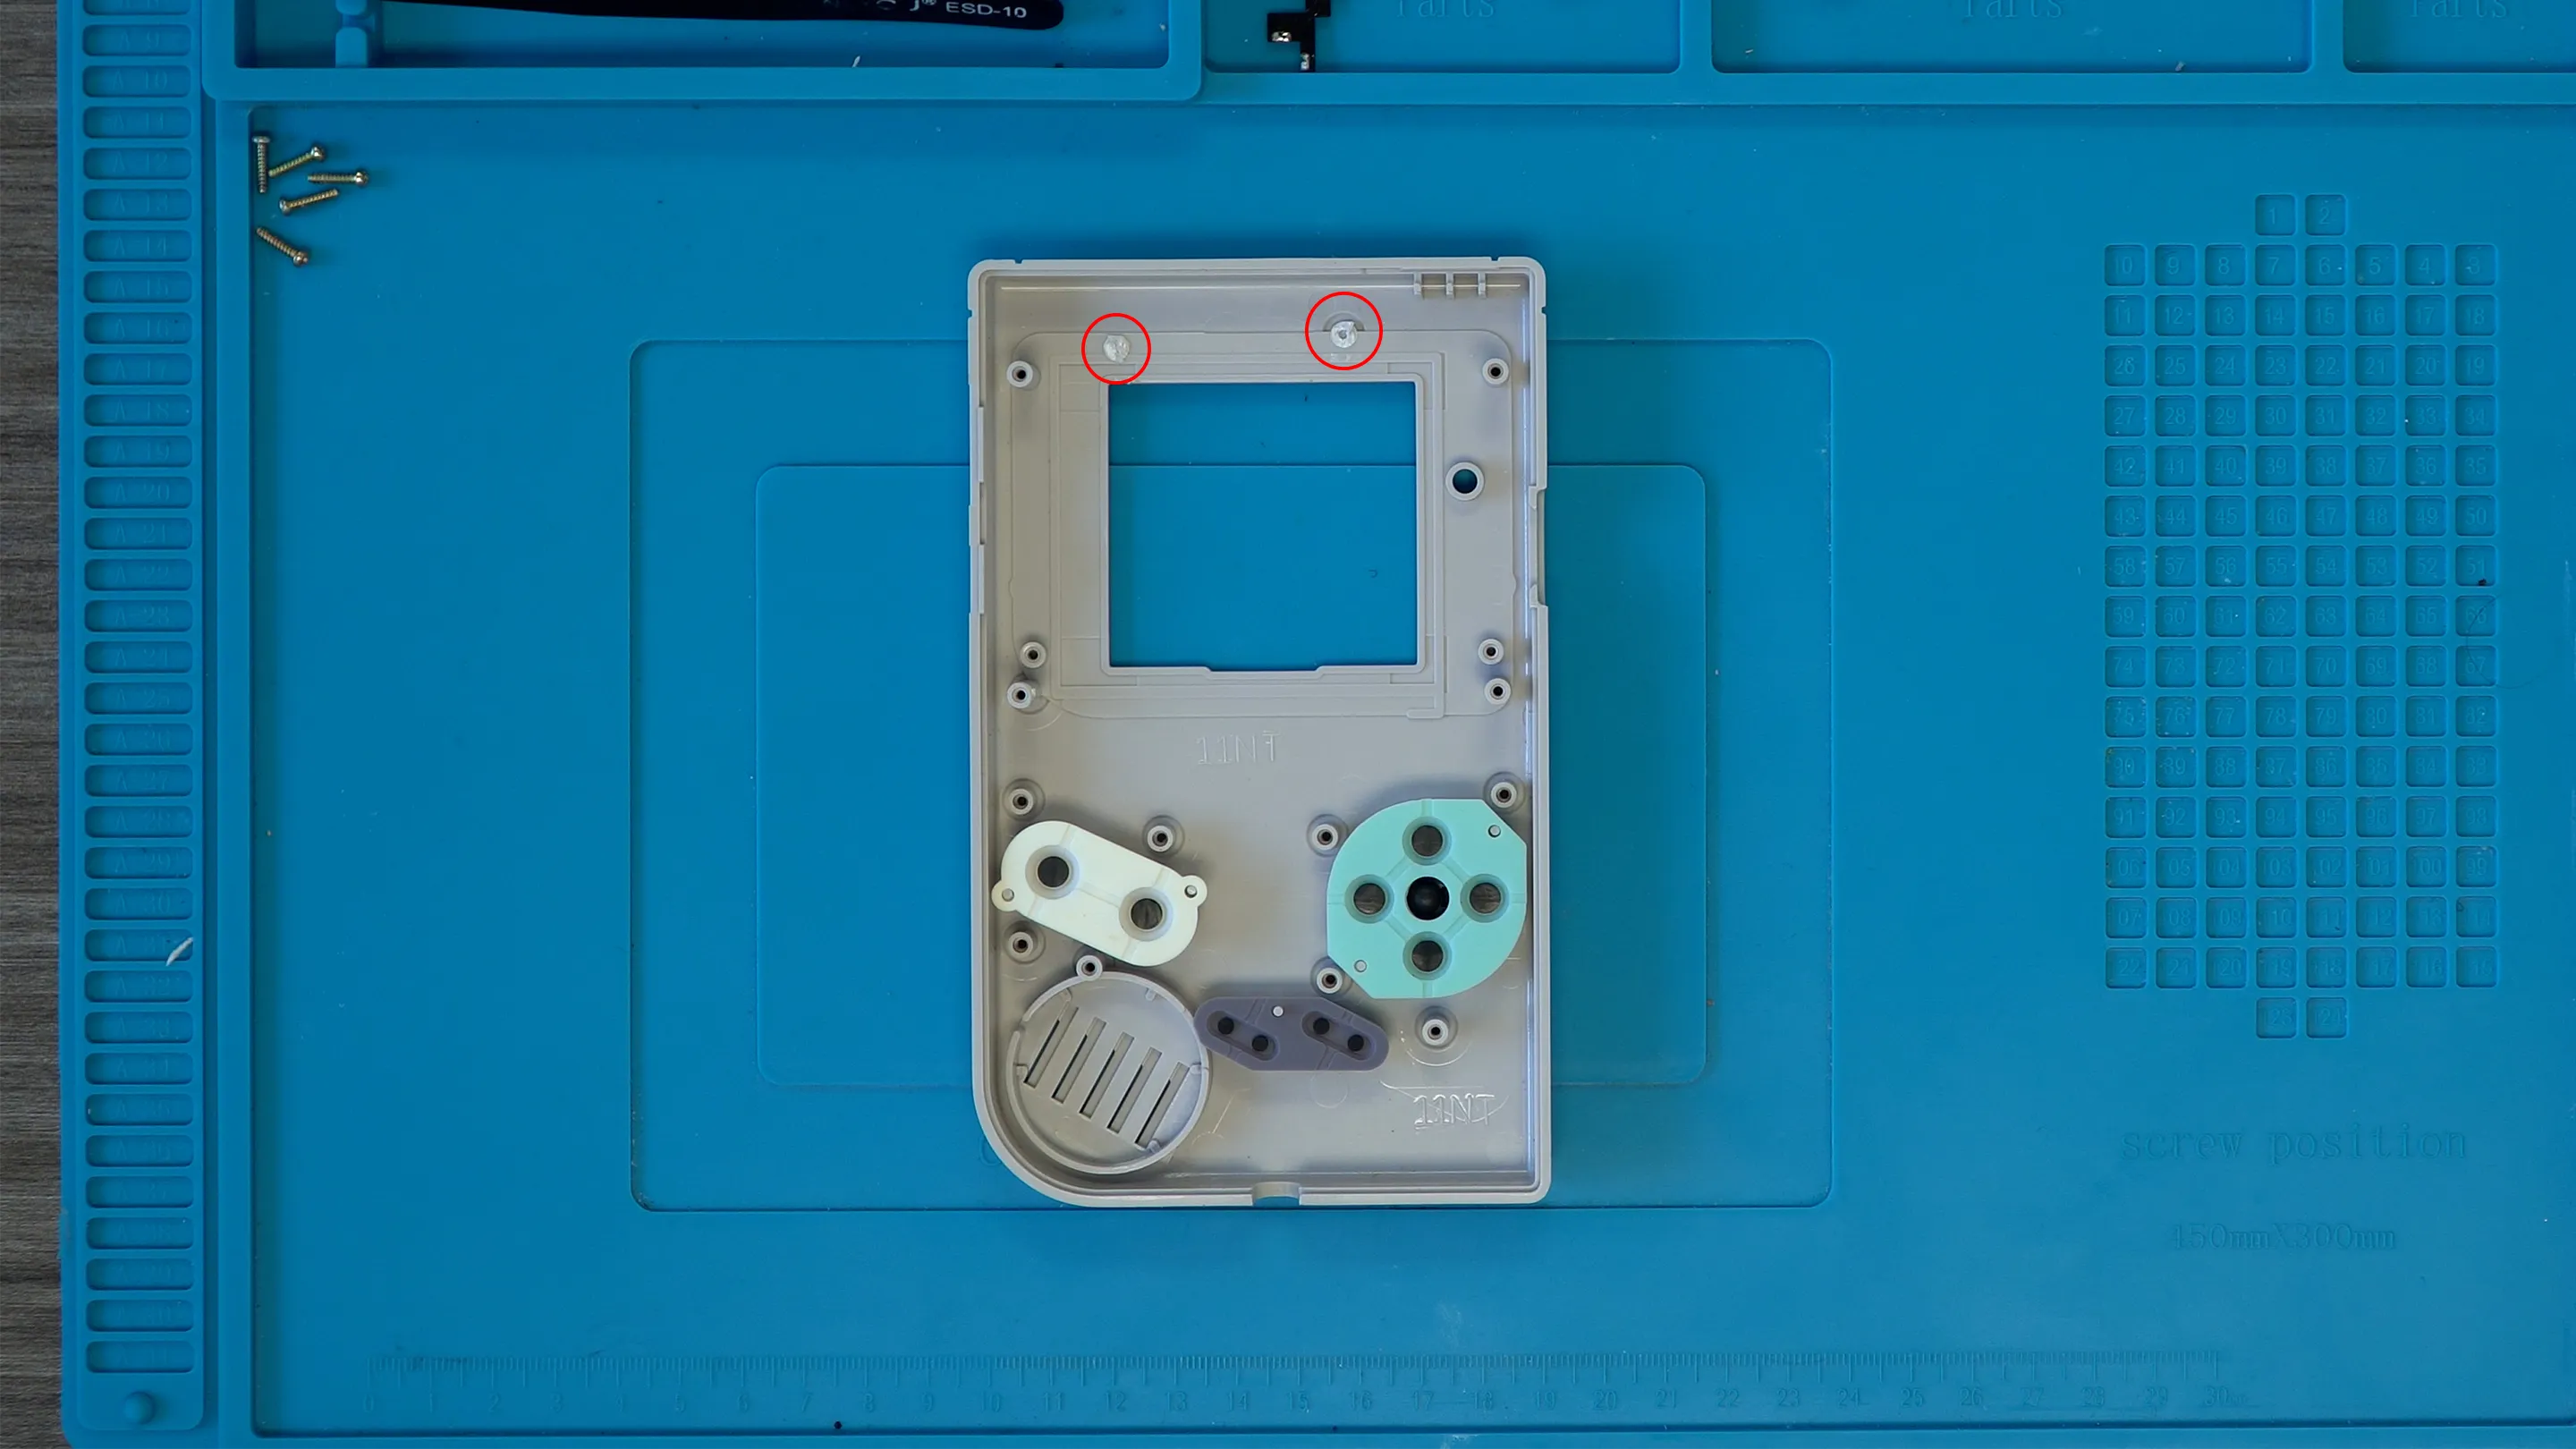
Section titled “Shell modification”OEM shells and other shells not prepared for the Q5 IPS kit have to be modified first so that the XL display fits properly.
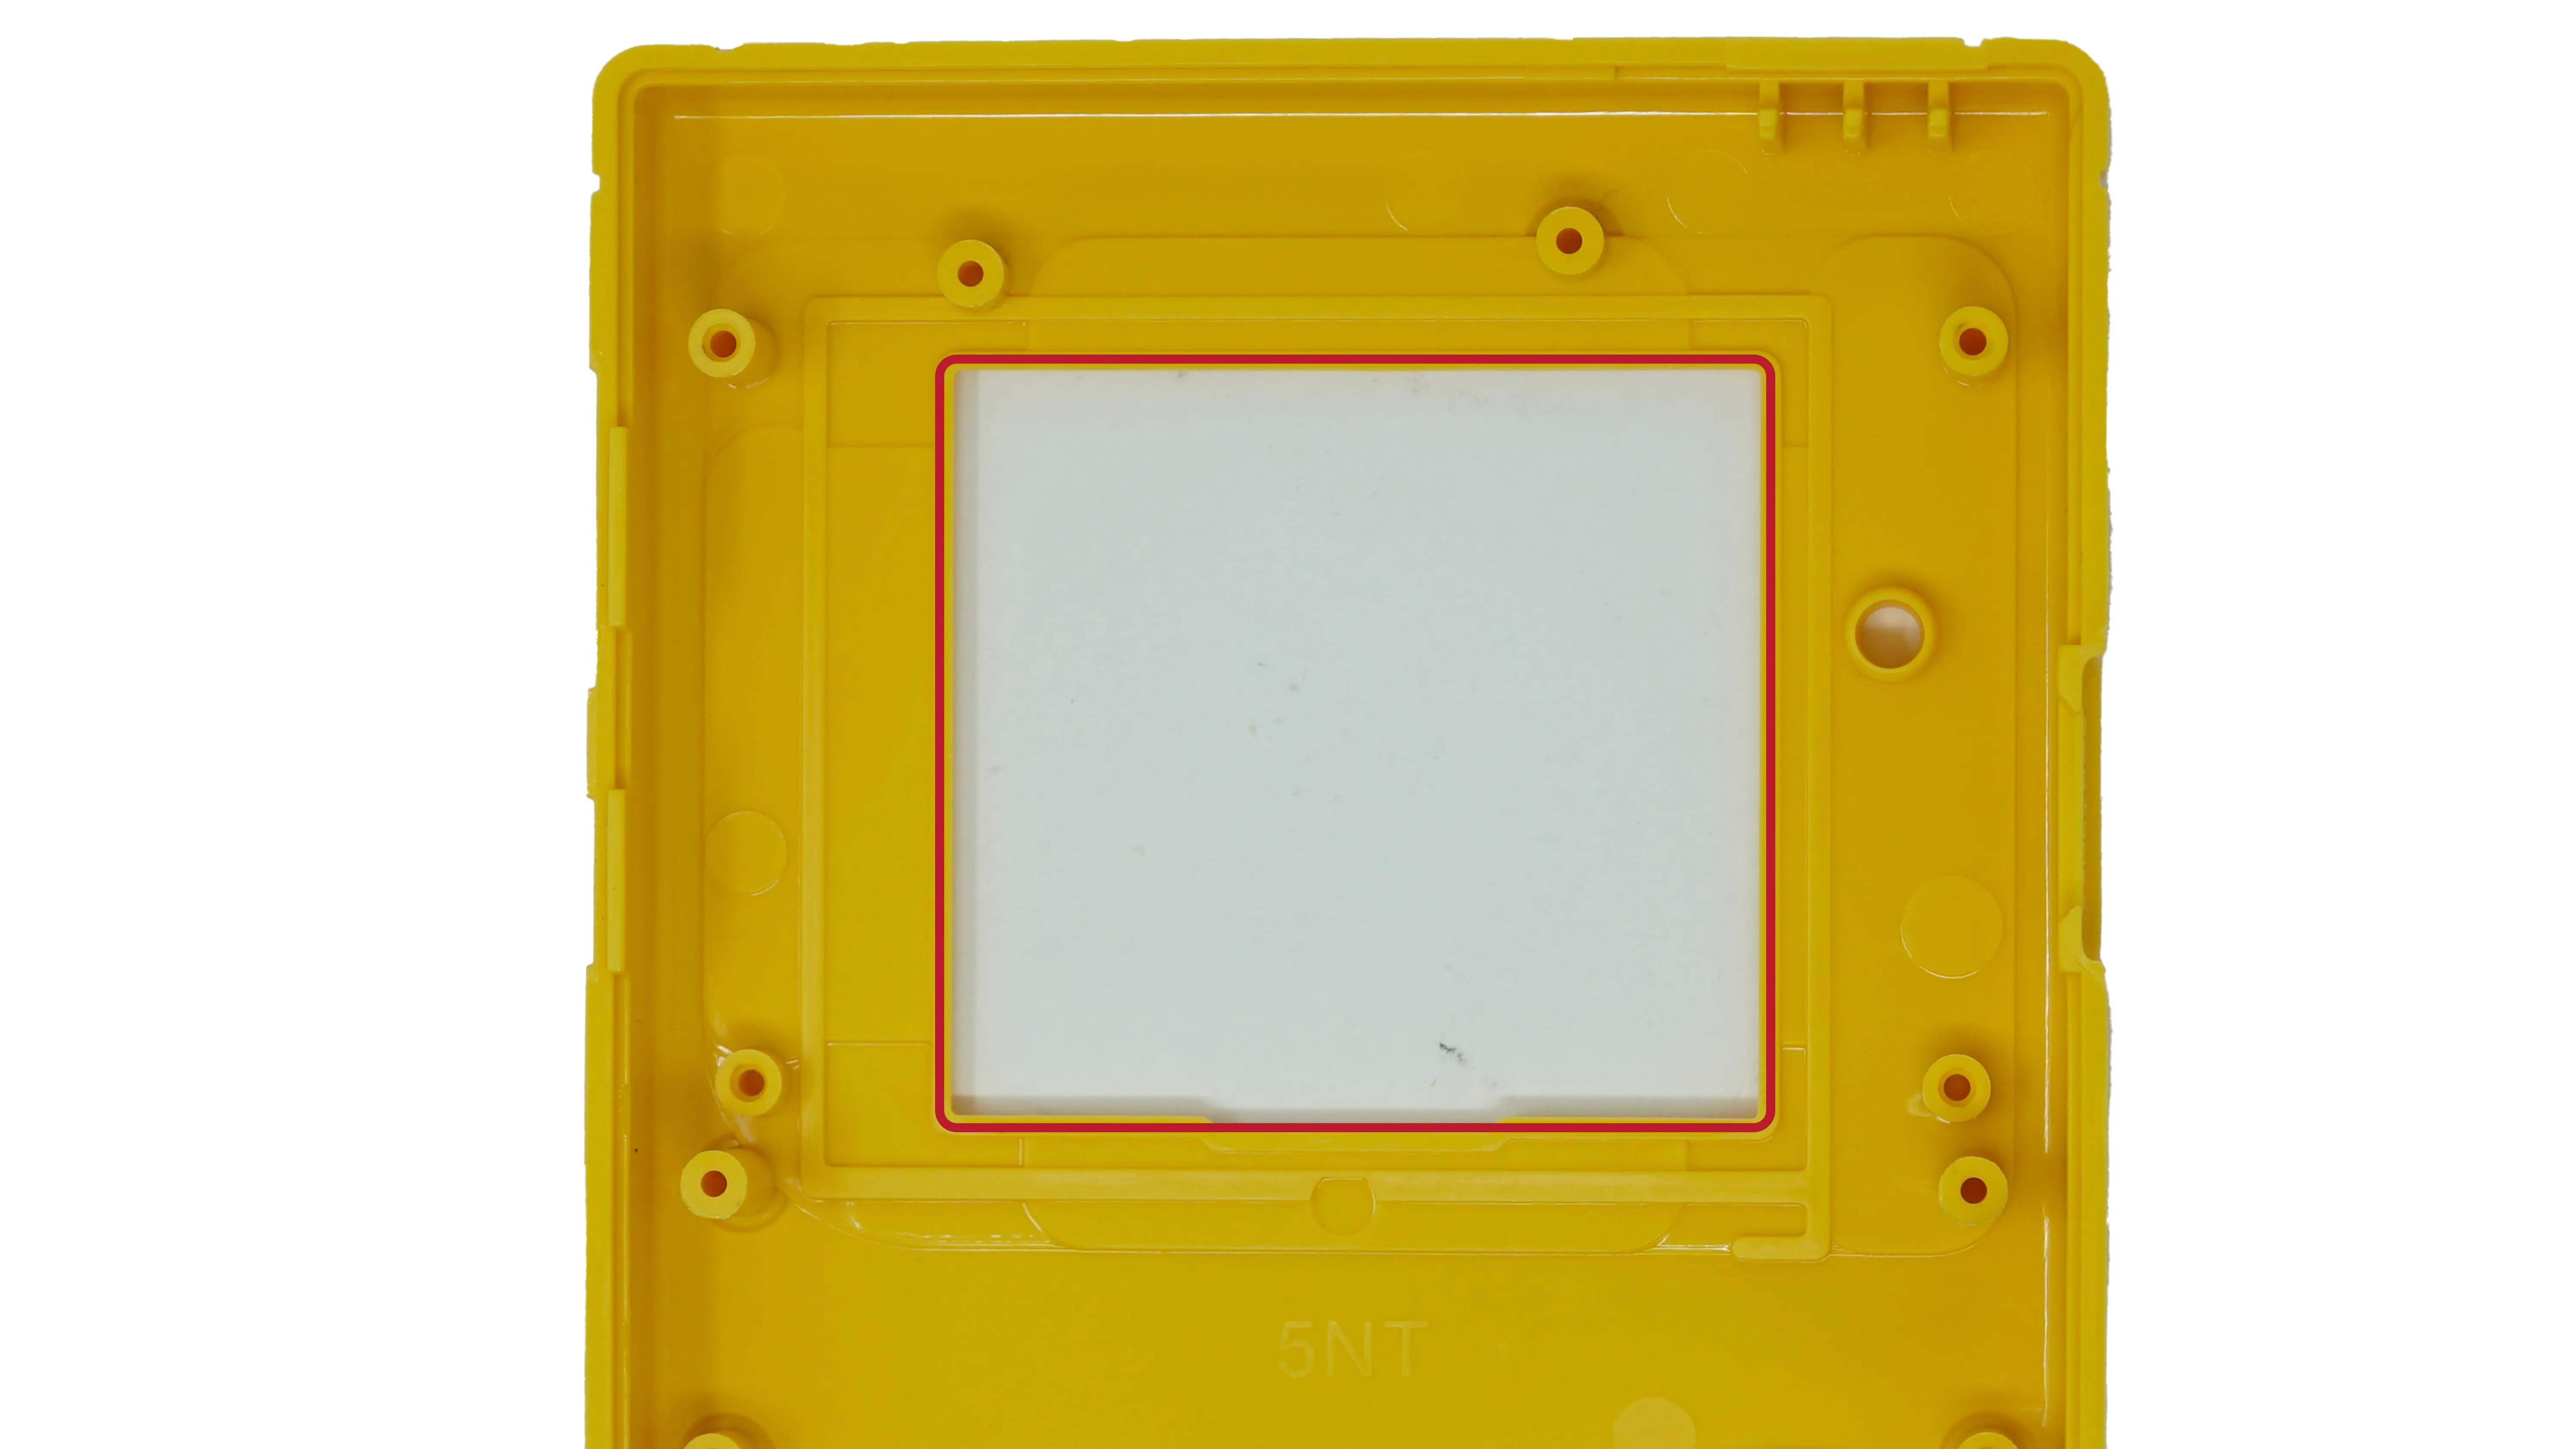
As shown above, the viewing window has to be enlarged and two of the screw posts on the top cut off flush.
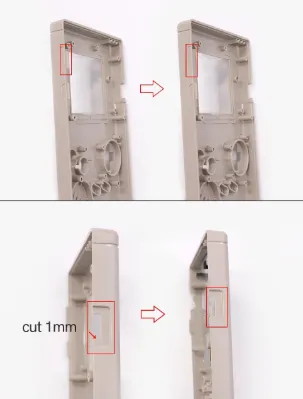
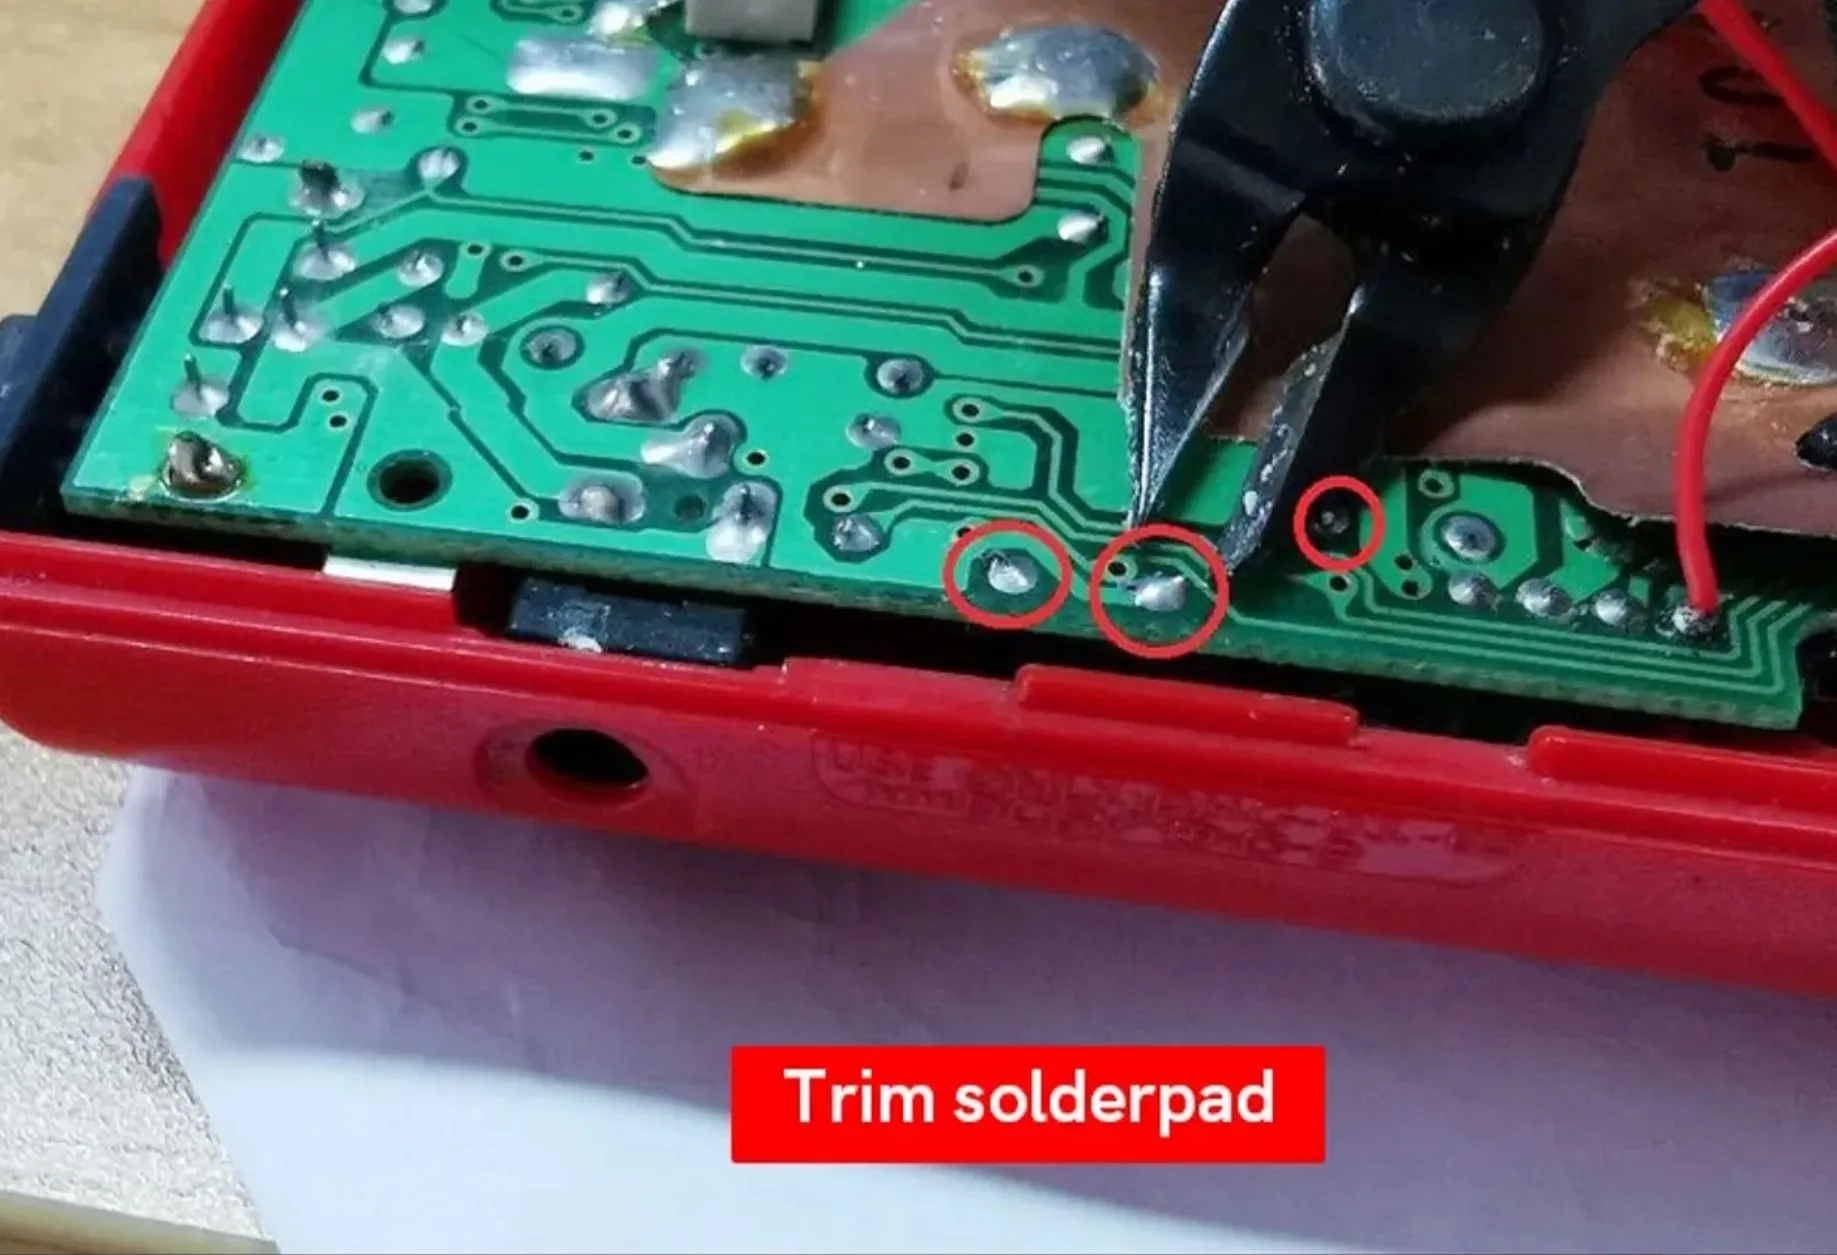
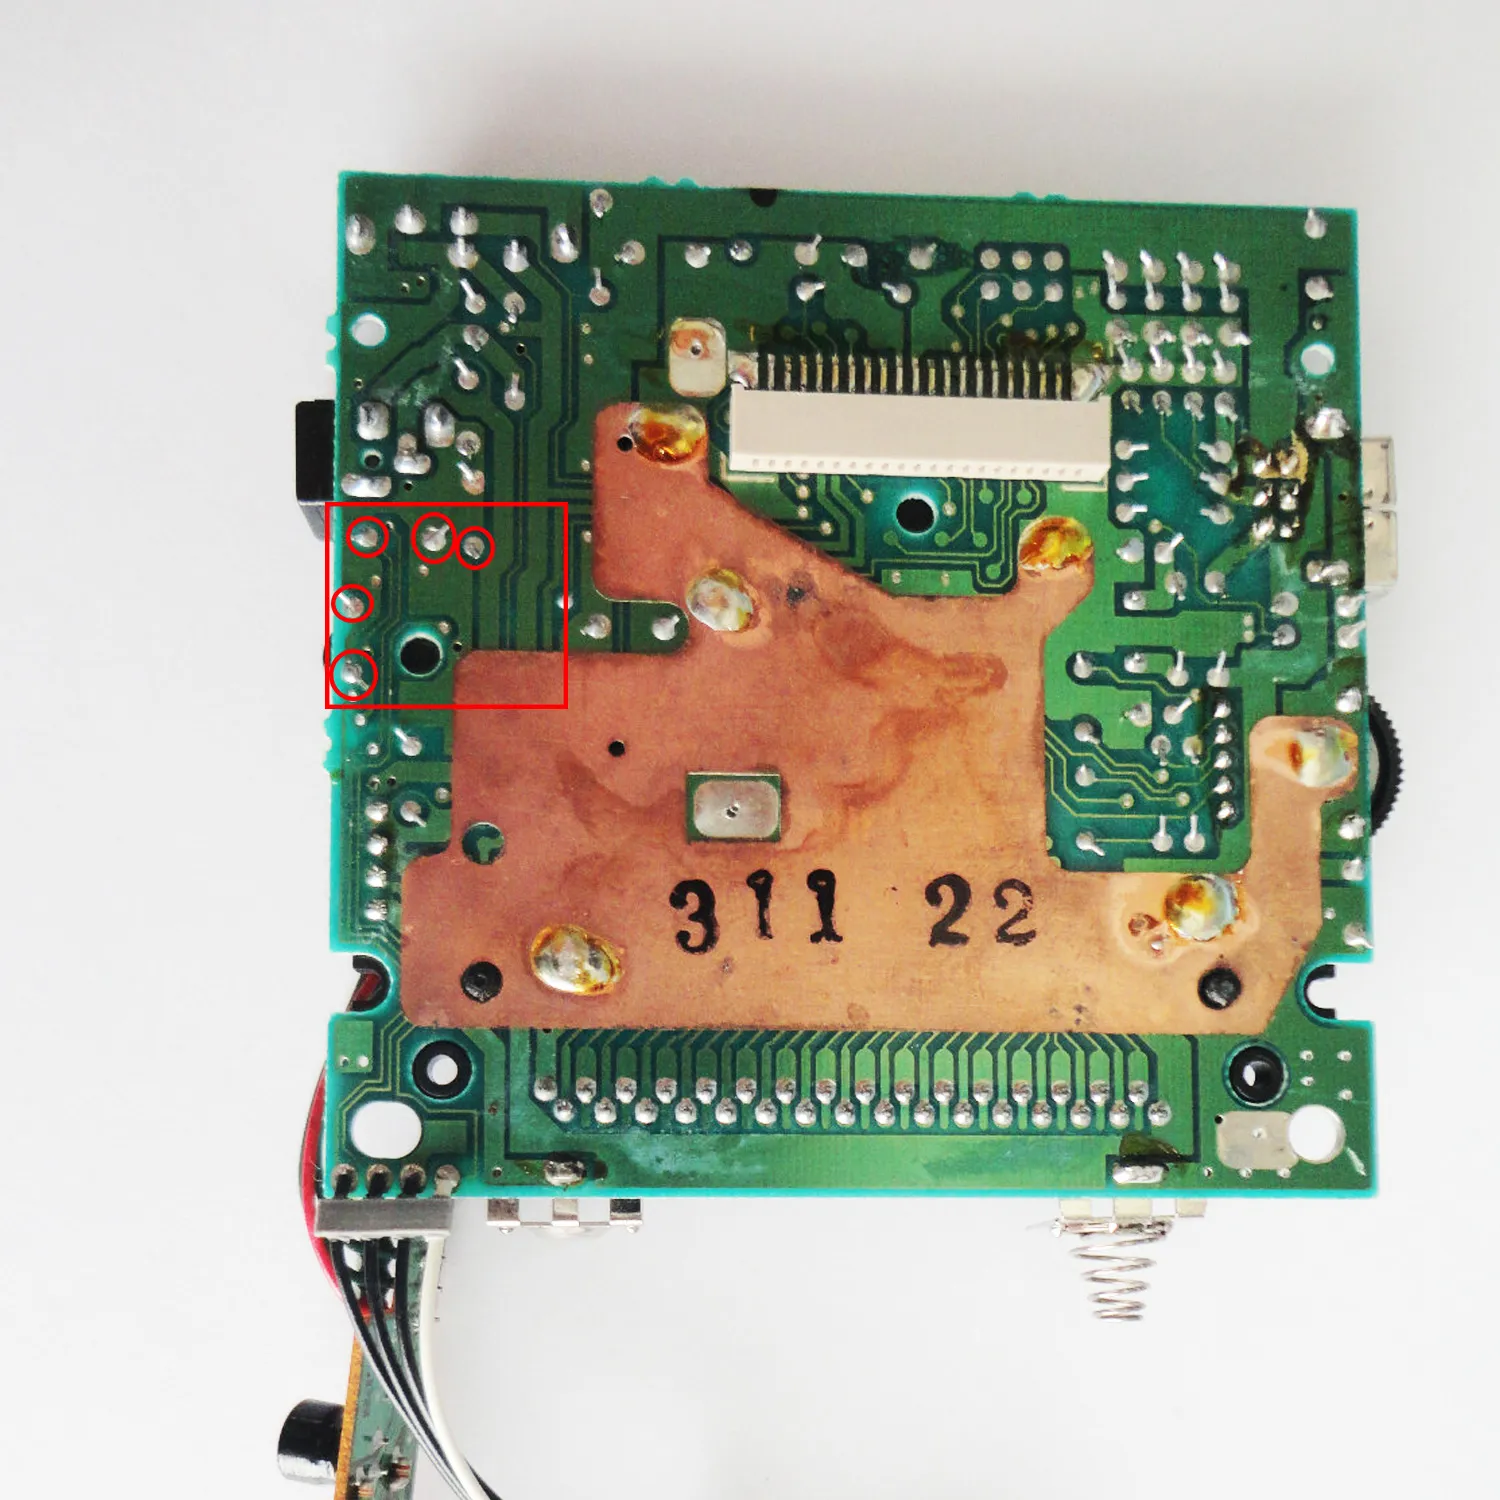
If you notice problems with the contrast wheel, here is an optional step for trimming this area:
Installation
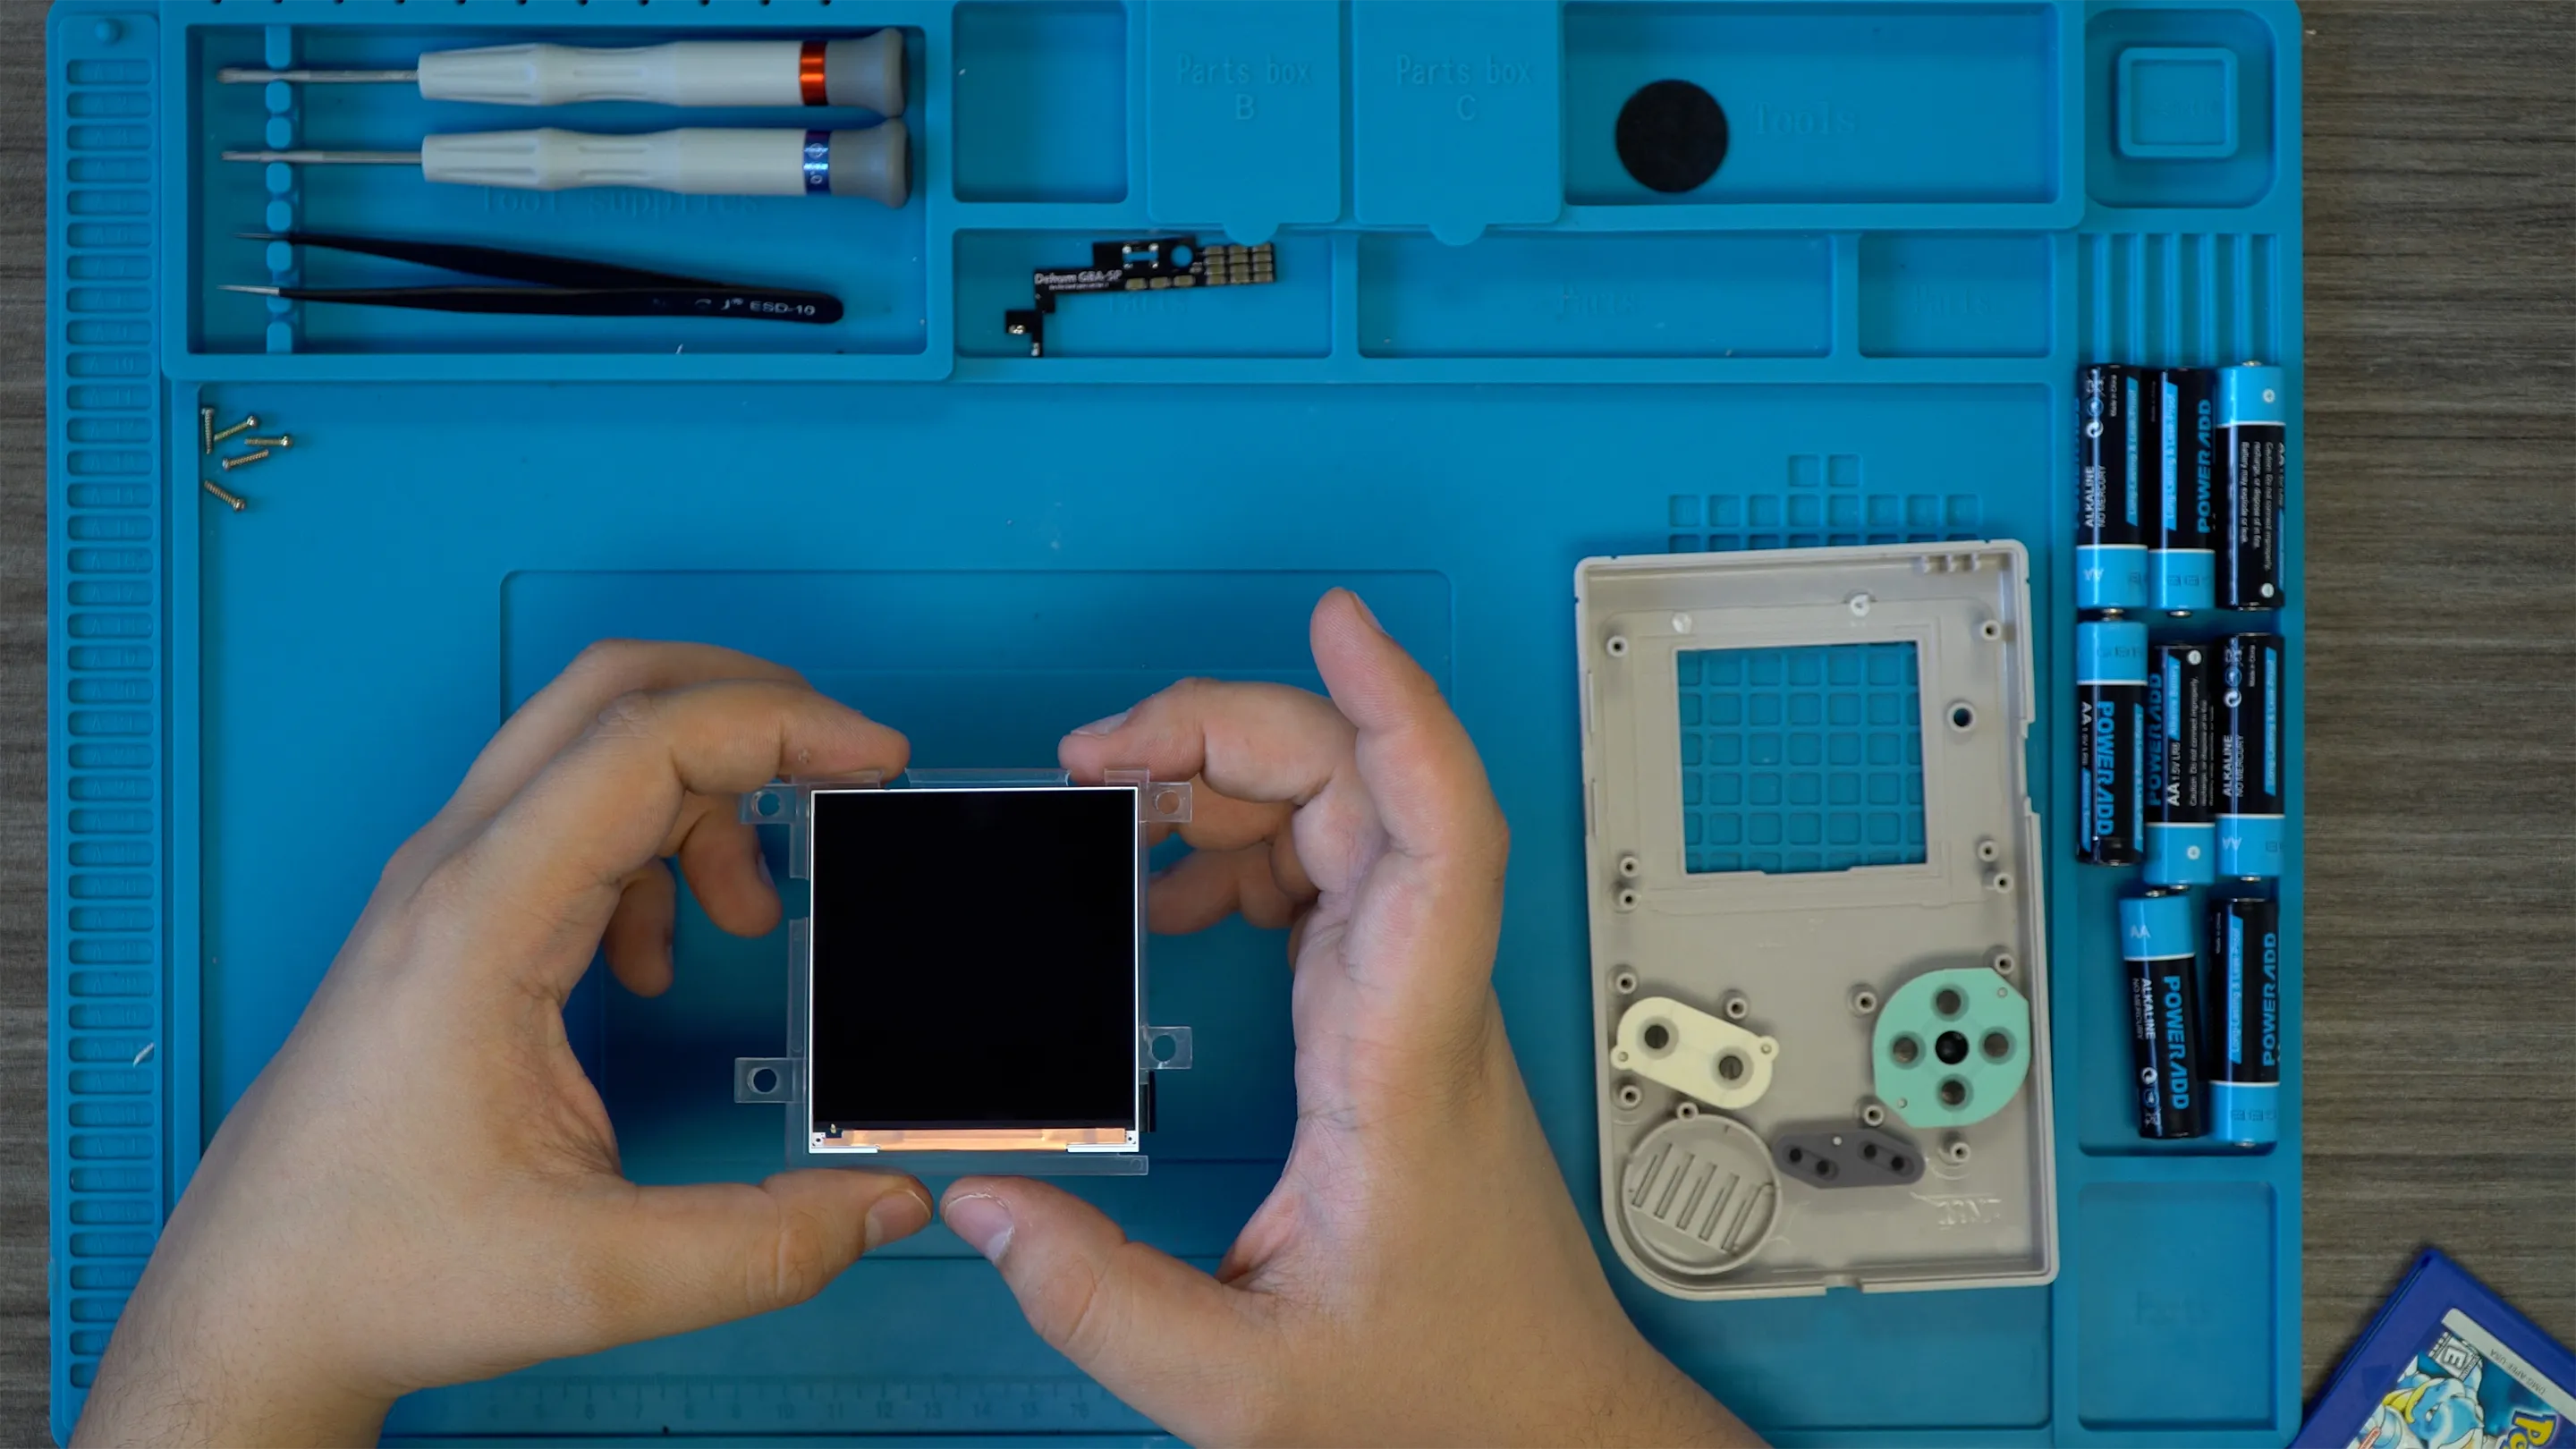
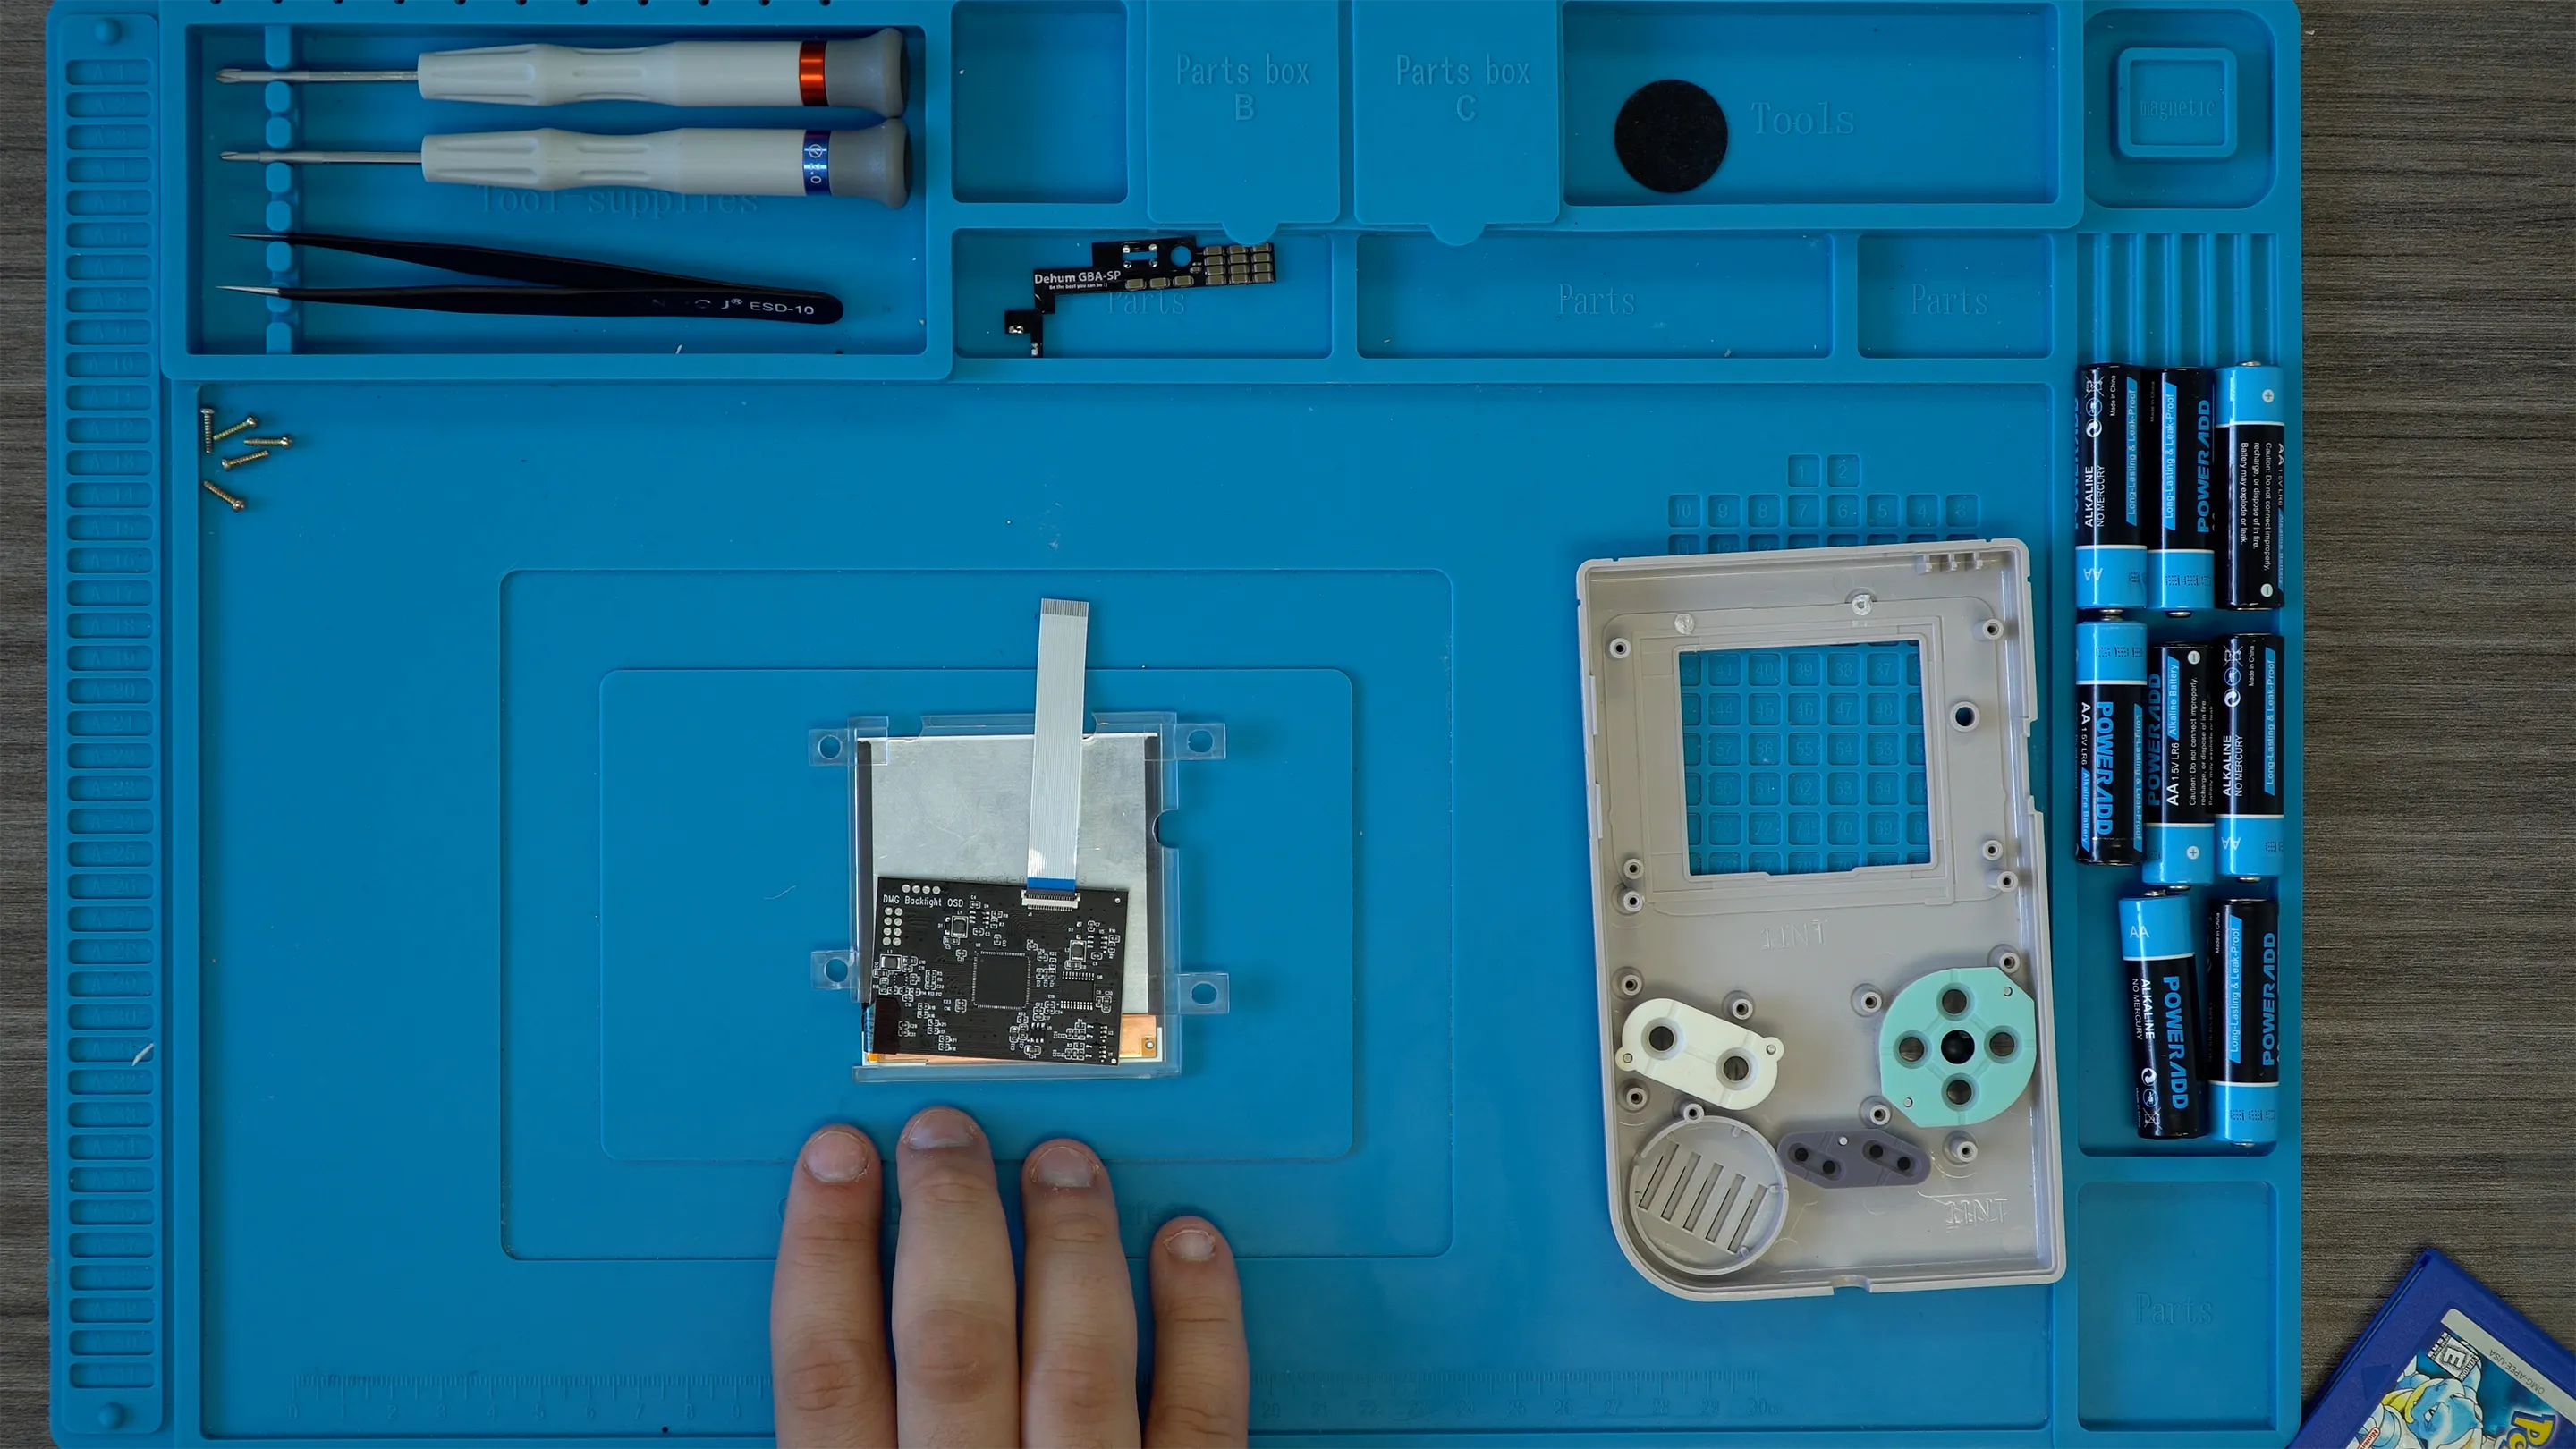
Section titled “Installation”First, the screen has to be inserted into the screen alignment bracket.
Place the LCD into the positioning frame.
Next, connect the PCB to the LCD.
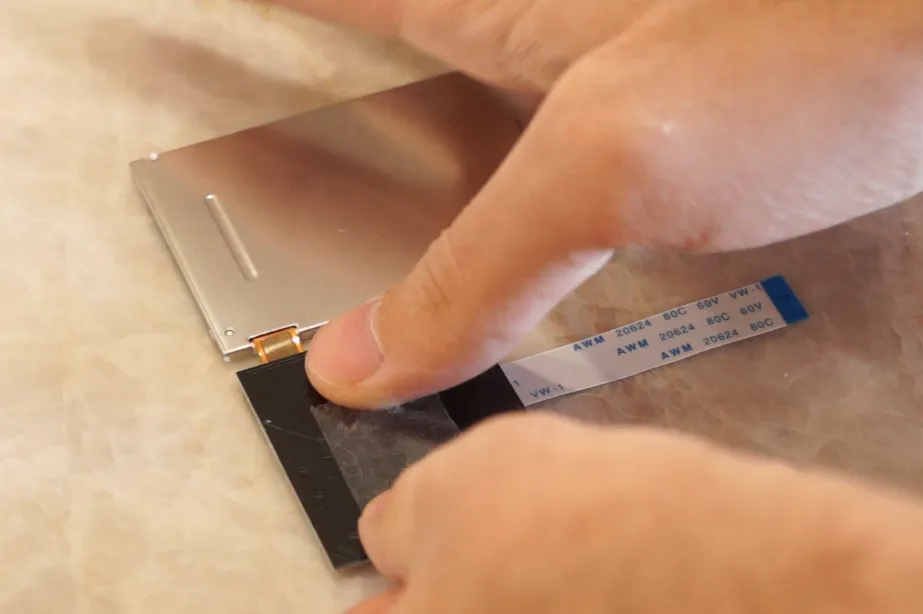
Apply a small strip of double-sided tape to the back of the PCB. Stick the control board onto the back of the IPS panel as shown.
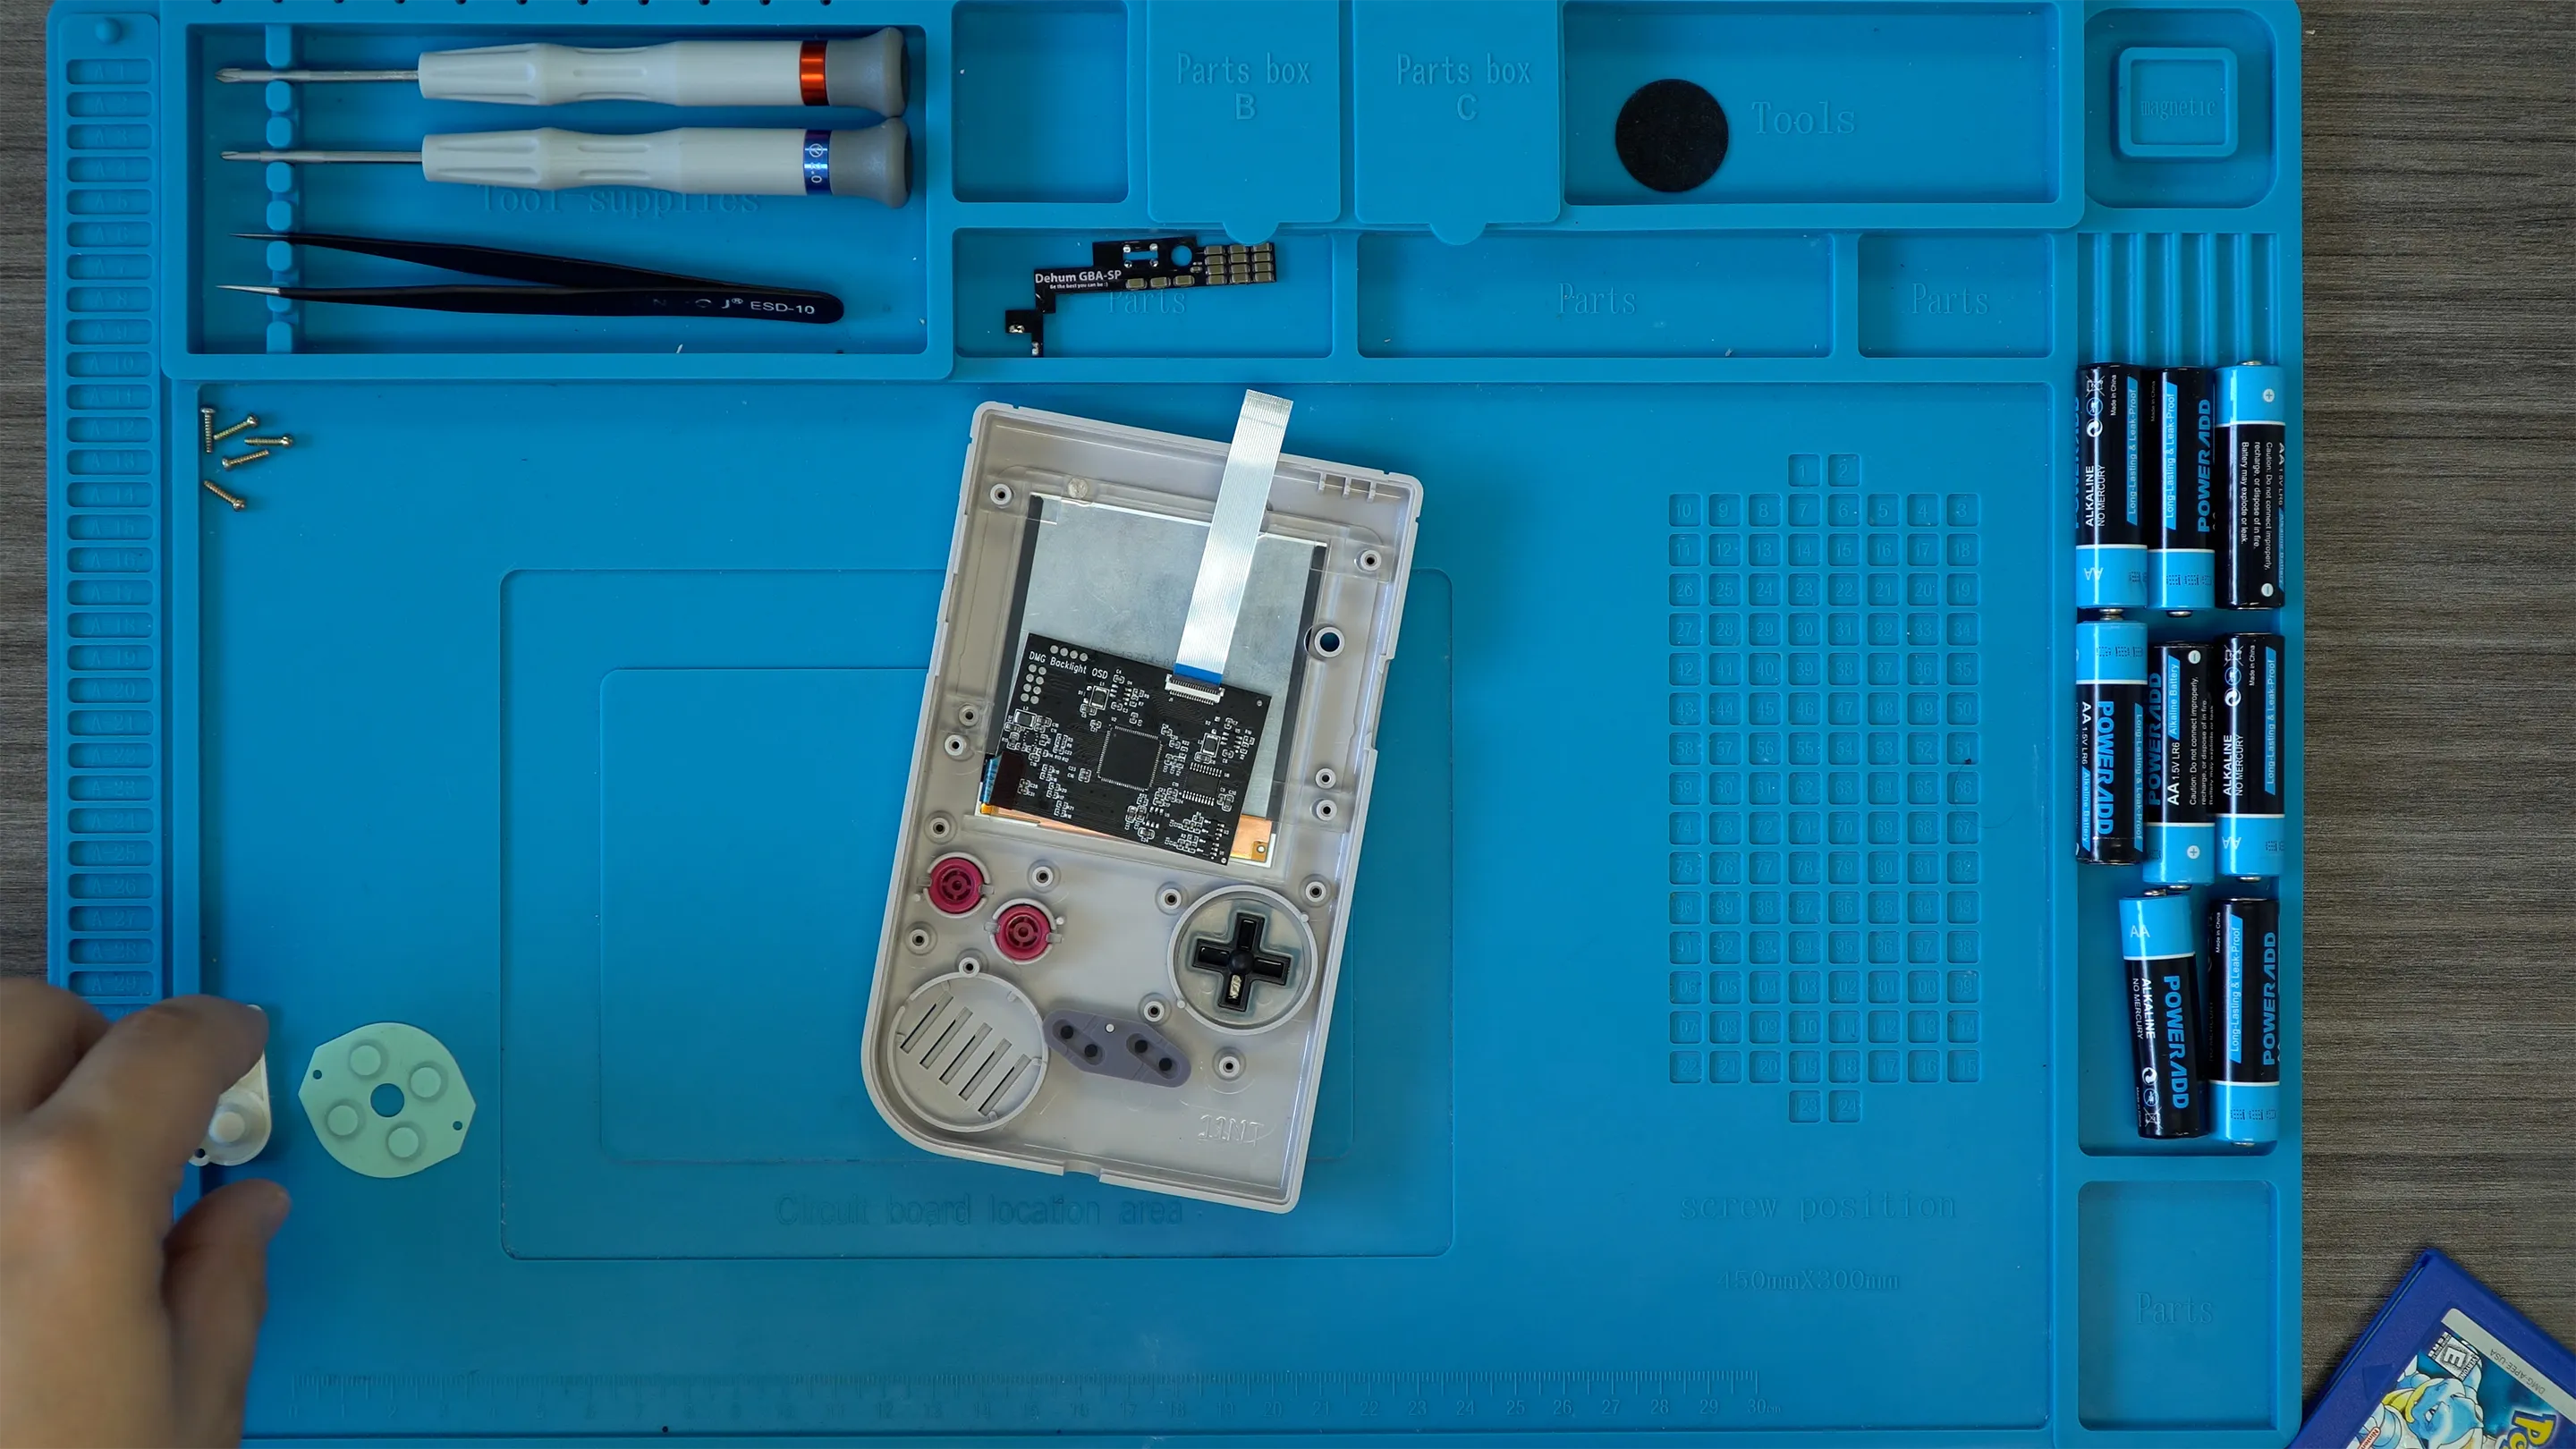
Now the display can be inserted together with the frame.
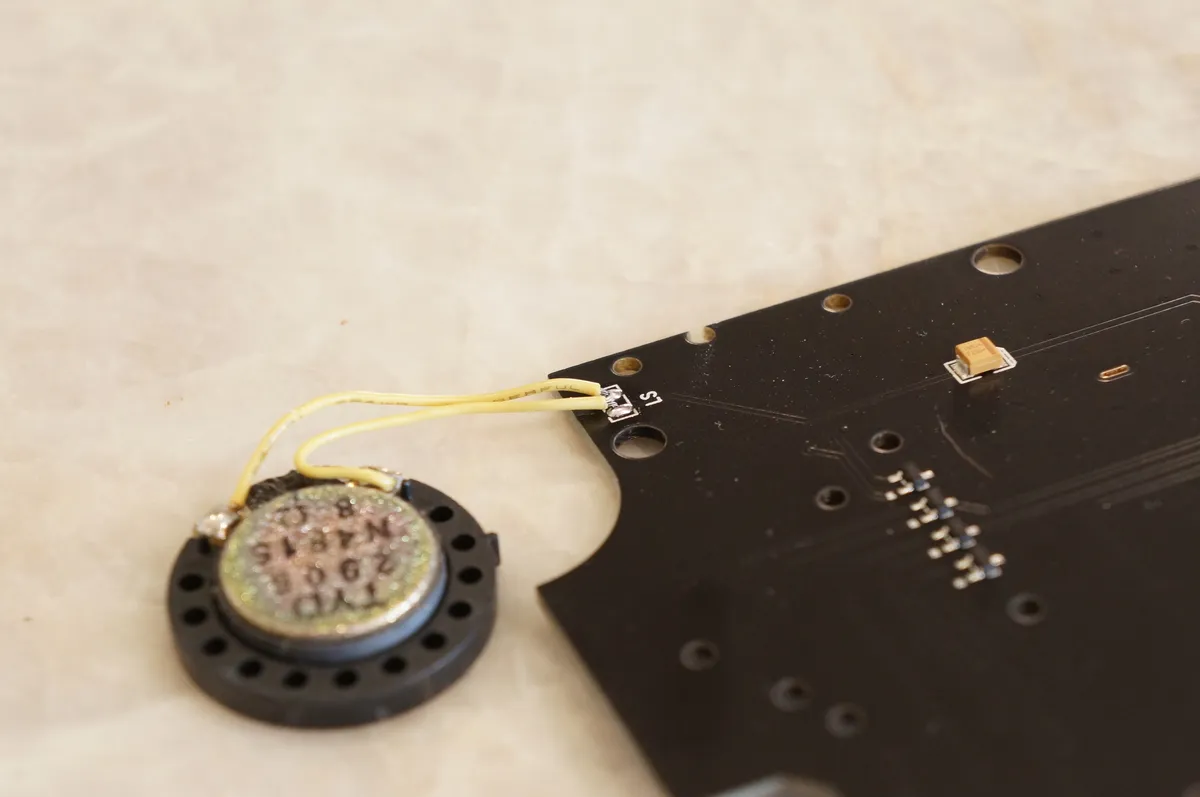
Next, solder the speaker wires; polarity doesn’t matter. Solder the speaker to the new LCD board as shown. Optionally, the kit is also available with a pre-soldered speaker.
Place the LCD PCB on the display and connect the ribbon cable as shown. Then screw the PCB to the shell with the 6 included screws.
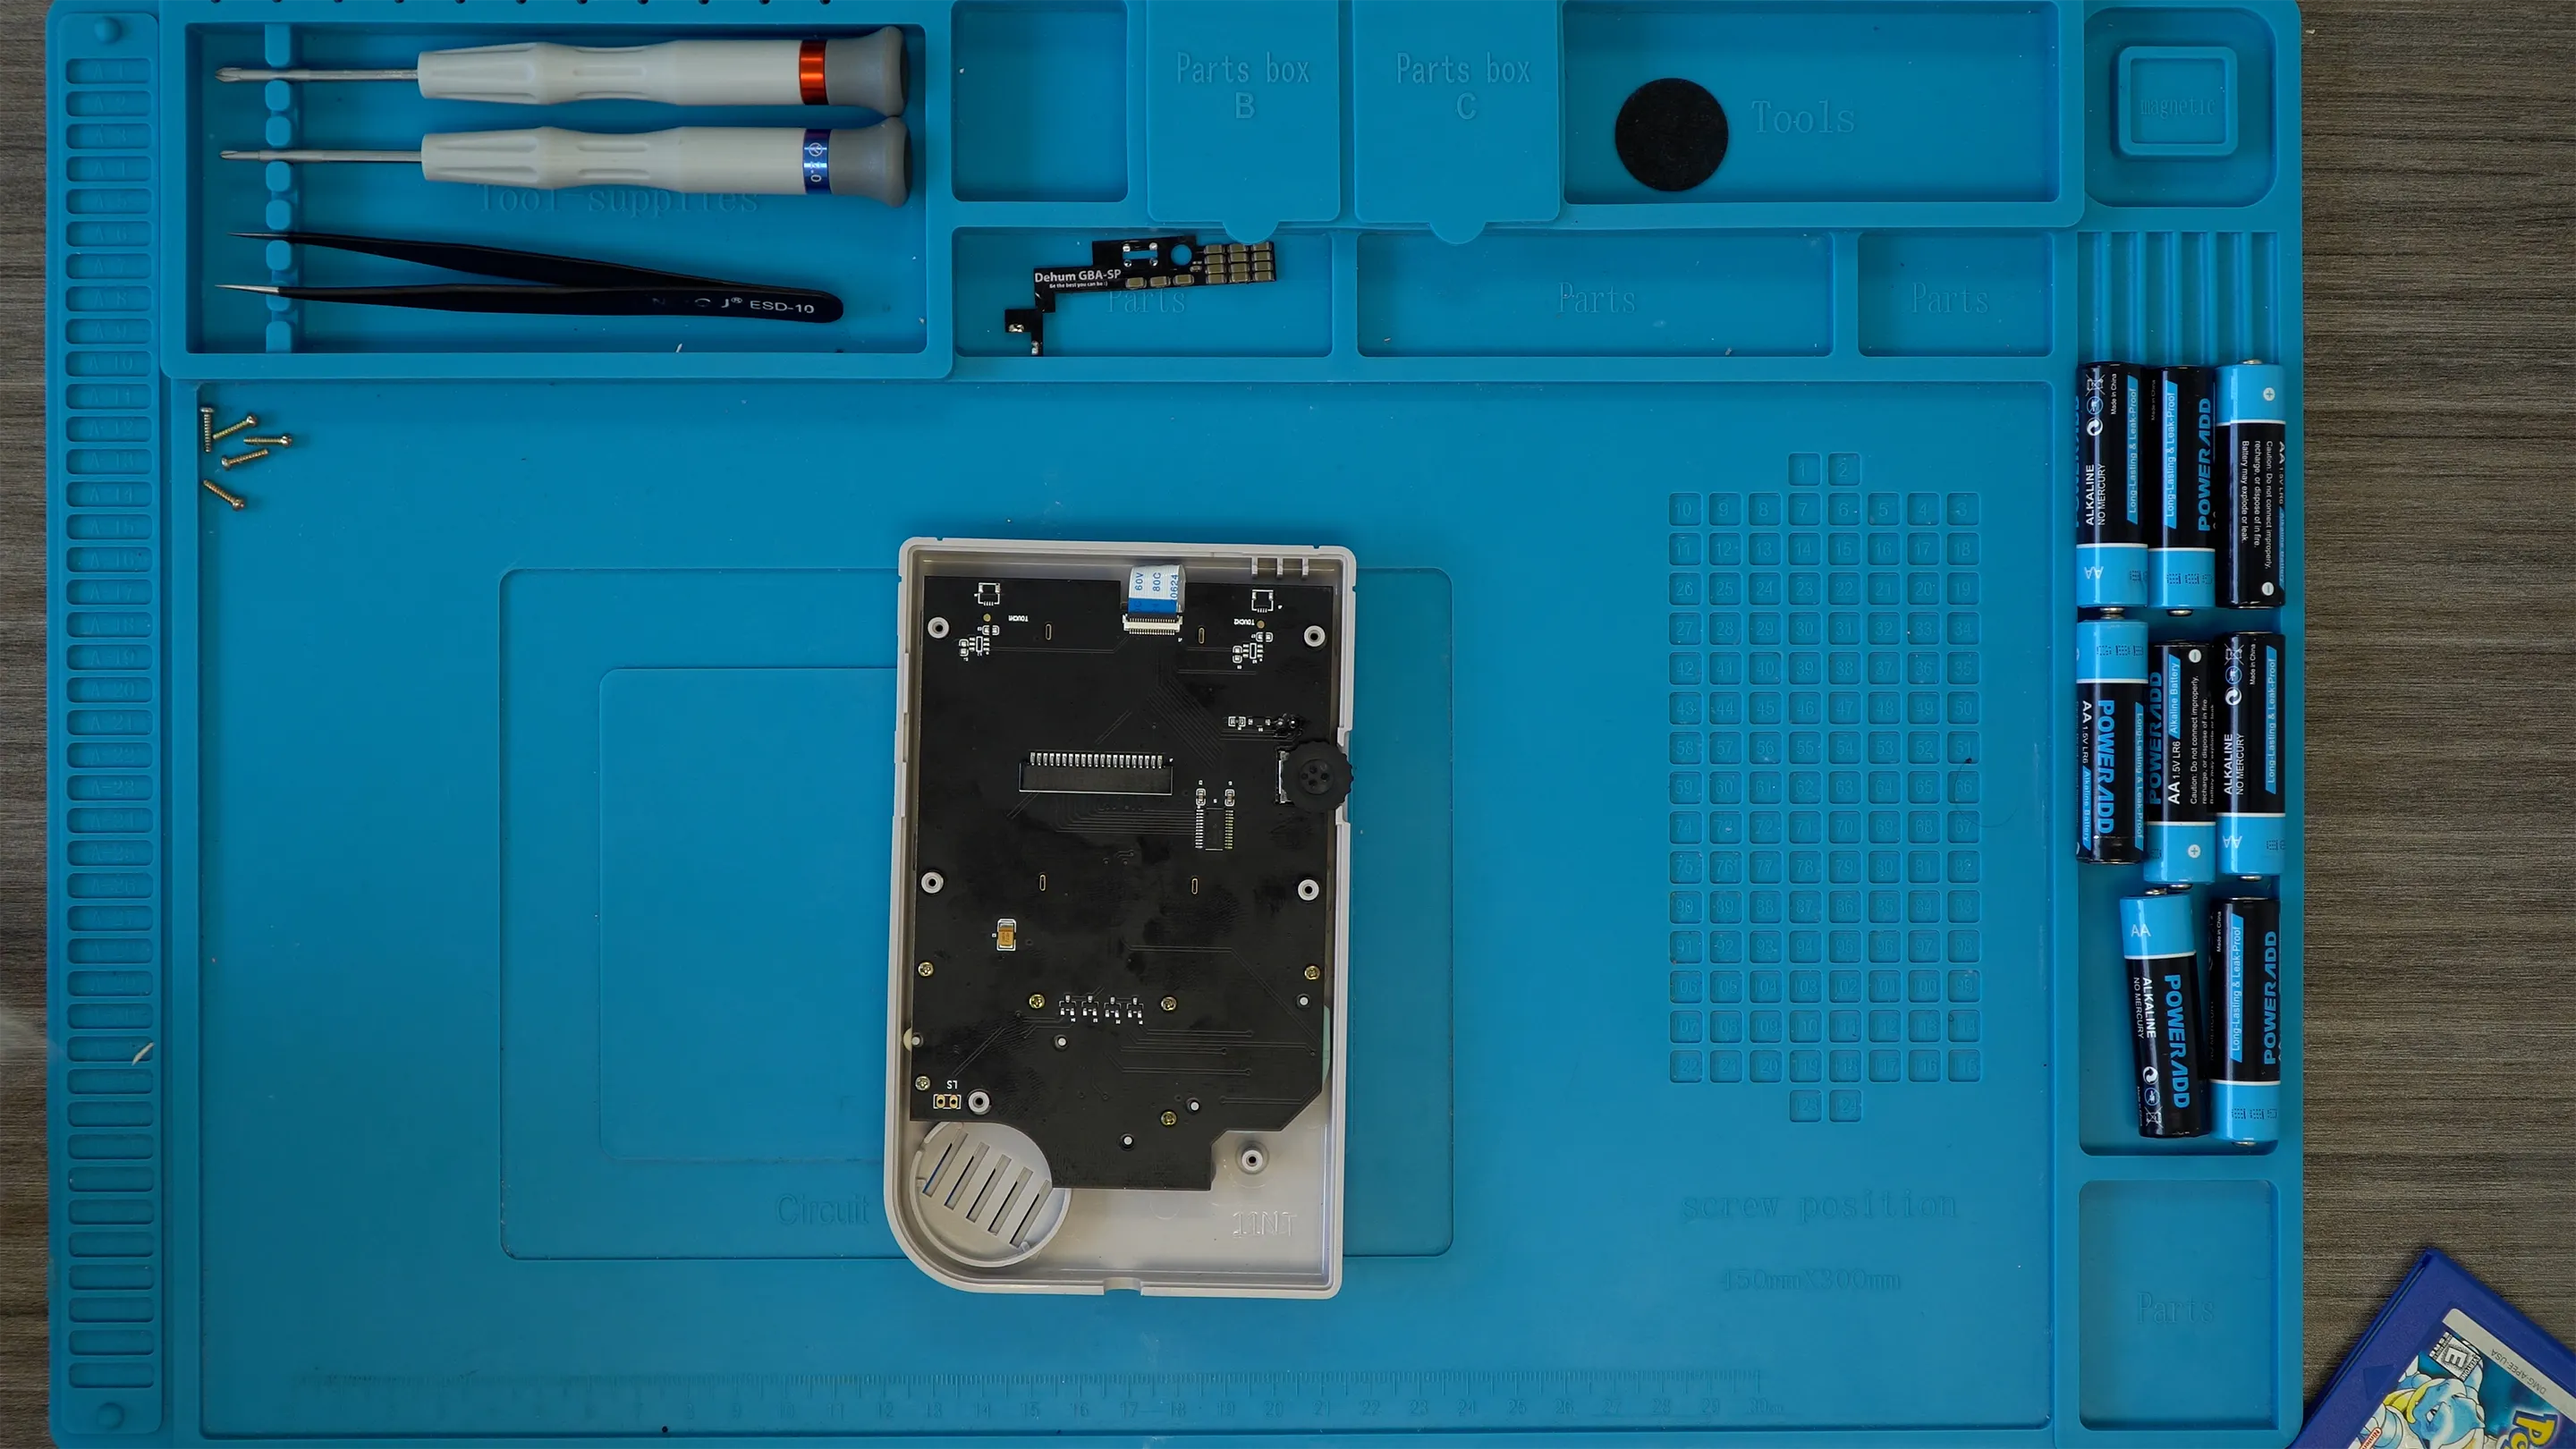
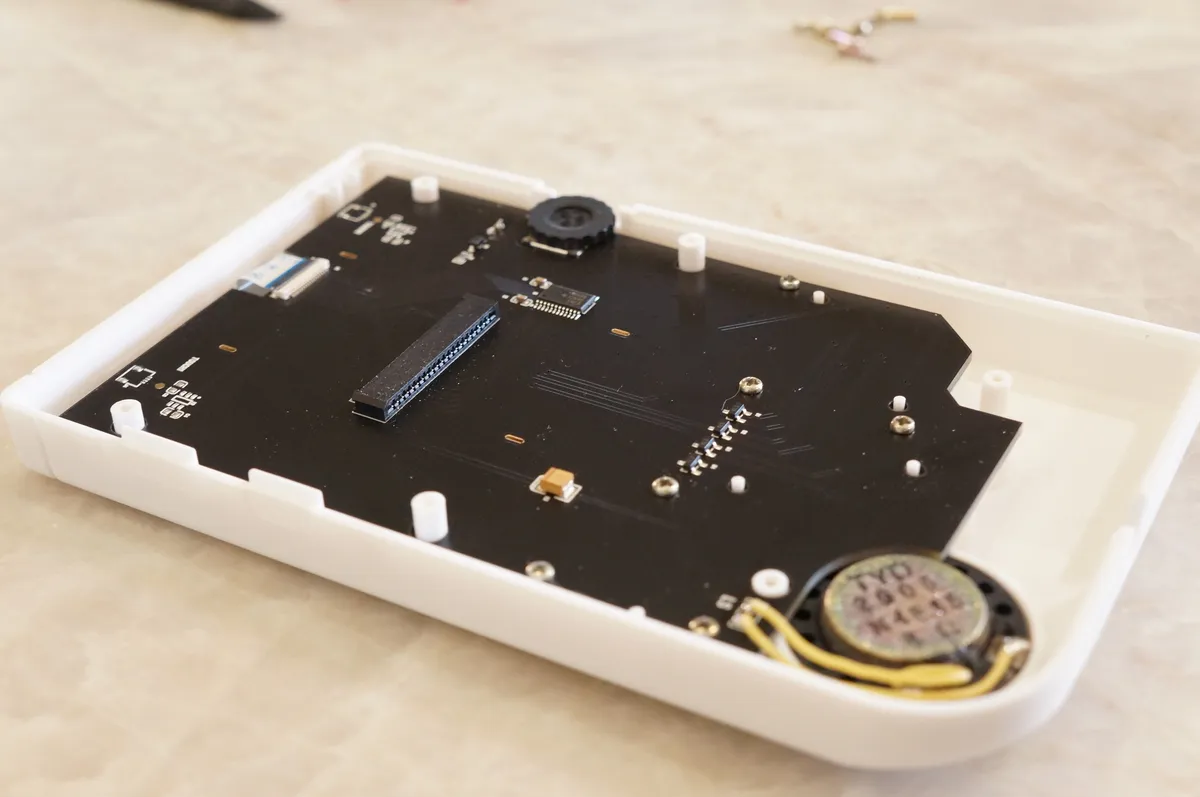
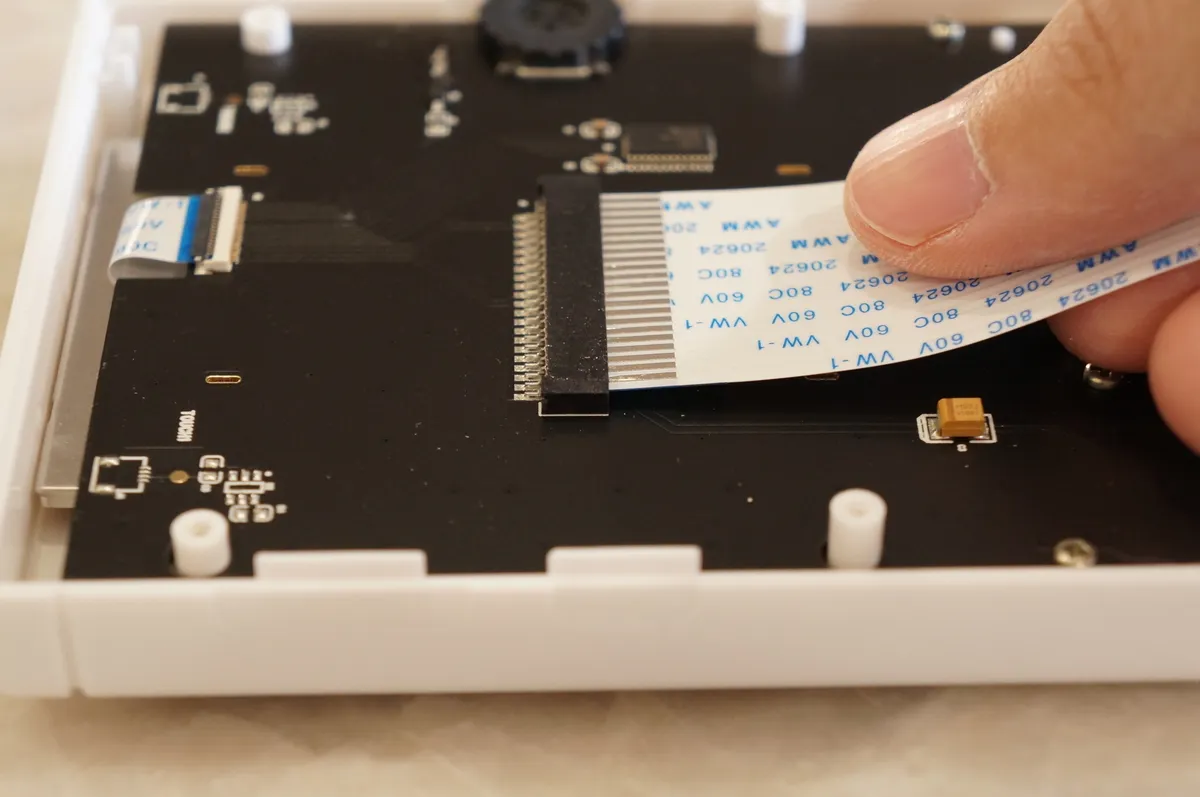
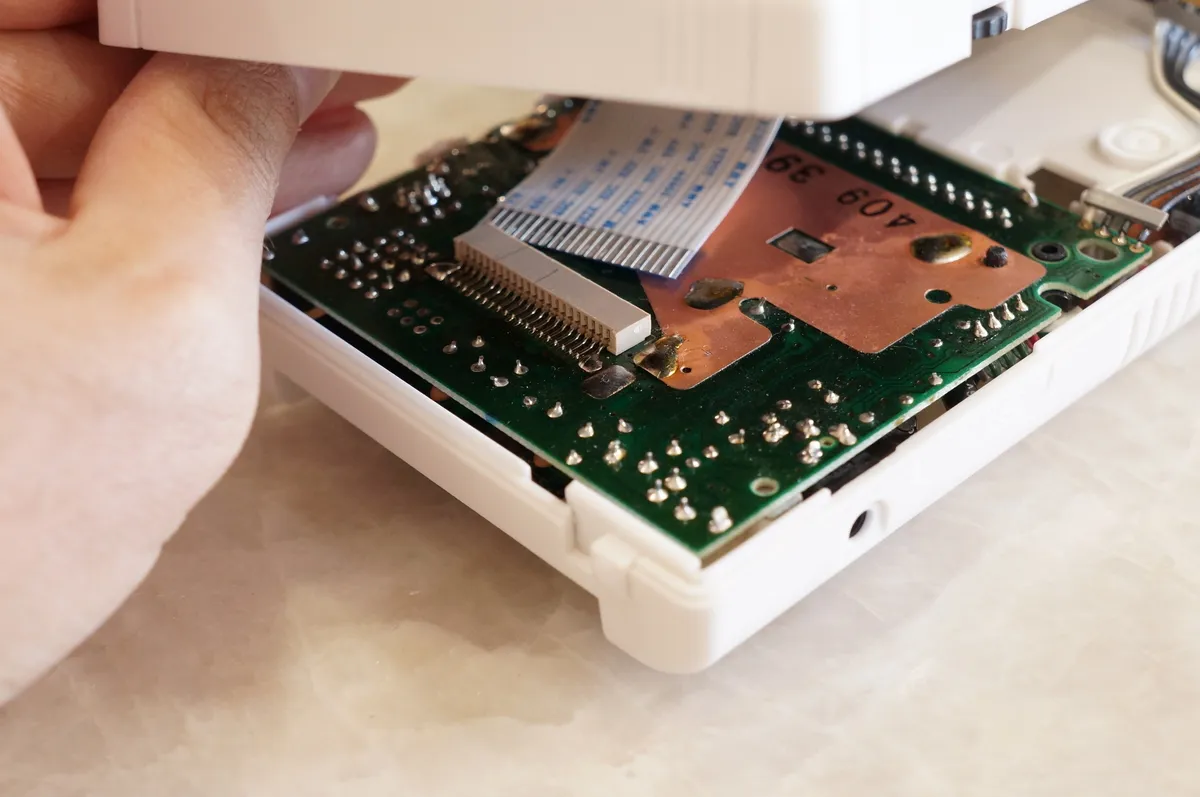
Note: With the small ribbon cable, make sure the blue tabs on both ends face up. The large ribbon cable is plugged into the front PCB and the mainboard with the pins facing up.
If the contrast wheel still sticks and jams, you should trim these through-hole pins.
Insert the large ribbon cable into the LCD board. It may take a bit of force to seat the cable properly. Be careful not to bend the cable too much.
Insert the other end into the connector on the DMG mainboard.
Put the 6 Y-screws back into the rear shell and close up the console. Done!