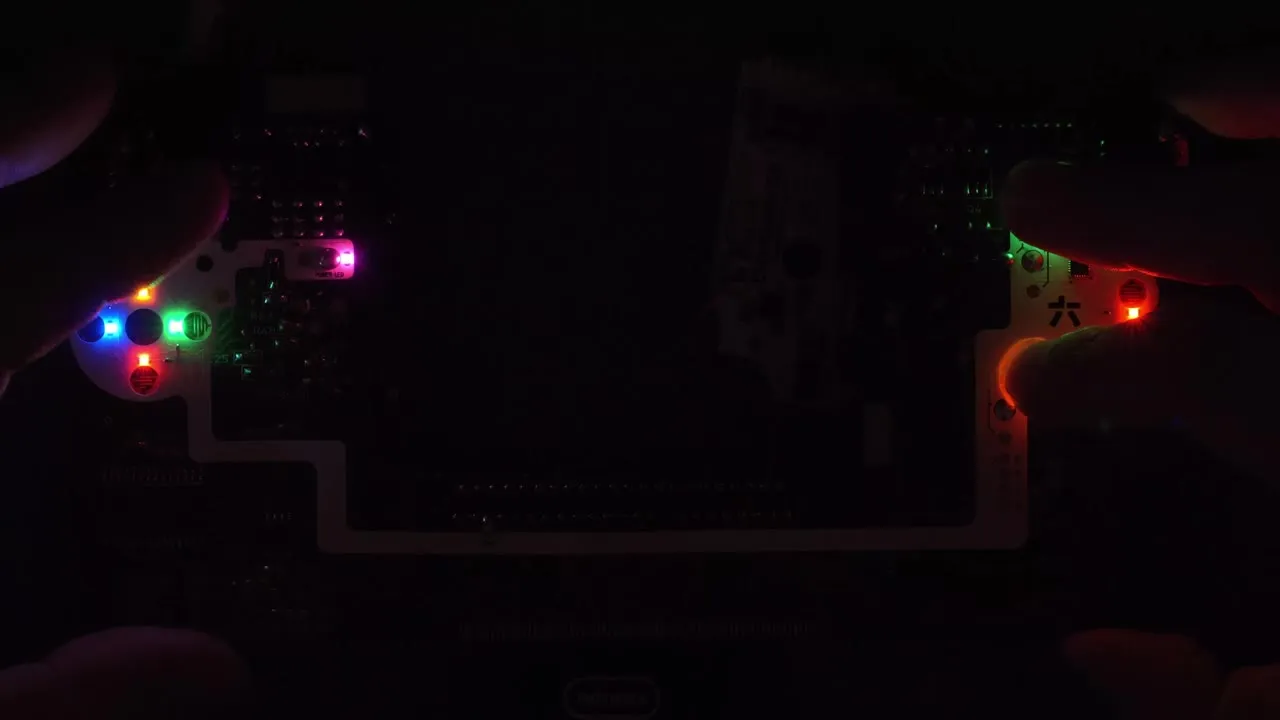
[GG] RetroSix CleanLight
The CleanLight is an LED lighting kit for the Game Gear with stepless brightness control and soft on/off. Thanks to its wire-free design the install is easy, but it still needs soldering: five solder points in total. The video installs a rainbow version; in our shop the CleanLight is available in yellow and red.
Placing the board and the power LED
Section titled “Placing the board and the power LED”Place the CleanLight on the mainboard and line it up.
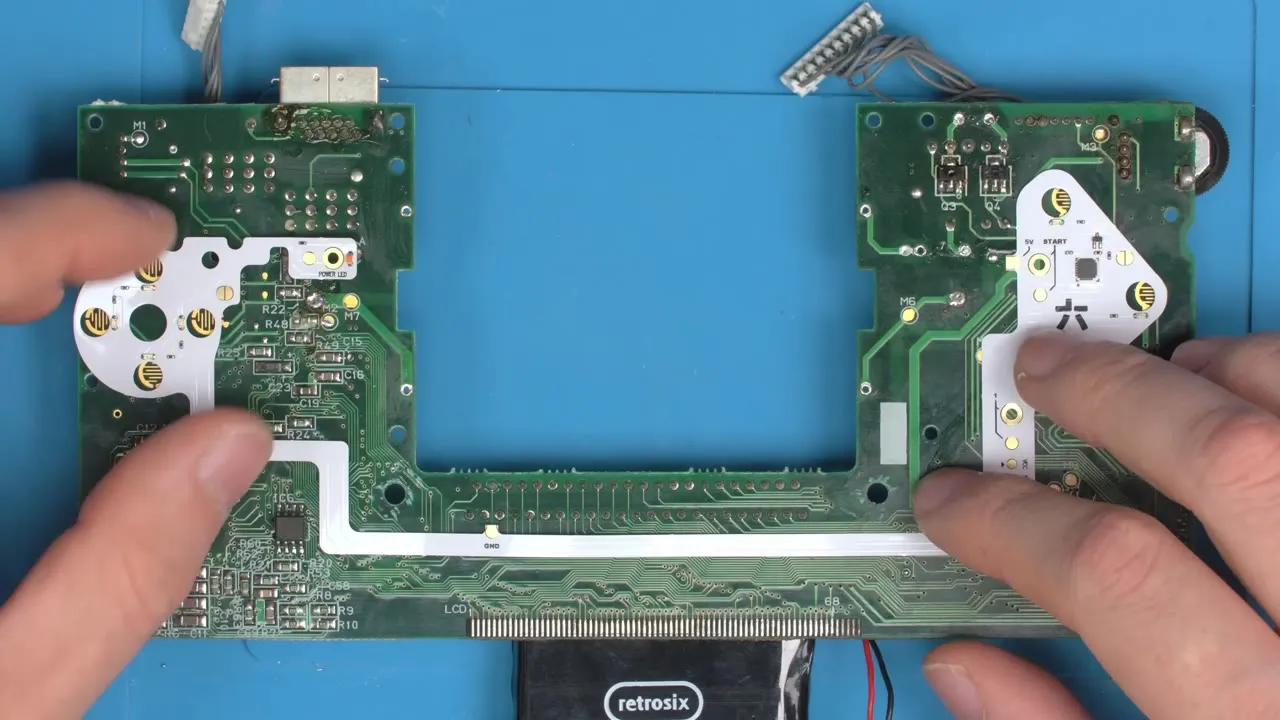
▶ Watch in the video from 1:11
For the power LED you have two options:
- Don’t use the CleanLight power LED: cut the board at the marked point with snips.
- Use the CleanLight power LED: remove the original power LED.
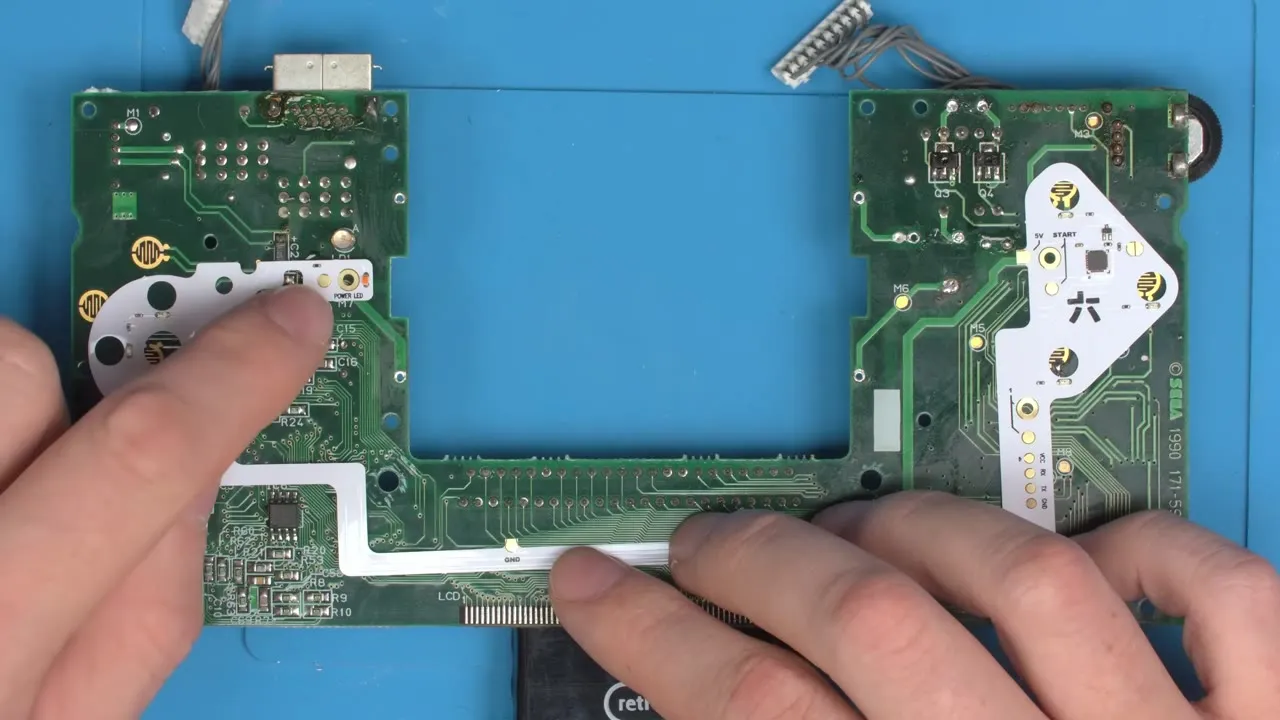
▶ Watch in the video from 1:26
To remove the original power LED, put solder between both of its legs and give the board a tap while the solder is molten. The LED falls out. Then clear any bridge between the two pads and clean the area with a little IPA.
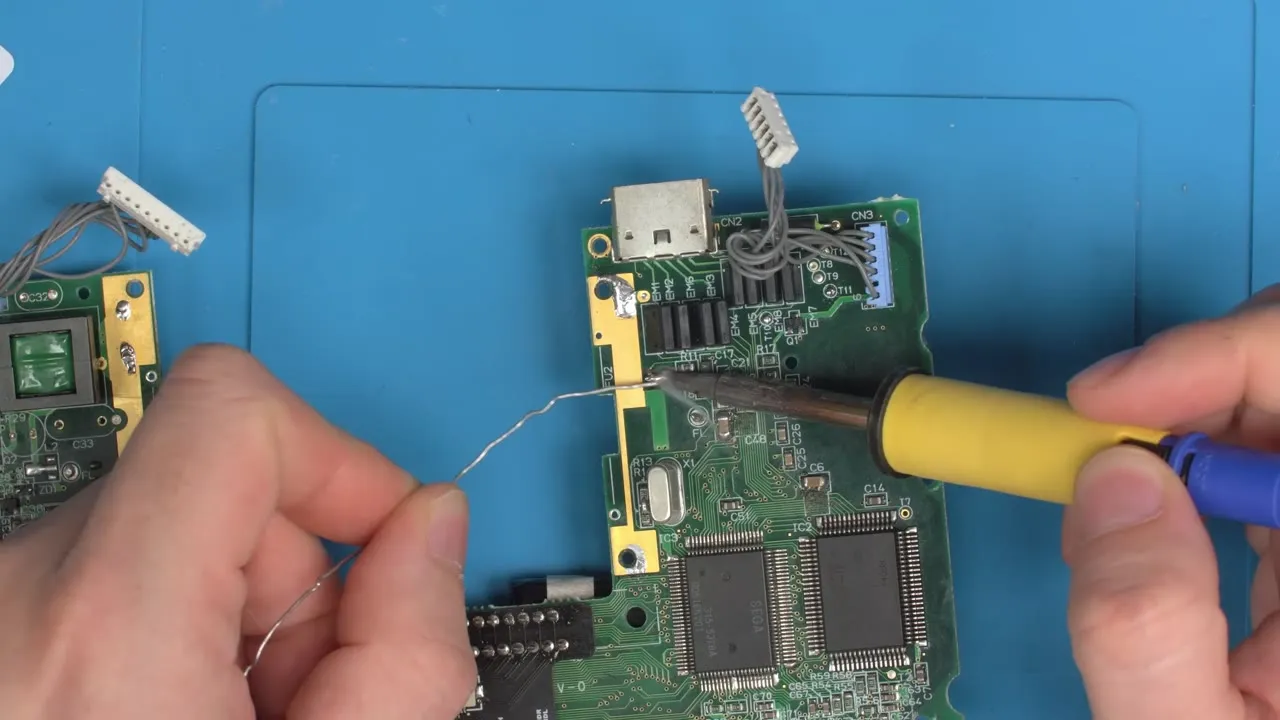
▶ Watch in the video from 1:37
Soldering the CleanLight
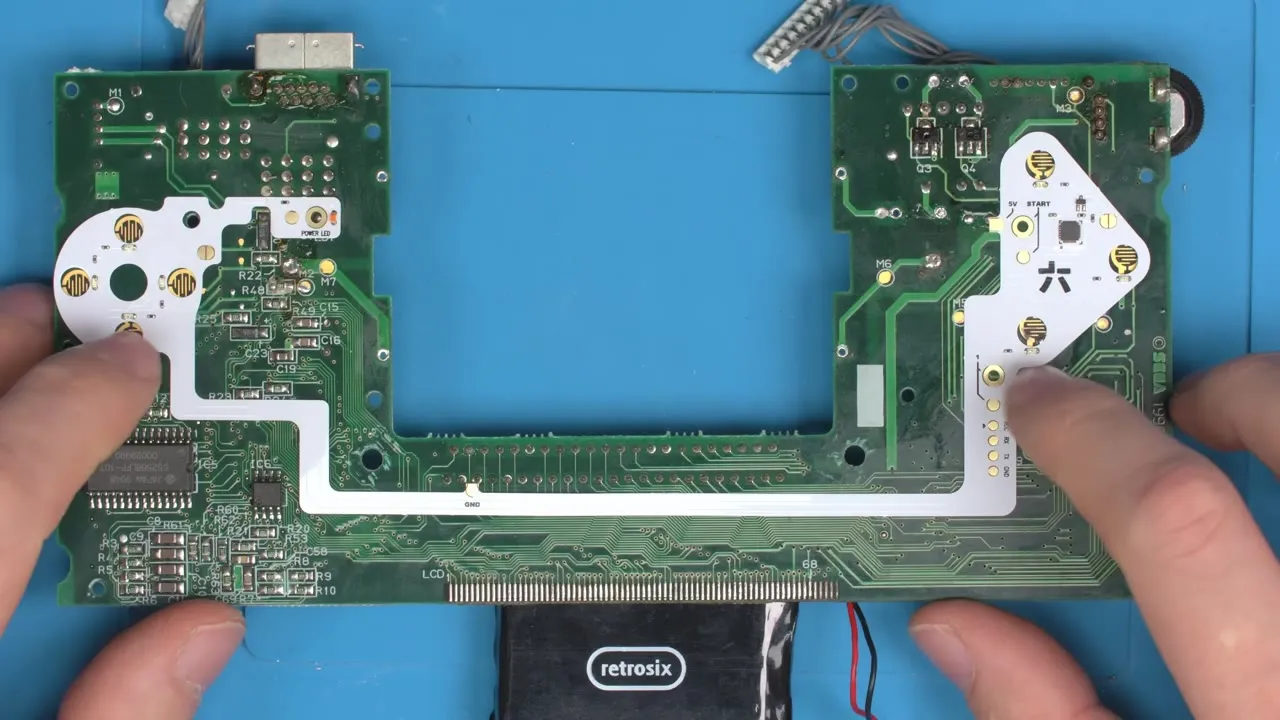
Section titled “Soldering the CleanLight”Roughly line the CleanLight up over the holes and everything else falls into place. Start with the GND pad: it’s the third pin on the bottom row. Tack it and check the board sits in the right position.
▶ Watch in the video from 1:57
If you’re using the CleanLight power LED, solder its pads now too.
The 5 V pin is at the top right. Add solder and push the board up slightly from the bottom until it’s positioned accurately. Tack the 5 V pin in that position.
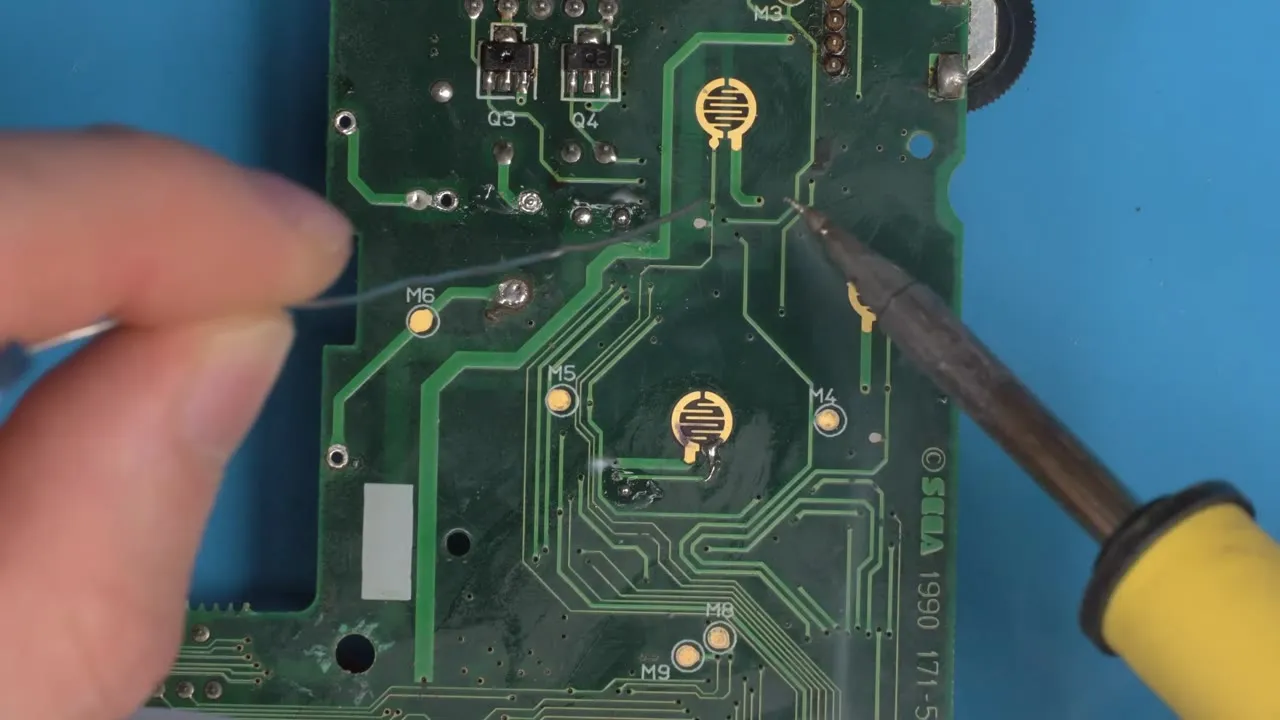
Only two pads are left: one for Start and one for button 1. These control the brightness. If the holes in your CleanLight are the smaller style, briefly undo the 5 V connection and pre-tin the pads on the mainboard. This makes soldering easier.
▶ Watch in the video from 2:56
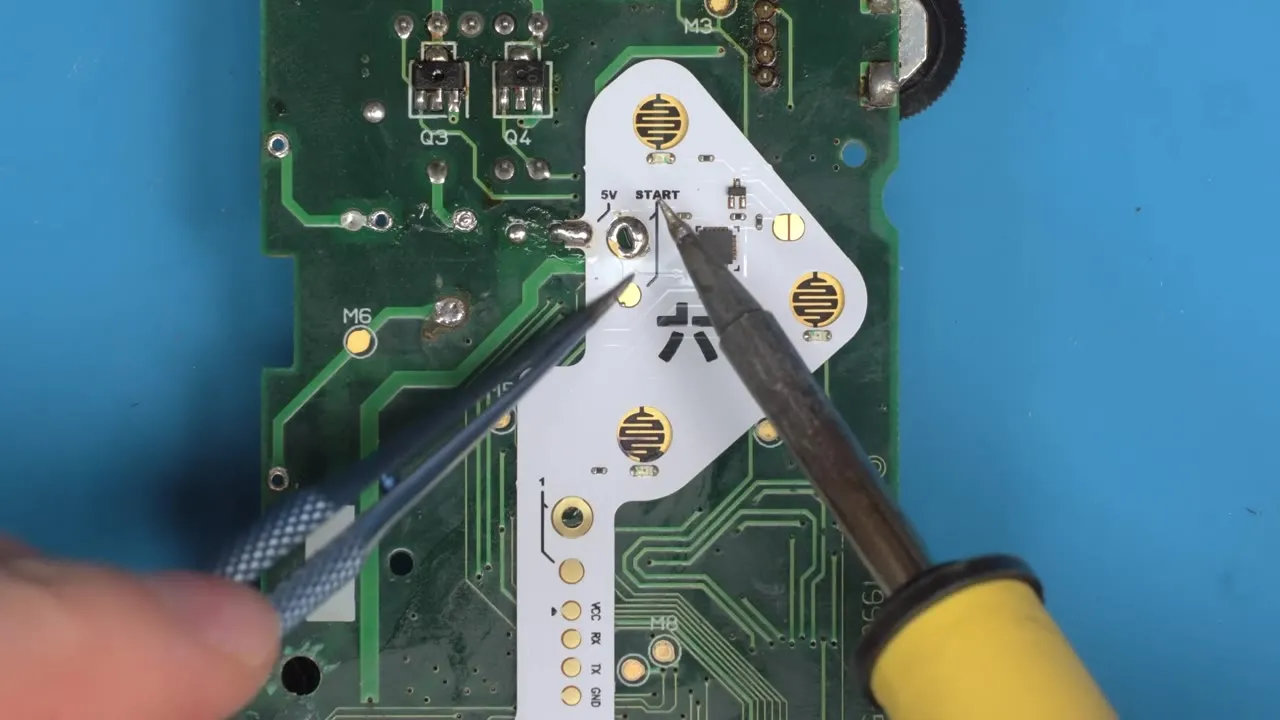
Then add extra solder into the hole, press the board down with tweezers and let the solder flow over the pad. Afterwards reflow the 5 V pin so it’s nice and smooth. The pad for button 1 is also underneath the board: with a pre-tinned pad and a little pressure you get a solder connection here too.
▶ Watch in the video from 3:11
Checking the buttons
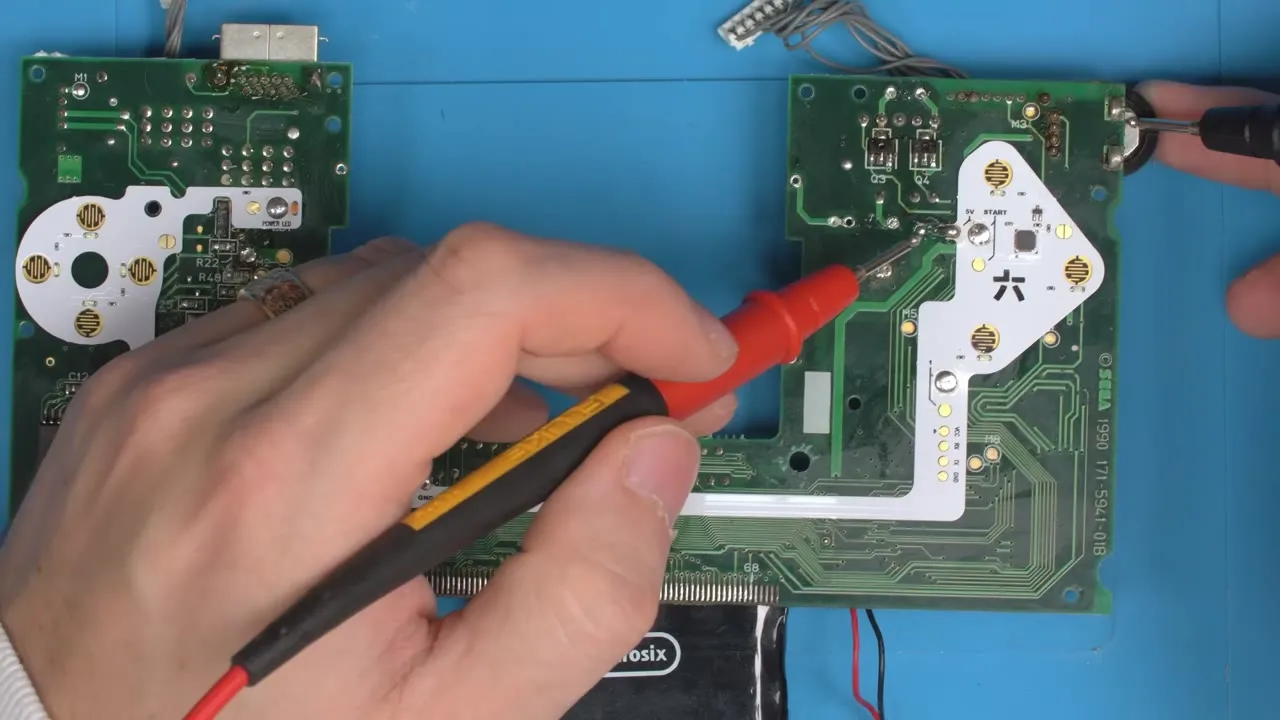
Section titled “Checking the buttons”Since the pads are underneath the board, check the connection with a multimeter in continuity mode:
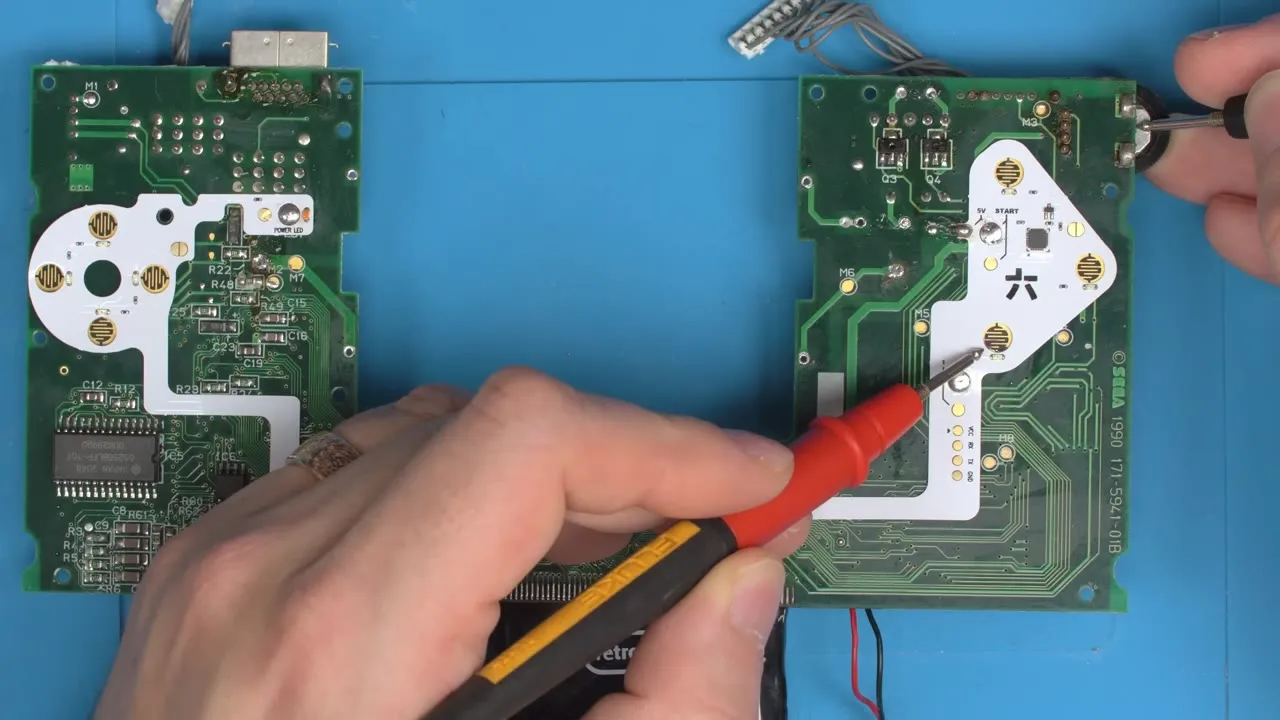
- Button 1: find out which half of the half-moon button contact is ground. Hold one probe on the cage of the contrast wheel and touch the left and right halves. In the video the left half is ground. The other half must be connected to the button 1 pad on the CleanLight.
- Start: do the same. Here the right side is ground, so the left side must be connected to the Start pad on the CleanLight.
▶ Watch in the video from 3:52
▶ Watch in the video from 4:11
Powering up
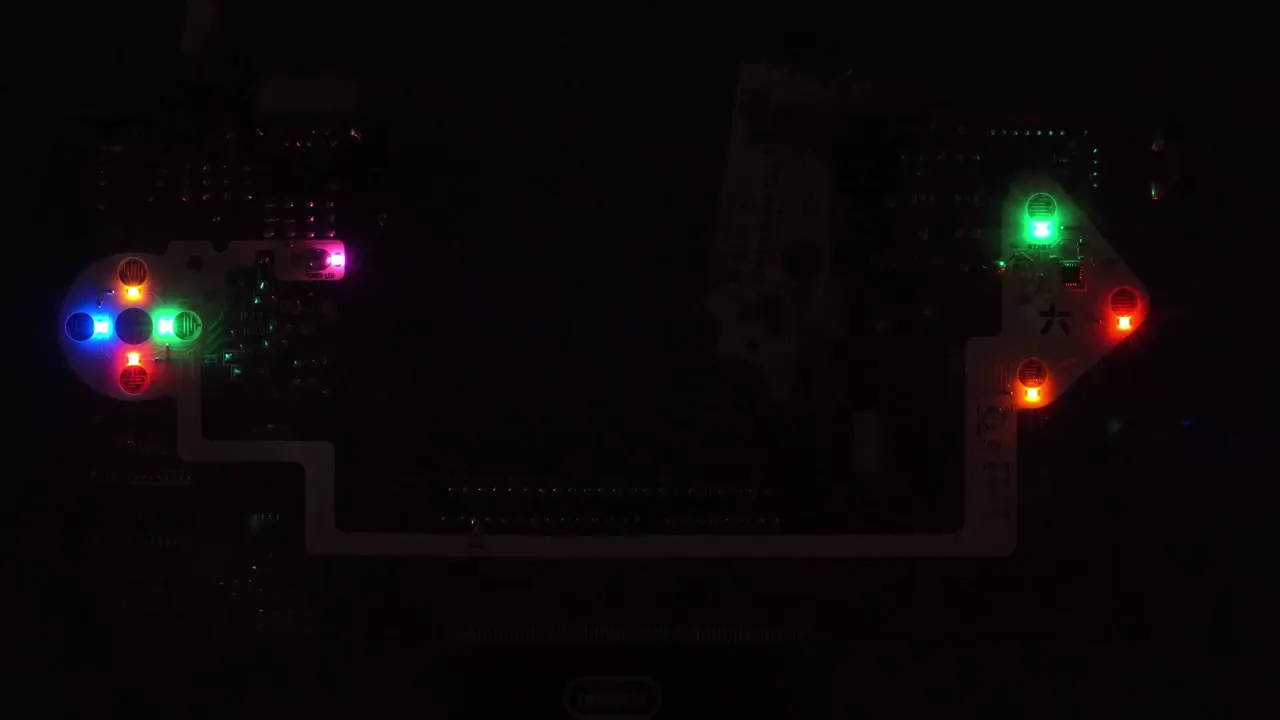
Section titled “Powering up”Switch the console on. All LEDs should light up. If you use the CleanLight power LED, it is now controlled by the console and behaves like the original power LED.
▶ Watch in the video from 4:35
Setting the brightness
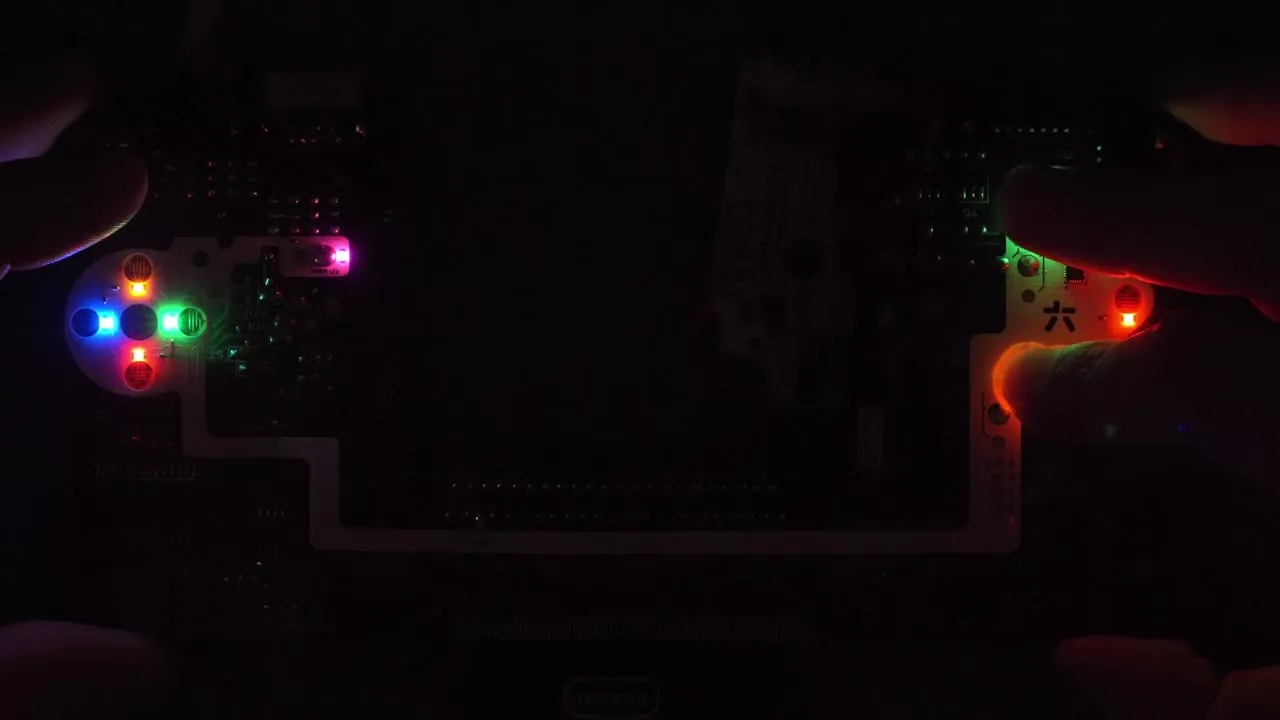
Section titled “Setting the brightness”Hold Start + 1:
- For the first two seconds nothing happens.
- After that the lighting gets brighter or dimmer, depending on the direction it was last going.
- At full brightness it pauses for two seconds so you have time to let go. After that it dims again.
- At the bottom it turns off completely and stays off for two seconds. Let go here and the lighting stays off.
Let go of the buttons as soon as you reach the brightness you want. The setting is remembered when you switch the console off and on. To turn the lighting back on after switching it off, just hold Start + 1 again.
▶ Watch in the video from 4:57