[DMG] Shell Disassembly
Getting started
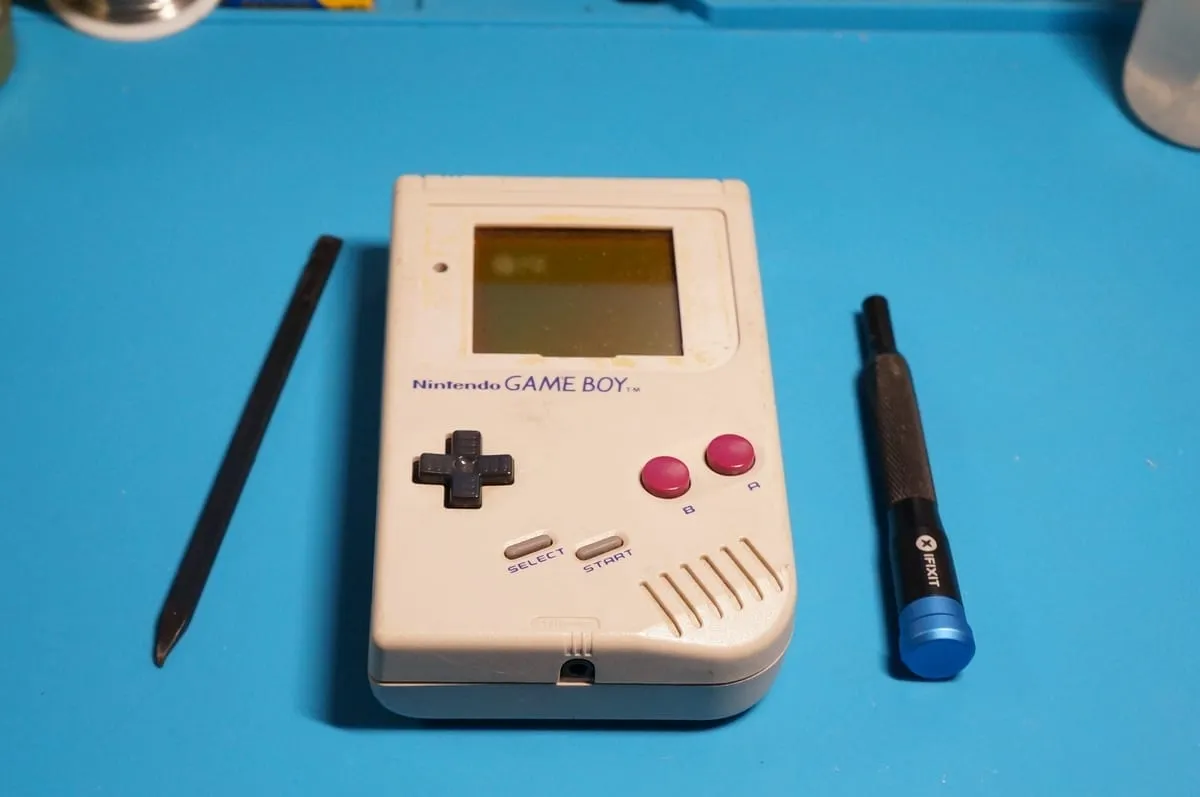
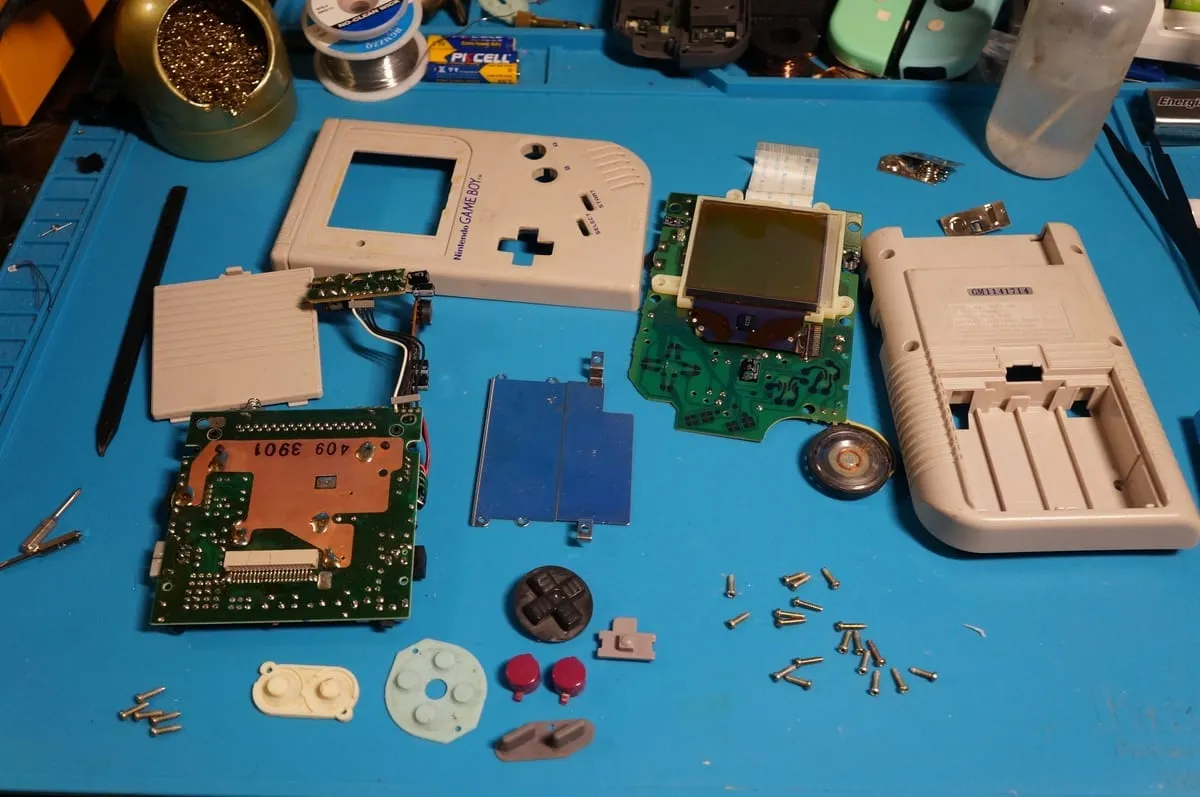
Section titled “Getting started”In this guide we’ll show you how to disassemble your original DMG Game Boy.
Required tools
Section titled “Required tools”- PH1 Phillips screwdriver
- Y1 tri-wing screwdriver
Recommended tools
Section titled “Recommended tools”- Plastic spudger tool
Step by step
Section titled “Step by step”Rear shell removal
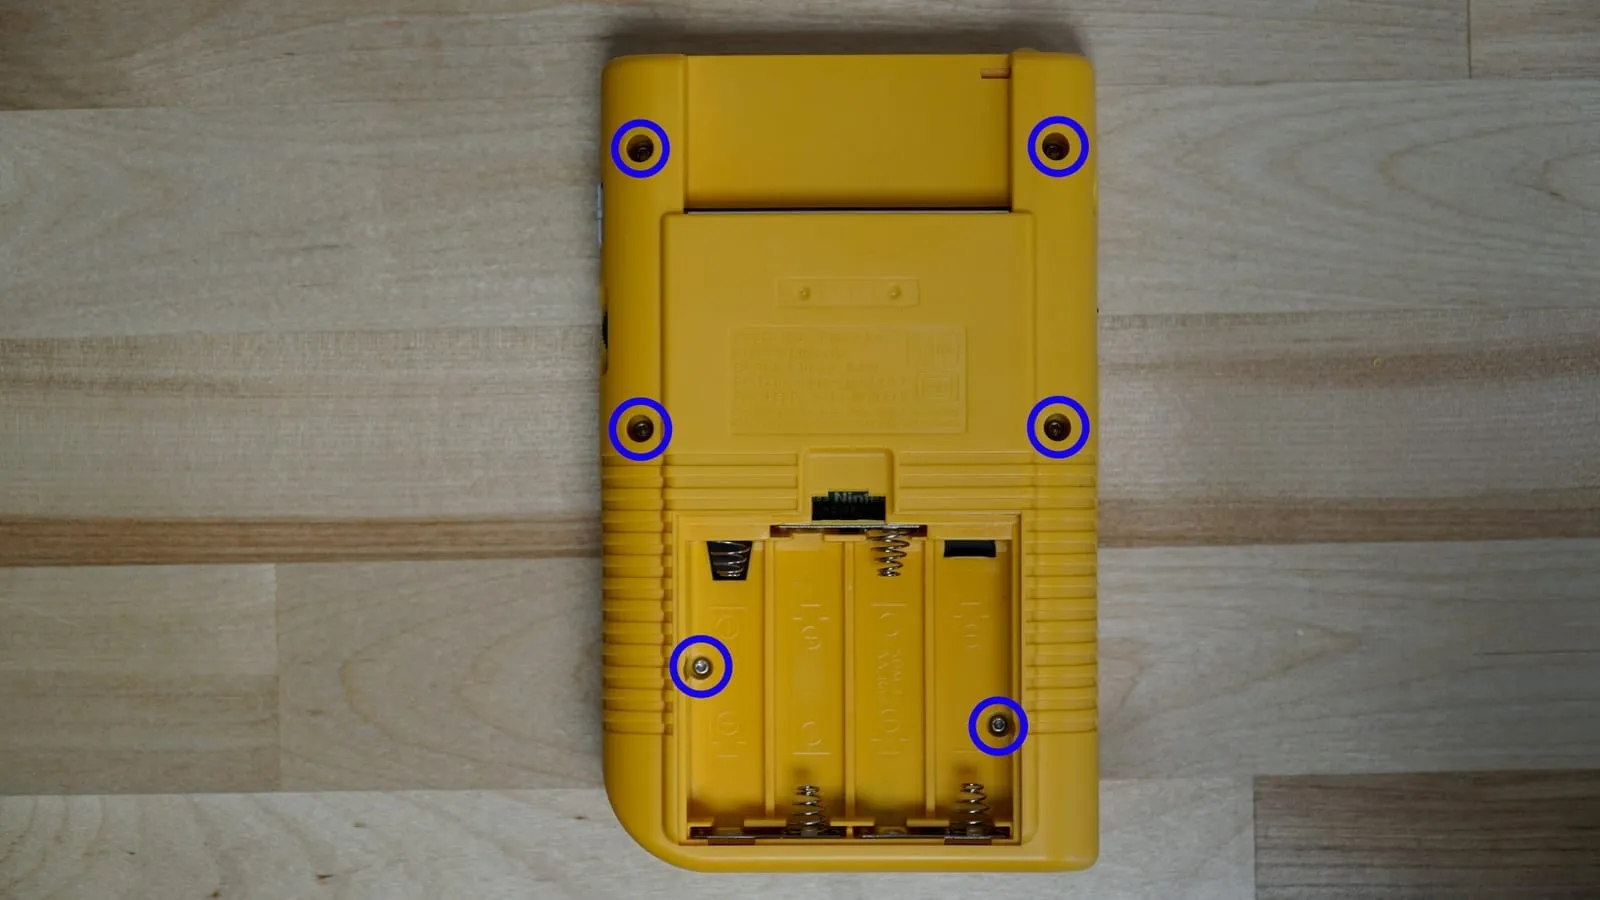
Section titled “Rear shell removal”Turn the Game Boy over so the battery cover is facing up. Remove the battery cover and any batteries.
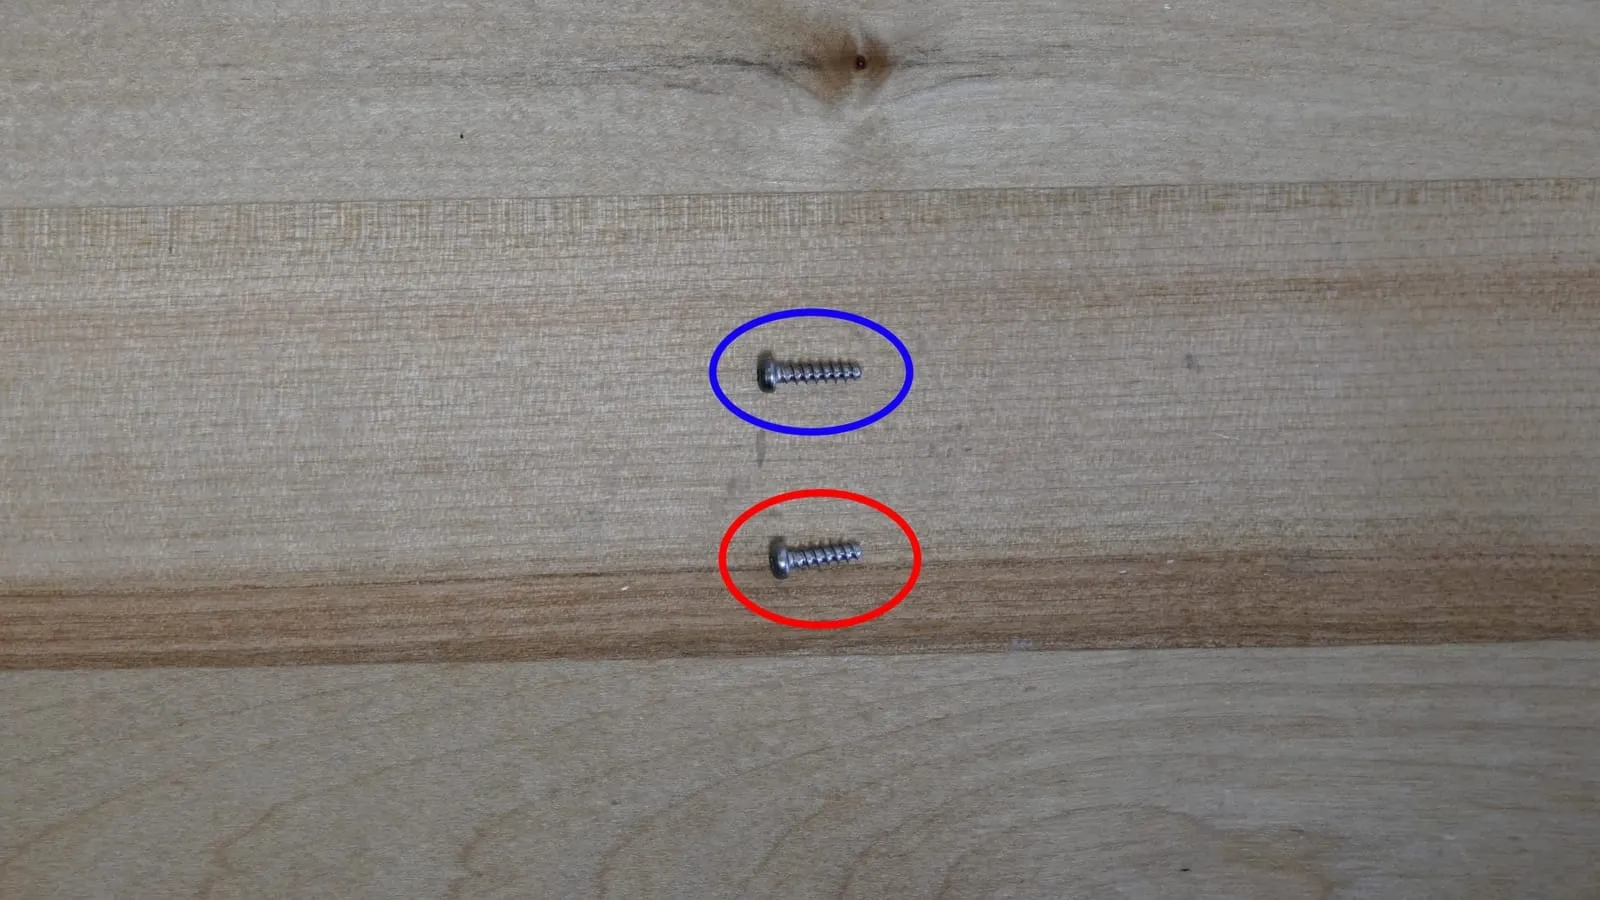
Use your Y1 screwdriver to remove the 6 screws as shown. Some models may use PH1 screws.
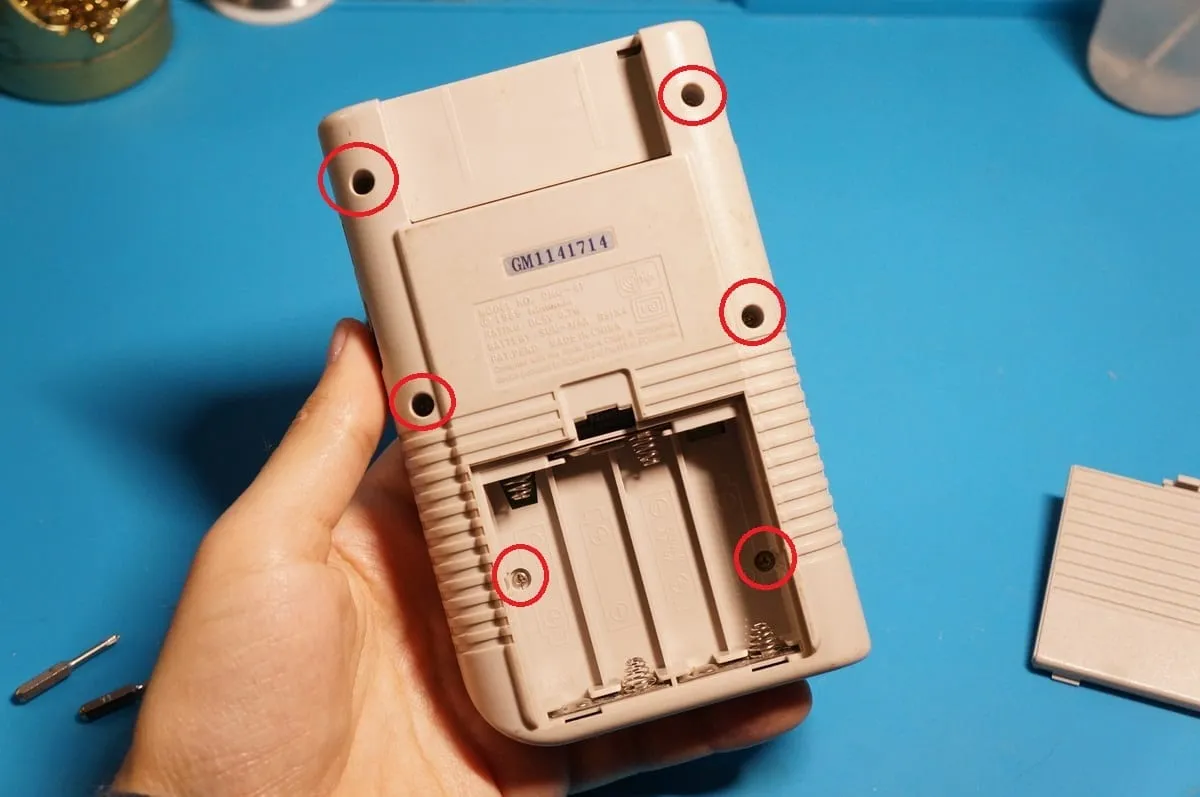
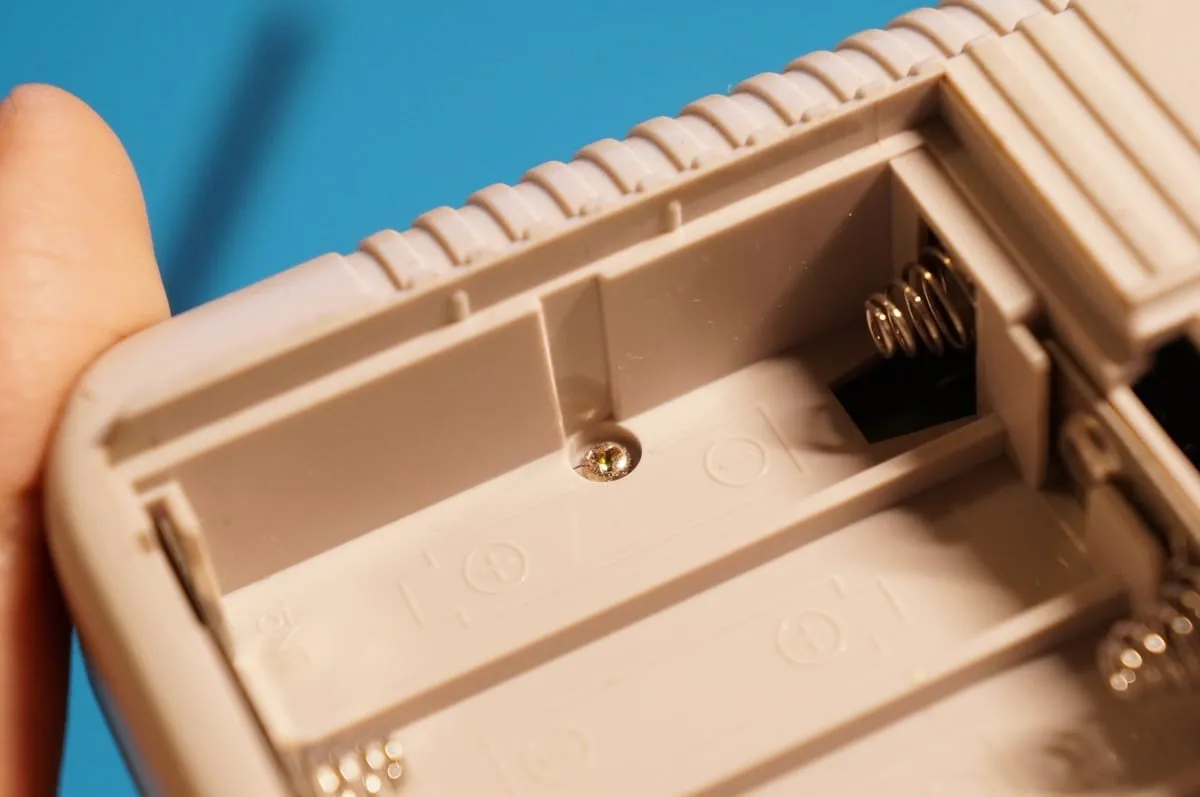
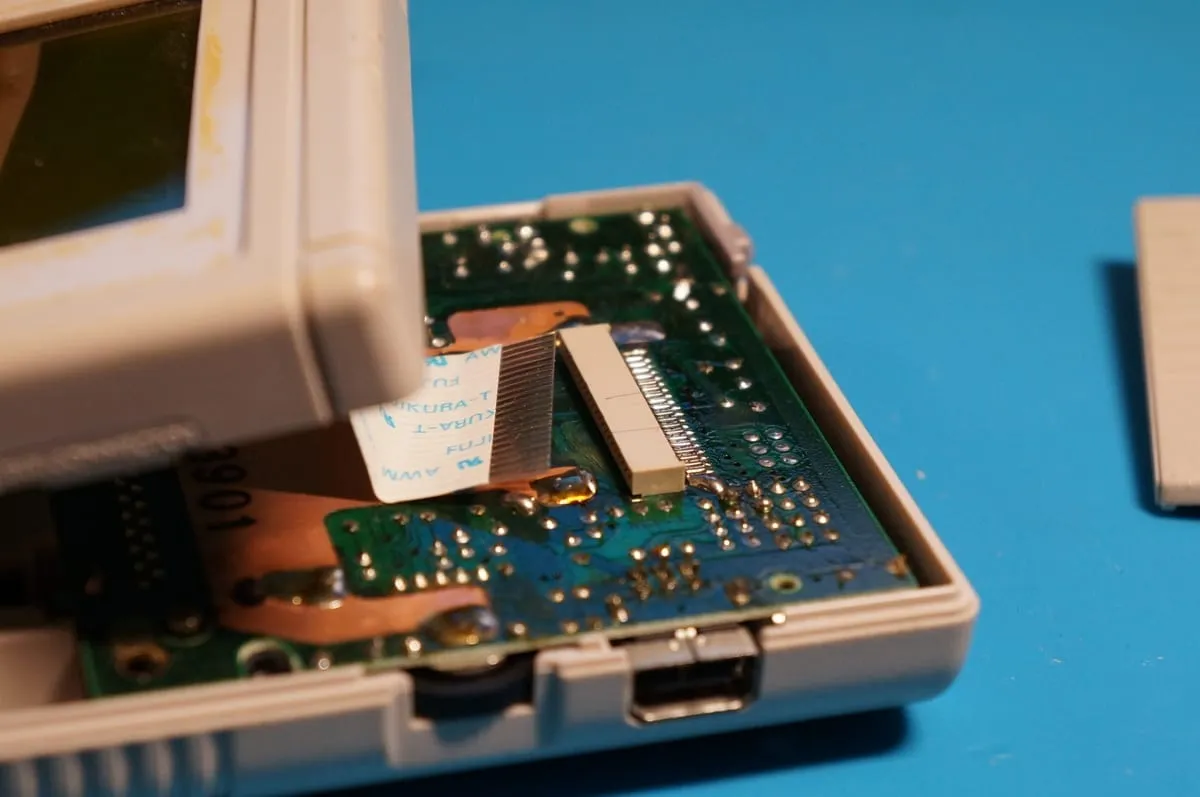
Carefully separate the front half from the rear half of the Game Boy. Note that a ribbon cable connects the front shell PCB to the rear shell PCB.
The ribbon cable can be pulled straight out of its socket. The connector is a pressure fit and has no locking mechanism. A little wiggling helps with a stubborn cable.
Main board removal
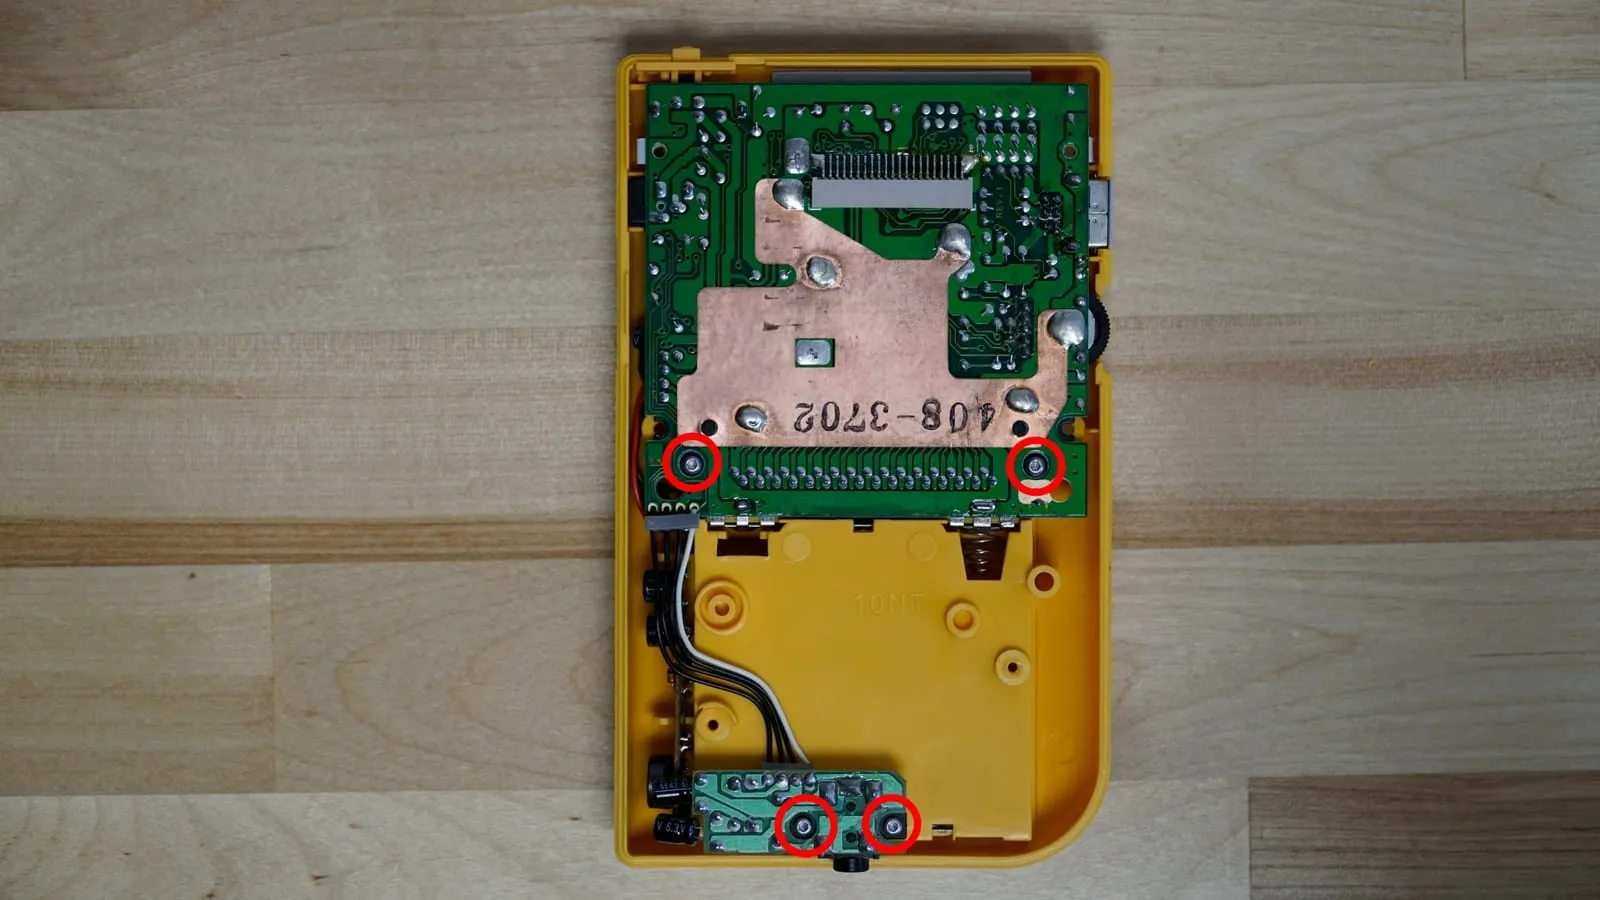
Section titled “Main board removal”Remove the 4 PH1 screws holding the main board and audio filter board to the rear shell.
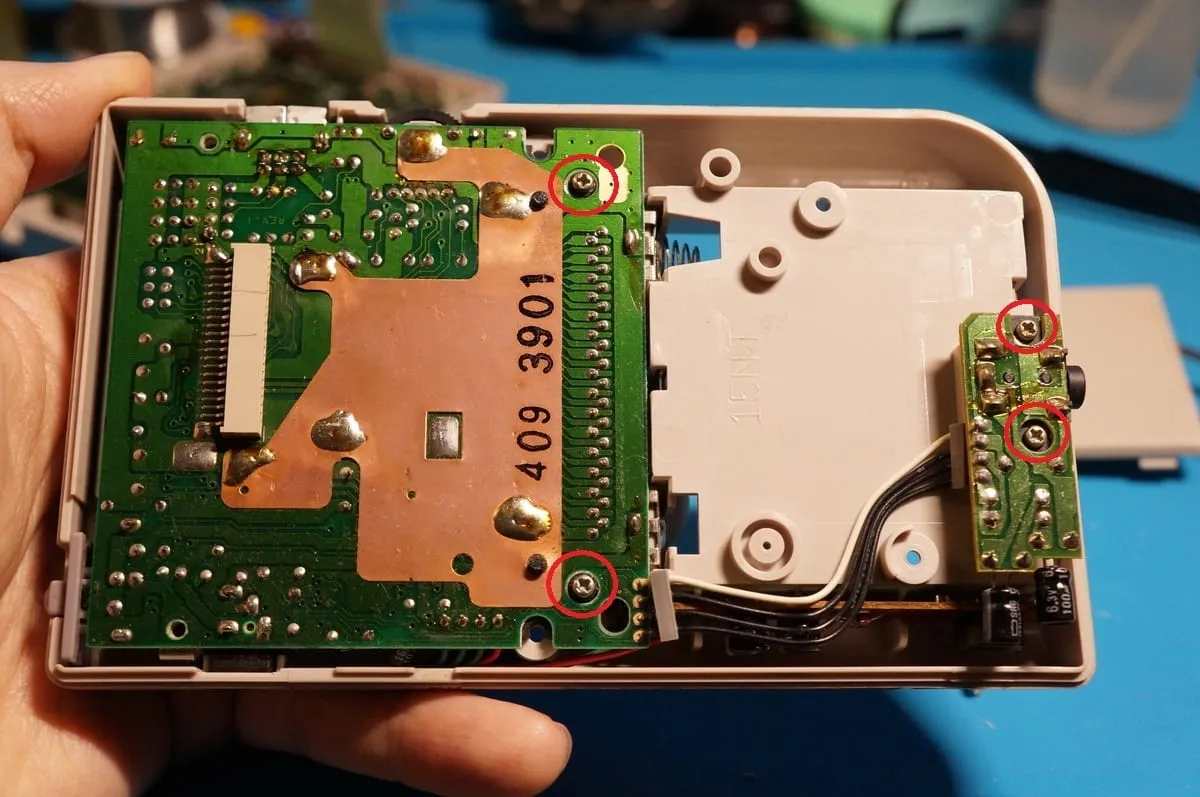
At this point, the main board, audio filter board and power regulator board can all be removed from the rear shell.
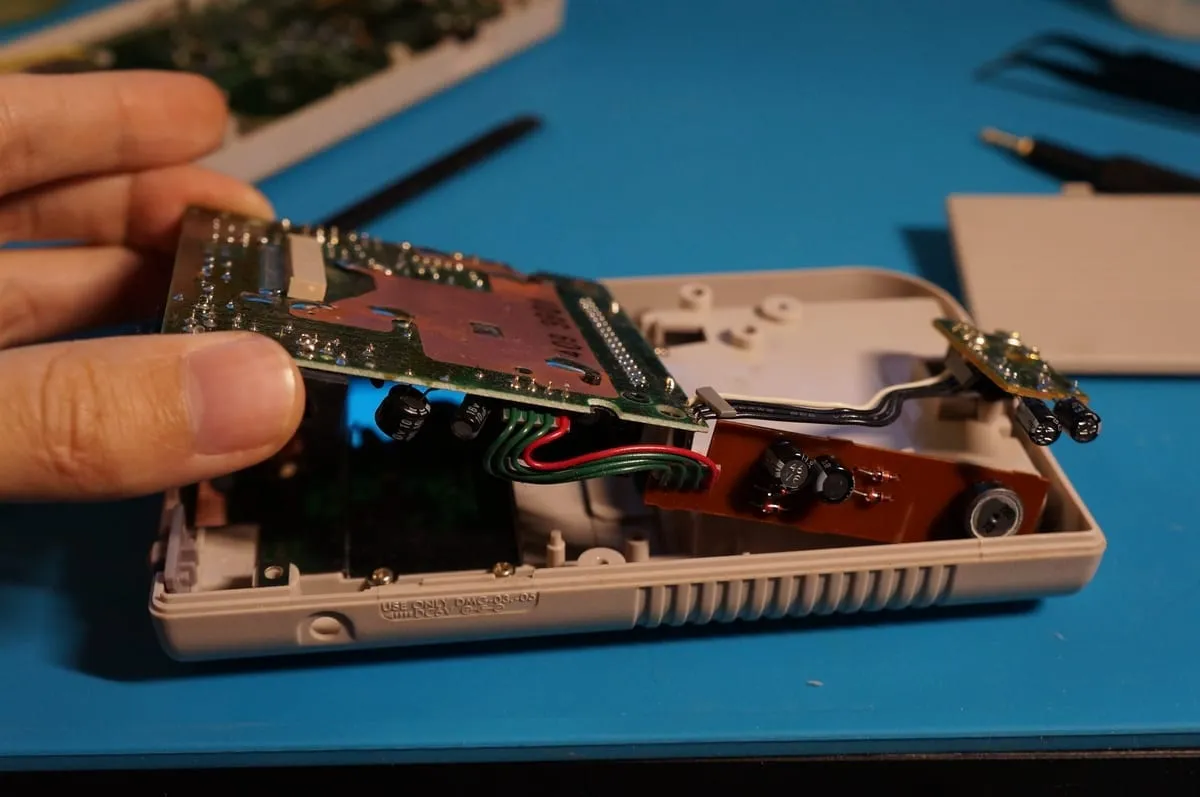
The plastic power switch can be removed and placed aside.
Optional: remove the cartridge shield
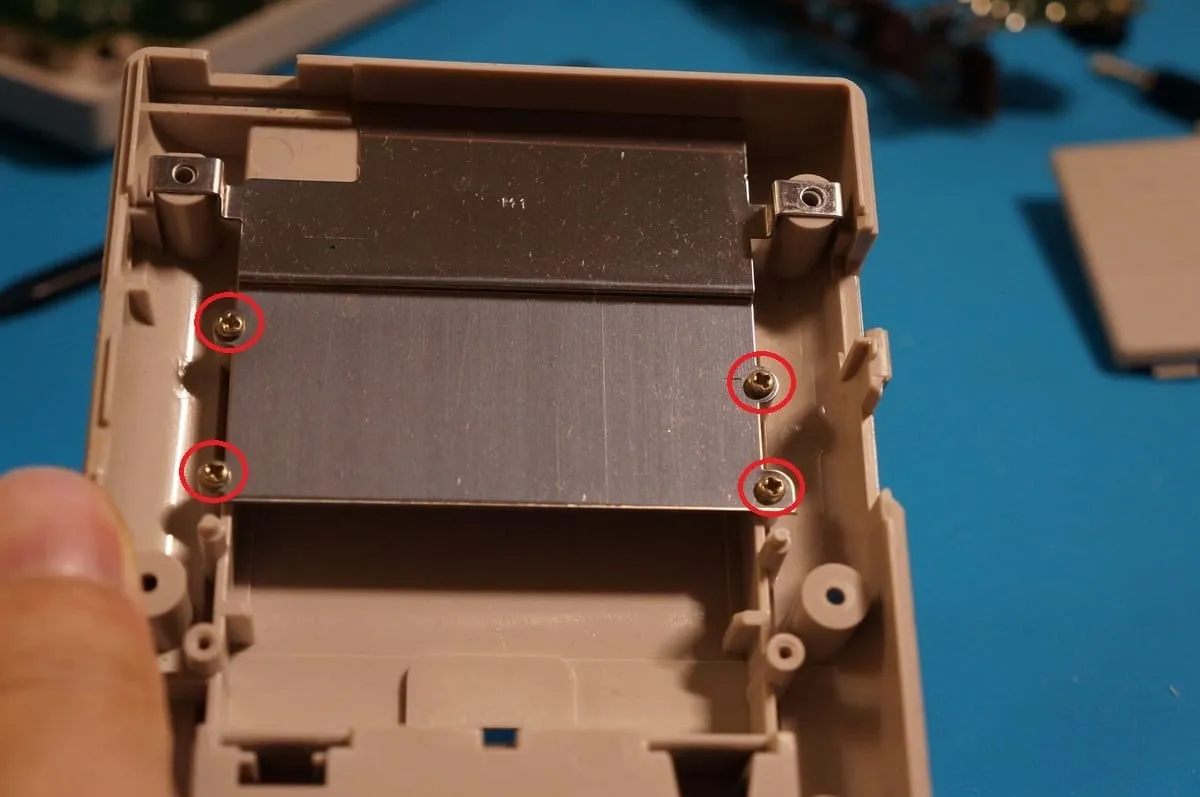
Section titled “Optional: remove the cartridge shield”Unscrew the 4 PH1 screws. The metal shield lifts off with ease.
Optional: remove the battery tabs
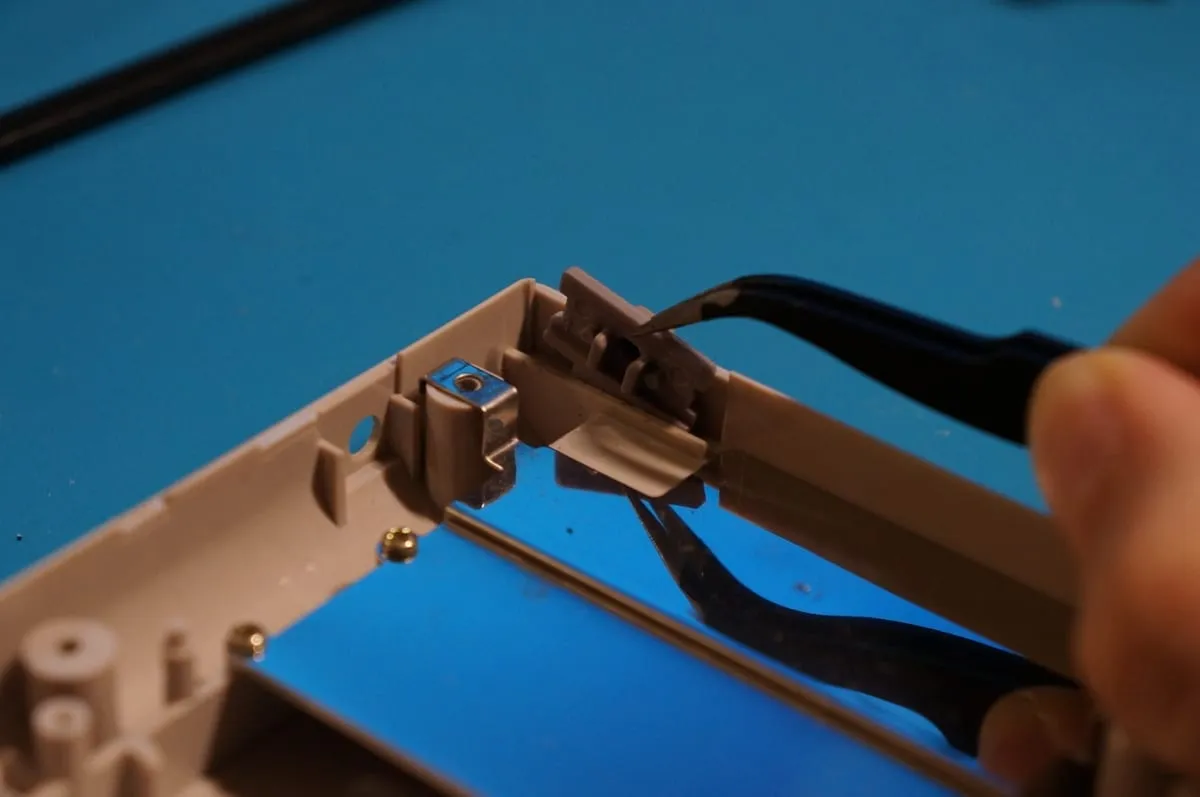
Section titled “Optional: remove the battery tabs”If your battery tabs need a good cleaning or you are moving them to a new shell, use your plastic spudger to release the metal locking tab on the inside of the rear shell. There are 3 tabs in total.
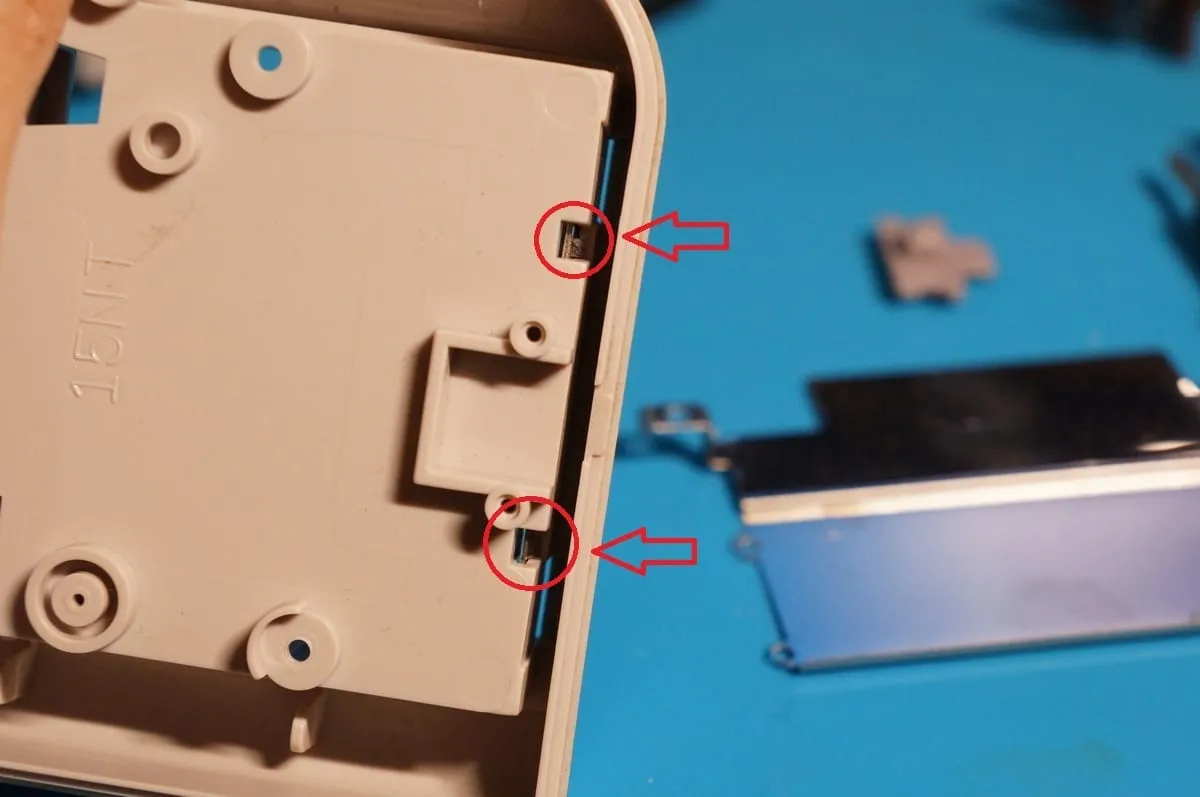
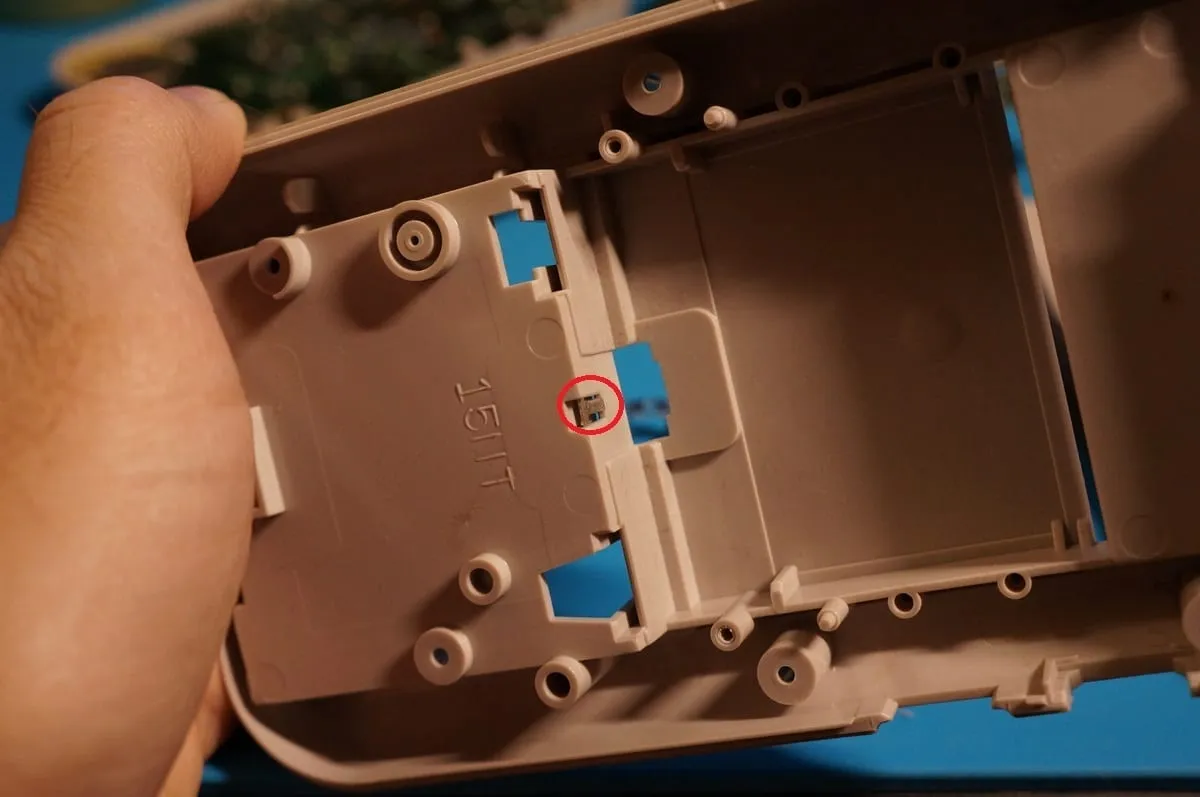
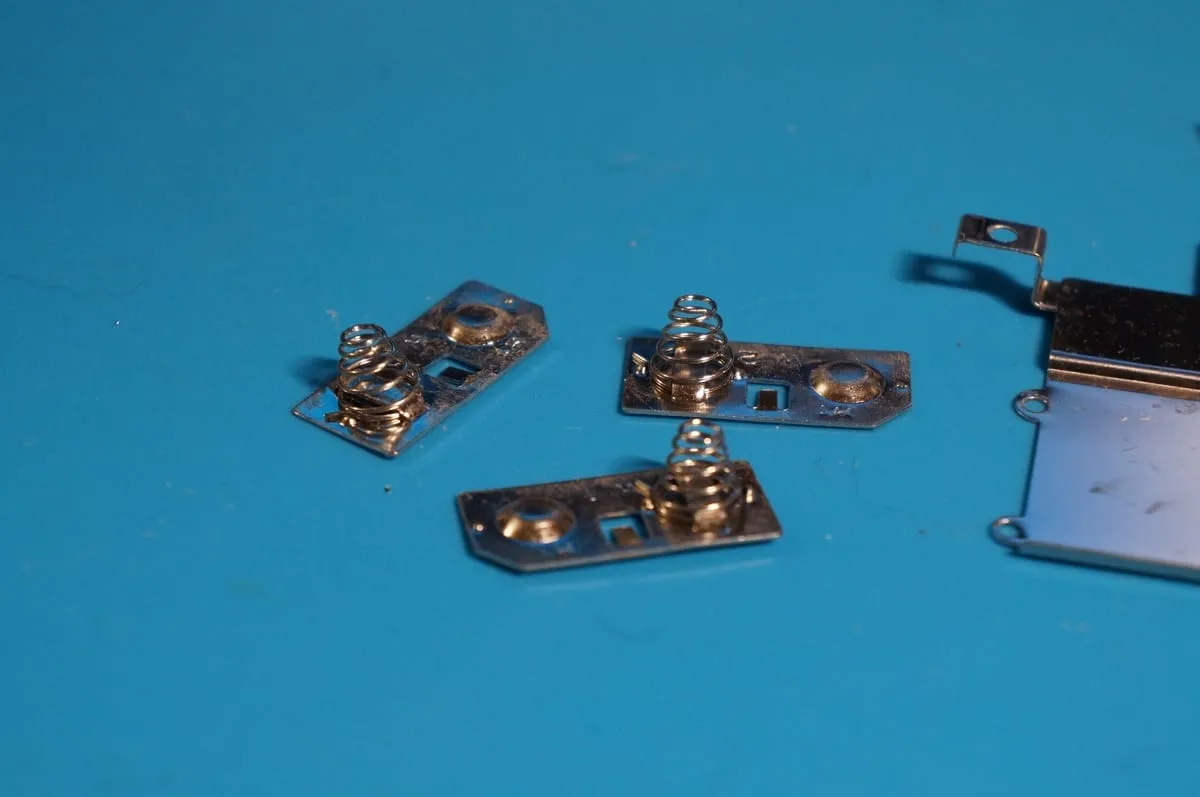
LCD/control board removal
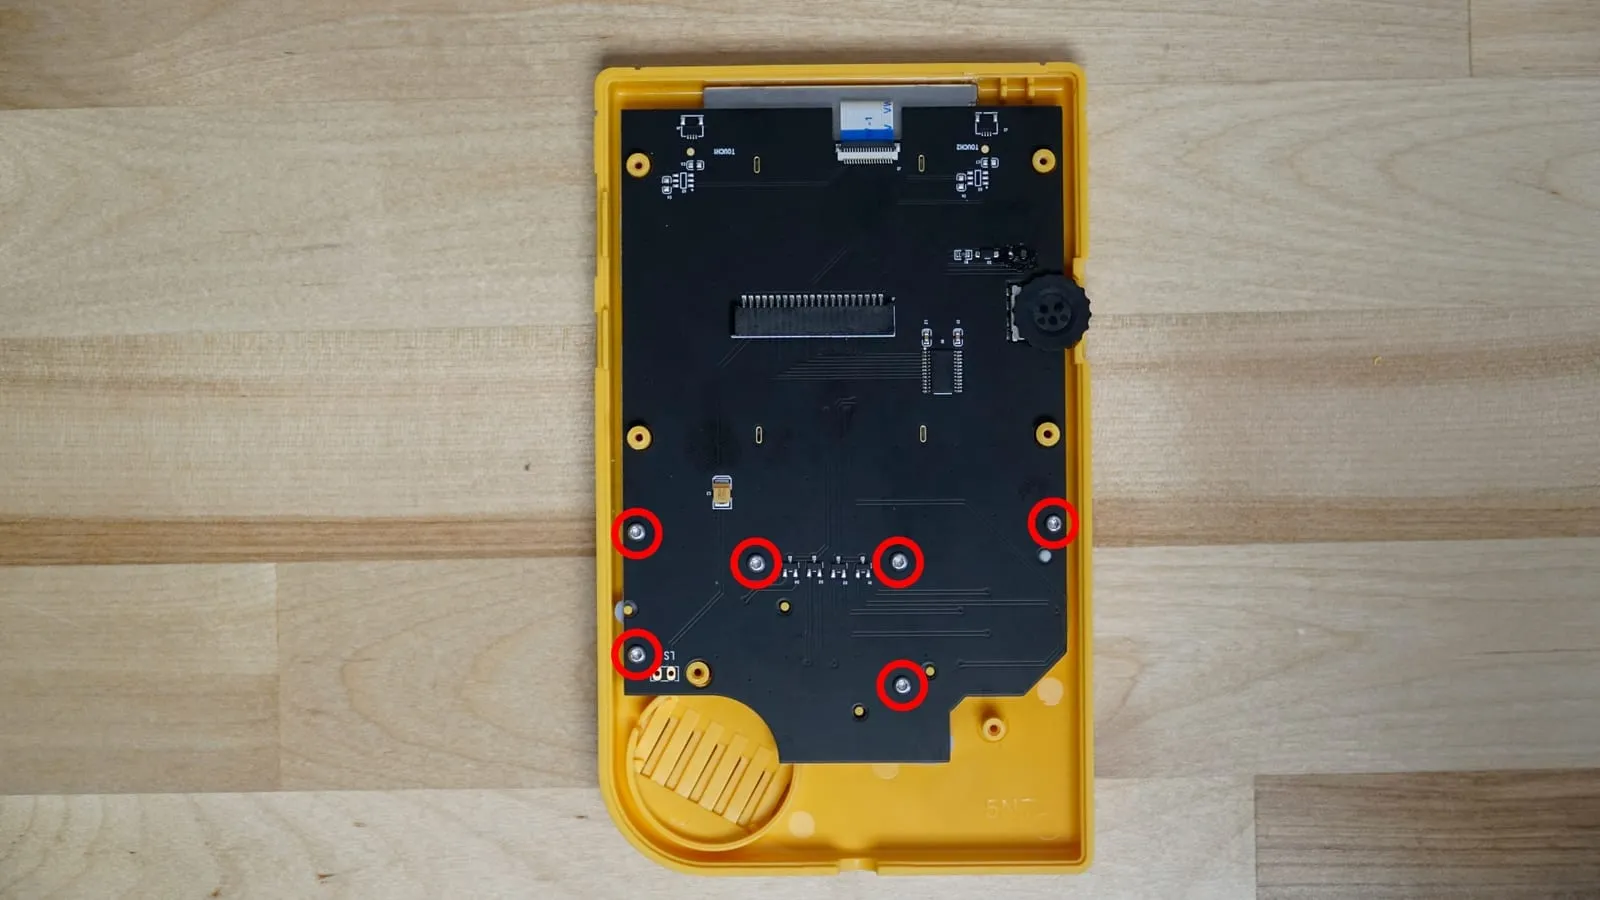
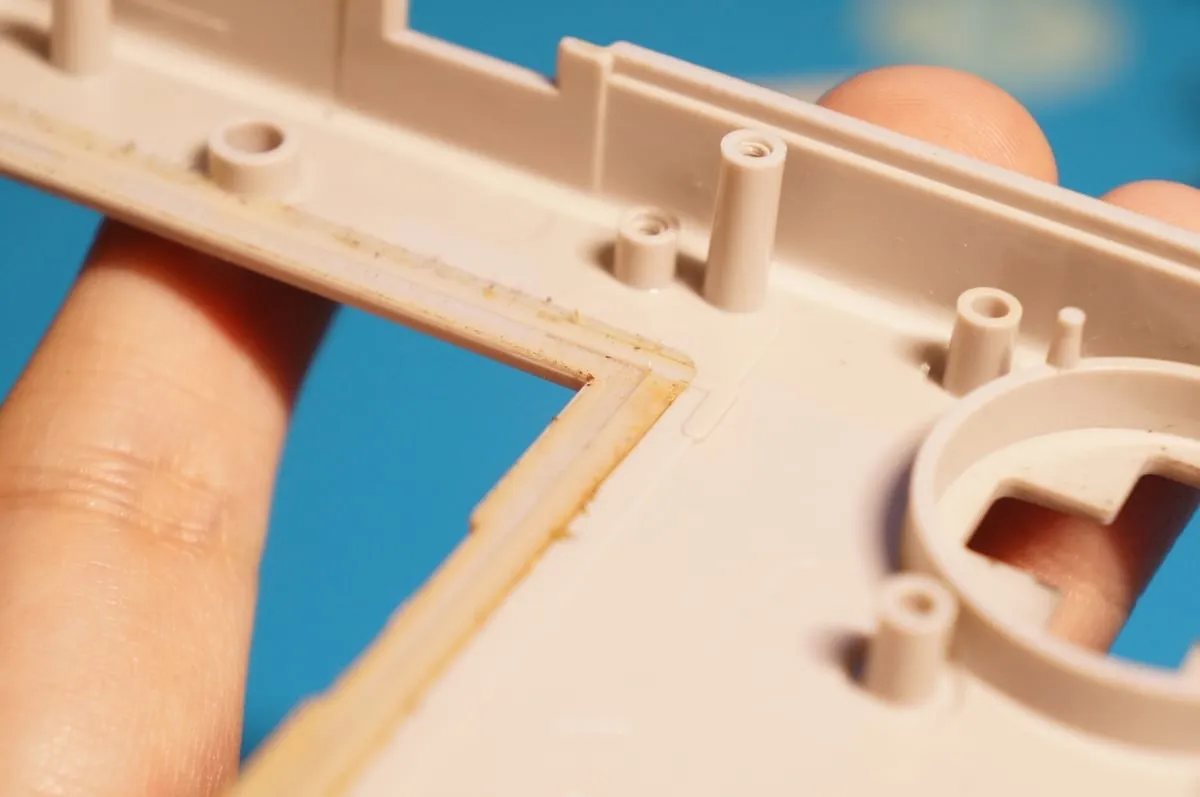
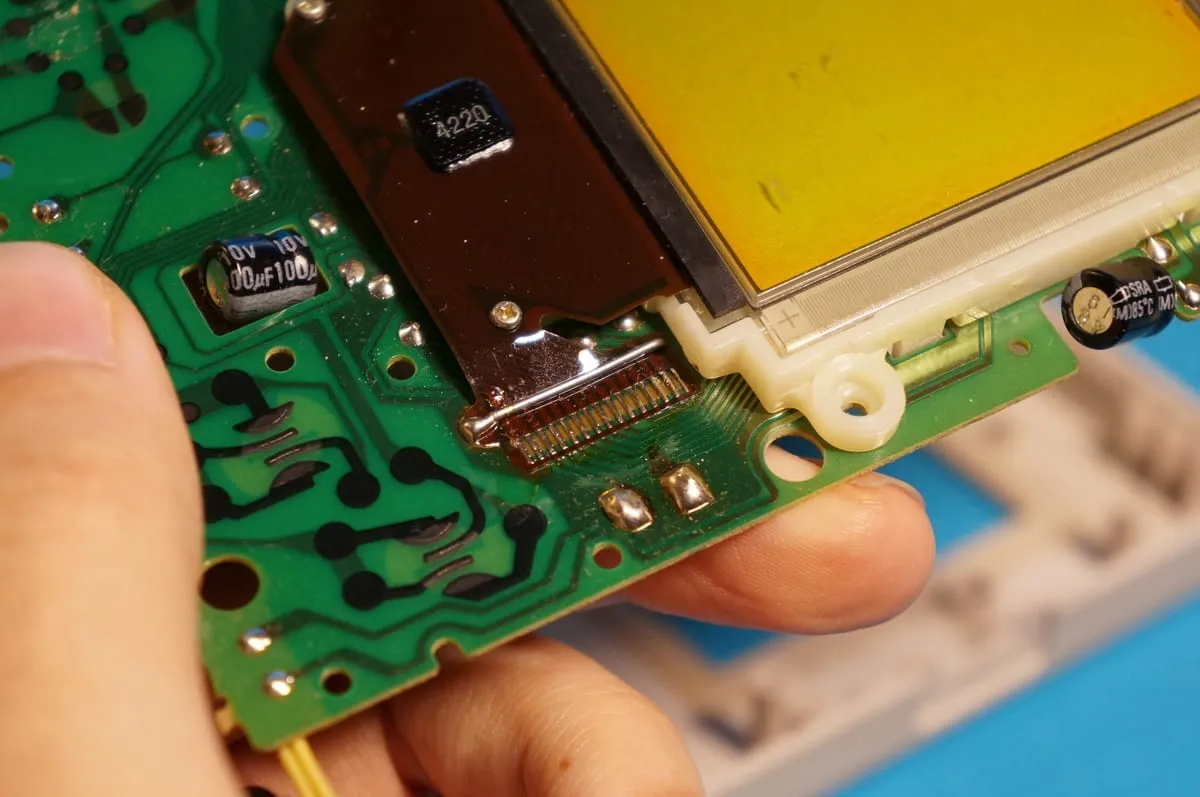
Section titled “LCD/control board removal”Remove the 10 PH1 screws holding the LCD/control board to the front shell.
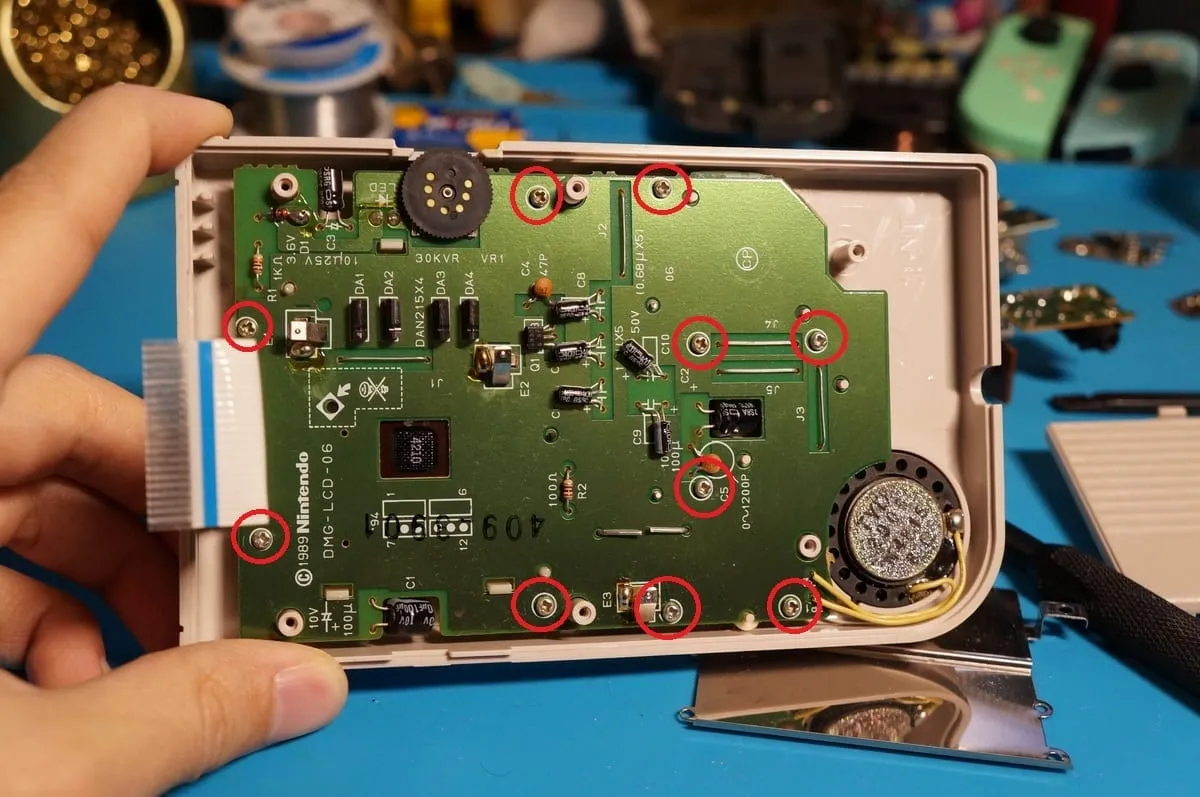
There is a thin strip of adhesive which may cause some resistance when freeing the board from the shell. A gentle but firm lift removes the board with ease. The speaker is attached to the front board – mind the wires!
Buttons and D-pad
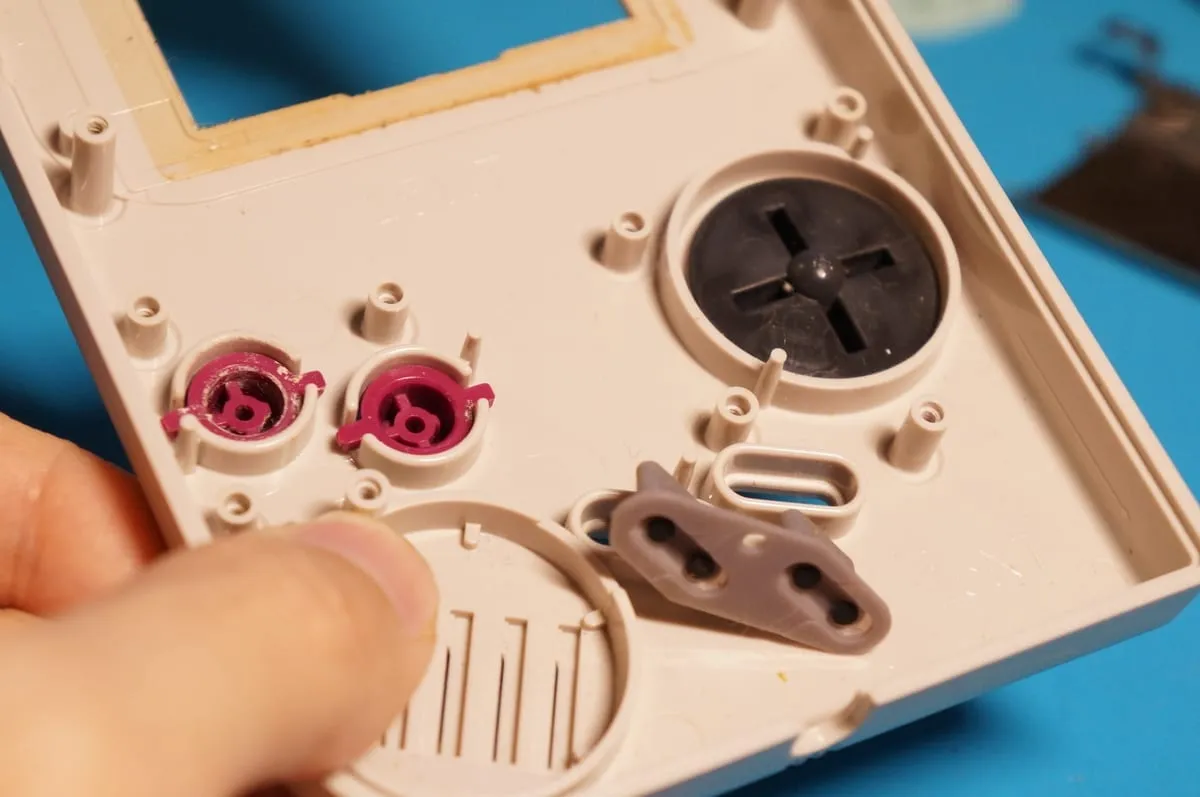
Section titled “Buttons and D-pad”You can now remove the silicone membranes and the buttons.
Front screen lens
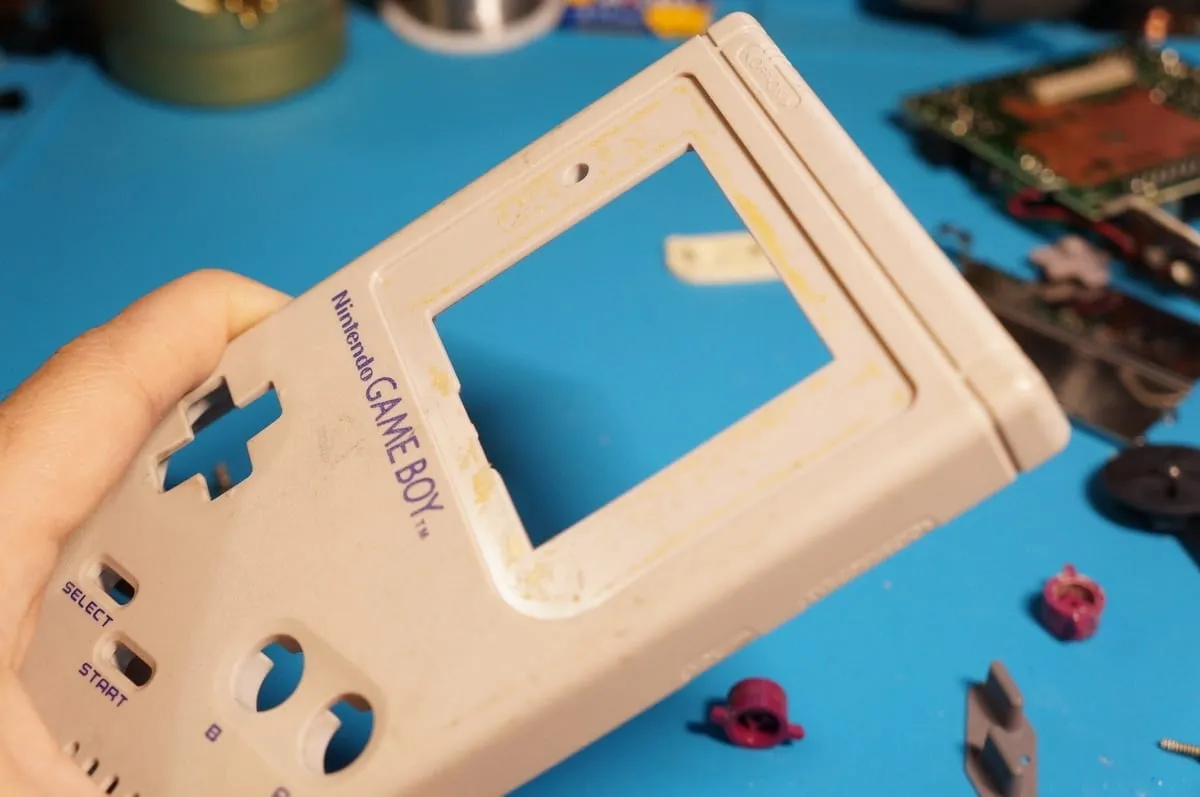
Section titled “Front screen lens”Pressing gently from the inside of the shell, the plastic screen lens usually comes out quite easily. Use a cloth if you want to avoid scratches. Gentle heat from a hair dryer helps soften stubborn adhesive. The old adhesive is often dry and cracked, so cracking noises during this step are normal.
Complete!
Section titled “Complete!”To reassemble your console, simply follow these steps in reverse.
Screw guide
Section titled “Screw guide”