
[GBA] RetroSix CleanLight RGB
The CleanLight RGB is a user-changeable LED mod for your Game Boy Advance. It lights up the buttons in any colour and brightness, and you can even give single buttons their own colour.
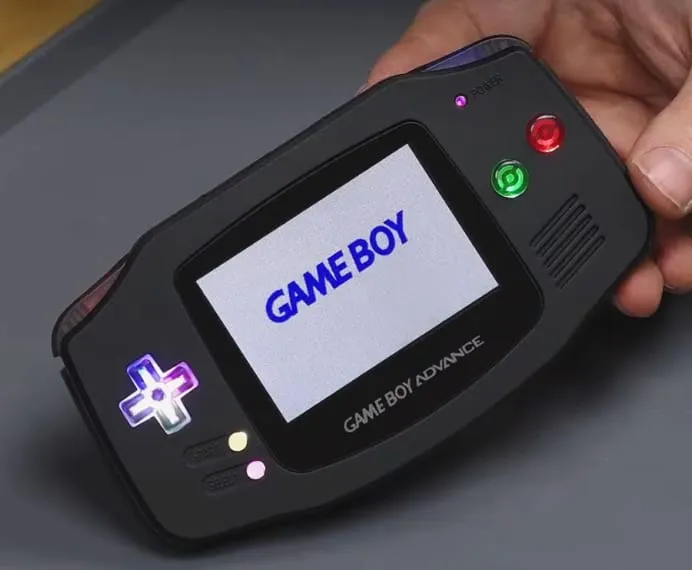
Installation
Section titled “Installation”The install is very simple: solder the CleanLight into position and add a power board (this will be integrated into the ribbon on the next revision).
If you prefer watching to reading, there is a RetroSix stream installing and showing off the CleanLight RGB:
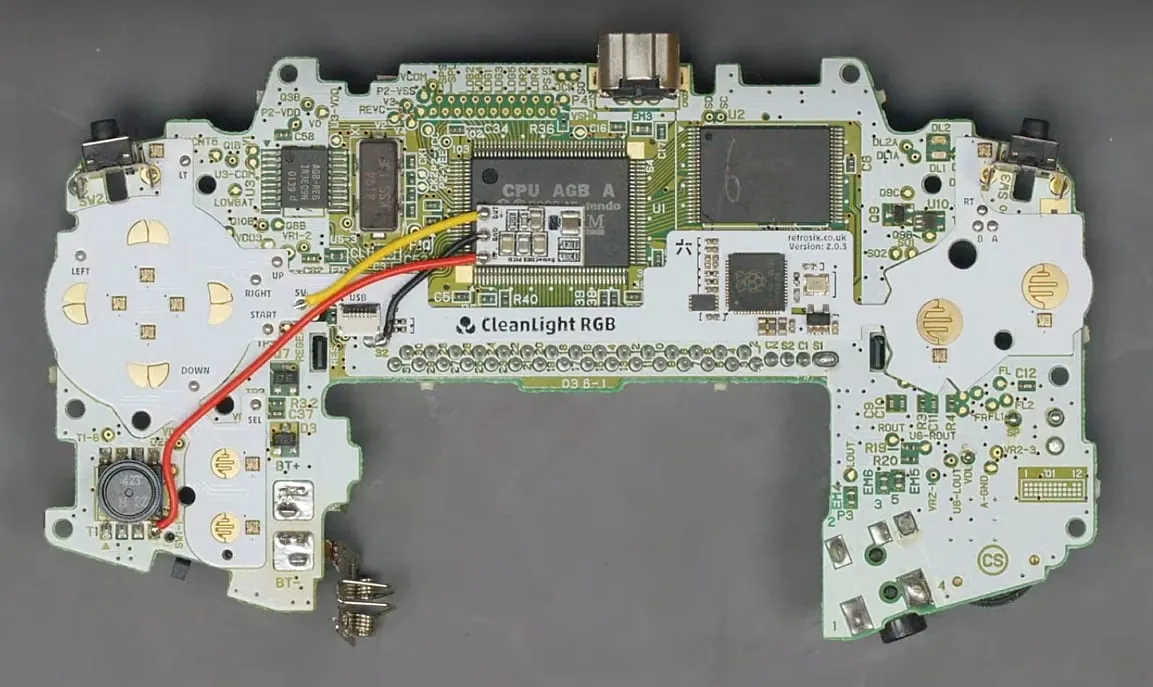
The first step is to pre-tin the pads TP0/1/2/3/4/5/6/7/8/9 and apply tape over the VDD5 pad.
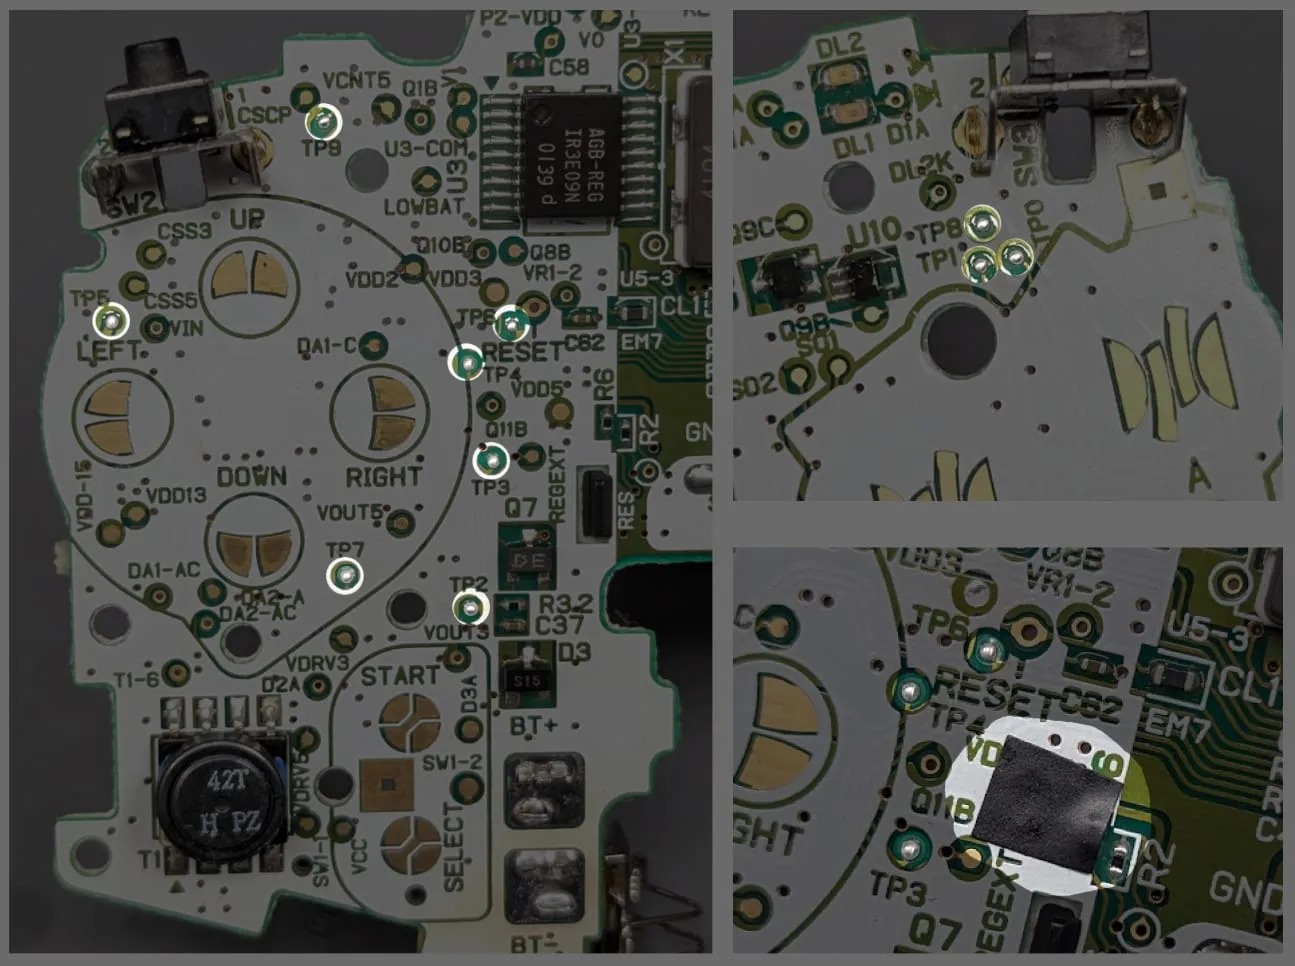
Next, lay the PCB down and align it with the pre-tinned holes.
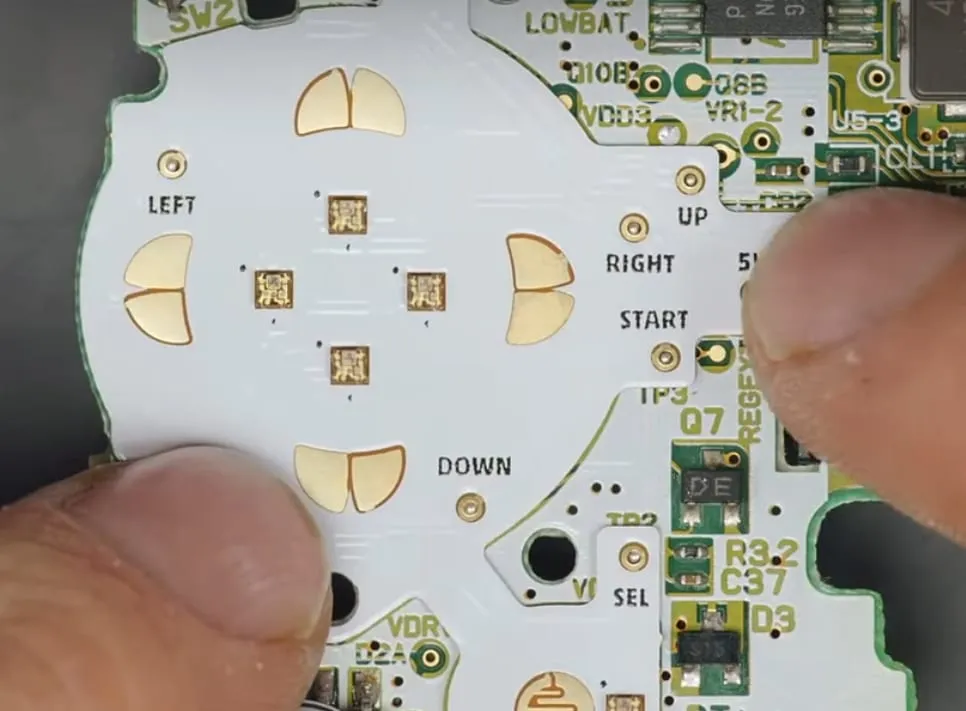
Now apply flux (important) to each pad and solder them to the pre-tinned pads underneath.
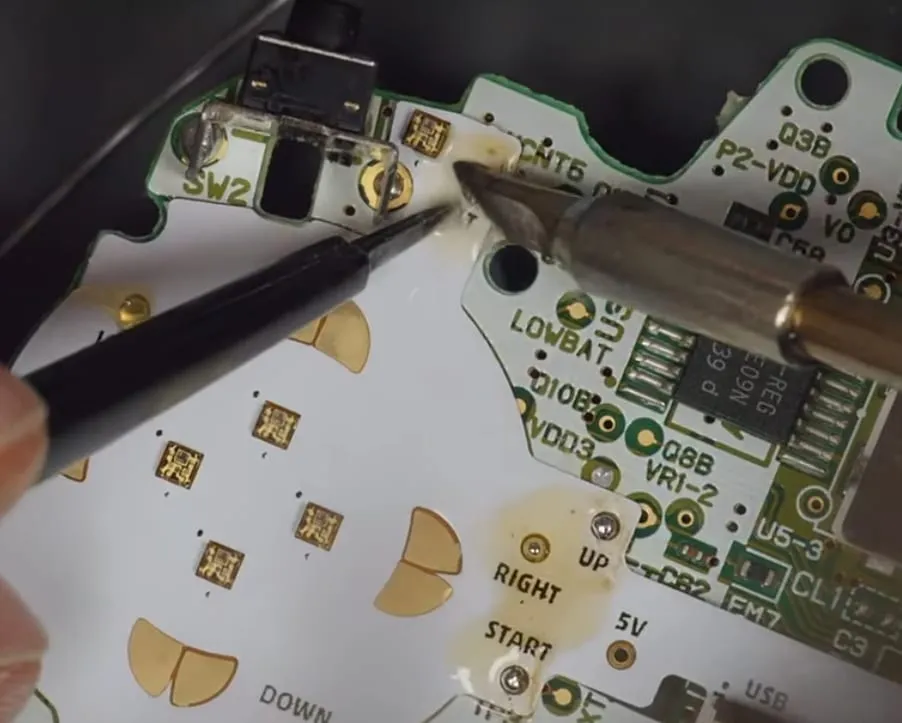
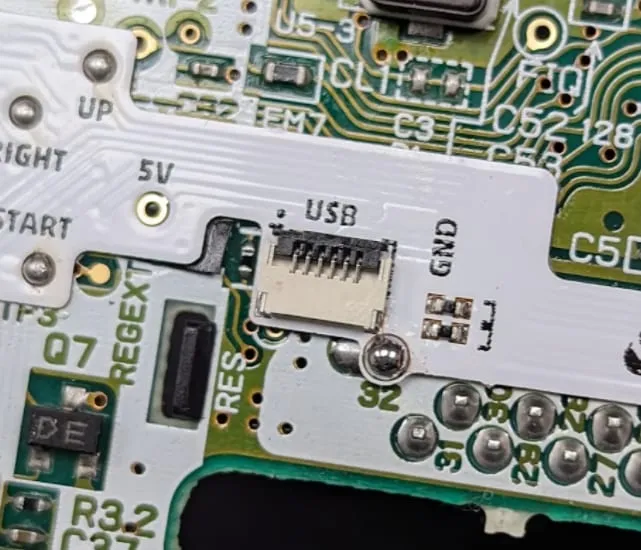
Don’t forget the ground pad you didn’t pre-tin: because of its large size it’s easier to solder without tinning. It sits between the FPC connector and 2 resistors.
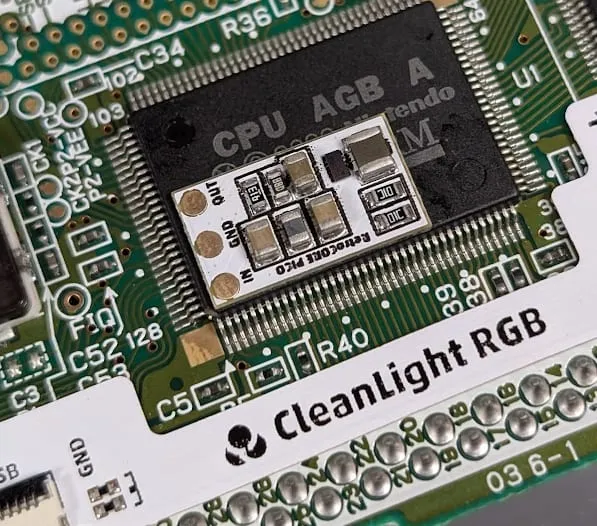
Next, take the included power board and stick it onto the CPU using the double-sided tape already applied.
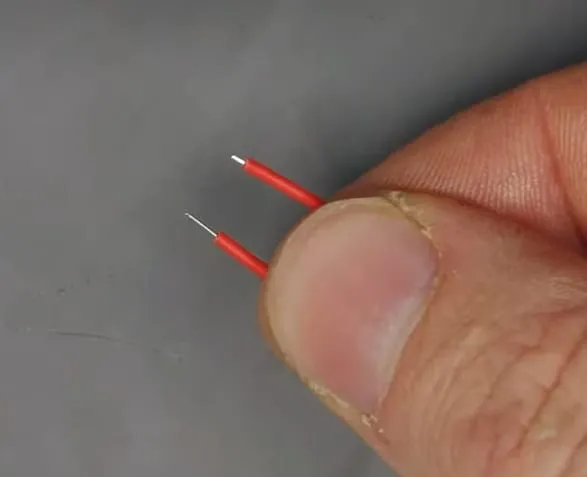
The kit includes 3 wires pre-stripped at the ends. It’s best to trim them down a little so they don’t touch other parts of the PCB when soldering.
Now solder GND (black) to ground, IN (yellow) to the 5V pad and OUT (red) to the bottom right pad of the transformer.
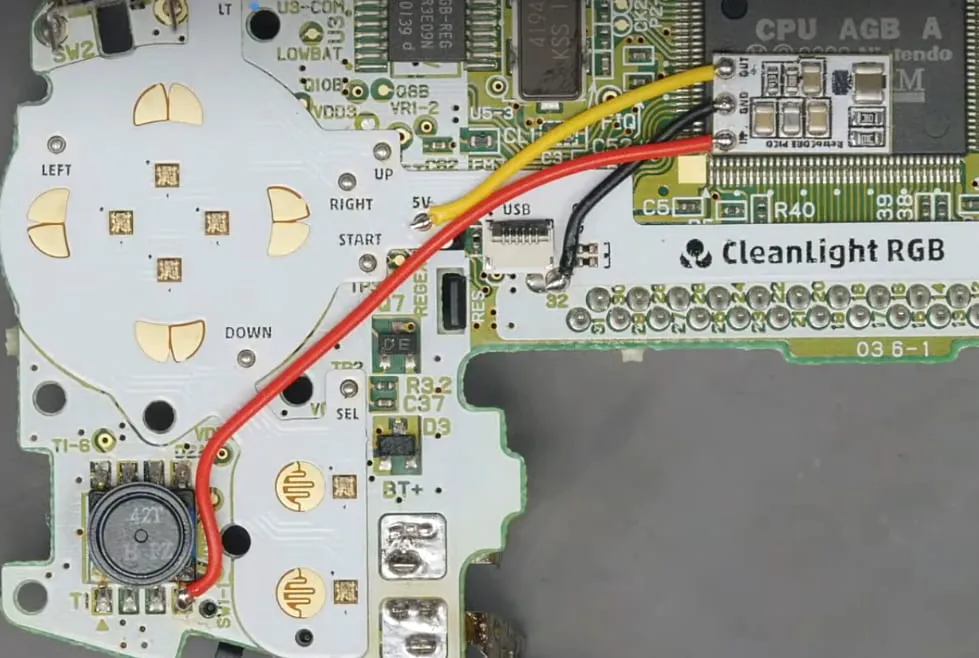
The position of the red wire matters, as it passes between the D-pad and the Start/Select rubber area. Route it exactly as shown so it doesn’t touch the rubbers once assembled.
It should now look like this:
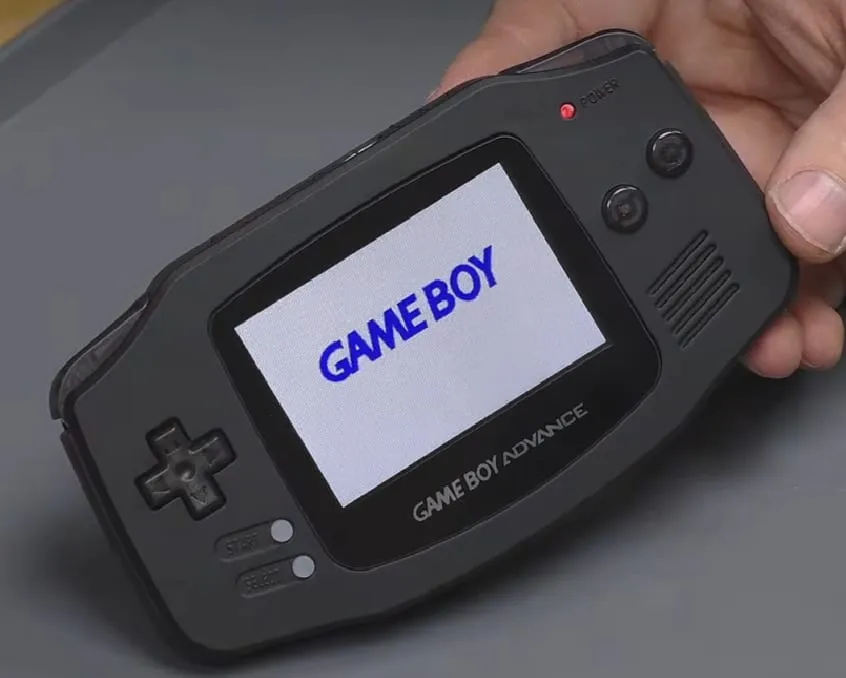
When you first power on the CleanLight, it loads into a rainbow colour palette.
The table gives a quick overview of the menu and usage, followed by a more detailed explanation below. You can also see how it works in the stream:
▶ Watch in the video from 1:04:41
| Button combo | Press time | Function |
|---|---|---|
| Start + Select | Long | Enter menu |
| Select | Long | Exit menu |
| Left / Right | Short | Change colour palette |
| Up / Down | Short/Long | Change brightness |
| LT | Short | Toggle reactive mode |
| B | Long | Master reset |
| A | Long | Custom mode |
| [In custom mode] A | Long | Exit custom mode |
| [In custom mode] Any button | Short | Cycle available colours |
| [In custom mode] LT | Long | Previous colour palette |
| [In custom mode] RT | Long | Next colour palette |
Entering the menu
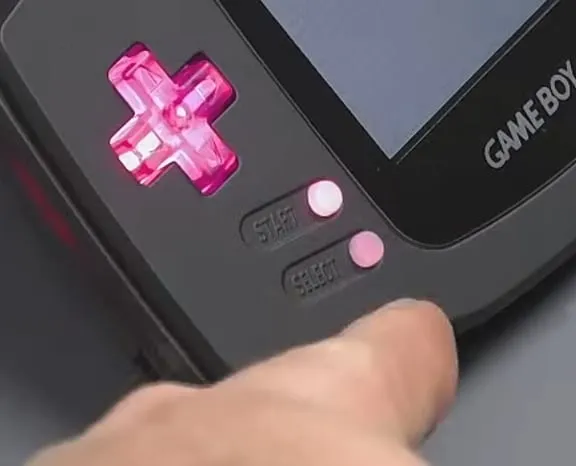
Section titled “Entering the menu”To change anything about the LEDs, first hold Start + Select for a few seconds. The Select LED starts pulsing.

The pulsing means you are in the editing menu and can adjust the LEDs’ colour, brightness and reactivity.
Exiting the menu
Section titled “Exiting the menu”Once you are done, exit the menu by holding just Select for a few seconds. Select stops pulsing and you are back in normal mode.
Changing the colour palette
Section titled “Changing the colour palette”First enter the menu (hold Start + Select until Select pulses), then use the D-pad to switch between pre-defined colours.
Simply press left and right on the D-pad to cycle the colour modes.
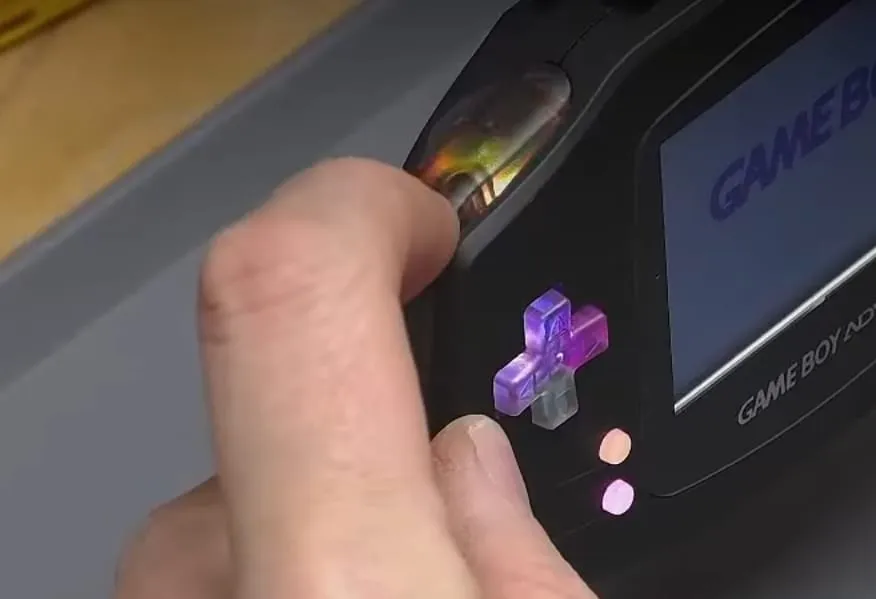
There are many colour modes to suit lots of shell and button colours, including all the primary colours, pastel shades and lighter/darker shades too.
Magenta, for example:
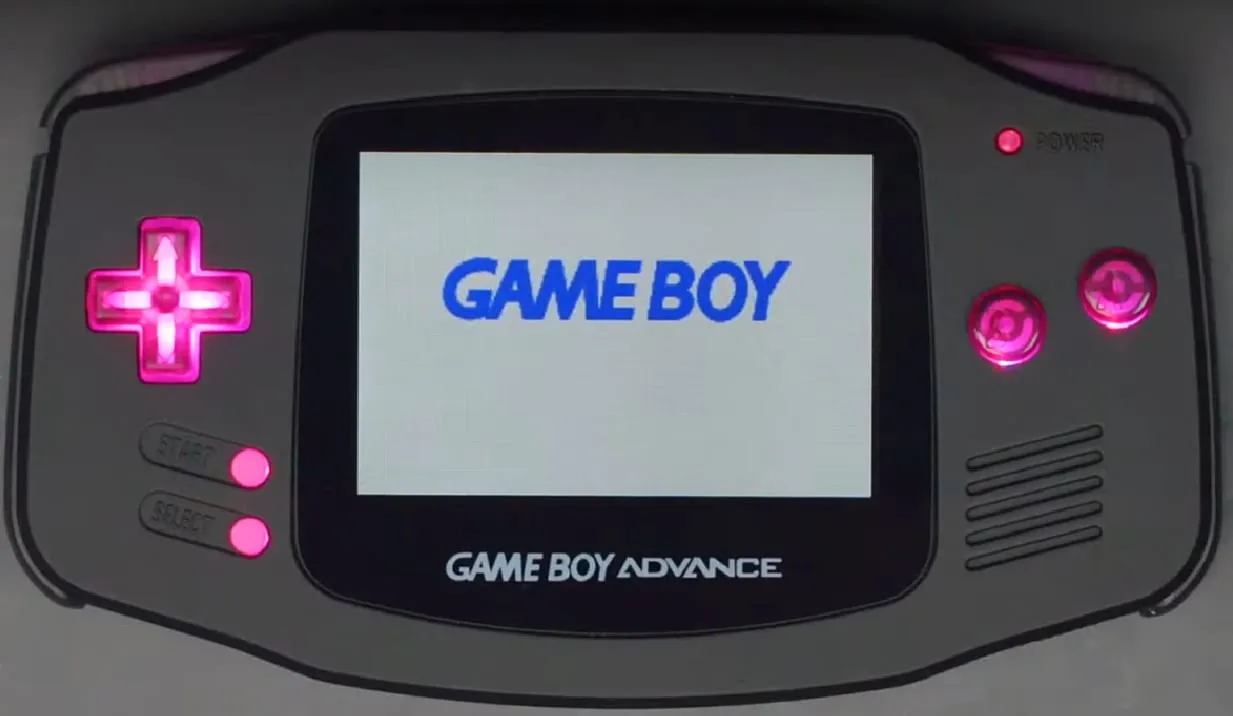
Once you are happy with the colour, exit the menu by holding Select until it stops pulsing.
Changing brightness
Section titled “Changing brightness”Enter the menu (hold Start + Select until Select pulses), then press and hold up or down to adjust the brightness all the way from fully off to 100%.
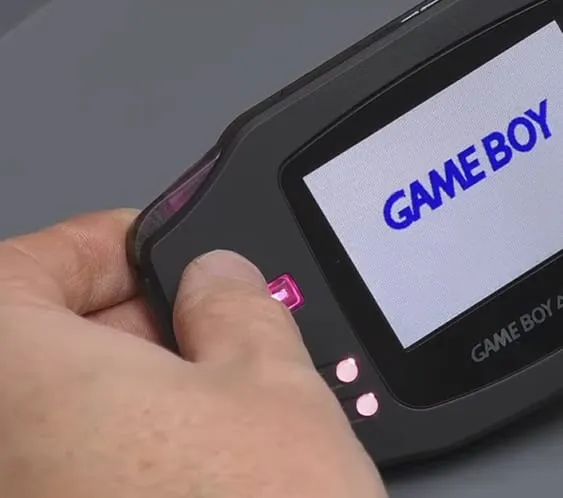
You can turn them fully off for a stealth look.
Reactive mode
Section titled “Reactive mode”Reactive mode makes your buttons react when you press them. A released button shows the colour you selected; when pressed, it changes to a complementary colour.
Here is an example where the green button turns cyan when pressed.
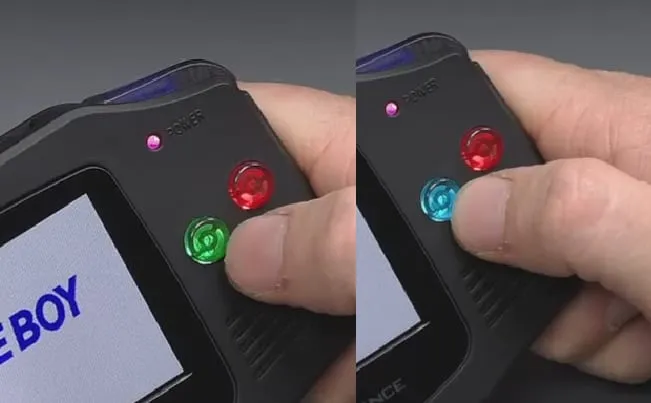
To enable it, enter the menu (hold Start + Select until Select pulses) and press LT to toggle the mode on and off. Exit the menu once done.
Custom colour profile
Section titled “Custom colour profile”The final mode is the ultimate mode for customisation: you can set every button to its own colour.
Enter the menu (hold Start + Select until Select pulses), then hold A for several seconds until all buttons pulse (not just Select).
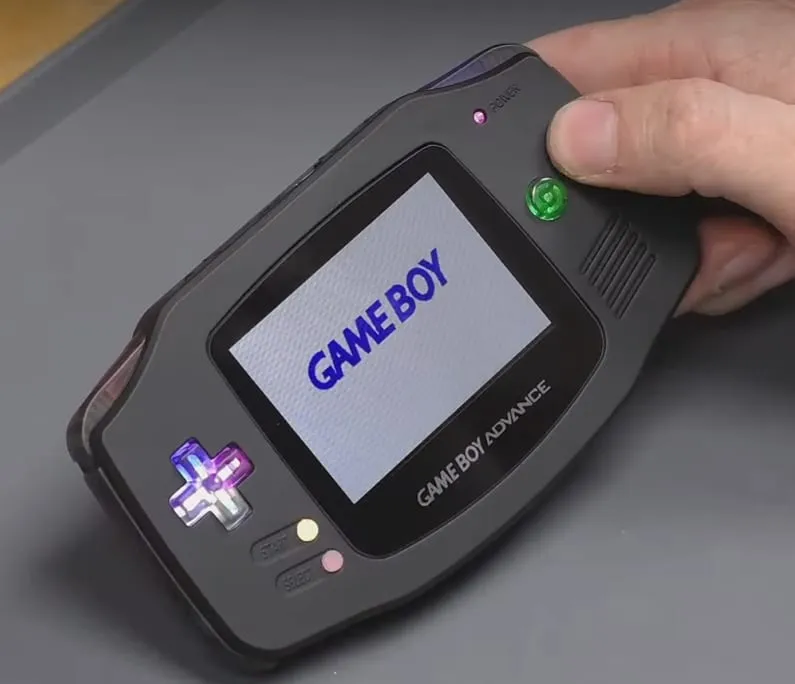
You are now in the most advanced customisation mode.
In this mode, briefly pressing any button changes its colour (cycling through all available colours), so you can give every button its own colour.
If you want to start from a pre-defined colour palette such as red, long-press LT or RT to cycle the pre-made colour profiles and set all buttons to the same starting colour. After that, short-press any button to customise it again.
The only difference is that to exit this menu you don’t hold Select; instead hold A for several seconds to save the settings. All LEDs then stop pulsing and you are out of all menus and back in normal mode.
Master reset
Section titled “Master reset”If for any reason you want to reset the colour palettes and the entire CleanLight to factory settings, enter the menu (hold Start + Select until Select pulses), then hold B for several seconds until all the LEDs pulse once.
Now turn the console off and on again.