
[DMG] V5 Pro Kit by Hispeedido
This guide was kindly provided by our friends at HandHeldLegend.com :)
Preface
Section titled “Preface”- Make sure to run a function test first, BEFORE you install the IPS kit! Kits that have already been installed cannot be returned under warranty. You can see how to test the kit externally here: How do I test the LCD
- The LCD is very fragile and sensitive to pressure, impacts, etc. Please be especially careful when handling the LCD during installation
- Only use the brightness and settings wheel once everything is fully installed, otherwise it can break very easily
Before we start installing this kit, make sure you have all the required parts.
Parts included in this kit:
- 1x IPS LCD
- 1x LCD board
- 1x Front PCB (button board)
- 1x Ribbon cable, large
- 1x Ribbon cable, small
- 2x Adhesive strips
- 1x LCD bracket
For this guide, we’ll assume you’re using an IPS-compatible shell like these:
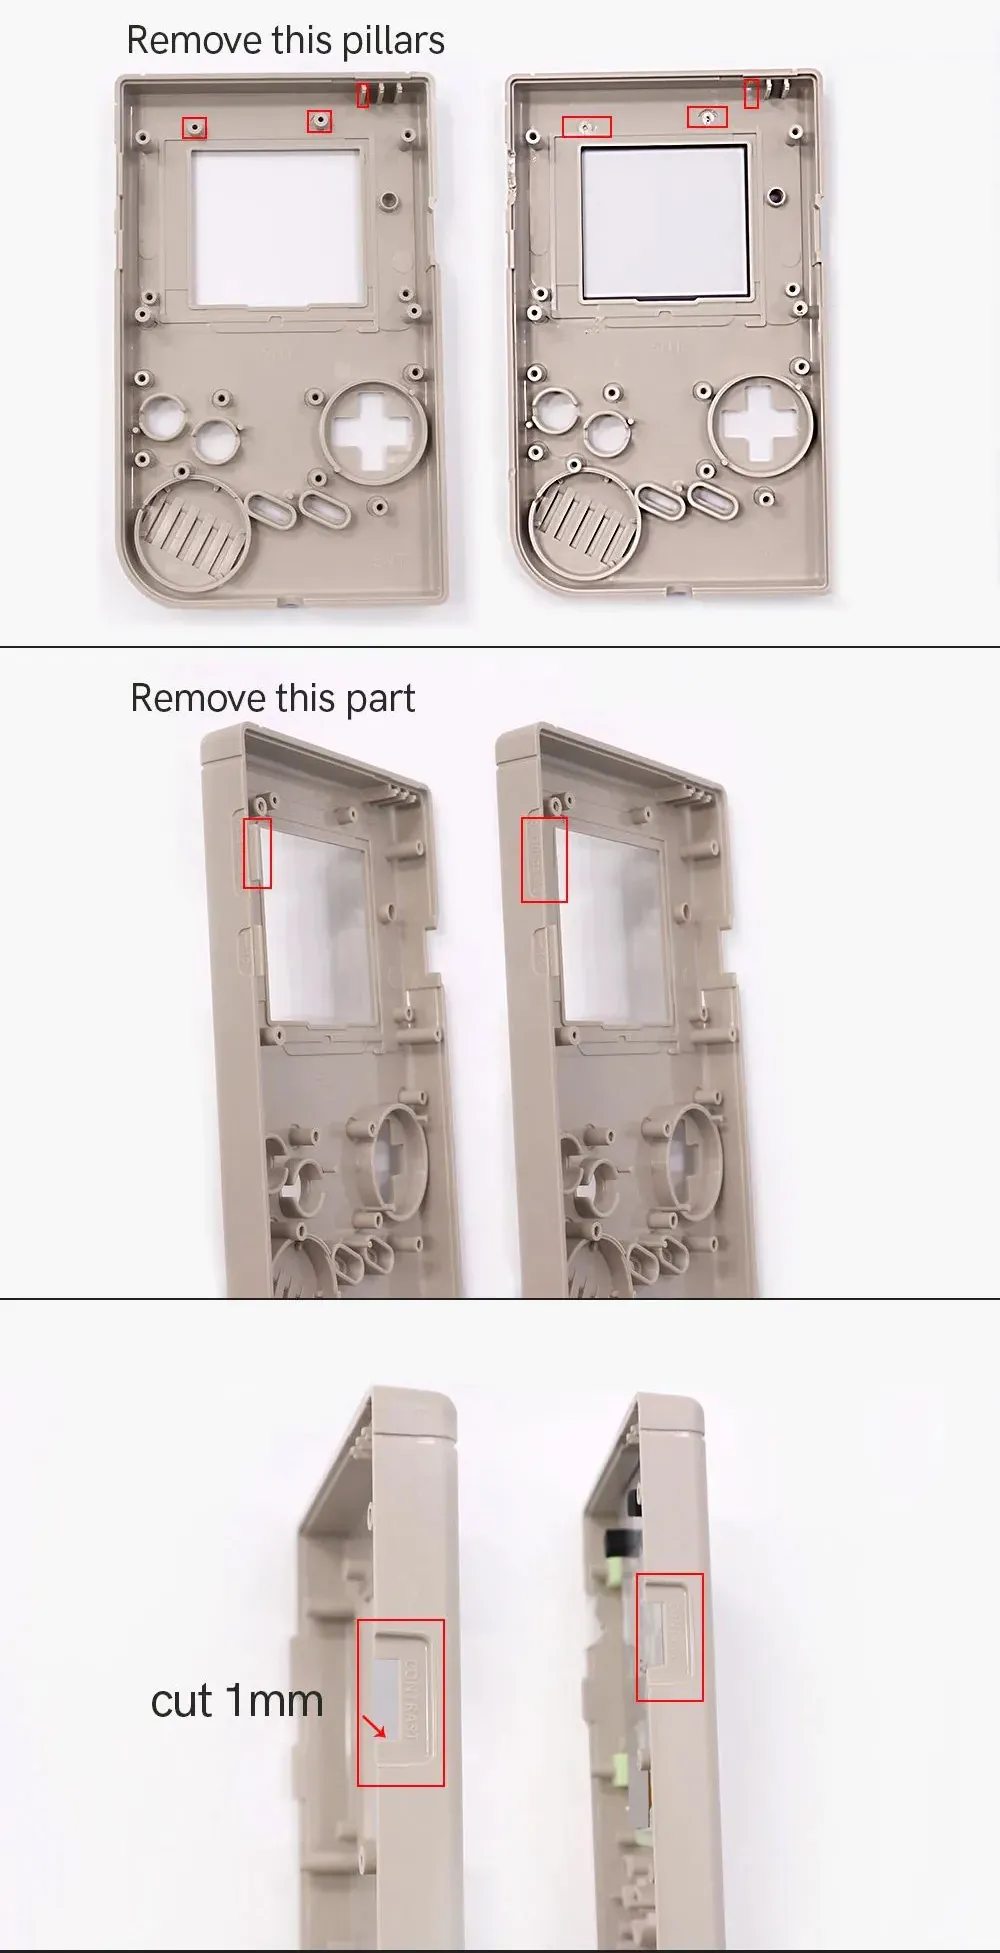
If you’re using an OEM shell or a non-IPS-ready shell, prepare it as shown below
Installation
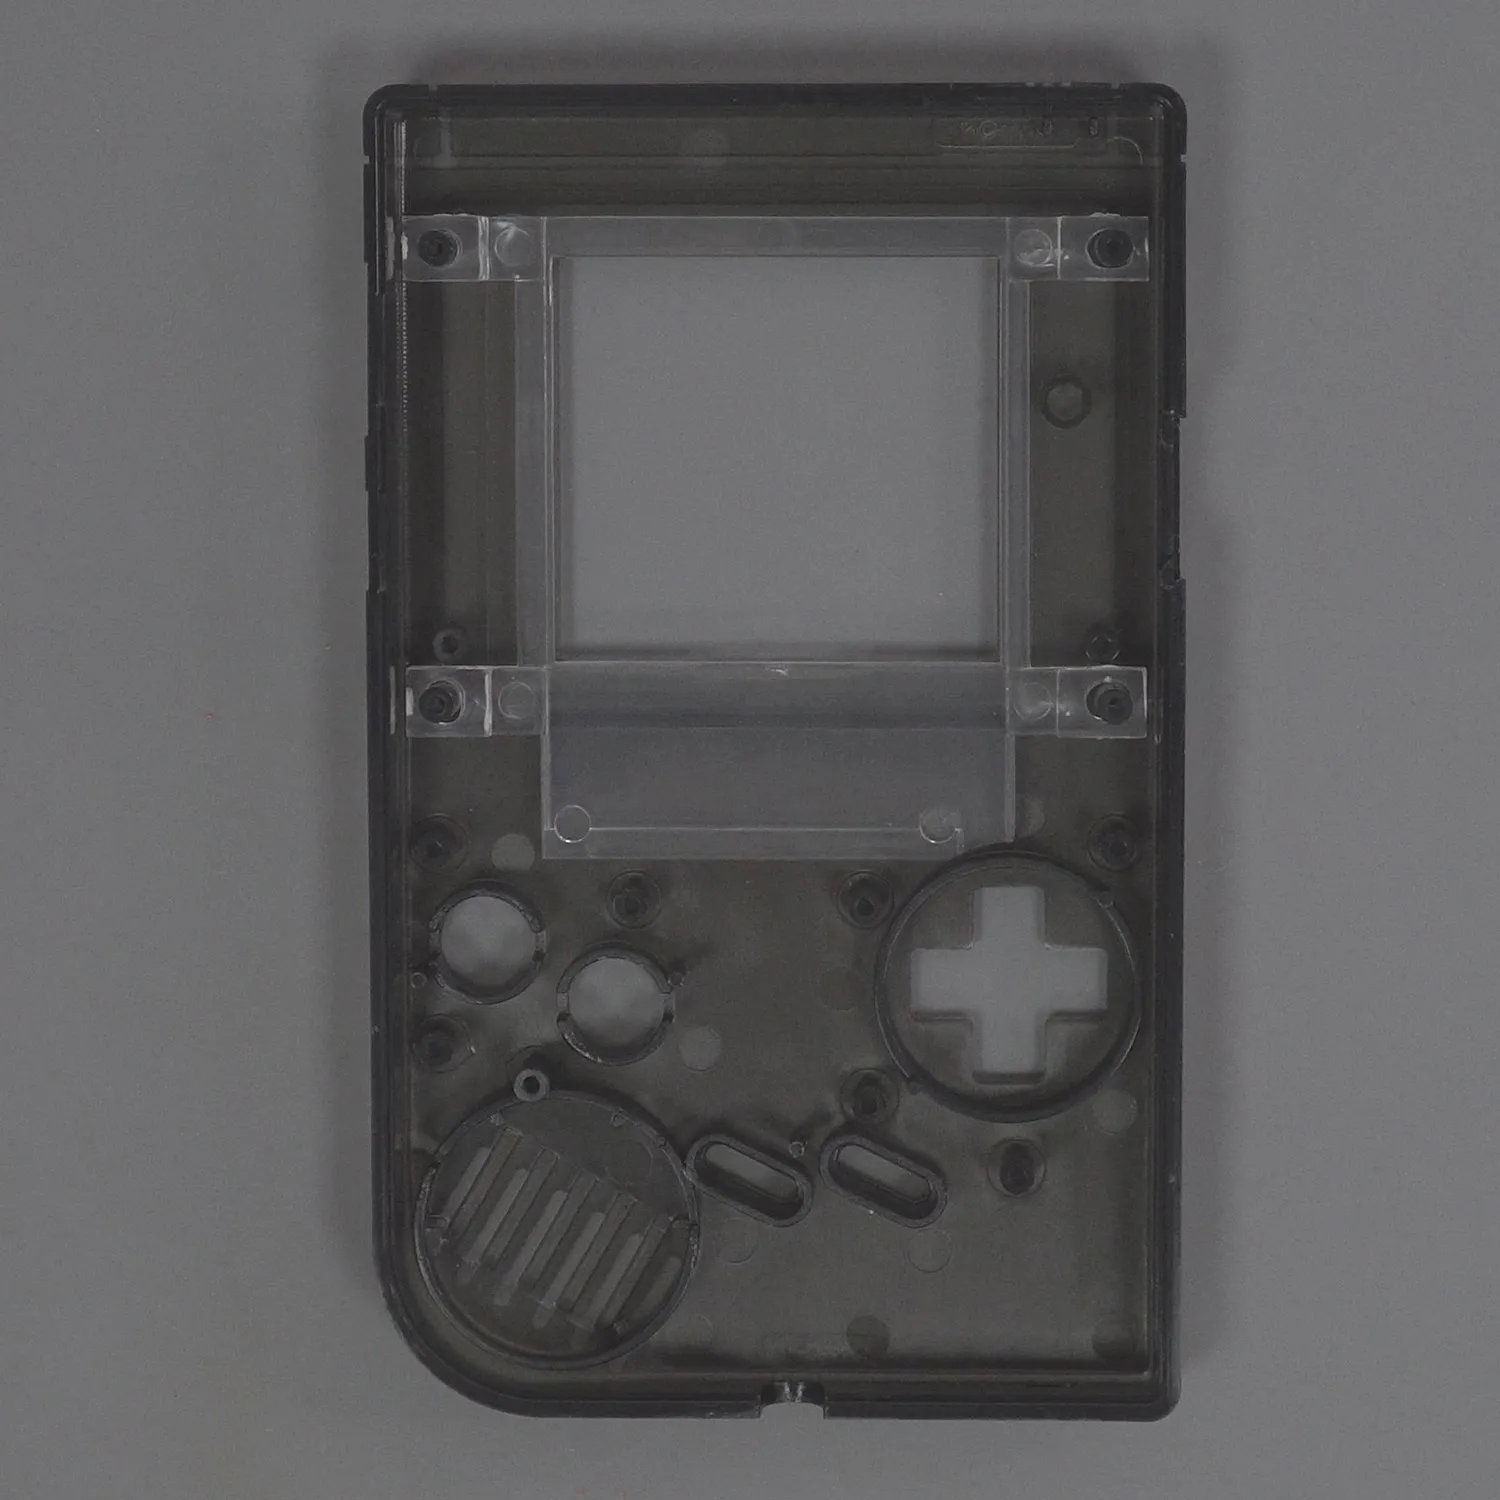
Section titled “Installation”To get started, take your shell and place it face down on the table. Then insert the LCD bracket included in the kit.
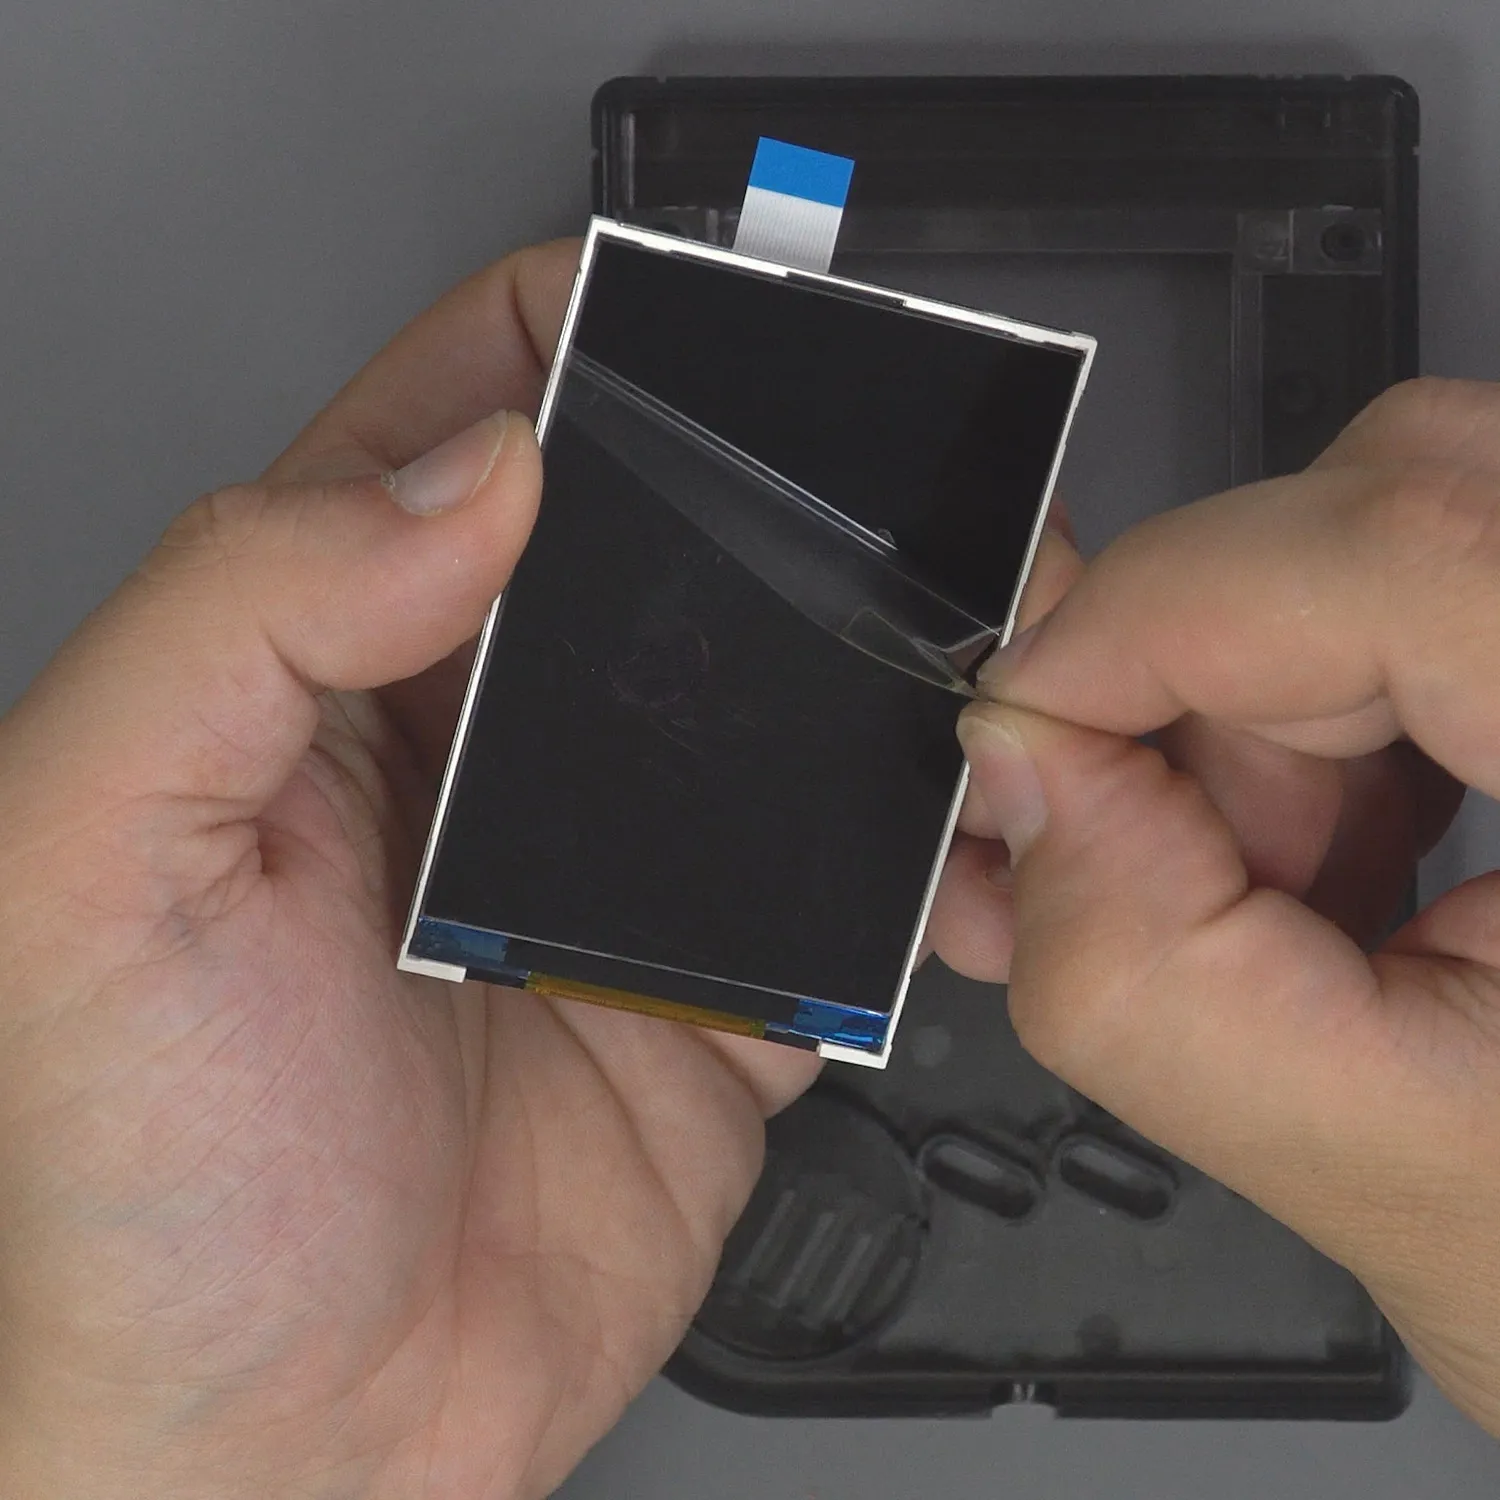
Now take your screen and peel the protective film off the front of the display.
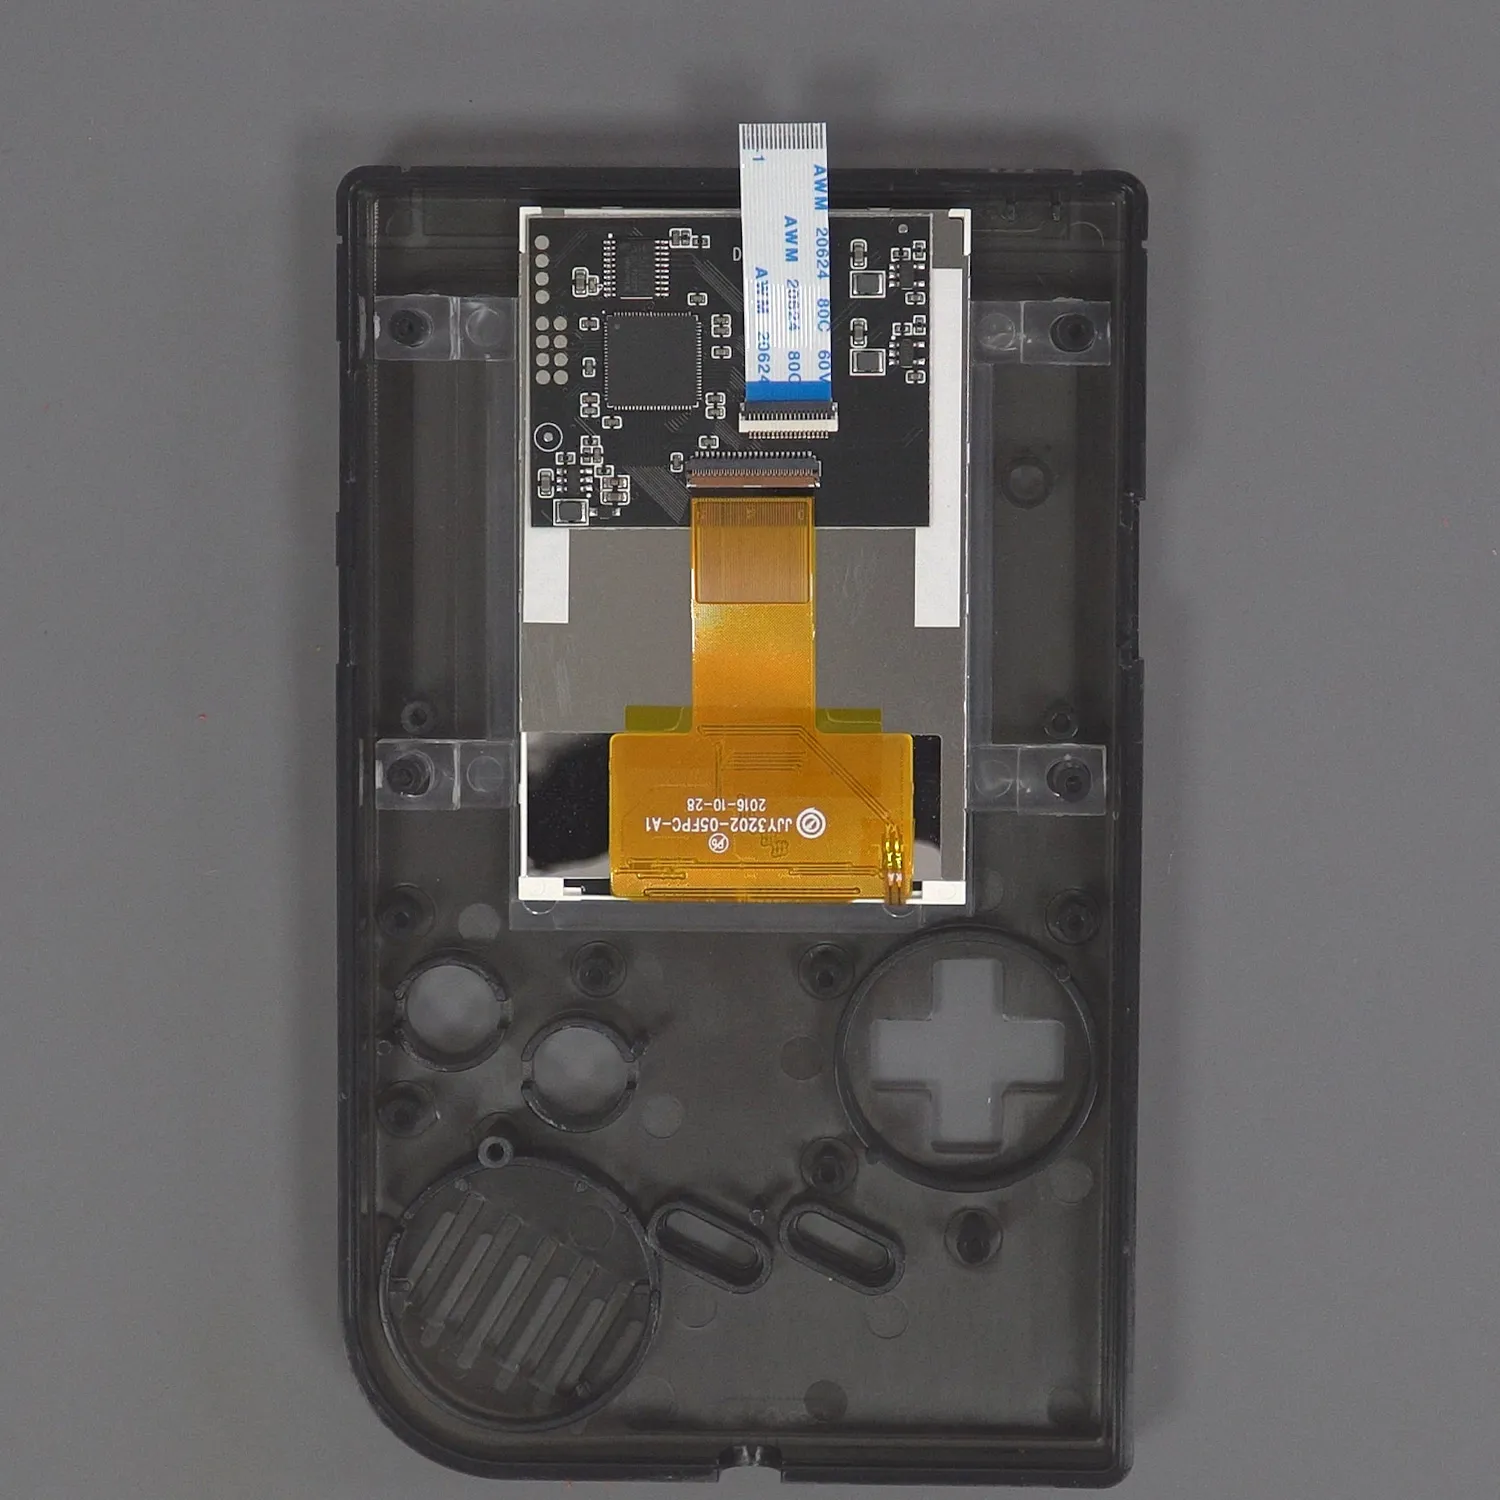
Slide the display into the bracket. Be careful not to touch the screen, otherwise you’ll have to clean off the fingerprints.
Now insert the buttons and pads.
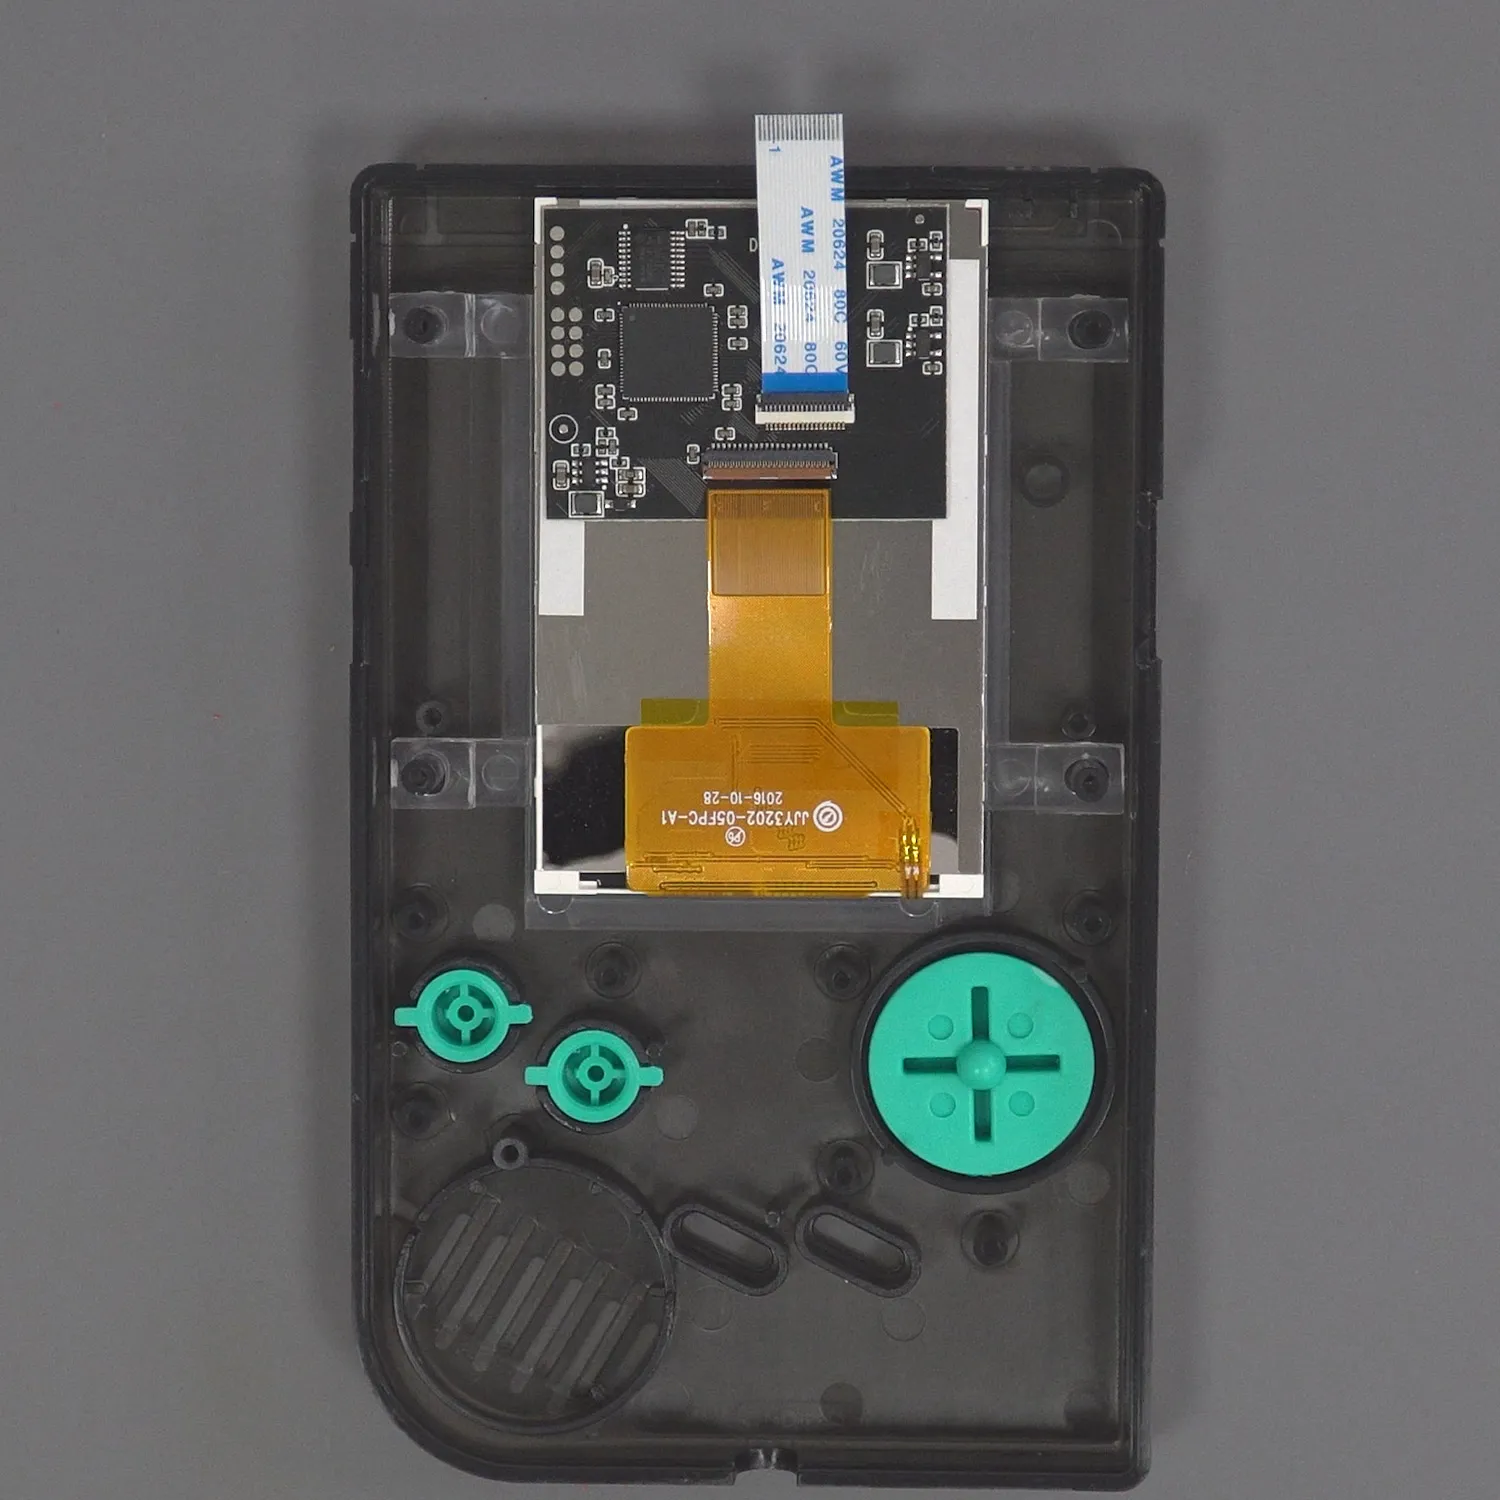
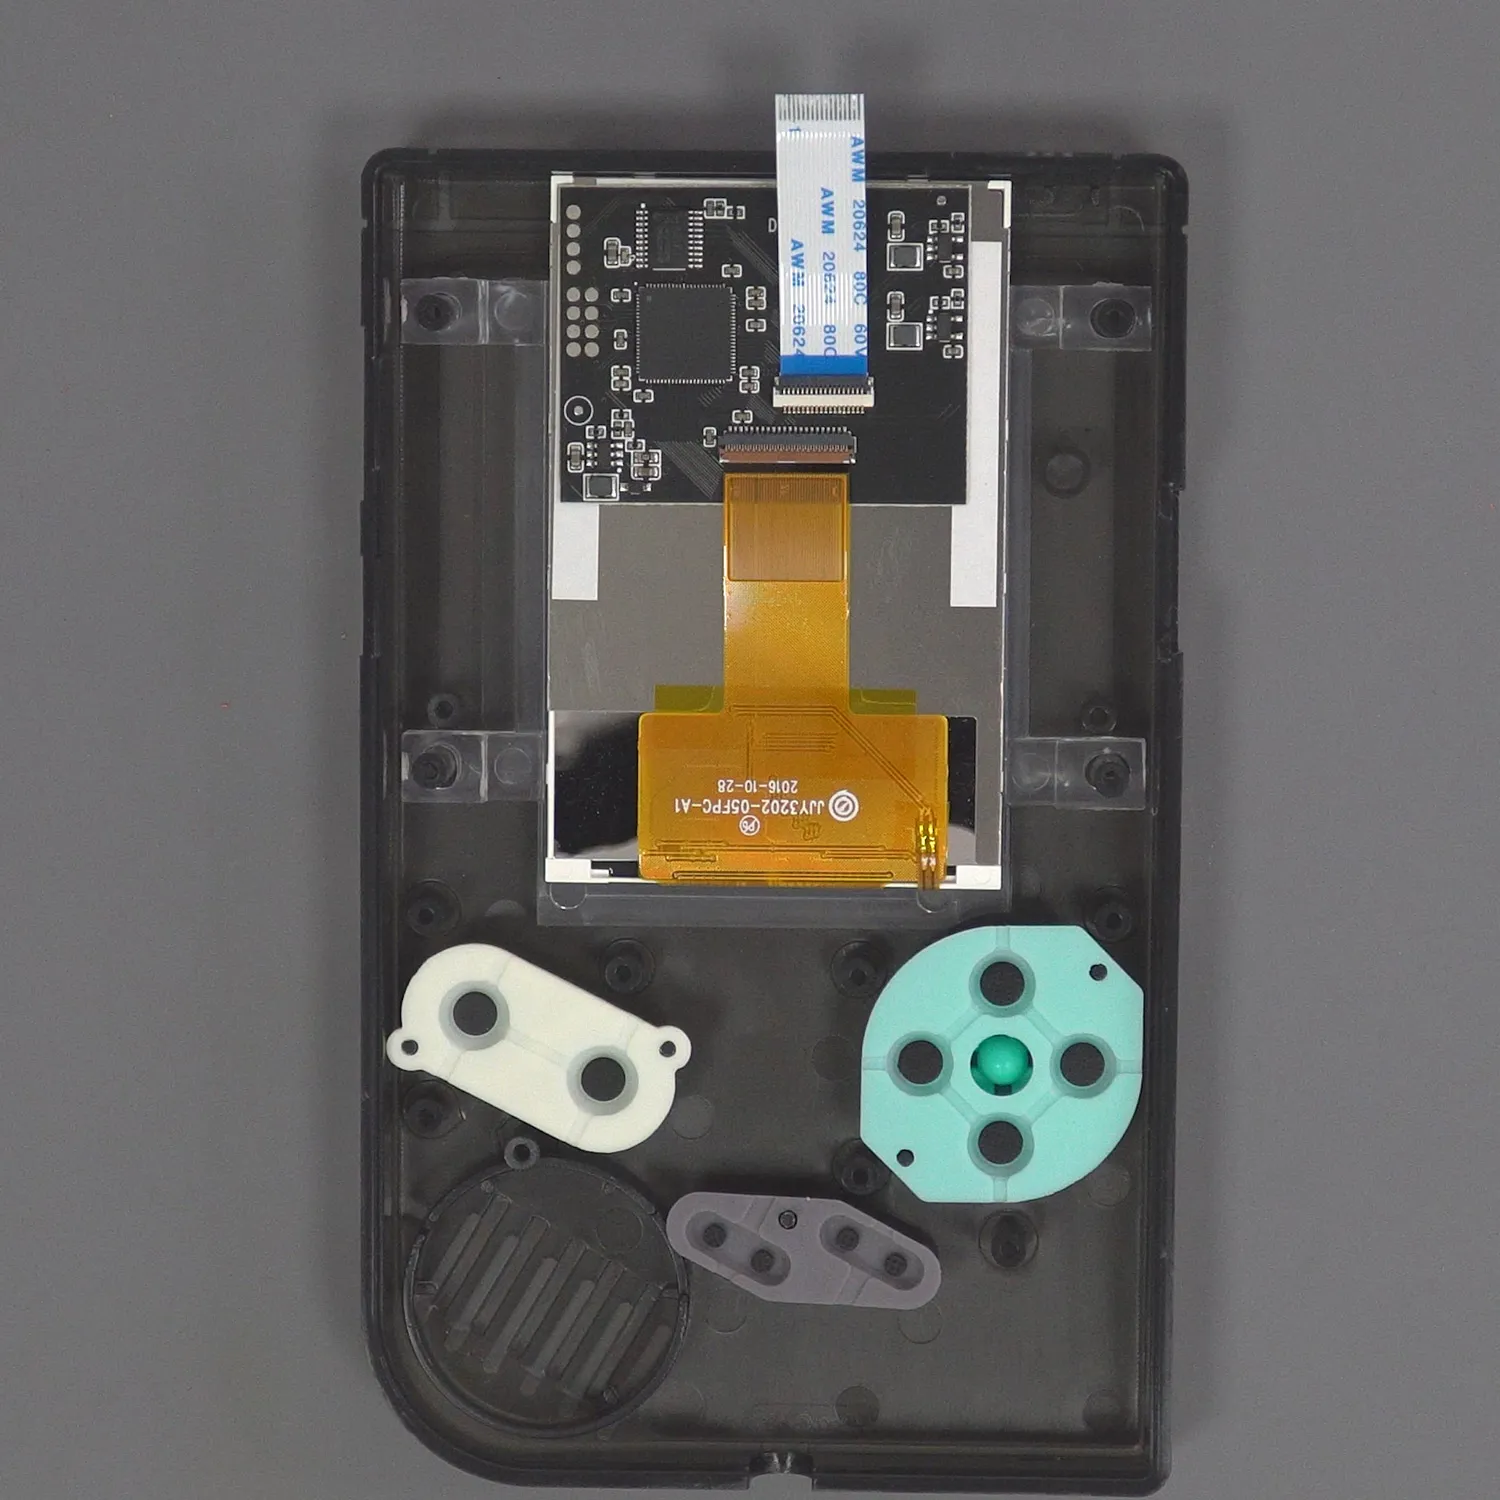
Next, take the button board PCB and place it over the buttons and the screen. This is where you install a speaker by soldering the positive and negative wires to the pads in the lower left corner.
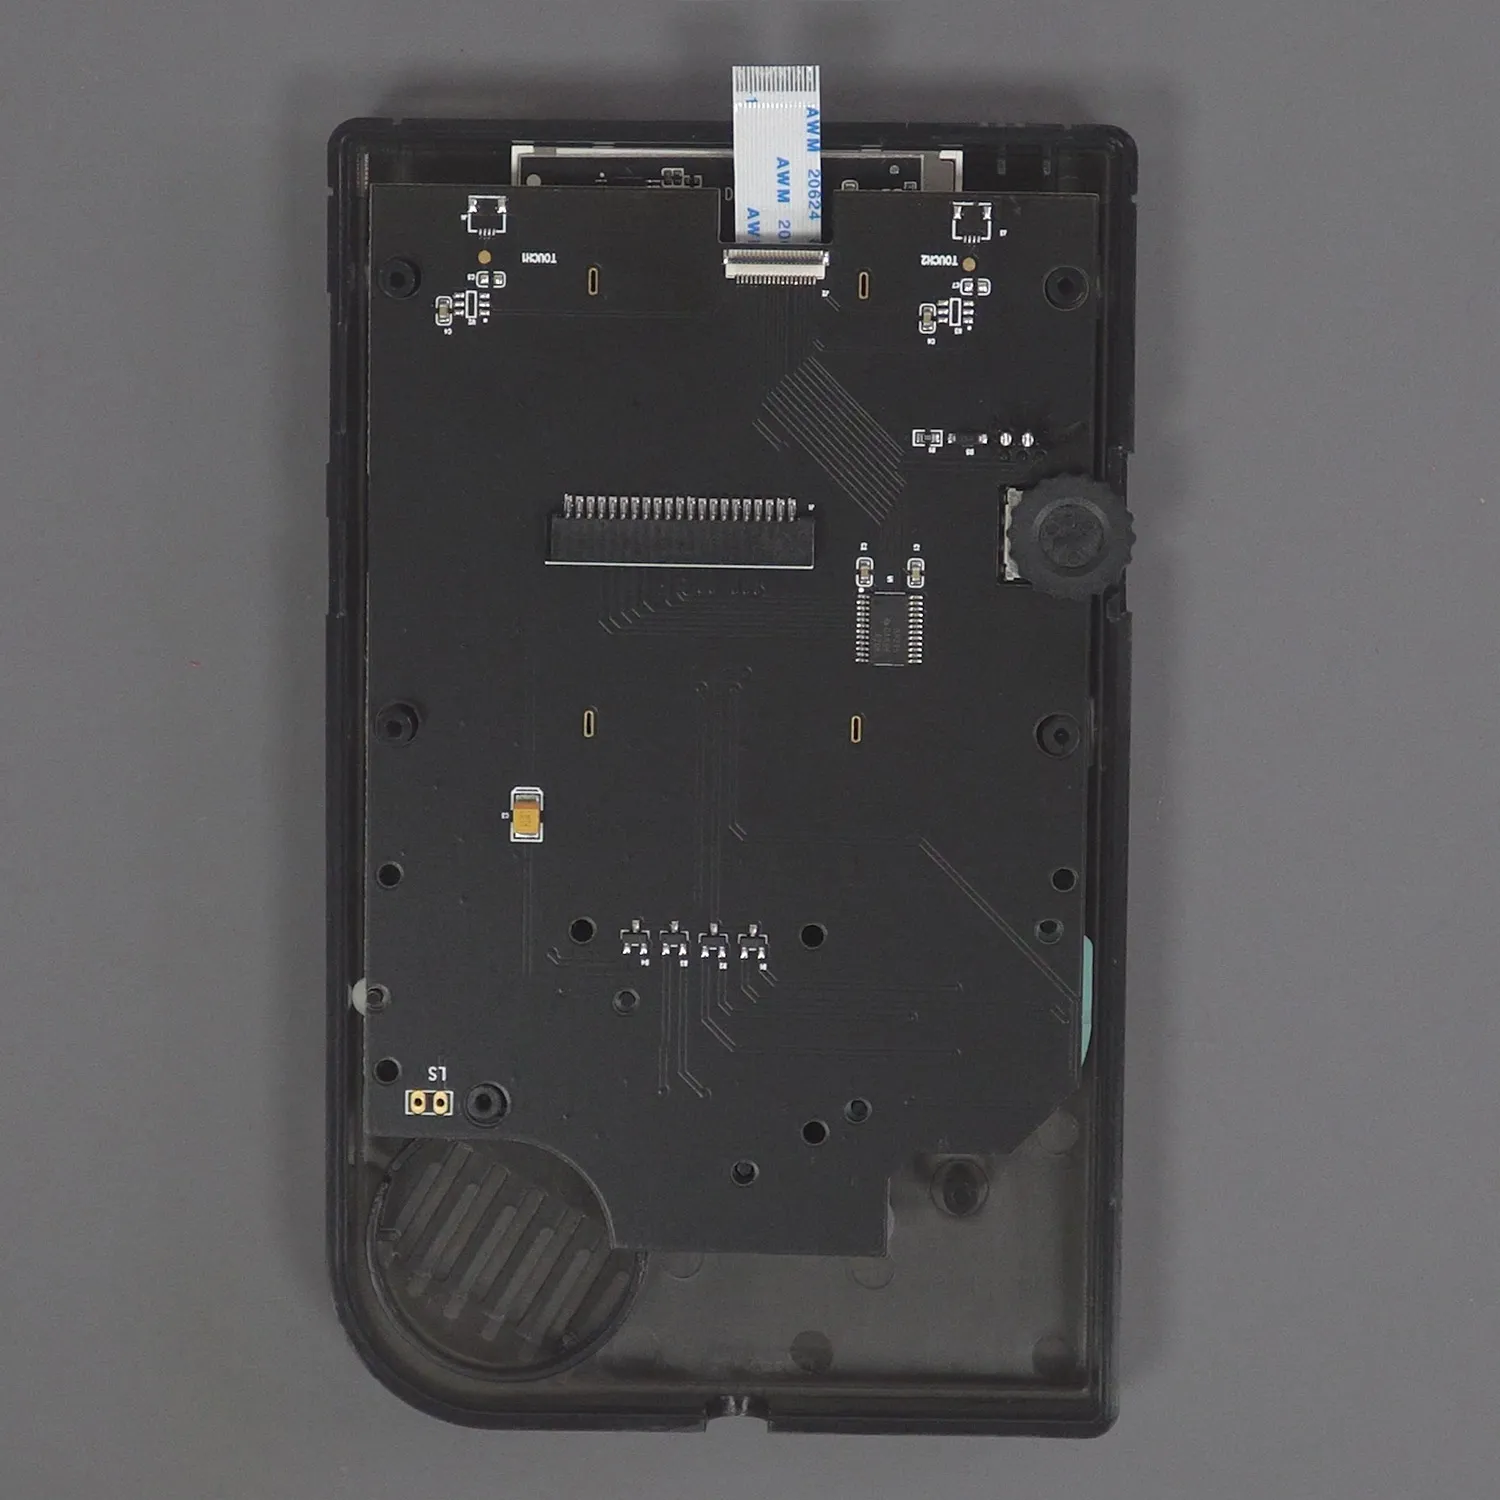
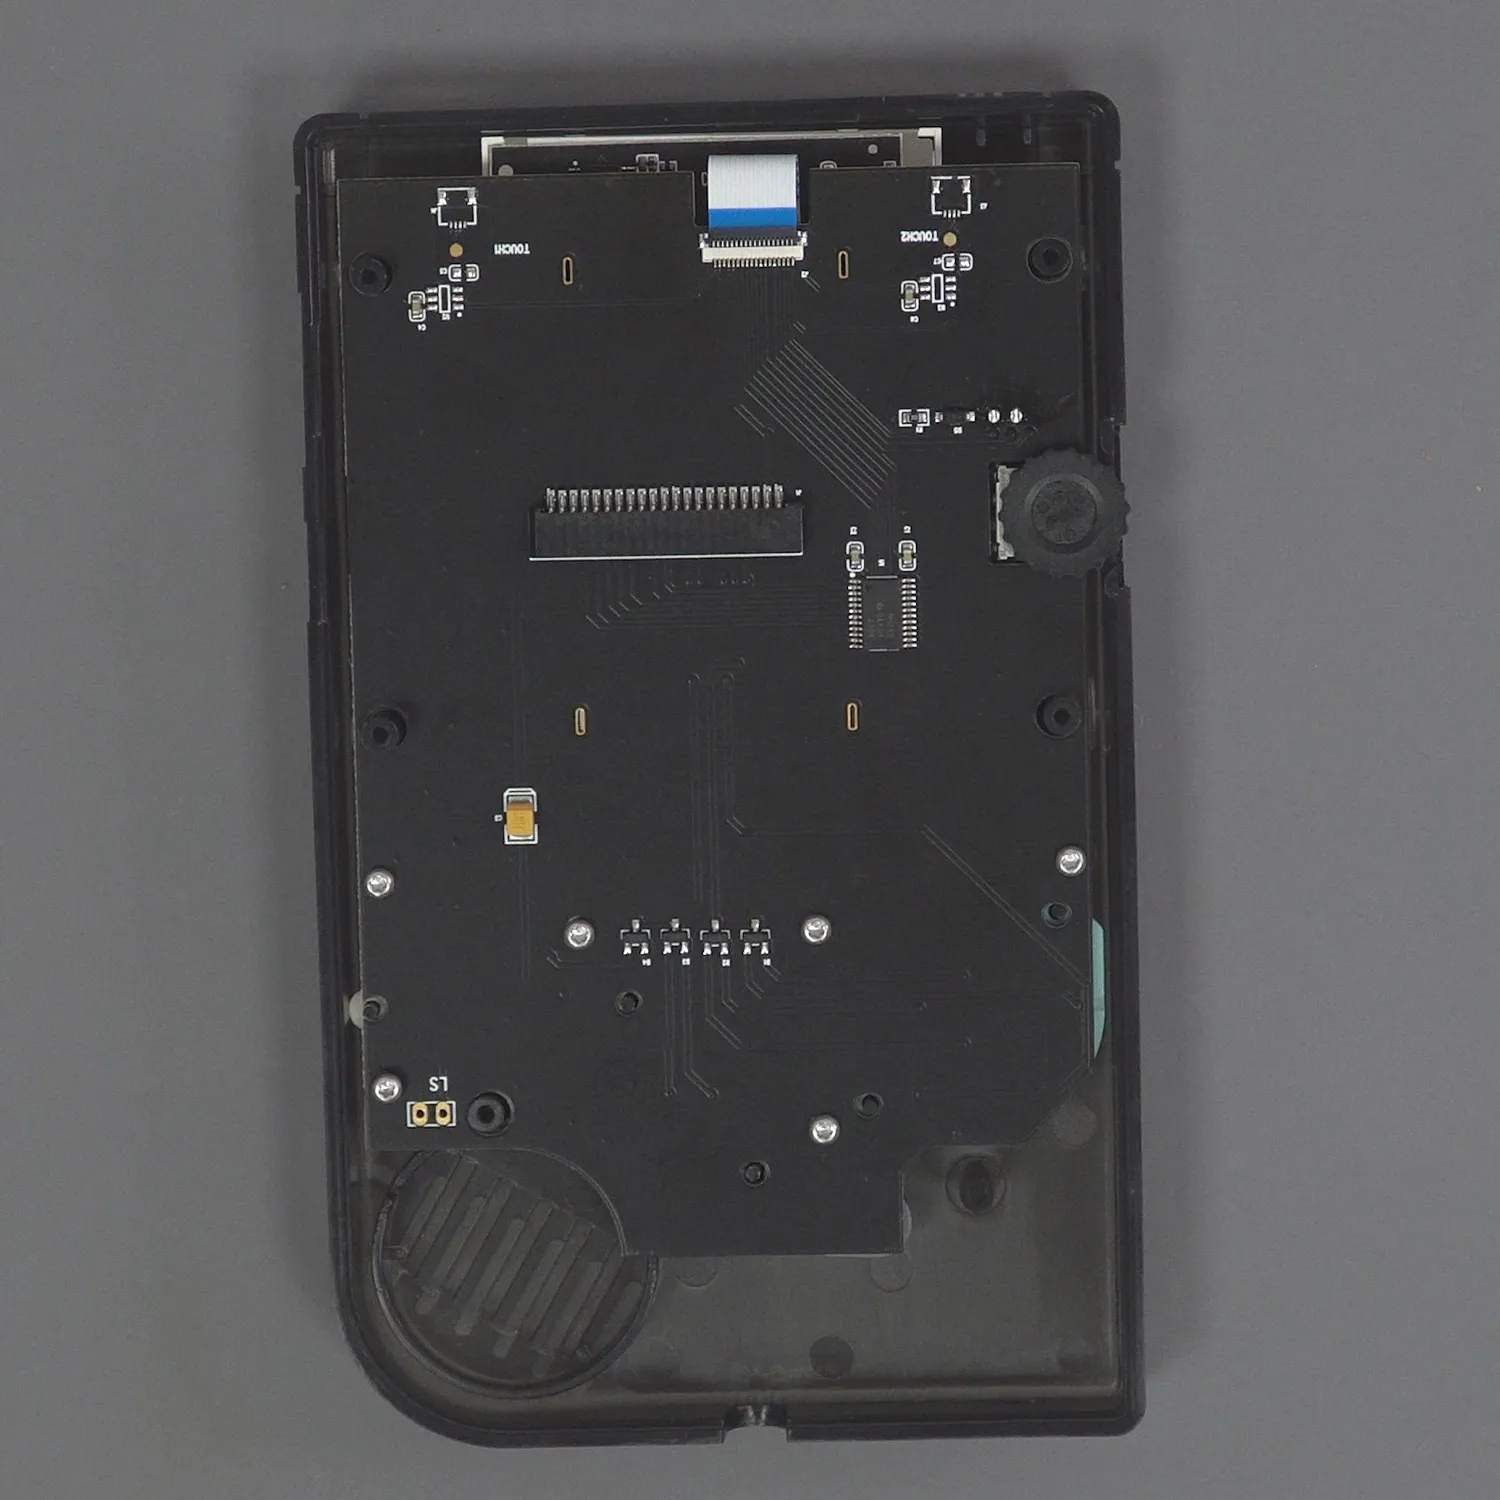
Now you can put in the six screws to secure the board. Then lift the black tab on the connector, insert the ribbon cable and lock the tab again.
Now we can move on to the rear shell of the console. Here you can insert the power button. Next comes the main board, which you secure with the matching screws.
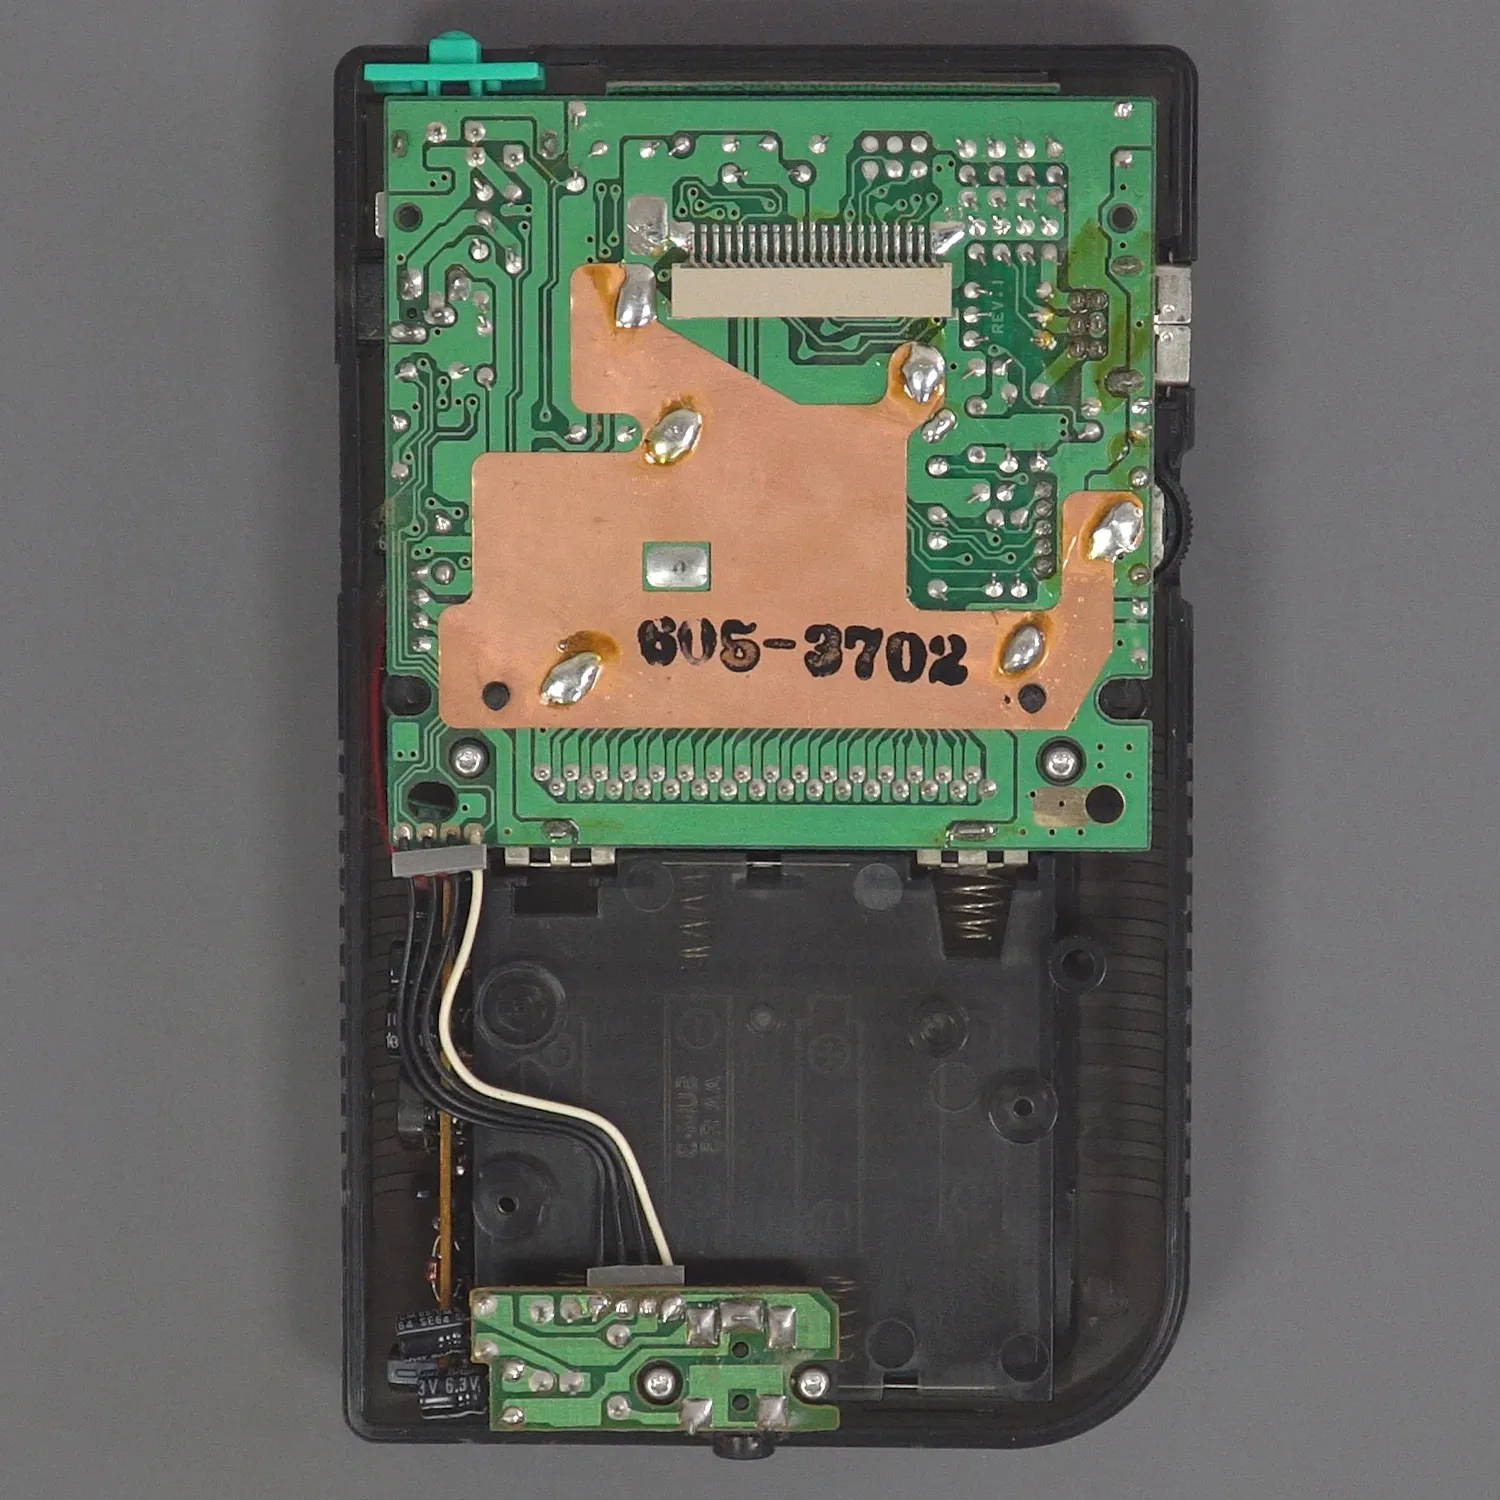
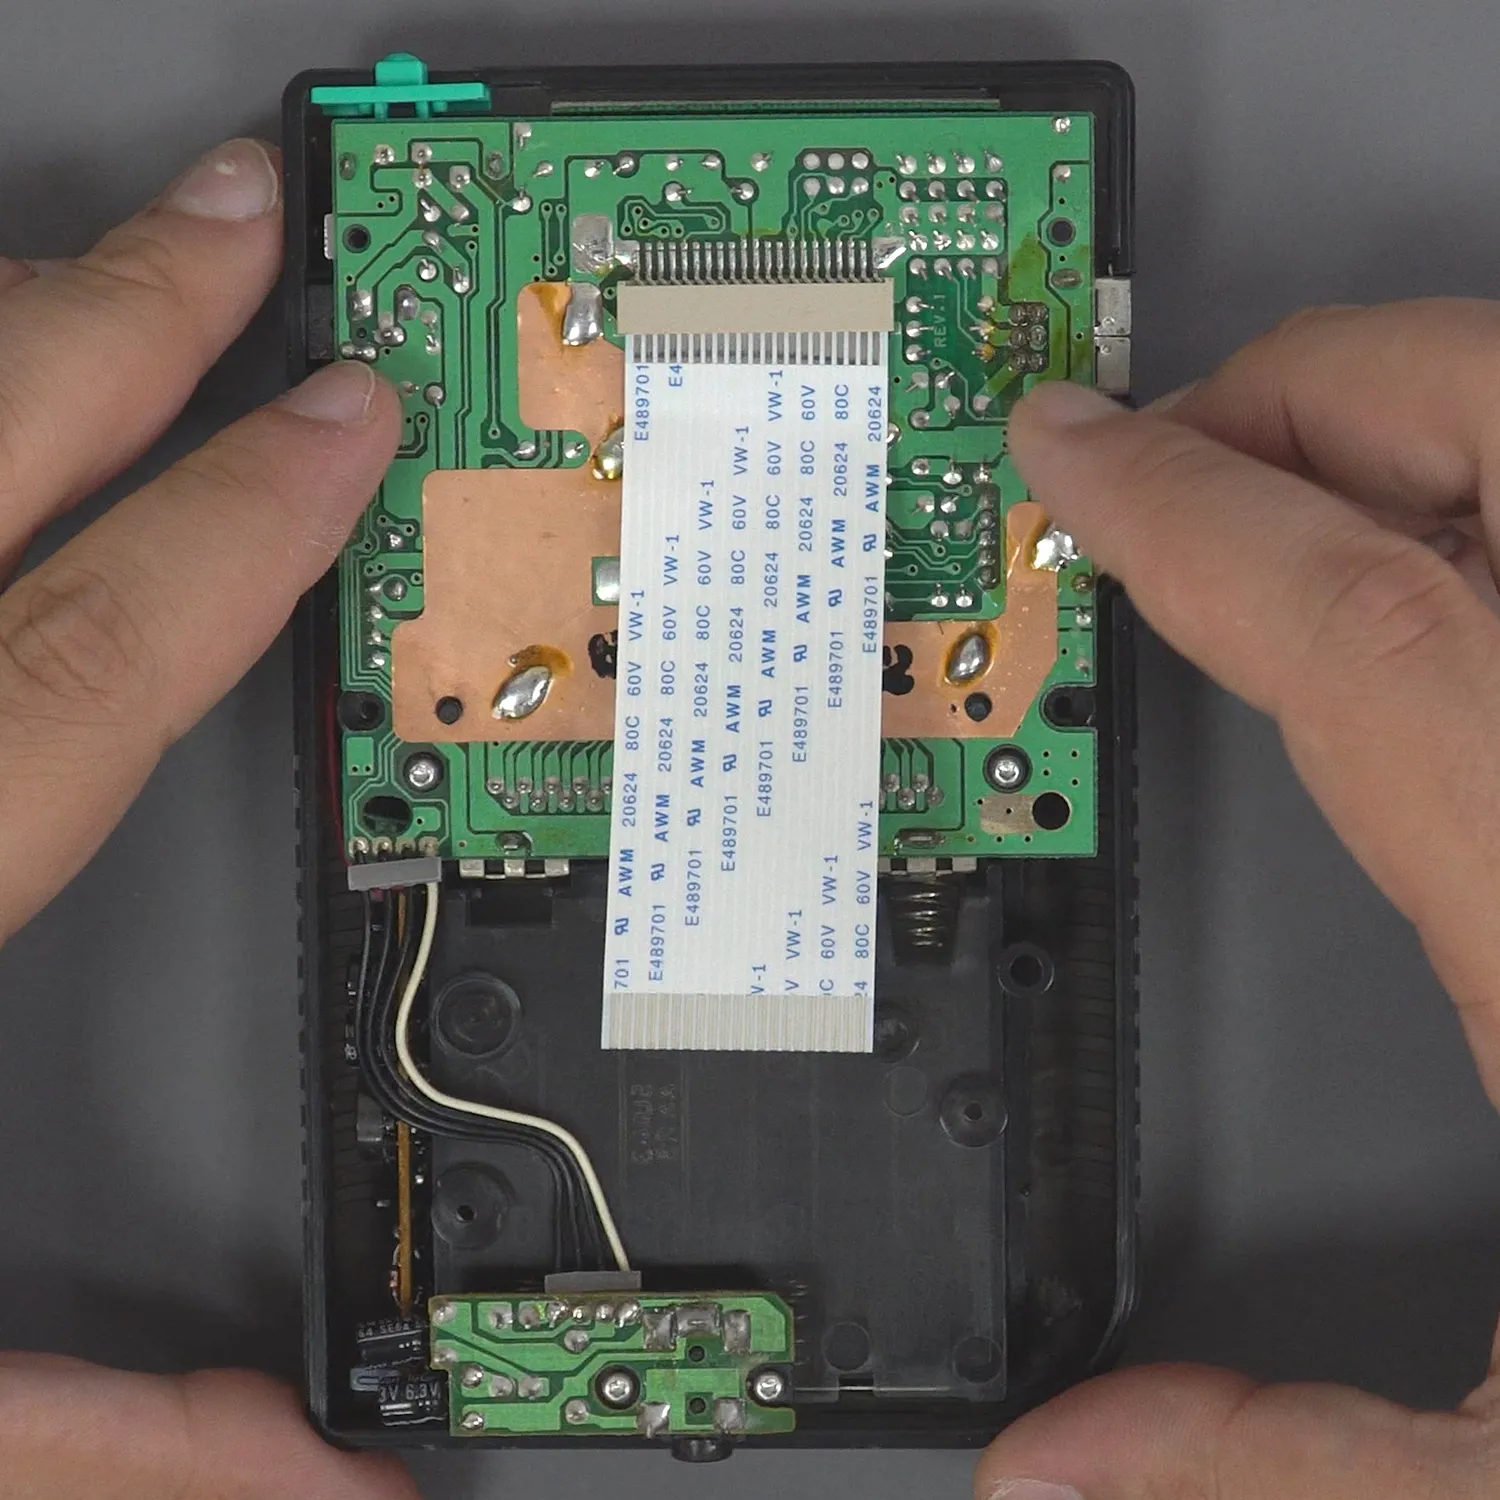
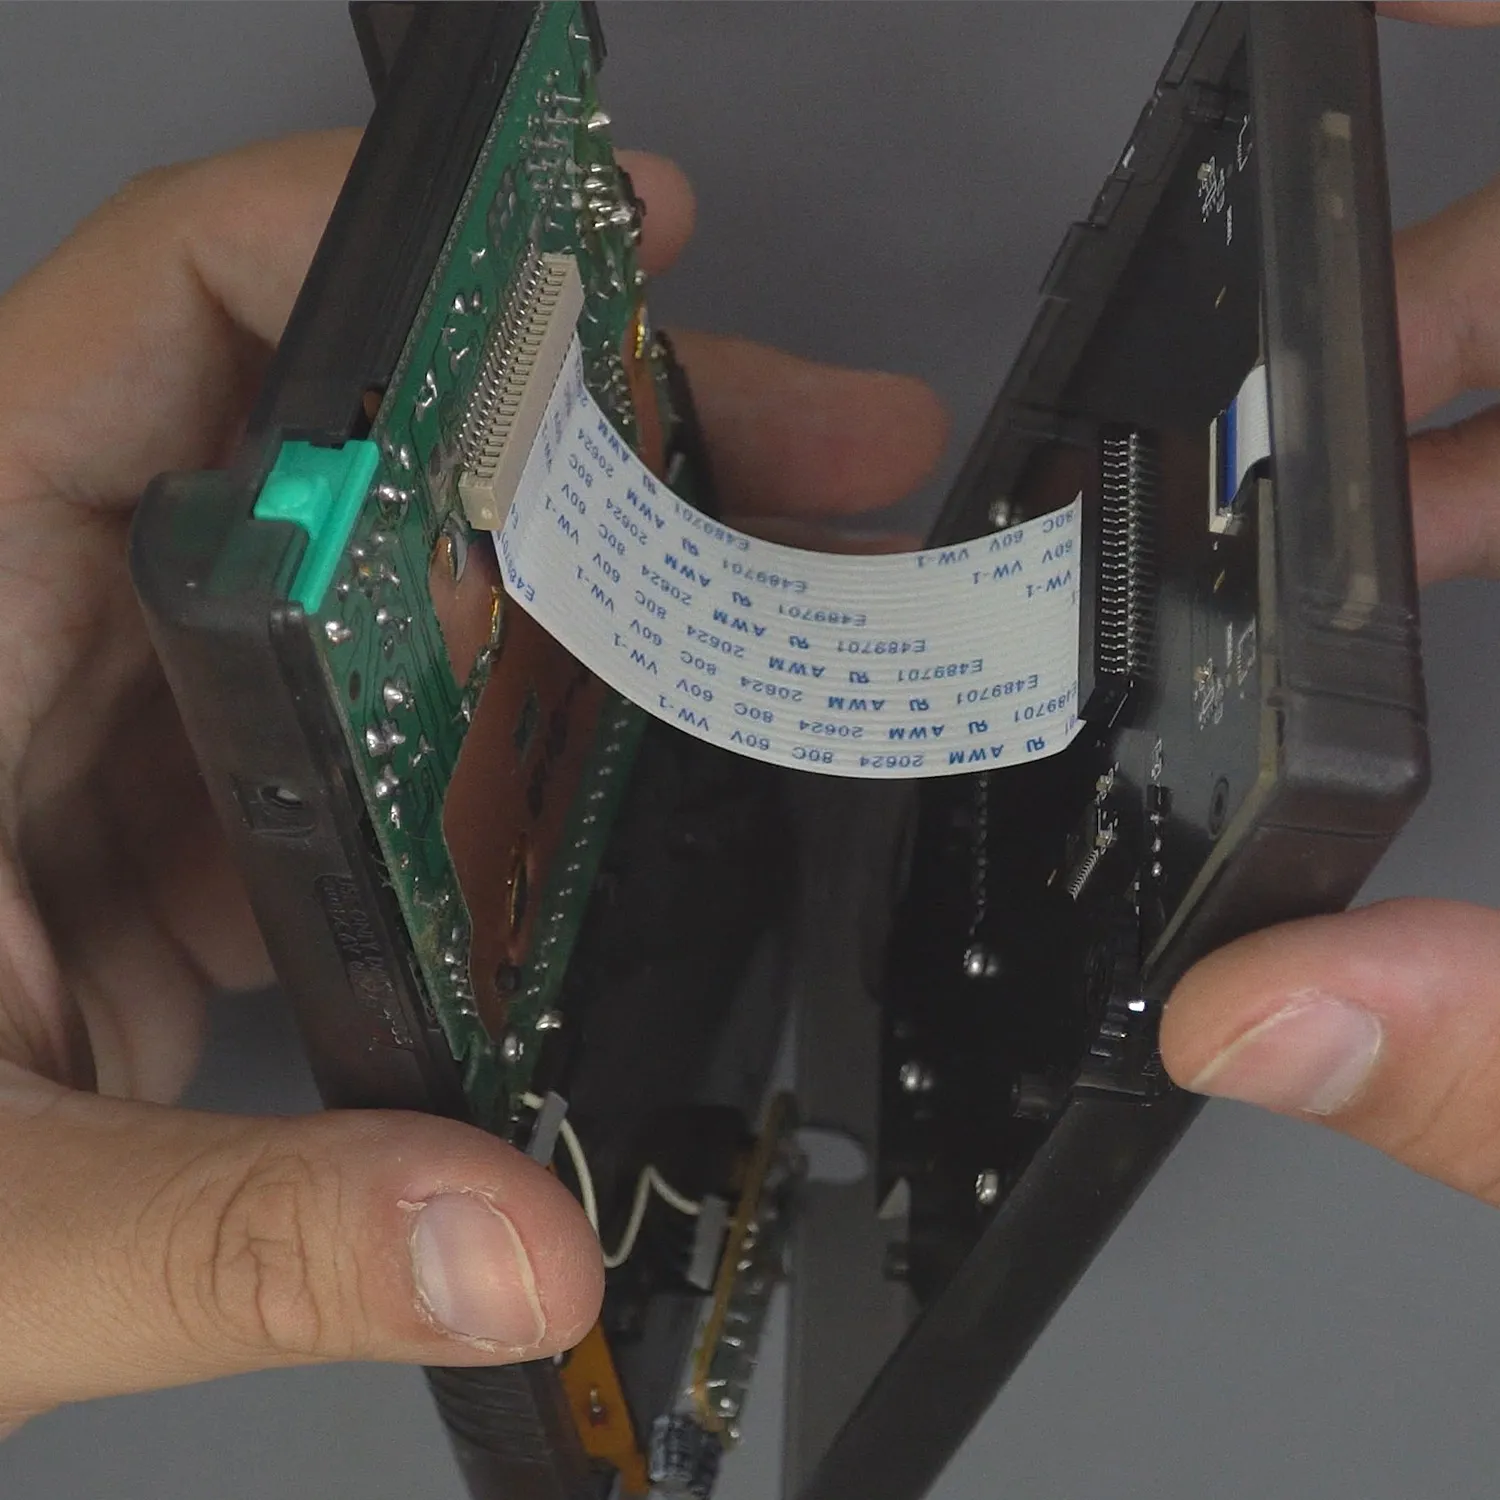
Now that we’ve assembled both halves of the console separately, it’s time to connect them with the ribbon cable. This step can be tricky because the ribbon cable is a tight fit. Take your time and make sure it’s fully inserted into each connector.
From this point, you can put in all the rear screws and close up the console completely.
To open the OSD (on-screen display), press and hold the contrast button. Since it was replaced by the new front board, it now works as a button. Once the OSD is open, you can scroll up and down to move through the menu. Press the button and scroll to adjust each value.
When you’re not in the OSD, you can change the color selection by pressing the contrast button once. There are 36 different preset color palettes in total.